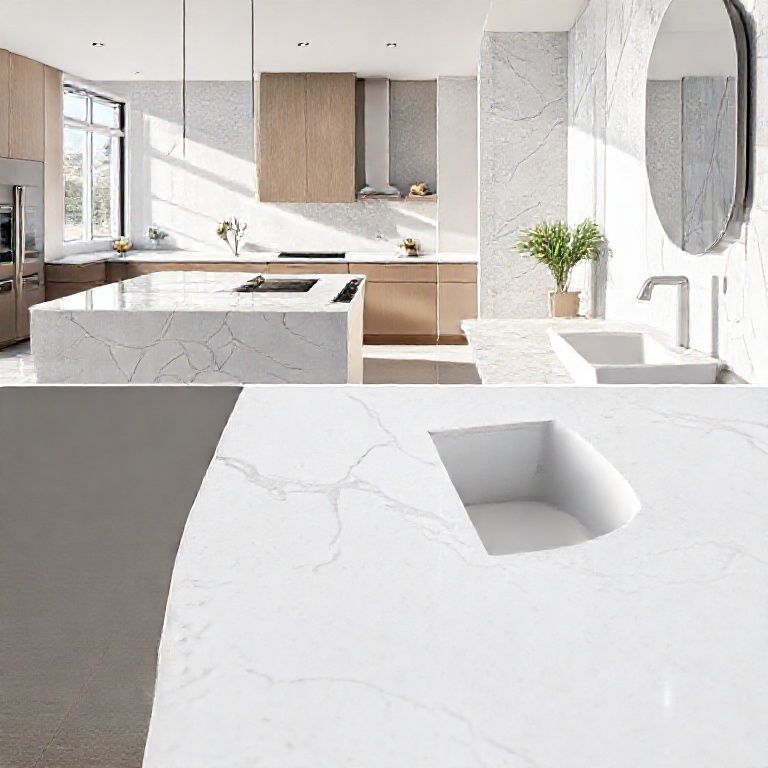
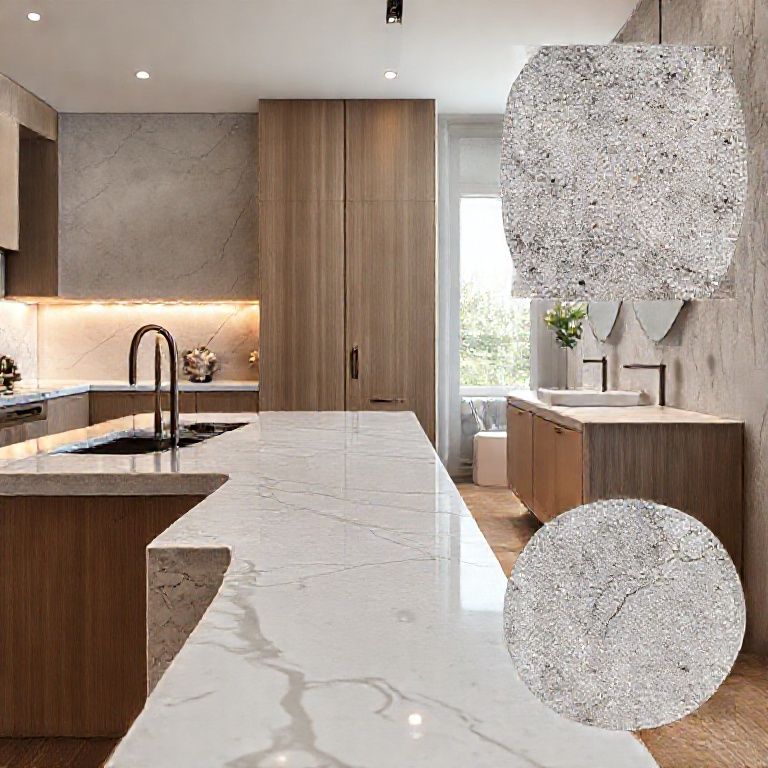
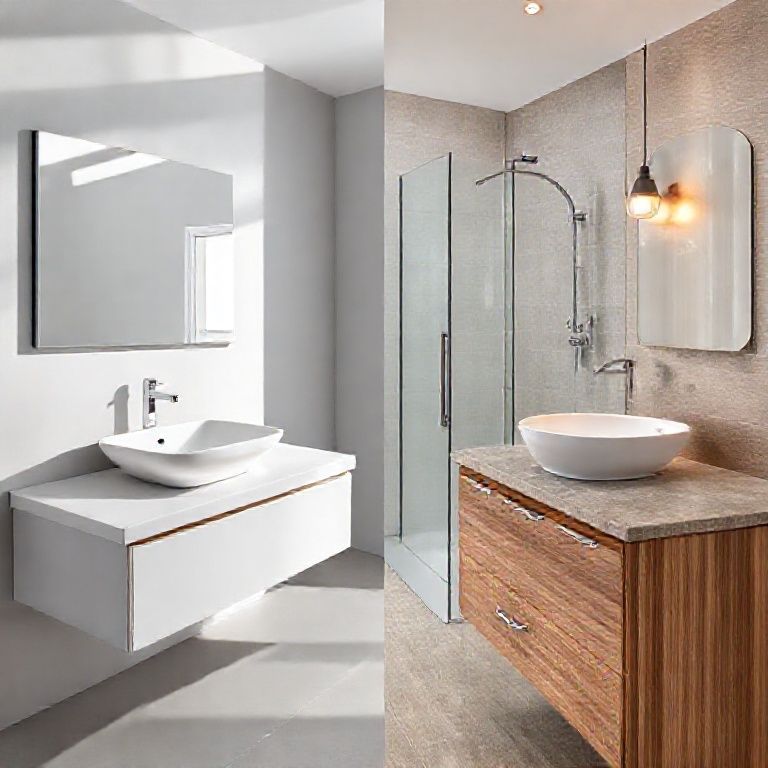
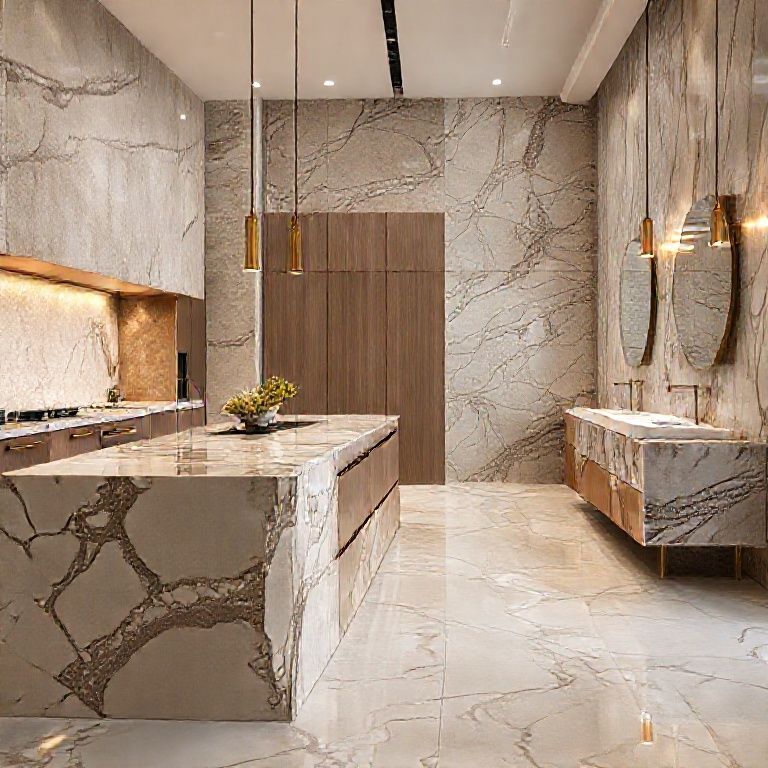
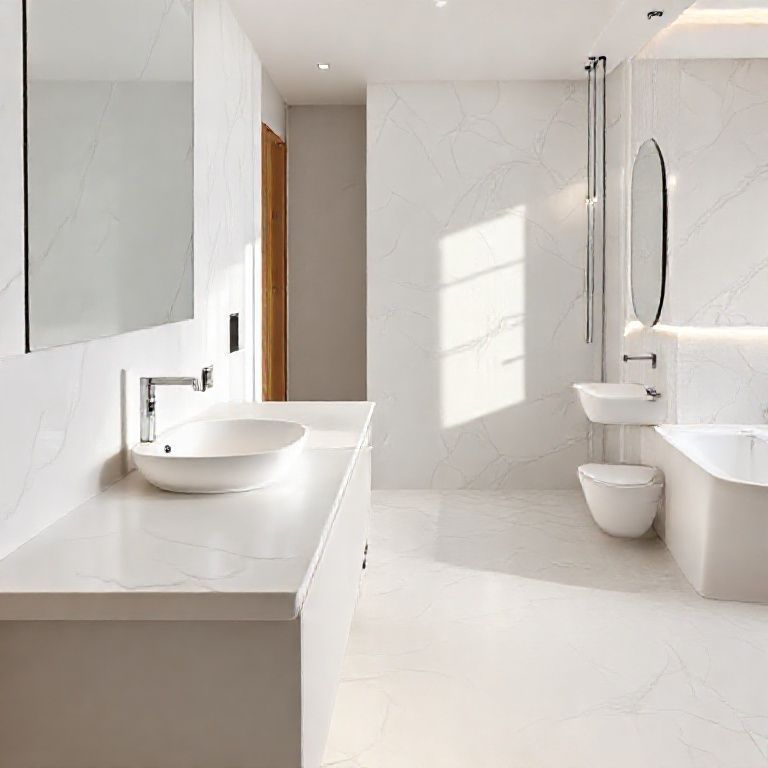
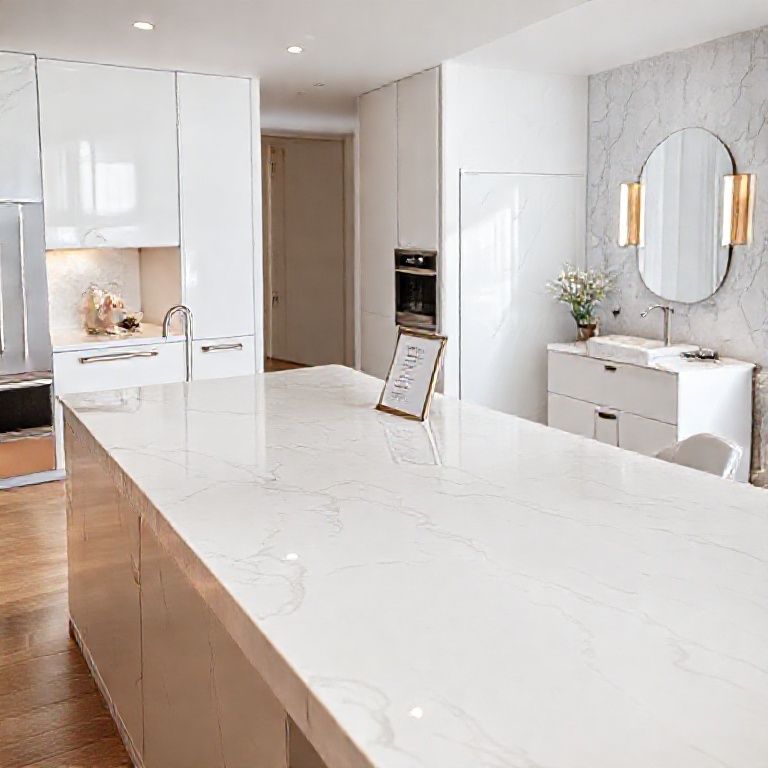
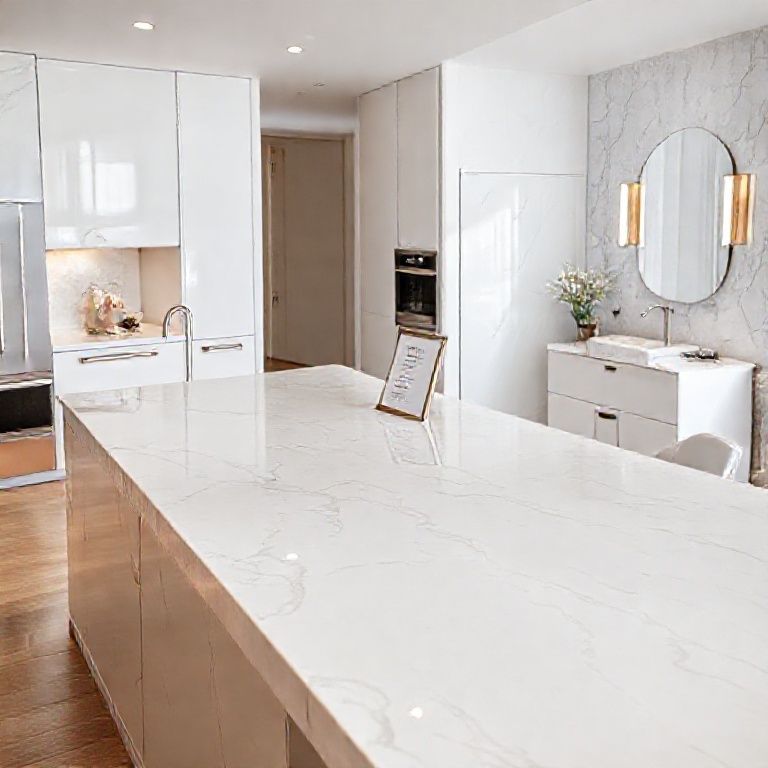
In today’s world of home renovation and modern craftsmanship, the allure of artificial marble has taken center stage. This elegant and versatile material offers the beauty of natural marble at a fraction of the cost, with added benefits like durability and ease of maintenance. If you’ve ever dreamed of crafting your own stunning countertops, then the “人造大理石配方视频” (Artificial Marble Recipe Video) is your ultimate guide. Let’s explore the fascinating journey of creating your own artificial marble.

The Beauty and Benefits of Artificial Marble
Artificial marble, also known as cultured stone, combines the visual allure of natural marble with the practicality of synthetic materials. This revolutionary material mimics the intricate veining and luxurious finish of natural stone, providing a stunning aesthetic that is perfect for countertops, sinks, and other decorative surfaces. Here are some key benefits of artificial marble:
Cost-Effective: Artificial marble is significantly less expensive than natural marble. This makes it an attractive option for those looking to upgrade their home without breaking the bank. Durability: While natural stone can be prone to scratches and stains, artificial marble is highly resistant to these issues. It’s also resistant to heat, making it perfect for kitchen applications. Customization: With artificial marble, you can achieve a wide range of colors and patterns. This flexibility allows you to tailor the material to your specific aesthetic needs. Ease of Maintenance: Artificial marble requires minimal maintenance. It’s easy to clean and can withstand everyday wear and tear.
Essential Ingredients for Artificial Marble
Creating artificial marble at home is a straightforward process that requires just a few key ingredients. Here’s a list of the essential components you’ll need:
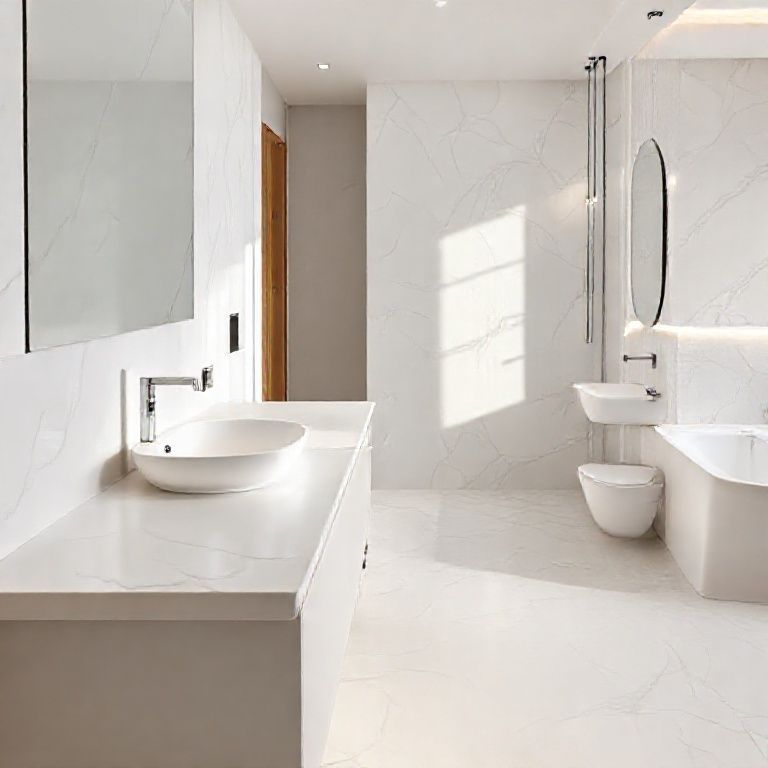
Acrylic Resin: This is the base material for artificial marble. It provides the structure and strength, giving your creation its solid form. Color Pigments: To achieve the desired marble veining and color, you’ll need a variety of color pigments. These can be found in liquid or powder form. Hardener: The hardener is a chemical component that, when mixed with the resin, initiates the curing process. It’s essential for achieving a hard, durable finish. Mica: Adding mica to your mixture enhances the marble-like appearance by creating the characteristic sparkle and sheen. Epoxy Resin: For a more professional finish, you can use epoxy resin instead of acrylic resin. Epoxy offers superior strength and durability. Mixing Tools: You’ll need mixing sticks or stir sticks to thoroughly blend the ingredients together.
Essential Tools for Crafting Artificial Marble
Crafting your own artificial marble requires some basic tools to ensure a smooth and successful process. Here are the essential tools you’ll need:
Mixing Containers: Use glass or plastic containers for mixing your ingredients. These containers should be large enough to accommodate all your materials. Stirring Sticks: Long, thin stirring sticks are ideal for mixing the resin and hardener without splashing or creating a mess. Spray Bottles: To apply color pigments to your resin, use small spray bottles filled with water. This method allows for even and precise application. Mixing Pad: A mixing pad, which is a piece of linoleum or rubber, provides a clean, non-stick surface for pouring and mixing your materials. Silicone Molds: For creating intricate designs, silicone molds are indispensable. They come in various shapes and sizes to suit your creative needs. Heat Gun: A heat gun can help speed up the curing process. However, it’s important to use it cautiously to avoid overheating and damaging your creation.
Crafting Your First Artificial Marble Creation
Now that you’re familiar with the ingredients and tools, it’s time to dive into the actual process of creating your artificial marble. Follow these steps for your first project:
Preparation: Start by thoroughly cleaning your mixing area and tools. Ensure everything is free of dust and debris. Mixing the Resin and Hardener: In your mixing container, combine the acrylic resin and hardener in a ratio specified in your recipe. Stir thoroughly until well blended. Adding Color Pigments: Gradually add color pigments to your mixture using the spray bottles. Start with a few drops and mix well. Repeat until you achieve the desired color intensity. Incorporating Mica: Sprinkle mica into the colored resin mixture. Use your stirring stick to thoroughly blend it in, ensuring even distribution. Pouring into Molds: Carefully pour your mixture into silicone molds. Use a heat gun to smooth out any air bubbles and create a flawless surface. Curing: Allow your artificial marble to cure according to the instructions provided in your recipe. This usually involves leaving it undisturbed for several hours or even overnight.
By following these steps, you’ll create a stunning piece of artificial marble that showcases the beauty and craftsmanship of this versatile material. The “人造大理石配方视频” guide will continue to provide detailed instructions and inspiration for your future projects.
Building on the foundation laid in Part 1, we now explore advanced techniques, expert tips, and maintenance strategies for your artificial marble creations. Whether you’re a beginner or an experienced DIY enthusiast, the “人造大理石配方视频” (Artificial Marble Recipe Video) will provide you with the knowledge and inspiration to elevate your crafting skills to new heights.
Advanced Techniques for Artificial Marble
Creating artificial marble is not just about mixing resin and pigments; it’s an art that requires precision and creativity. Here are some advanced techniques to take your projects to the next level:
Creating Veins and Patterns: To achieve realistic veining and patterns, use a technique called “marbling.” Apply color pigments to water in a spray bottle and gently drip the mixture onto the surface of your resin. Swirl the colors with a stirring stick to create intricate designs. For more detailed patterns, use stencils or combs to guide the pigment flow. Layering Colors: For a multi-layered effect, apply different shades of color in sequential layers. Start with a base color, let it partially cure, then add a secondary color on top. Repeat this process to create depth and complexity in your marble. Using Different Textures: To add texture, experiment with various materials like crushed stone, sand, or glitter. Mix these into your resin to create a unique finish. Just remember to blend thoroughly to avoid uneven surfaces. Incorporating Metal Elements: For a more luxurious look, incorporate thin sheets of metal or metallic powders. These elements can be added during the mixing process or adhered to the cured surface using epoxy resin.
Expert Tips for Professional Results
To achieve professional-quality artificial marble, follow these expert tips:
Temperature Control: Ensure your working environment is at a stable temperature. Extreme temperatures can affect the curing process and the final texture of your marble. Use Quality Ingredients: Invest in high-quality resin and pigments. These materials will yield better results and provide a more durable finish. Practice Patience: Allow your artificial marble to cure fully before handling or applying any finishes. Rushing the process can lead to imperfections. Test Small Batches: When experimenting with new recipes or techniques, start with small batches. This allows you to refine your process without wasting materials.
Maintenance Strategies for Your Artificial Marble
Creating beautiful artificial marble pieces is only half the battle; maintaining them ensures their longevity and beauty. Here’s how to keep your creations in top shape:
Regular Cleaning: Clean your artificial marble surfaces with a mild soap and water solution. Avoid using abrasive cleaners or sponges that can scratch the surface. Avoid Heat Sources: While artificial marble is heat-resistant, prolonged exposure to direct heat sources can cause discoloration. Use trivets or hot pads when placing hot items on countertops. Stain Prevention: To prevent stains, wipe up spills immediately with a clean, damp cloth. For tougher stains, use a specialized marble cleaner designed for artificial stone. Regular Inspection: Periodically check for any signs of wear or damage. Address minor issues promptly to prevent them from worsening.
Exploring Creative Projects with Artificial Marble
The possibilities with artificial marble are endless. Here are some creative projects to inspire your next DIY venture:
Custom Countertops: Transform your kitchen or bathroom with custom countertops that blend seamlessly with your existing decor. Unique Furniture Pieces: Create继续我们的创意项目探索,让我们进一步细化和扩展一些有趣的想法,以充分展示人造大理石的多样性和实用性。
人造大理石不仅适用于传统的家具和建筑装饰,还可以应用于许多创新和个性化的项目。
1. 艺术装饰品
人造大理石的多彩和多样的色彩搭配使其成为制作艺术装饰品的绝佳材料。你可以制作以下项目:
雕塑和雕刻:利用人造大理石的韧性,你可以尝试制作小型雕塑或复杂的雕刻作品。这些作品可以作为家庭或办公室的独特装饰品。 摆件和台灯:创造独特的摆件或台灯,不仅美观,还能展示你的工艺技能。
2. 个性化家居用品
人造大理石的多样性也让它成为制作个性化家居用品的理想材料。
定制台面:在你的厨房或浴室中,创造独特的定制台面,使其成为你家的焦点。 餐具和酒具:制作独特的盘子、杯子、玻璃器皿,或者是个性化的酒杯和饮料瓶。
3. 户外装饰
虽然人造大理石主要用于室内装饰,但它也可以用于户外项目,提供耐候性和耐用性。
花园雕塑:制作花园中的雕塑或装饰品,增加户外空间的美感。 步道和花坛:利用人造大理石制作独特的步道或花坛,增加你的庭院的设计感。
4. 商业应用
除了家庭用途,人造大理石在商业领域也有广泛的应用。
餐厅和酒吧台面:高耐用性和易清洁性使其成为餐厅和酒吧的理想选择。 办公室装饰:用于制作办公室的隔断墙、会议桌或者展示台。
5. 教育和学习项目
人造大理石也是一个很好的教育工具,特别是在艺术、设计和工程领域。
教学模型:制作教育模型,帮助学生理解复杂的科学和工程概念。 手工艺课程:在学校或社区中心开设手工艺课程,教授学生如何使用和制作人造大理石。
6. 环保和可持续发展
在制作人造大理石时,你可以考虑使用可再生材料和环保工艺,以减少对环境的影响。
再生材料:使用回收的塑料、玻璃或其他材料制作人造大理石。 低VOC配方:选择低挥发性有机化合物(VOC)的配方,减少对空气质量的影响。
通过这些创意项目,你不仅可以充分发挥人造大理石的美学和实用价值,还可以展示你的创造力和工艺技能。无论你是业余爱好者还是专业人士,人造大理石都是一个充满潜力和无限可能的材料。