The Ultimate Guide to Artificial Stone Countertop Installation Standards
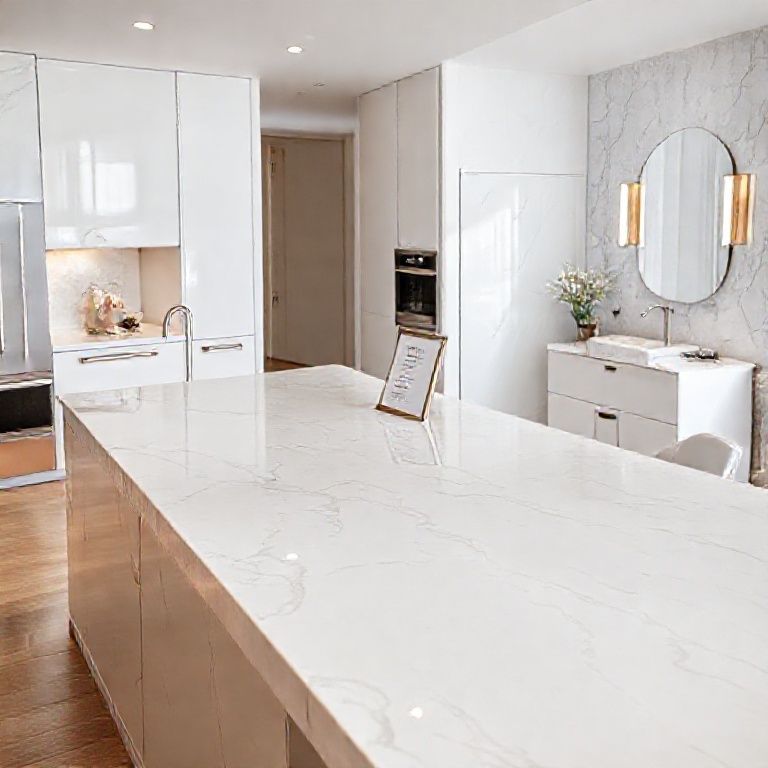
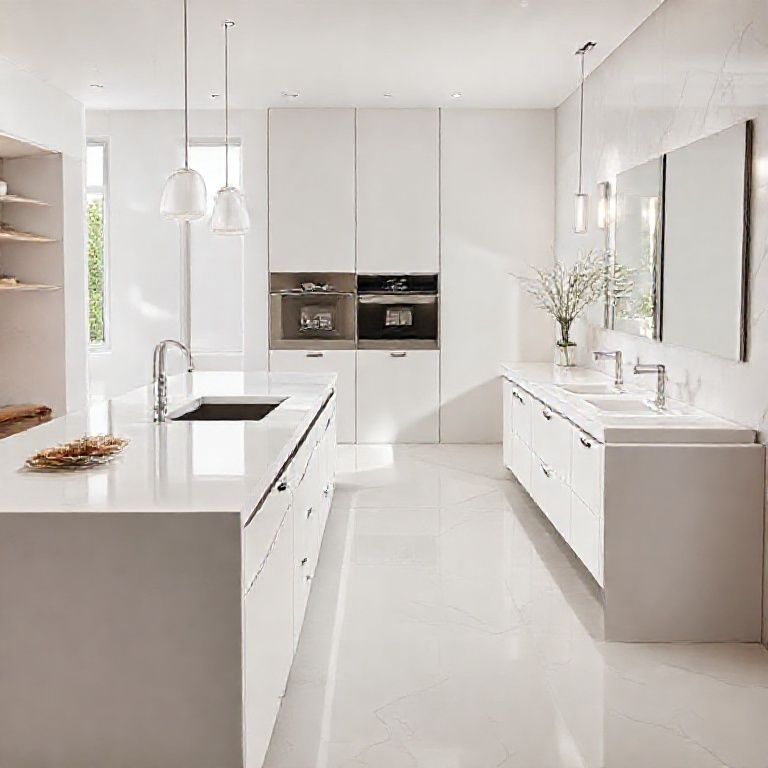
When it comes to kitchen and bathroom renovations, artificial stone countertops have emerged as a popular choice among homeowners and designers alike. Known for their durability, low maintenance, and stunning aesthetic appeal, these countertops are a game-changer. However, achieving a professional-grade installation requires adherence to certain standards. This comprehensive guide will walk you through the essential steps and best practices to ensure your artificial stone countertop installation is flawless.

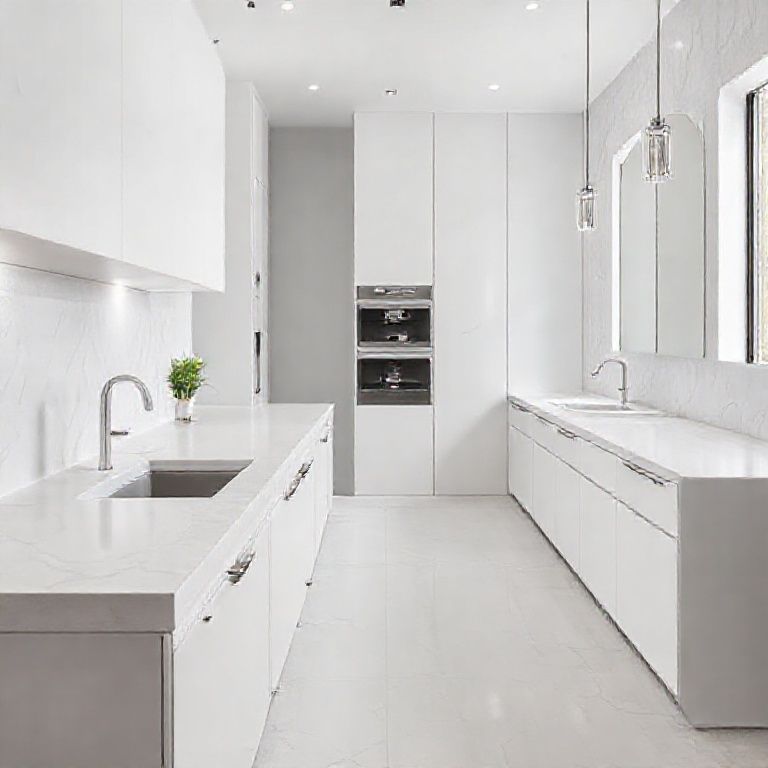
Understanding Artificial Stone Countertops
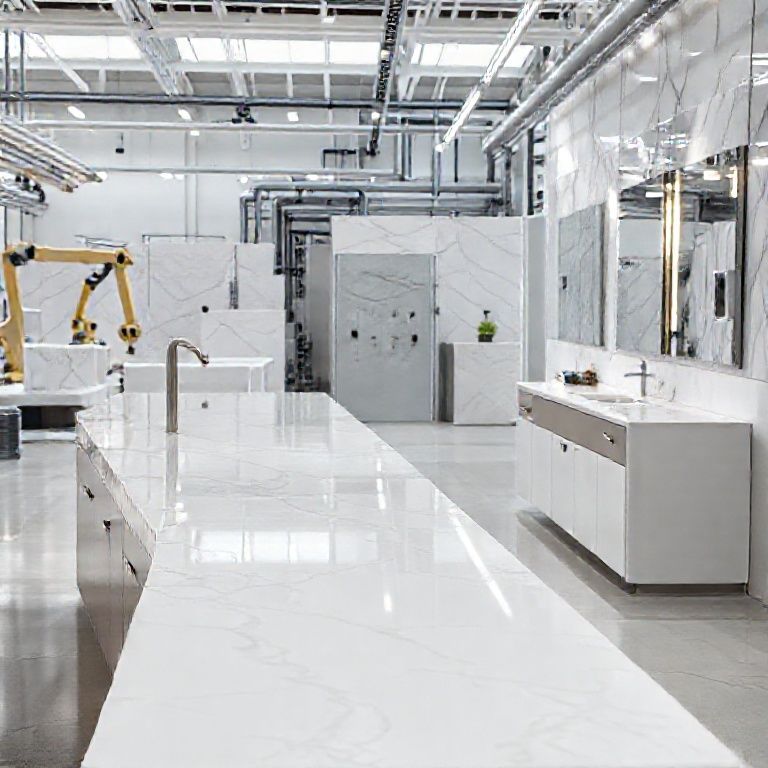
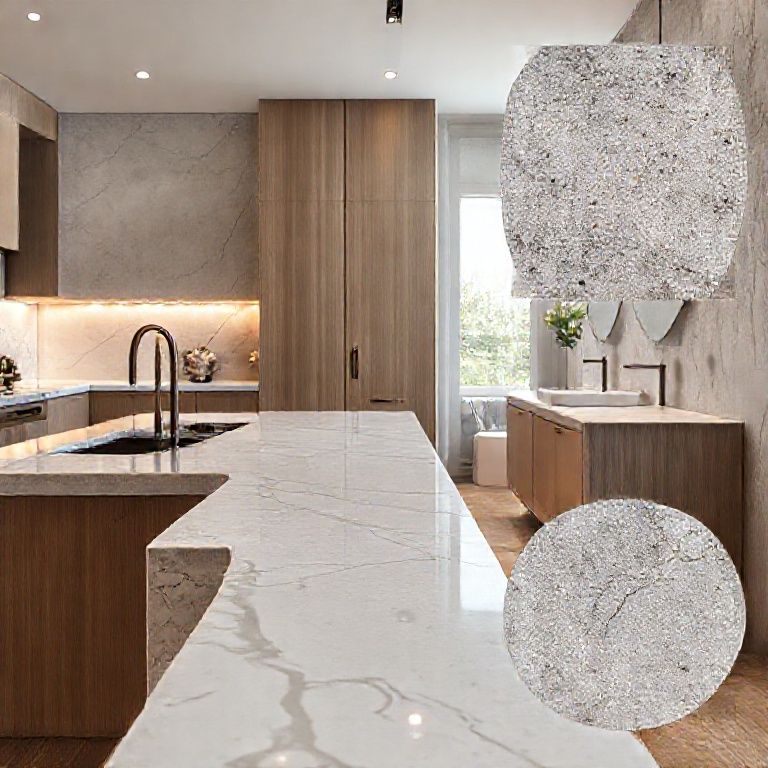
Artificial stone, often referred to as cultured stone, is a composite material made from natural stone powder, water, and resin. This combination creates a durable and versatile surface that mimics the look of natural stone while offering several benefits. These include resistance to stains, scratches, and thermal shock, making them an ideal choice for high-traffic areas like kitchens and bathrooms.
Preparation: The Foundation of Success
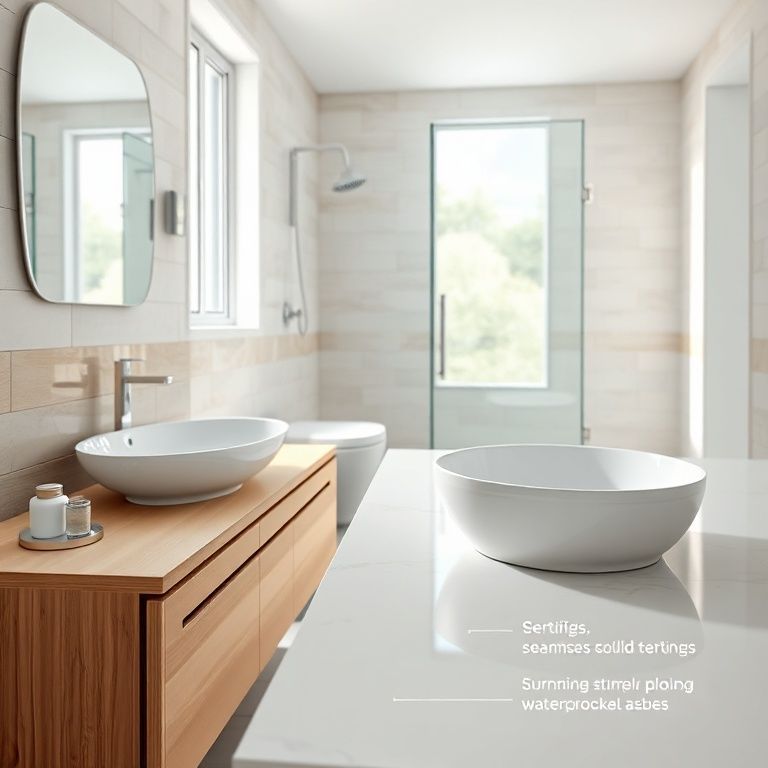
Surface Preparation
The first step in the installation process is preparing the surface where the artificial stone countertop will be placed. This involves several crucial tasks:
Cleaning: Thoroughly clean the surface to remove any grease, dirt, or debris. Use a degreaser to ensure a clean slate for the adhesive.

Drying: Ensure the surface is completely dry before proceeding. Moisture can compromise the adhesive’s effectiveness.
Leveling: Check the surface for any unevenness. Use a level to ensure the surface is perfectly flat and even. Minor imperfections can be corrected using a filler or leveling compound.
Repairing: If there are any cracks or holes in the existing surface, repair them using a suitable filler or patching compound. Allow ample time for these repairs to dry completely.
Selecting the Right Adhesive
Choosing the correct adhesive is vital for a successful installation. The adhesive must be specifically designed for bonding artificial stone to various surfaces like concrete, tile, or wood. Key considerations include:
Type of Surface: Ensure the adhesive is appropriate for the surface you’re working with. Some adhesives are designed for porous surfaces, while others are meant for non-porous ones.
Curing Time: Pay attention to the curing time of the adhesive. Different adhesives require different curing periods before the countertop can be placed.
Strength and Durability: Select an adhesive that offers strong bonding and durability to withstand everyday use.
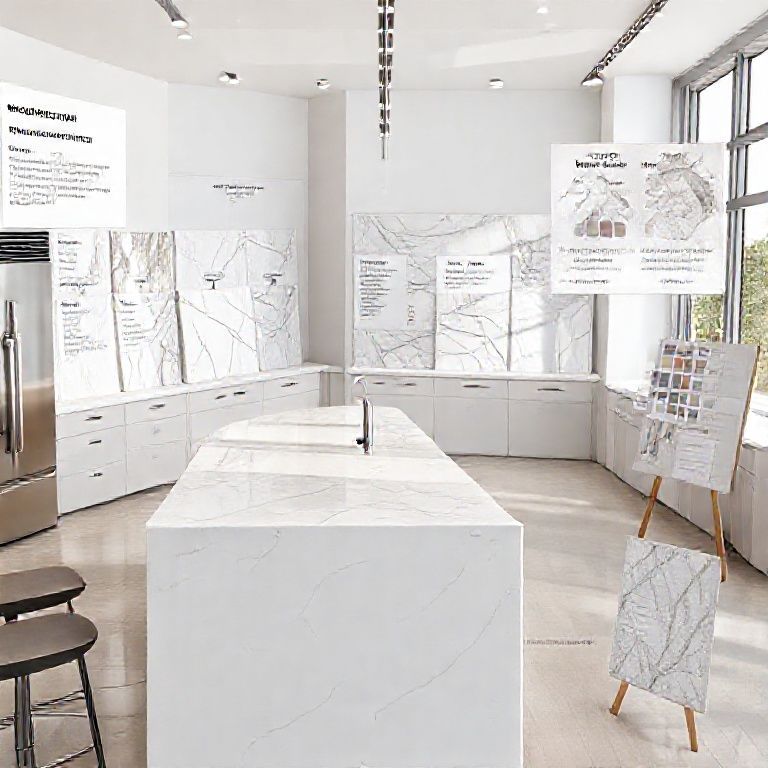
Cutting and Measuring: Precision Matters
Accurate cutting and measuring are crucial to ensure that the artificial stone countertop fits perfectly. Here’s how to do it right:
Measuring
Exact Dimensions: Measure the area where the countertop will be installed, ensuring you account for any edges, corners, or pre-existing fixtures.
Reinforcement: If the countertop spans across multiple cabinets or has a large overhang, reinforce the edges with a metal lip or edge band to prevent cracking.
Cutting
Using the Right Tools: Utilize a wet saw or a tile cutter designed for stone materials. A wet saw ensures precise cuts and minimizes the risk of chipping or cracking.
Safety First: Always wear protective gear, including safety glasses and gloves, when cutting stone materials.
Guide Lines: Mark the cutting lines on the stone with a pencil or a cutting guide to ensure straight and accurate cuts.
Installation: Putting it All Together
Applying the Adhesive
Even Spread: Use a notched trowel to spread the adhesive evenly over the prepared surface. The notches help create a textured bond that enhances adhesion.
Adhesive Thickness: Follow the manufacturer’s instructions regarding the thickness of the adhesive layer. Typically, a 1/8 inch (3 mm) thick adhesive layer is standard.
Avoid Overlapping: Ensure the adhesive is not applied to the edges of the countertop to prevent it from oozing out during placement.
Placement
Alignment: Carefully place the countertop on the adhesive, starting from one corner and working towards the opposite corner. Use a level to ensure it is perfectly aligned.
Press Firmly: Press the countertop firmly against the adhesive to ensure a strong bond. Avoid sliding or shifting the countertop to prevent gaps or unevenness.
Support: Use clamps or weights to hold the countertop in place for the recommended curing time. This prevents the countertop from shifting or lifting.
Curing Time
Allow the adhesive to cure according to the manufacturer’s instructions. This typically ranges from 24 to 48 hours. During this time, avoid placing heavy objects on the countertop to prevent damage.
Finishing Touches: Ensuring Longevity and Aesthetics
Caulking
Once the adhesive has cured, it’s time to seal the edges of the countertop with caulk. This step not only provides a clean and polished look but also prevents water from seeping underneath the countertop.
Choose the Right Caulk: Select a silicone caulk that is compatible with artificial stone. Ensure it is paintable and weather-resistant.
Applying the Caulk: Use a caulk gun to apply the caulk along the edges. Smooth it out with a caulk smoother or a damp finger to ensure a seamless finish.
Sealing
To extend the lifespan of your artificial stone countertop, consider sealing it. While artificial stone is resistant to stains, sealing provides an additional layer of protection.
Sealant Selection: Choose a high-quality, food-safe sealant specifically designed for stone countertops.
Application: Follow the manufacturer’s instructions for application. Typically, this involves wiping the surface with a damp cloth to remove any dust, followed by applying the sealant with a clean cloth or applicator.
Maintenance: Keeping Your Countertop Looking Great
Regular Cleaning
Maintaining your artificial stone countertop is relatively straightforward compared to natural stone. Here are some tips:
Daily Cleaning: Use a mild detergent and a soft cloth to clean the surface daily. Avoid using abrasive cleaners or sponges that can scratch the surface.
Stain Removal: For stubborn stains, use a mixture of water and vinegar or a commercial stone cleaner. Test any cleaner in an inconspicuous area first.
Avoid Sharp Objects
To prevent scratches, avoid placing sharp objects directly on the countertop. Use cutting boards or pads when necessary.
Conclusion
Installing artificial stone countertops requires careful preparation, precise cutting, and attention to detail. By following the installation standards outlined in this guide, you can achieve a professional-grade finish that will enhance the beauty and functionality of your kitchen or bathroom. Remember, the key to a successful installation lies in preparation, accuracy, and proper finishing techniques. With these steps, your artificial stone countertop will not only look stunning but also stand the test of time.
The Ultimate Guide to Artificial Stone Countertop Installation Standards
Continuing from where we left off, this second part delves deeper into the nuances of installing artificial stone countertops, focusing on advanced techniques, troubleshooting common issues, and exploring the latest trends in countertop design. Let’s explore how to elevate your installation process to the next level.
Advanced Techniques for Perfect Installation
Edge Finishing
Edge finishing is a crucial aspect of installing artificial stone countertops, as it ensures a seamless and professional look. Here are advanced techniques to achieve flawless edges:
Custom Edges: For a custom and polished finish, use an edge banding or metal edge. These materials provide a sleek, professional appearance and protect the edges from chipping.
Beveling: For a more intricate look, consider beveling the edges. This involves cutting the edge at a slight angle to create a subtle, decorative edge. Use a beveling tool designed for stone materials to achieve clean, precise cuts.
Edge Caulking: For a seamless finish, use a flexible caulk to seal the edges. This not only provides a clean appearance but also prevents water from seeping underneath the countertop.
Undermount Installation
Undermount countertops offer a sleek and modern look, as they sit below the cabinet edges. Here’s how to install an undermount artificial stone countertop:
Cut to Size: Cut the countertop to fit the space, leaving a small gap between the countertop and the cabinet edges. This gap allows for easy installation and removal.
Reinforcement: Use a metal frame or brackets to reinforce the countertop. This provides additional support and prevents the countertop from lifting or shifting over time.
Adhesive Application: Apply adhesive to the cabinet surface, ensuring an even and uniform layer. Place the countertop into the adhesive, pressing it firmly to create a strong bond.
Curing: Allow the adhesive to cure according to the manufacturer’s instructions. This typically involves leaving the countertop in place for 24 to 48 hours.
Troubleshooting Common Issues
Adhesive Failure
If the adhesive fails to bond properly, it can result in a loose or cracked countertop. Here’s how to troubleshoot and resolve this issue:
Surface Preparation: Ensure the surface is clean, dry, and free of any grease or debris. A proper surface preparation is crucial for a strong bond.
检查表面:确认台面和表面是否干净、干燥。如果有油污或其他杂质,需要用适当的清洁剂彻底清洁,然后用干净的布擦干。
重新涂抹粘合剂:有时候只是粘合剂的分布不均或粘合时间不足,可以重新涂抹粘合剂,并确保其厚度适中,然后重新固定台面。
增加粘合剂量:在某些情况下,可能需要增加粘合剂的量,以确保足够的粘结力。注意不要过量,以免影响台面的外观和使用。
使用压力:在粘合过程中,需要施加适当的压力,以确保台面与表面的紧密接触。可以使用重物或压胶机来帮助粘合。
检查粘合剂的适用性:确保所使用的粘合剂适用于人造石台面和所接粘的表面。有时候选择不当的粘合剂会导致粘合失败。
延长固化时间:有时候粘合剂需要更多时间来完全固化,可以延长台面固定的时间,比如24小时或更长,确保粘合剂充分干燥。
专业帮助:如果上述方法均无法解决问题,建议寻求专业人士的帮助,他们有更多的经验和工具来处理复杂的粘合问题。
安装后的维护和保养
安装完毕后,对人造石台面进行适当的维护和保养,可以延长其使用寿命,并保持其美观。
清洁:日常清洁可以使用温和的清洁剂和软布。避免使用酸性或强碱性清洁剂,以防损害表面。
抛光:定期进行抛光,可以去除表面的细小划痕和保持光泽。
防护垫:在台面下方和边缘放置防护垫,可以避免台面与橱柜或其他物品直接接触,减少磨损。
避免重物:尽量避免在台面上放置过重的物品,以防压坏或造成划痕。
定期检查:定期检查台面的固定情况,确保其未松动或出现其他问题。
通过这些方法,可以确保人造石台面的安装和使用更加稳固和长久。如果有任何疑问或需要更专业的建议,建议咨询专业人员。