Dive into the world of modern kitchen design with our comprehensive guide on “Artificial Stone Countertops Video Collection.” Whether you’re a DIY enthusiast or a professional designer, this video series covers everything from the basics to advanced techniques in creating stunning marble-like countertops that blend beauty with durability. Let’s transform your kitchen into a masterpiece!

artificial stone countertops, marble-like countertops, countertop fabrication, DIY countertop, kitchen renovation, stone countertop video, modern kitchen design, countertop installation, home improvement
The Ultimate Guide to Creating Marble-like Countertops: Part 1
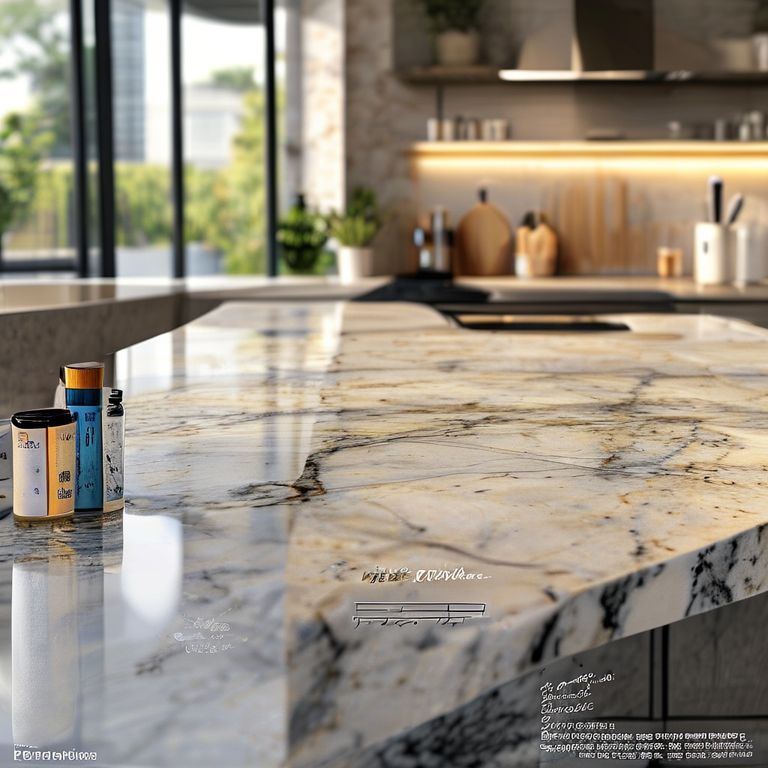
In today’s world, the kitchen has become the heart of the home. It’s where families gather, meals are prepared, and memories are made. One of the most crucial elements in this space is the countertop. In recent years, artificial stone countertops have revolutionized kitchen design, offering a stunning alternative to traditional materials like granite or marble. In this first part of our comprehensive guide, we’ll explore the fundamentals of creating marble-like countertops using artificial stone.
What Are Artificial Stone Countertops?
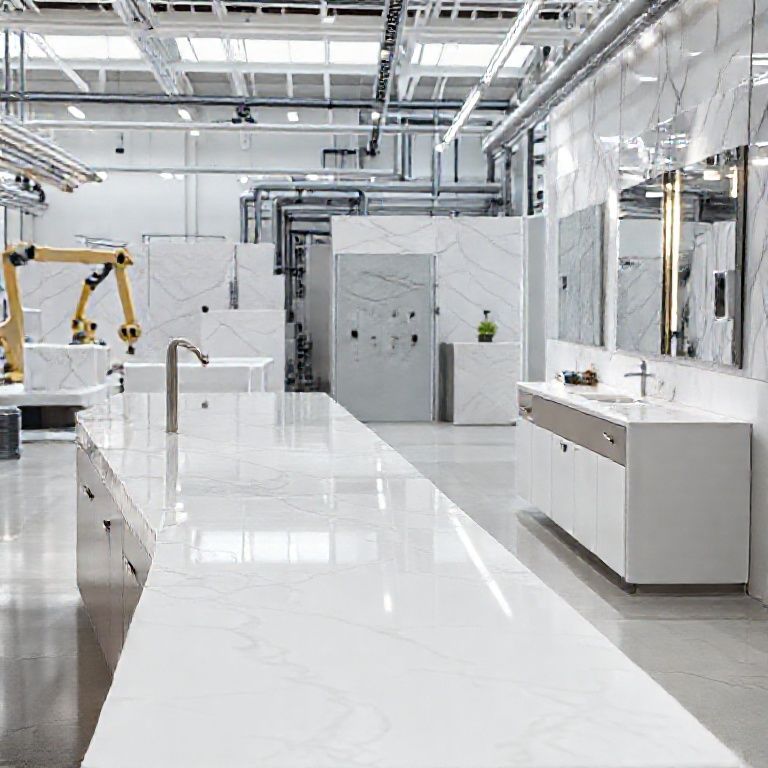
Artificial stone countertops are a blend of natural stone powders, often including marble, quartz, and limestone, combined with a polymer resin binder. This composite material replicates the look and texture of natural stone while offering significant advantages in terms of durability, cost-effectiveness, and ease of installation. Unlike traditional stone, artificial stone countertops are water-resistant and don’t require sealing, making them a superior choice for modern kitchens.
Benefits of Artificial Stone Countertops
Durability: Artificial stone is highly resistant to scratches, stains, and chips, making it an ideal choice for high-traffic areas like kitchens. Unlike natural stone, it doesn’t suffer from water rings or etchings from acidic foods.
Cost-Effective: While the initial cost of artificial stone countertops can be higher than laminate or Formica, it’s generally more affordable than natural stone. Additionally, the longevity of artificial stone means lower long-term costs.
Customization: Artificial stone countertops come in a vast array of colors and patterns, allowing for endless design possibilities. You can create custom designs that mimic the look of any natural stone.
Ease of Installation: Artificial stone is lighter and easier to install than natural stone. It can be cut with regular tools, and installation typically requires less professional expertise.
Maintenance: Unlike natural stone, artificial stone does not require sealing. It’s also easier to clean, as spills and stains do not penetrate the surface.
Materials and Tools You’ll Need
To start your journey in creating marble-like countertops, you’ll need a few essential materials and tools:
Artificial stone slabs: Available in various colors and patterns. Choose a slab that closely matches the look of marble. Stone saw: A tile cutter or wet saw will help you make precise cuts. Router with V-groove bit: To create a smooth edge that’s easy to install. Safety goggles and mask: Essential for protecting your eyes and lungs from dust and fumes. Mixing tools: Plastic spatulas and mixing bowls to prepare your stone paste. Sandpaper: For smoothing rough edges. Sealer: Although not always necessary, a sealer can enhance the finish and longevity of your countertop.
Basic Steps to Create Your Countertop
Measure Your Space: Begin by measuring the area where your countertop will go. Accurate measurements ensure a perfect fit.
Cut the Slab: Use your stone saw to cut the slab to the desired dimensions. Remember to add a little extra for trimming around the edges.
Smooth the Edges: Run a router with a V-groove bit along the edges of the countertop to create a clean, professional finish. Sand any rough edges with sandpaper.
Mix the Stone Paste: Follow the manufacturer’s instructions to mix your artificial stone paste. This usually involves combining the stone powder and resin binder.
Apply the Paste: Spread the stone paste over the countertop evenly. Use a spatula to smooth it out and ensure no air bubbles are trapped.
Let it Cure: Allow the countertop to cure according to the manufacturer’s instructions. This usually takes several hours.
Seal the Surface: If desired, apply a sealer to protect the surface and enhance its appearance.
Install the Countertop: Place the countertop in its designated spot and secure it with adhesive or screws, depending on your installation method.
Tips for Success
Practice Makes Perfect: If you’re new to countertop fabrication, practice on a smaller piece before tackling a full kitchen countertop. Safety First: Always wear safety goggles and a mask when cutting and mixing materials. Experiment with Colors: Don’t be afraid to experiment with different colors and patterns to create a unique look. Use Quality Materials: Invest in high-quality artificial stone and tools for the best results.
By following these basic steps and tips, you can create beautiful marble-like countertops that will enhance the aesthetic and functionality of your kitchen. In the next part of this guide, we’ll delve deeper into advanced techniques and explore how to customize your countertop to match any design vision.
Stay tuned for Part 2, where we’ll cover advanced fabrication techniques, unique design ideas, and expert tips to elevate your countertop game to the next level!
Explore advanced techniques and unique design ideas in our second part of the comprehensive guide on “Artificial Stone Countertops Video Collection.” Learn expert tips and tricks to elevate your kitchen countertop creation from basic to breathtaking. Perfect for DIY enthusiasts and professional designers alike!
advanced countertop fabrication, unique countertop designs, kitchen countertop ideas, expert tips, DIY kitchen renovation, artificial stone customization, countertop design trends, modern kitchen countertop, home improvement tips
The Ultimate Guide to Creating Marble-like Countertops: Part 2
Building on the foundational knowledge from Part 1, this second part of our comprehensive guide will delve into advanced techniques and unique design ideas for creating stunning marble-like countertops using artificial stone. Whether you’re a DIY enthusiast or a professional designer, these expert tips and tricks will help you elevate your kitchen countertop game to new heights.
Advanced Fabrication Techniques
Creating Complex Shapes: Curved Edges: To create countertops with curved edges, use a router with a roundover bit. This bit allows you to smoothly transition from the flat surface to a rounded edge, giving your countertop a modern and elegant look. Custom Shapes: For countertops with unique shapes, like custom curves or intricate designs, use a jigsaw to cut out the desired form. Practice on a scrap piece first to perfect your technique. Multi-Color Designs: Layering Colors: Artificial stone slabs come in a myriad of colors. To create a multi-colored countertop, layer different colors of stone paste on top of each other. Use a spatula to blend the layers seamlessly. Marble Veins: To mimic the natural veins found in marble, mix small amounts of contrasting stone powder into your paste. Apply these small veins randomly for a realistic marble effect. Textured Surfaces: Imprinted Textures: Use silicone or rubber molds to imprint textures onto your artificial stone countertop. Before curing, press the mold into the stone paste to create a realistic stone texture. Rubbed Surfaces: To give your countertop a brushed or honed finish, use a sanding block or sandpaper lightly after the paste has cured. This technique gives a softer, more tactile look that mimics natural stone. Edge Finishing: V-Groove Edges: For clean, professional edges, use a router with a V-groove bit. This technique provides a smooth edge that’s easy to install and looks seamless. Beveled Edges: For a more dramatic look, create a beveled edge using a beveling bit. This technique adds depth and dimension to your countertop.
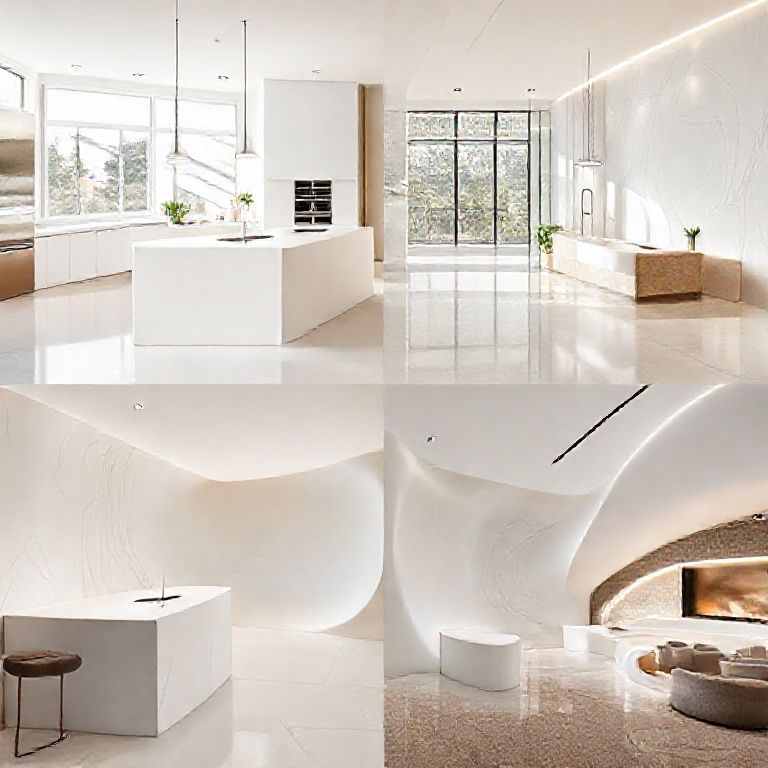
Unique Design Ideas
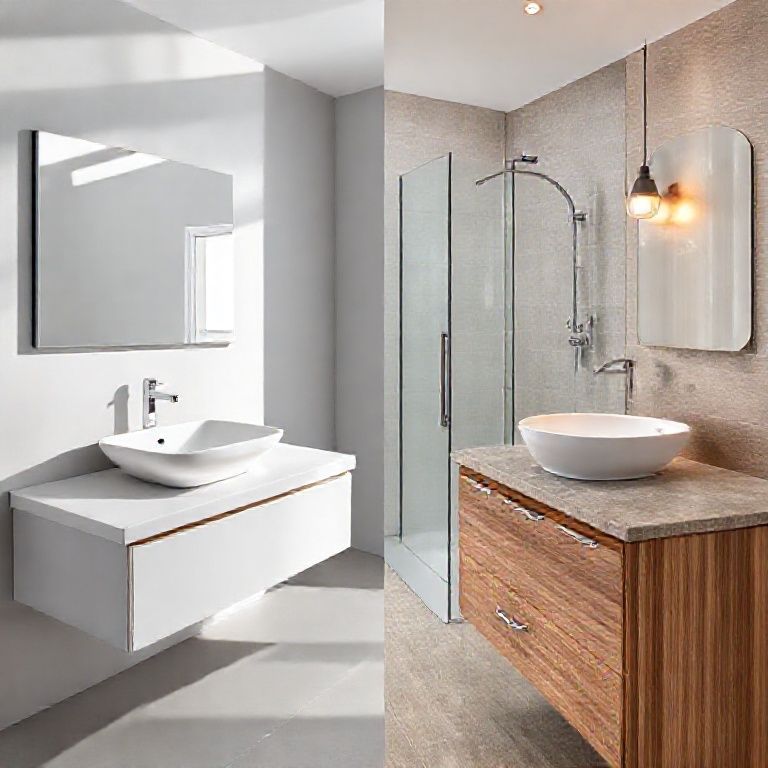
Incorporate Built-In Features: Hidden Storage: Create built-in cabinets or drawers under your countertop. This adds both storage and a sleek design element. Under-Cabinet Lighting: Integrate LED strip lights beneath your countertop for a modern, illuminated look. Custom Countertop Shapes: Island Countertops: For kitchen islands, consider creating a custom shape that complements the overall design of the space. Use curved edges, custom shapes, or unique patterns to make a statement. Peninsula Countertops: Similar to island countertops, peninsulas can be designed with custom shapes to create a cohesive look. Combining Materials: Mixed Materials: Combine artificial stone with other materials like metal, wood, or glass to create a unique, multi-textured countertop. Layered Designs: Use different colors and textures of artificial stone to create a layered design that adds visual interest. Custom Patterns: Tile Mosaic: Create a tile mosaic design using small pieces of artificial stone. Arrange them in a pattern that mimics traditional tile mosaics. Geometric Patterns: Use geometric shapes like triangles, hexagons, or squares to create a contemporary and stylish countertop. This technique involves carefully cutting the artificial stone into small pieces and arranging them in a precise pattern before applying the stone paste.
Expert Tips for Success
Preparation is Key: Always prepare your workspace thoroughly. Lay down a protective covering to prevent dust and debris from contaminating your artificial stone.
Use the Right Tools: Invest in high-quality tools. A good stone saw, router, and mixing tools will make the fabrication process smoother and more precise.
Practice Patience: Allow your artificial stone to cure fully before handling it. Rushing this step can lead to cracks or uneven curing.
Seal for Longevity: While artificial stone doesn’t require sealing like natural stone, applying a high-quality sealer can enhance its appearance and protect it from stains.
Regular Maintenance: Clean your countertop regularly with mild soap and water. Avoid using acidic cleaners that can etch the surface.
Consult Tutorials: There are numerous video tutorials available online that can guide you through specific techniques and help you troubleshoot any issues that arise.
Safety First: Always wear protective gear such as gloves, goggles, and a mask when working with artificial stone materials to ensure your safety.
Common Mistakes to Avoid
Cutting Too Fast: When cutting artificial stone, don’t rush the process. A slow, steady cut will result in a cleaner edge.
Ignoring Curing Time: Never skip the curing period. Insufficient curing can lead to brittle and unstable countertops.
Using the Wrong Tools: Using dull or inappropriate tools can result in a rough finish and may damage the countertop.
Overmixing the Paste: Overmixing the stone paste can lead to air bubbles and an uneven surface.
Not Sanding Edges: Failing to smooth the edges with sandpaper or a router can result in an unfinished look.
Final Thoughts
Creating marble-like countertops with artificial stone is an art that combines creativity with precision. By mastering the basics and exploring advanced techniques, you can transform your kitchen into a stylish and functional space that reflects your personal design vision.
Remember, practice and patience are essential. Don’t be discouraged by initial setbacks; with each project, you’ll improve your skills and gain more confidence in your abilities. Happy crafting!
If you have any specific questions or need further guidance on any part of the process, feel free to ask!