The Ultimate Guide to Creating Stunning Artificial Stone Countertops: Part 1
Introduction to Artificial Stone Countertops
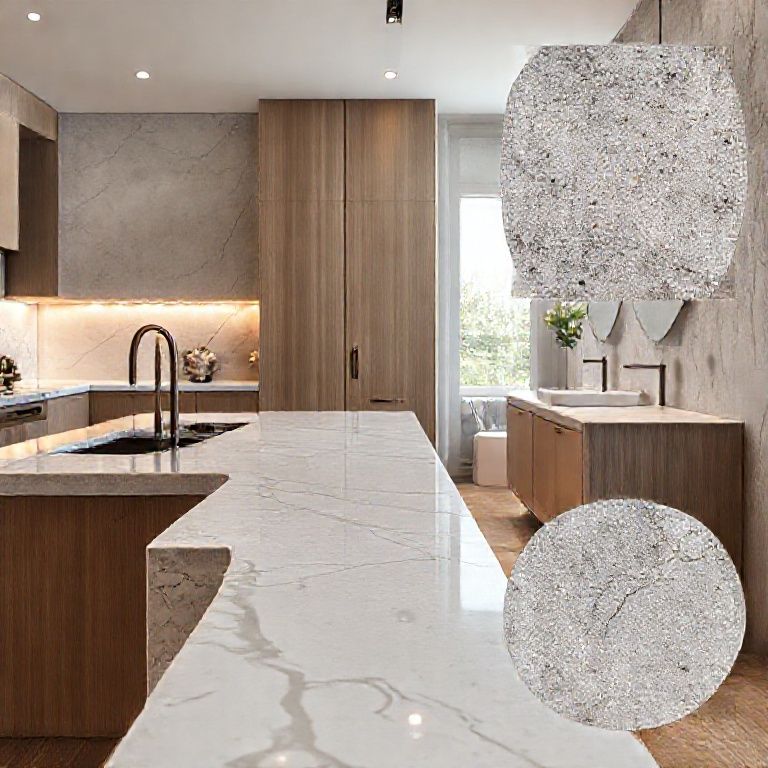
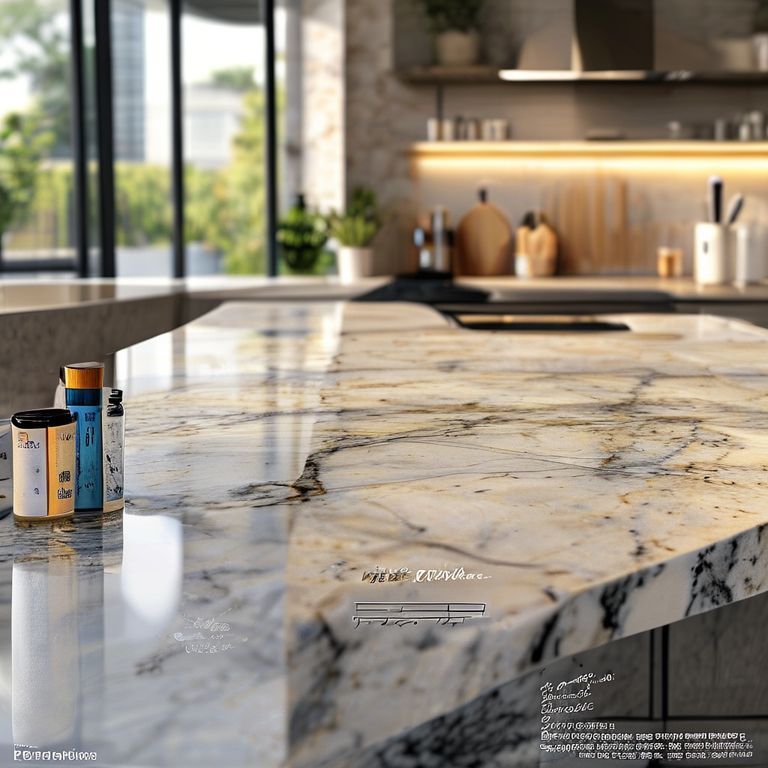
In today’s world of modern home design, artificial stone countertops have emerged as a popular choice for both kitchens and bathrooms. These countertops not only offer a stunning aesthetic that rivals natural stone but also provide unmatched durability and ease of maintenance. Whether you are a DIY enthusiast or a professional designer, understanding the fundamentals of artificial stone countertops can transform your renovation projects.

Why Choose Artificial Stone?
1. Durability and Low Maintenance: Artificial stone countertops are crafted from high-quality materials that mimic the appearance of natural stone while offering superior durability. These countertops are resistant to scratches, stains, and heat, making them ideal for high-traffic areas. Unlike natural stone, they do not require sealing or frequent maintenance, saving you time and money in the long run.
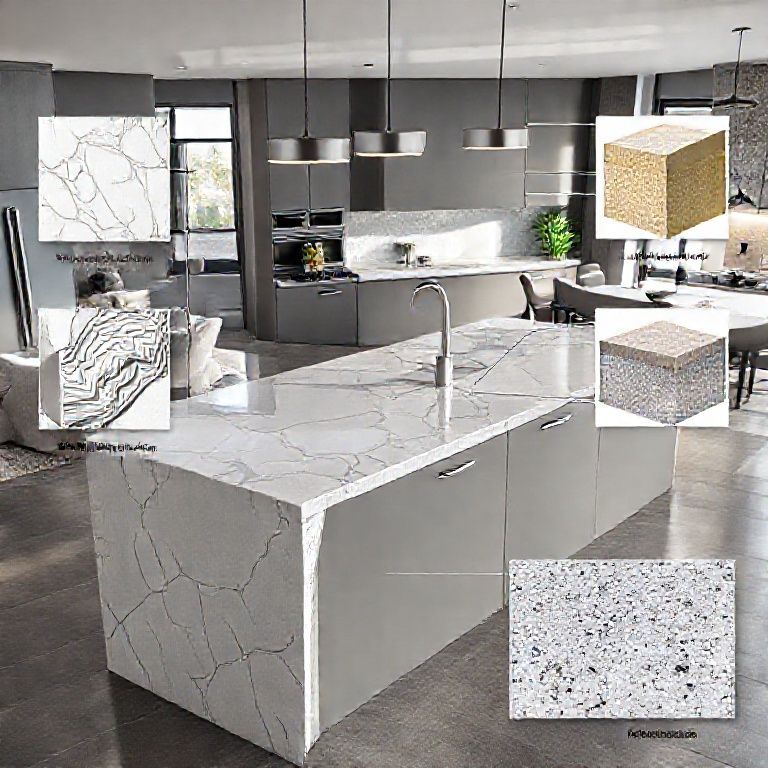
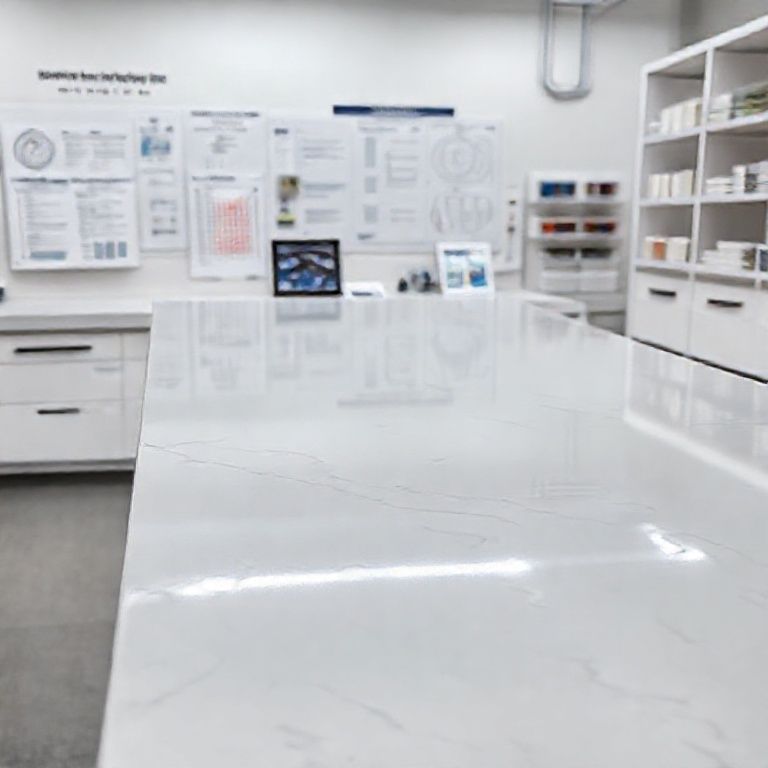
2. Variety of Designs: One of the significant advantages of artificial stone is the variety of colors and designs available. From classic marble to exotic patterns, you can choose a design that perfectly matches your aesthetic preferences. This flexibility allows for endless creative possibilities, making artificial stone a versatile option for any home.
3. Cost-Effective: Artificial stone countertops often provide a more cost-effective alternative to natural stone. The manufacturing process allows for more predictable pricing, eliminating the unpredictable costs associated with sourcing and cutting natural stone.
Materials Needed for Artificial Stone Countertops
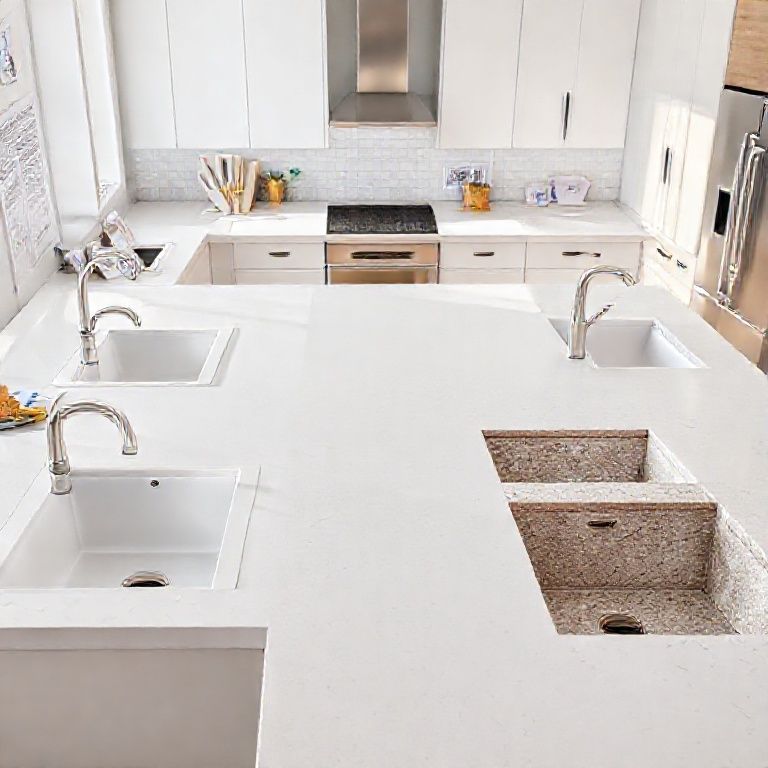
1. Base Material: The primary component of artificial stone is a composite material that typically includes resin, acrylic, and various mineral fillers. The combination of these materials creates a stone-like texture and appearance while maintaining a solid and durable structure.
2. Pigments and Dyes: High-quality pigments and dyes are essential for achieving the desired color and finish. These materials must be of superior quality to ensure vibrant and long-lasting colors.
3. Hardeners and Additives: To enhance the strength and durability of the artificial stone, hardeners and various additives are incorporated into the mix. These components play a crucial role in the final product’s hardness, resistance to scratches, and overall longevity.
Essential Tools for Creating Artificial Stone Countertops
1. Mixer and Mixing Container: A high-quality mixer is essential for combining the base material, pigments, and additives to achieve the perfect consistency. A sturdy mixing container, typically made from stainless steel or high-grade plastic, is necessary for holding the mixture.
2. Molds and Templates: Molds are used to shape the artificial stone into the desired form. These can range from simple rectangular molds for countertops to more complex shapes for specialized designs. Templates or guides can also be used to ensure precise cuts and measurements.
3. Cutting Tools: Sharp cutting tools are necessary for slicing the artificial stone into the desired sizes. Tools such as tile nippers, saws, or specialized cutting blades will be required to achieve clean and accurate cuts.

4. Finishing Tools: Once the stone is cut, finishing tools like sanders and polishers are used to smooth out the edges and achieve a professional finish. These tools help to remove any rough spots and create a polished surface.
Step-by-Step Process for Creating Artificial Stone Countertops
1. Preparation: Before starting the project, ensure you have all the necessary materials and tools. Prepare your workspace by cleaning it thoroughly and setting up your mixing area. Make sure you have protective gear such as gloves and masks to safeguard against dust and fumes.
2. Mixing the Compound: Combine the base material, pigments, and additives in the mixing container using the mixer. Start with a small amount and gradually add more as needed until you achieve the desired consistency. The mixture should be smooth and free of lumps.
3. Pouring the Mixture into Molds: Carefully pour the mixed compound into the molds. Use a spatula or a trowel to smooth the surface and remove any air bubbles. Ensure the mixture is evenly distributed to avoid any unevenness in the final product.
4. Curing the Stone: Once the stone has been poured into the molds, allow it to cure. The curing time will depend on the specific product instructions but typically ranges from several hours to overnight. During this time, the stone will harden and set.
5. Removing from Molds: After curing, carefully remove the artificial stone from the molds. Use a soft brush to gently clean off any excess material that may have adhered to the mold.
6. Cutting and Shaping: Use the cutting tools to trim and shape the artificial stone to the desired size. For precise cuts, use a saw or nippers, and for larger pieces, a tile cutter might be necessary.
7. Finishing: Sand and polish the edges to achieve a smooth and professional finish. Use sandpaper or a sander for rough areas and a polisher for the final shine. Ensure that all edges are smooth to prevent any chipping or damage.
Tips and Tricks for Success
1. Practice Makes Perfect: If you’re new to creating artificial stone countertops, start with smaller projects to practice your skills. This will help you understand the process and make any necessary adjustments before tackling larger pieces.
2. Experiment with Colors: Don’t be afraid to experiment with different colors and designs. Artificial stone offers a wide range of possibilities, so have fun and let your creativity shine.
3. Quality Materials Matter: Invest in high-quality materials and tools. While they may cost a bit more upfront, they will yield better results and ensure a longer-lasting product.
4. Safety First: Always follow safety guidelines when working with materials and tools. Use protective gear and ensure your workspace is well-ventilated to minimize exposure to dust and fumes.
5. Patience is Key: Curing times can vary, so be patient and allow the stone to cure fully before handling it. Rushing this process can result in a less durable product.
In the next part of our guide, we will delve deeper into advanced techniques, creative designs, and troubleshooting tips for creating artificial stone countertops. Stay tuned for more insights and expert advice to help you master this fascinating DIY project!
The Ultimate Guide to Creating Stunning Artificial Stone Countertops: Part 2
Advanced Techniques for Perfect Artificial Stone Countertops
1. Layering Techniques: One of the most exciting aspects of creating artificial stone countertops is the ability to layer different materials and colors to achieve unique designs. Start with a base layer of your primary color, then add secondary layers in complementary colors. Use a toothpick or a brush to blend the layers seamlessly. This technique can create intricate patterns and designs that mimic natural stone.
2. Veining and Marbling: To achieve a more realistic stone look, consider incorporating veining and marbling techniques. Mix small amounts of different pigments into your base material and then use a comb or a toothpick to create intricate vein patterns. Marbling can be achieved by swirling different colors together and then pouring the mixture into molds. This adds depth and texture to your countertops, making them look even more authentic.
3. Embellishments: Adding embellishments such as metal inlays, wood accents, or even small gemstones can elevate the design of your artificial stone countertops. Carefully integrate these elements into the stone mixture before it cures. Ensure that they are securely embedded to maintain durability and prevent displacement.
Creative Designs and Inspiration
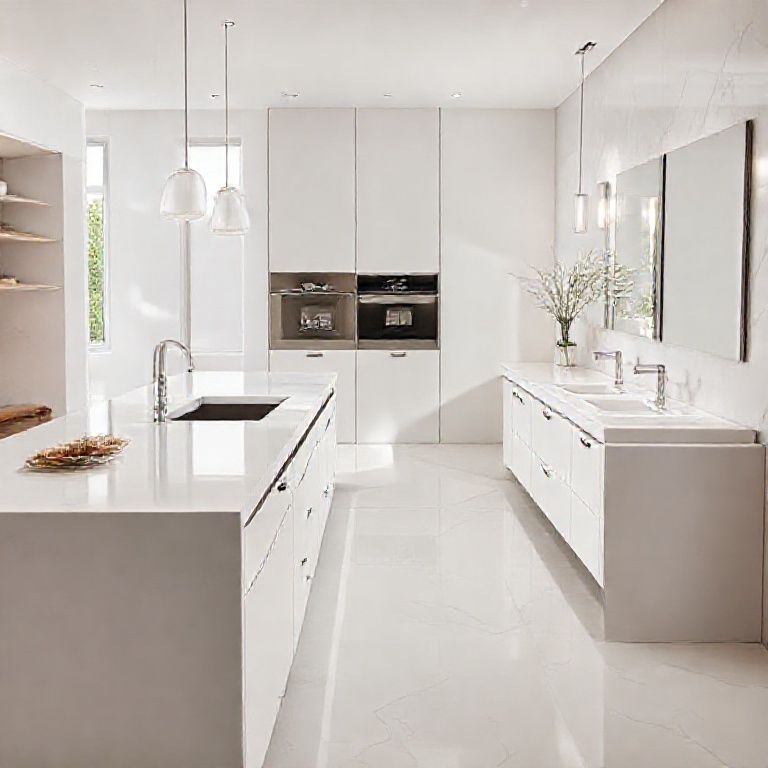
1. Unique Shapes: Don’t be limited to standard rectangular or square countertops. Experiment with unique shapes such as ovals, circles, or custom designs that match your kitchen or bathroom layout. Use molds or templates to create these custom shapes, and then use cutting tools to refine them to perfection.
2. Textured Surfaces: To add a tactile element to your countertops, consider creating textured surfaces. Use a textured mold or apply a texture overlay after the stone has cured. This can mimic natural stone textures like veined marble or rough granite, providing a more authentic feel.
3. Multi-Color Designs: Create countertops with multiple color gradients or a combination of different colors. Use a combination of layering and marbling techniques to achieve a stunning gradient effect. This adds visual interest and can make your countertop stand out in any space.
4. Artistic Freeforms: For those looking to push the boundaries of design, freeform shapes and artistic patterns can be created using advanced mixing and pouring techniques. This involves自由手法创作和精细的手工操作。
使用高质量的模具和定制设计,你可以制作出独一无二的艺术品级台面,这些台面不仅美观,而且实用。
Troubleshooting Tips for Creating Flawless Countertops
1. Common Mistakes and How to Avoid Them:
Lumps and Bubbles: To avoid lumps and bubbles in your stone mixture, mix the compound thoroughly but not excessively. Use a spatula to smooth out any air bubbles after pouring it into molds. Uneven Thickness: Ensure that the mixture is evenly distributed in the molds to avoid uneven thickness. Use a straight edge or a mold guide to help maintain consistent thickness. Inadequate Curing Time: Always follow the manufacturer’s instructions for curing times. Rushing the curing process can lead to weak spots and reduced durability.
2. Repairing Imperfections:
Minor Chips and Cracks: For small chips or cracks, use a high-quality filler or resin specifically designed for artificial stone. Apply the filler and smooth it out with a small brush or spatula. Surface Imperfections: If the surface has imperfections, lightly sand the area with fine-grit sandpaper, then polish to restore the shine.
3. Handling and Maintenance:
Cutting and Shaping: Always use sharp tools to cut the stone. Dull blades can cause rough edges and uneven cuts. Finishing: After cutting and shaping, sand and polish the edges to ensure a smooth and professional finish.
Expert Tips for Long-Lasting Artificial Stone Countertops
1. Regular Maintenance:
Cleaning: Use a mild soap and water solution to clean your countertops. Avoid using acidic cleaners as they can damage the surface. Sealing: While artificial stone does not require regular sealing like natural stone, it’s a good idea to apply a sealant periodically to enhance its durability and water resistance.
2. Protecting Your Countertops:
Knife Rests: Place a knife rest on your countertops to protect them from sharp objects. Heat Sources: Avoid placing hot pots, pans, or heating elements directly on the surface to prevent thermal shock and potential damage.
3. Choosing the Right Colors and Designs:
Popular Trends: Stay updated with the latest design trends to choose colors and patterns that are currently in vogue. Customization: Don’t be afraid to customize your designs to match your personal style and the aesthetic of your home.
By following these advanced techniques, creative designs, and troubleshooting tips, you can create stunning, durable artificial stone countertops that will enhance the beauty and functionality of your kitchen and bathroom. Whether you’re a DIY enthusiast or a professional designer, these insights will help you achieve professional-quality results and inspire your next renovation project.
This comprehensive guide should equip you with the knowledge and inspiration to create beautiful artificial stone countertops that will impress and delight. Happy crafting!