Introduction to Artificial Stone Countertops
Welcome to our ultimate guide on creating artificial stone countertops! In today’s world, where aesthetics and functionality go hand in hand, artificial stone has emerged as a popular choice for kitchen and bathroom surfaces. Known for its durability, beauty, and cost-effectiveness, artificial stone is a game-changer in home renovation projects. Whether you’re a DIY enthusiast or a professional, this video tutorial will provide you with all the information you need to craft stunning artificial stone countertops.

Understanding Artificial Stone
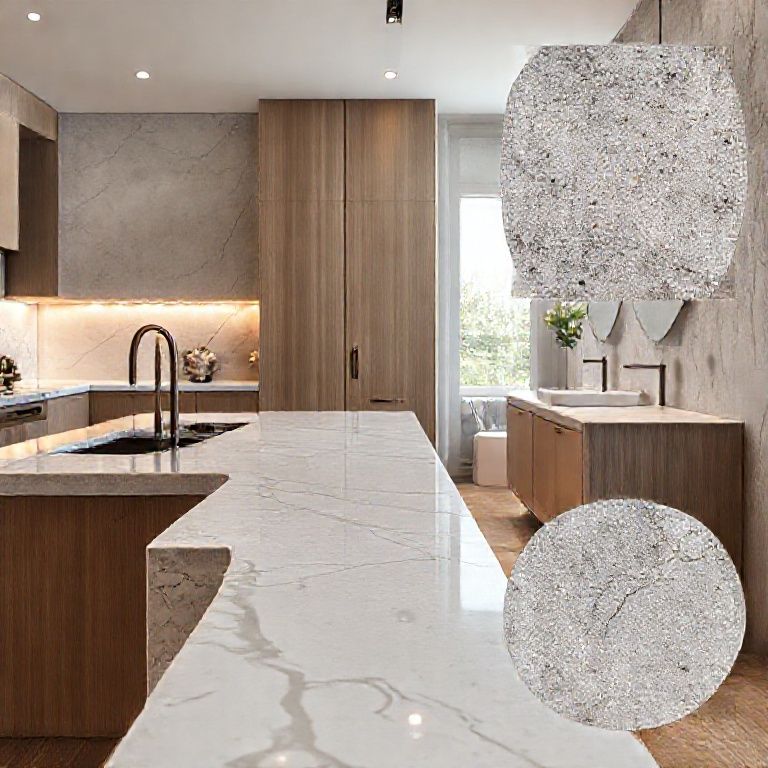
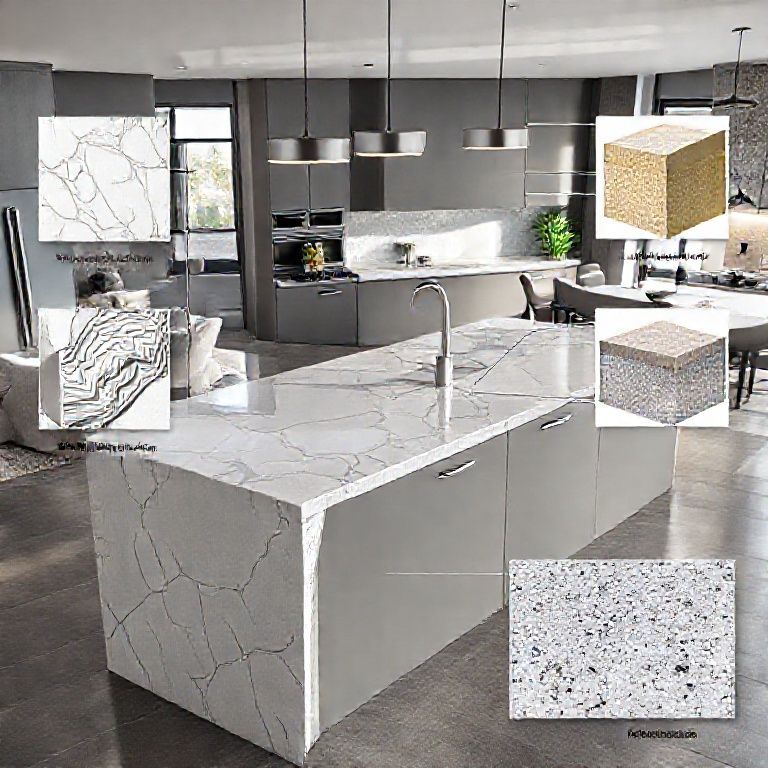
Artificial stone, also known as synthetic stone, is a composite material made from natural stone powder, resin, and other additives. This combination results in a material that closely mimics the appearance and texture of natural stone but with added benefits such as resistance to stains, chips, and scratches. It is available in a wide range of colors and finishes, allowing for endless design possibilities.
Why Choose Artificial Stone?
Durability: Artificial stone is highly resistant to scratches, stains, and thermal shock, making it an ideal choice for high-traffic areas. Cost-Effective: Compared to natural stone, artificial stone is more affordable, providing a cost-effective alternative without compromising on aesthetics. Customizability: With a vast array of colors and finishes, you can create a unique look that perfectly suits your style. Ease of Maintenance: Artificial stone countertops are easy to clean and maintain, requiring minimal effort to keep them looking pristine.
Materials and Tools Needed
Before diving into the creation process, let’s gather all the necessary materials and tools. Here’s a comprehensive list to get you started:

Artificial stone material (pre-cut or ready to cut) Resin and hardener Mixing tools (spatula, mixing container) Mold or form for shaping the countertop Cutting tools (wet saw or tile cutter) Sanding tools (sandpaper, sanding block) Sealer for protecting the countertop Safety gear (gloves, goggles, mask)
Preparation Phase
The preparation phase is crucial for ensuring a smooth and successful project. Follow these steps to get ready:
Select Your Design: Decide on the size, shape, and design of your countertop. Sketch out your ideas to have a clear vision of what you want to achieve. Prepare Your Workspace: Clean and clear the area where you will be working. Ensure you have enough space to mix the materials and perform all necessary steps. Safety First: Put on your safety gear to protect yourself from harmful chemicals and dust during the mixing and cutting process.
Mixing the Artificial Stone
Proper mixing of the artificial stone is essential for achieving the desired strength and appearance. Follow these steps:
Measure the Components: Measure the exact amount of resin and hardener as per the manufacturer’s instructions. Typically, a ratio of 3:1 (resin to hardener) is used. Mix Thoroughly: Using a spatula and a mixing container, combine the resin and hardener. Mix until the color is uniform and there are no lumps. Add Stone Powder: Gradually add the stone powder to the mixture, stirring continuously to prevent clumping. The mixture should be thick but workable.
Shaping the Countertop
Once your artificial stone mixture is ready, it’s time to shape your countertop. Follow these steps:
Prepare the Mold: If you are using a mold, ensure it is clean and dry. Apply a release agent to prevent the stone from sticking to the mold. Fill the Mold: Pour the stone mixture into the mold, filling it completely. Use a spatula to smooth the surface and eliminate air bubbles. Press and Release: Gently press the mold to compact the stone mixture. After a few minutes, carefully release the mold to reveal your shaped countertop.
Cutting and Shaping
Artificial stone can be cut and shaped as needed. Here’s how to do it:
Cutting: If your countertop needs to be trimmed or cut to size, use a wet saw or tile cutter. Wet cutting is recommended to minimize dust and heat. Shaping Edges: Use sandpaper or a sanding block to smooth any rough edges. Take your time to ensure all edges are neat and safe.
Finishing Touches and Maintenance
Congratulations! You’ve made it through the initial stages of creating your artificial stone countertop. Now, it’s time to add the finishing touches and ensure your countertop is ready for use. This part will cover sealing, polishing, and maintaining your artificial stone to keep it looking beautiful and durable.
Sealing the Countertop
Sealing your artificial stone countertop is crucial for protecting it against stains and daily wear. Here’s how to do it properly:
Choose the Right Sealer: Select a high-quality sealer designed for artificial stone. Ensure it is compatible with the specific type of stone you used. Clean the Surface: Before applying the sealer, clean the countertop thoroughly to remove any dust, grease, or debris. Use a gentle cleaner and a soft cloth. Apply the Sealer: Using a clean cloth or brush, apply the sealer evenly across the surface of the countertop. Follow the manufacturer’s instructions for application and drying times. Rinse and Wipe: After the sealer has dried, rinse the surface with water to remove any excess sealer. Wipe it clean with a dry cloth.
Polishing the Surface
Polishing can enhance the appearance of your artificial stone countertop, giving it a smooth and glossy finish. Follow these steps for a polished look:
Sanding: If the surface has imperfections, lightly sand them using fine-grit sandpaper. Ensure the area is clean and dry before polishing. Polishing Compound: Apply a polishing compound to the countertop using a clean cloth. Use circular motions to work the compound into the stone. Rinse and Dry: After polishing, rinse the surface with water to remove any residue. Dry it thoroughly with a clean cloth.
Maintaining Your Countertop
To keep your artificial stone countertop looking its best, regular maintenance is key. Here are some tips to follow:
Cleaning: Use a mild, non-abrasive cleaner to clean your countertop regularly. Avoid using acidic cleaners that can damage the stone. Immediate Stain Removal: Blot up spills immediately to prevent stains from setting in. Use a damp cloth to wipe up liquids and a cleaner to remove any residue. Avoiding Heat Sources: While artificial stone is heat-resistant, prolonged exposure to high heat can cause discoloration. Use potholders and trivets when handling hot items.
Troubleshooting Common Issues
Even with careful preparation and execution, issues can arise. Here’s how to troubleshoot common problems:
Uneven Coloration: If your countertop has uneven coloration, it may be due to improper mixing or inconsistent application. Re-mix the stone thoroughly and apply it evenly next time. Cracks or Chips: Cracks or chips can occur due to improper handling or impact. If minor, you can use a filler to repair small cracks. For larger issues, consider replacing the damaged area. Stains: Stains can be stubborn but often come off with a good cleaner and regular maintenance. If a stain persists, consult the manufacturer’s guidelines for specific cleaning products.
Conclusion
Creating artificial stone countertops is an exciting DIY project that can transform your kitchen or bathroom. With the right materials, tools, and techniques, you can craft beautiful and durable surfaces that will enhance your home’s aesthetics and functionality. Remember to follow each step carefully, from preparation to finishing touches, to achieve the best results.
Thank you for watching our comprehensive video tutorial on making artificial stone countertops. We hope you found this guide helpful and inspiring. Don’t forget to like, share, and subscribe for more DIY project ideas and home improvement tips. Happy crafting!
By following this detailed guide, you’ll be well on your way to creating stunning artificial stone countertops that will impress everyone who sees them. Enjoy your DIY journey and the beautiful results that come with it!