${part1}
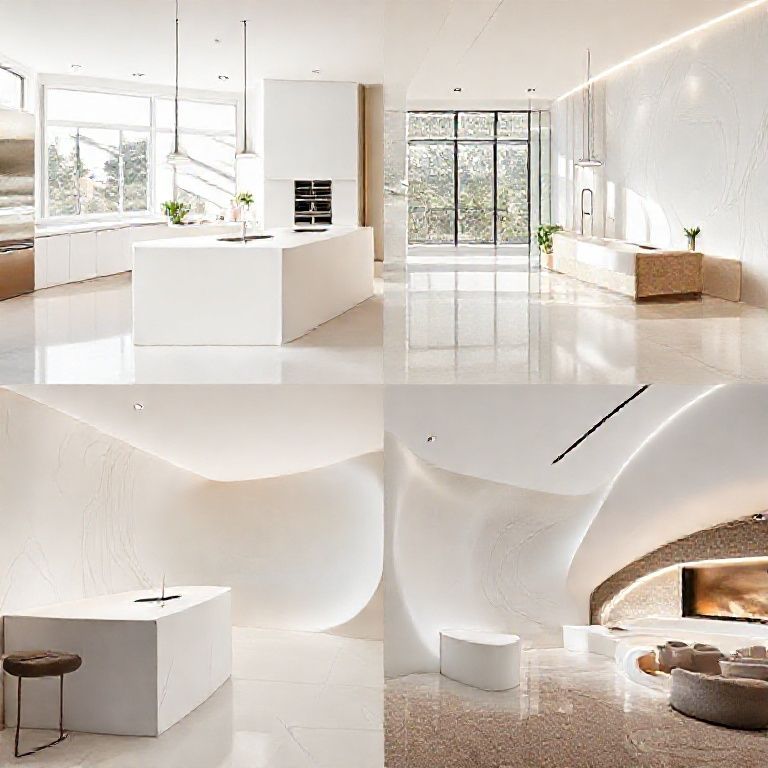
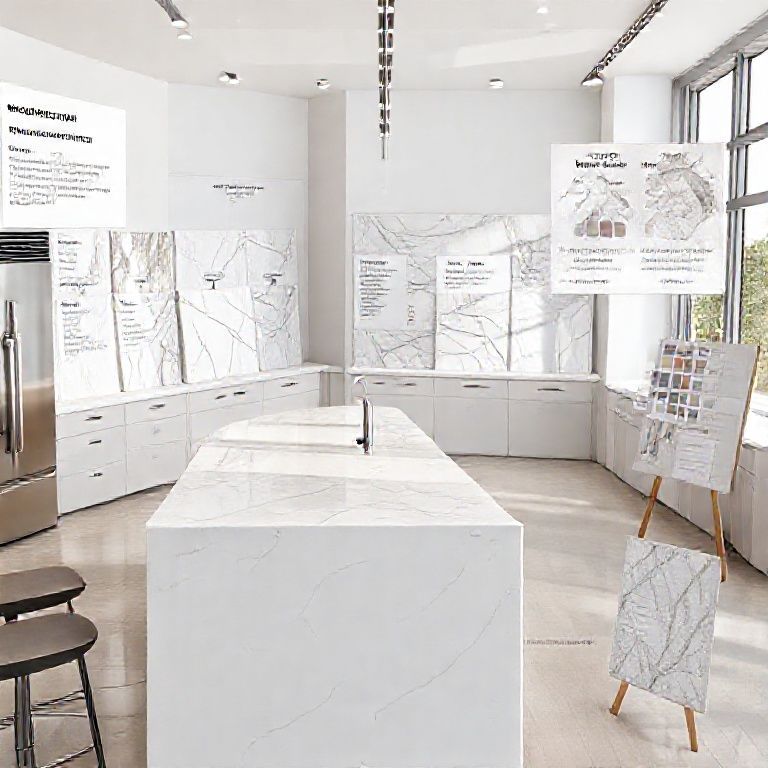
Welcome to the ultimate guide to marble renovation! Marble, an exquisite and timeless material, brings elegance and luxury to any space. However, over time, marble can suffer from stains, scratches, and wear, losing its pristine appearance. To restore the luster and beauty of your marble surfaces, it’s essential to follow a meticulous and professional marble renovation construction plan. In this first part, we will delve into the planning phase, preparation, and initial cleaning processes that lay the foundation for a successful marble renovation.

Understanding the Importance of Marble Renovation
Marble is not just a decorative element; it is a statement of elegance and sophistication. Proper maintenance and timely renovation are essential to preserve its beauty and extend its lifespan. Without regular care, marble can become dull, stained, and marred by scratches, which can compromise its aesthetic appeal and structural integrity.
Planning Your Marble Renovation
The first step in any successful marble renovation project is thorough planning. This involves assessing the condition of the marble, identifying specific issues, and determining the extent of the renovation required. Here’s how to plan effectively:
Assessment and Inspection Visual Inspection: Start with a detailed visual inspection of the marble surfaces. Look for stains, scratches, chips, and other imperfections. Professional Evaluation: If needed, consult a professional marble specialist to get a detailed evaluation of the condition of the marble. Define Objectives Determine the specific goals of the renovation. Are you looking to restore the marble to its original shine, repair specific damages, or simply clean and rejuvenate the surface? Budgeting Establish a realistic budget that covers all aspects of the renovation, including materials, labor, and any unexpected costs. Choose the Right Materials and Tools Select high-quality cleaning agents, polishing compounds, and restoration tools. Investing in the right materials will ensure effective and safe renovation.

Preparation for Marble Renovation
Once the planning phase is complete, it’s time to prepare for the renovation. Proper preparation is crucial to ensure a smooth and efficient renovation process.
Protect Surrounding Areas Use drop cloths, plastic sheeting, and tape to protect surrounding areas from dust, debris, and cleaning chemicals. Move furniture away from the marble surfaces or cover them to prevent accidental damage. Gather Necessary Tools and Materials Collect all required tools and materials, including cleaning agents, polishers, buffers, and protective gloves. Ensure you have the right tools for different types of marble surfaces and the specific issues you need to address. Ventilation Ensure the renovation area is well-ventilated to allow fumes from cleaning chemicals to dissipate quickly. Open windows and use fans to enhance airflow.
Initial Cleaning and Preparation
The initial cleaning phase sets the stage for a successful marble renovation. It involves removing surface dirt, grime, and any existing stains.
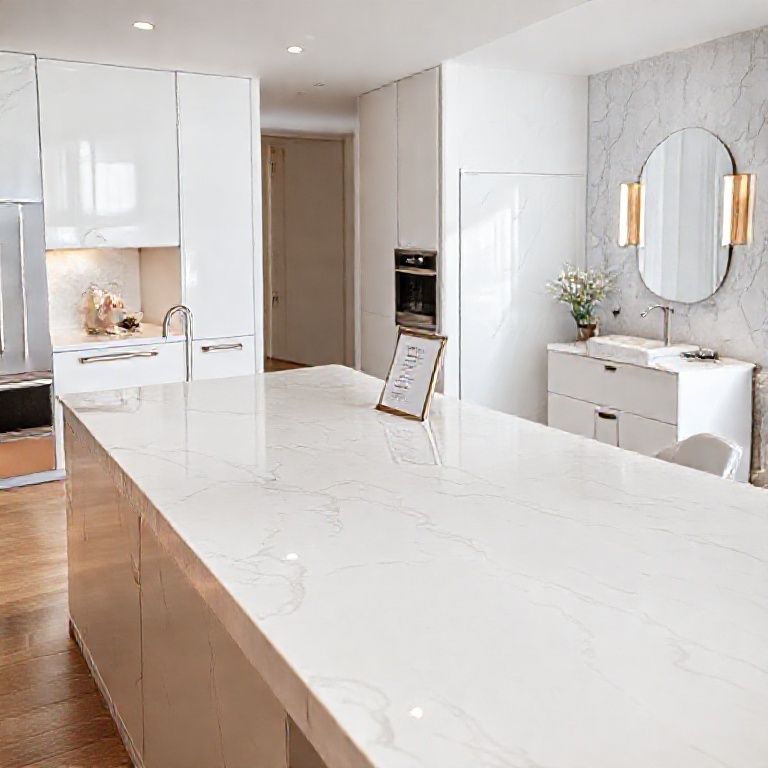
Surface Cleaning Use a mild, pH-neutral cleaning solution suitable for marble. Avoid harsh chemicals that can damage the marble surface. Dampen a microfiber cloth with the cleaning solution and gently wipe the marble surface. Avoid scrubbing as it can scratch the marble. Removing Stains For tougher stains, use a specialized marble stain remover. Follow the manufacturer’s instructions carefully to ensure effective stain removal without damaging the marble. Drying After cleaning, dry the marble surfaces thoroughly using a clean, dry microfiber cloth to prevent water spots.
Initial Assessment and Problem Identification
A thorough initial assessment helps identify specific problems that need to be addressed during the renovation.
Identify Scratches and Chips Examine the marble closely for any scratches, chips, or other damages. Take notes and photographs to guide the repair process. Evaluate Stains and Discolorations Identify the types of stains and discolorations present. Different stains may require different cleaning and restoration techniques. Plan for Repairs For deeper scratches and chips, plan for professional repairs or consider using a marble repair kit if the damage is minor.

Conclusion
The foundation of a successful marble renovation lies in meticulous planning, thorough preparation, and careful initial cleaning. By following these steps, you set the stage for an effective and efficient renovation process. In the next part of this guide, we will explore the detailed techniques for cleaning, polishing, and repairing marble surfaces to restore their original beauty and shine.
${part2}
Welcome back to our comprehensive marble renovation guide! Having laid the groundwork with thorough planning and preparation, it’s now time to delve into the advanced techniques for polishing, repairing, and finishing your marble surfaces. This second part will cover the detailed steps to ensure your marble not only looks pristine but also retains its structural integrity and beauty for years to come.
Polishing Marble: Bringing Back the Shine
Polishing is a critical step in marble renovation, as it restores the surface’s natural luster and removes superficial imperfections. Here’s how to polish your marble effectively:
Selecting the Right Polishing Method Chemical Polishing: For heavily stained or dull marble, chemical polishing using specialized marble polishes can help remove stains and restore shine. Mechanical Polishing: For lighter cleaning, mechanical polishing using a buffer or polisher with appropriate pads and compounds is effective. Application of Polishing Compound Apply a small amount of marble polishing compound to a polishing pad or buffer. Gently work the compound into the marble surface using circular motions. Avoid excessive pressure to prevent scratching. Rinsing and Drying After polishing, rinse the marble surface thoroughly to remove any remaining polish and debris. Dry the surface with a clean, dry microfiber cloth to prevent water spots and streaks.
Repairing Scratches and Chips
Even with careful use, marble can suffer from scratches and chips. Here’s how to repair these imperfections effectively:
Minor Repairs For small scratches and chips, use a marble repair kit. These kits typically include a filler that matches the marble’s color, which can be applied and polished to blend seamlessly with the surrounding surface. Deep Repairs For deeper scratches and chips, consider professional repair services. A skilled marble specialist can use techniques such as epoxy injection to fill deep scratches and restore the surface’s integrity. Polishing After Repairs After repairs are complete, polish the repaired areas to blend them with the surrounding marble. Use a finer polishing compound for a seamless finish.
Restoring Marble to Its Original Color
Over time, marble can lose its original color due to exposure to various elements. Here’s how to restore marble to its vibrant, original hue:
Color Restoration Use a marble color restorer or stain to rejuvenate the marble’s original color. Follow the manufacturer’s instructions carefully to ensure even application and avoid over-staining. Polishing Post-Staining After applying the color restorer, polish the marble to bring out the enhanced color and shine. Use a polishing pad and compound suitable for the type of marble and desired finish.
Final Cleaning and Finishing Touches
The final phase of marble renovation involves a thorough clean and some finishing touches to ensure your marble looks impeccable.
Final Cleaning Perform a final cleaning of the marble surface using a pH-neutral cleaning solution. Gently wipe the surface to remove any residue from the polishing and repairing processes. Sealing the Marble Consider applying a marble sealant to protect the surface from future stains, spills, and wear. A good quality sealant can enhance the marble’s shine and provide an additional layer of protection. Regular Maintenance To maintain the marble’s beauty, follow a regular maintenance routine. Use a mild, pH-neutral cleaner and avoid harsh chemicals. Wipe the marble with a soft cloth after each use to prevent stains and wear.
Conclusion
With careful polishing, precise repairs, and meticulous finishing touches, you can restore your marble surfaces to their original beauty and brilliance. By following these advanced techniques, you ensure that your marble remains a stunning focal point for years to come. Regular maintenance and timely renovation are key to preserving the elegance and luxury of marble in your home.
Thank you for joining us on this comprehensive guide to marble renovation. We hope this detailed plan helps you achieve the pristine beauty of your marble surfaces, enhancing the elegance and sophistication of your space.
${part2}
Welcome back to our comprehensive marble renovation guide! Having laid the groundwork with thorough planning and preparation, it’s now time to delve into the advanced techniques for polishing, repairing, and finishing your marble surfaces. This second part will cover the detailed steps to ensure your marble not only looks pristine but also retains its structural integrity and beauty for years to come.
Polishing Marble: Bringing Back the Shine
Polishing is a critical step in marble renovation, as it restores the surface’s natural luster and removes superficial imperfections. Here’s how to polish your marble effectively:
Selecting the Right Polishing Method Chemical Polishing: For heavily stained or dull marble, chemical polishing using specialized marble polishes can help remove stains and restore shine. Mechanical Polishing: For lighter cleaning, mechanical polishing using a buffer or polisher with appropriate pads and compounds is effective. Application of Polishing Compound Apply a small amount of marble polishing compound to a polishing pad or buffer. Gently work the compound into the marble surface using circular motions. Avoid excessive pressure to prevent scratching. Rinsing and Drying After polishing, rinse the marble surface thoroughly to remove any remaining polish and debris. Dry the surface with a clean, dry microfiber cloth to prevent water spots and streaks.
Repairing Scratches and Chips
Even with careful use, marble can suffer from scratches and chips. Here’s how to repair these imperfections effectively:
Minor Repairs For small scratches and chips, use a marble repair kit. These kits typically include a filler that matches the marble’s color, which can be applied and polished to blend seamlessly with the surrounding surface. Deep Repairs For deeper scratches and chips, consider professional repair services. A skilled marble specialist can use techniques such as epoxy injection to fill deep scratches and restore the surface’s integrity. Polishing After Repairs After repairs are complete, polish the repaired areas to blend them with the surrounding marble. Use a finer polishing compound for a seamless finish.
Restoring Marble to Its Original Color
Over time, marble can lose its original color due to exposure to various elements. Here’s how to restore marble to its vibrant, original hue:
Color Restoration Use a marble color restorer or stain to rejuvenate the marble’s original color. Follow the manufacturer’s instructions carefully to ensure even application and avoid over-staining. Polishing Post-Staining After applying the color restorer, polish the marble to bring out the enhanced color and shine. Use a polishing pad and compound suitable for the type of marble and desired finish.
Final Cleaning and Finishing Touches
The final phase of marble renovation involves a thorough clean and some finishing touches to ensure your marble looks impeccable.
Final Cleaning Perform a final cleaning of the marble surface using a pH-neutral cleaning solution. Gently wipe the surface to remove any residue from the polishing and repairing processes. Sealing the Marble Consider applying a marble sealant to protect the surface from future stains, spills, and wear. A good quality sealant can enhance the marble’s shine and provide an additional layer of protection. Regular Maintenance To maintain the marble’s beauty, follow a regular maintenance routine. Use a mild, pH-neutral cleaner and avoid harsh chemicals. Wipe the marble with a soft cloth after each use to prevent stains and wear.
Conclusion
With careful polishing, precise repairs, and meticulous finishing touches, you can restore your marble surfaces to their original beauty and brilliance. By following these advanced techniques, you ensure that your marble remains a stunning focal point for years to come. Regular maintenance and timely renovation are key to preserving the elegance and luxury of marble in your home.
Thank you for joining us on this comprehensive guide to marble renovation. We hope this detailed plan helps you achieve the pristine beauty of your marble surfaces, enhancing the elegance and sophistication of your space.
Additional Tips for Marble Renovation
To further enhance your marble renovation project, consider these additional tips:
Use Protective Pads and Gloves Always use protective pads and gloves when handling cleaning agents and polishing tools to prevent direct contact with the marble. Test in a Small Area First Before applying any cleaning or restoration products to the entire marble surface, test them in a small, inconspicuous area to ensure they do not cause any adverse reactions. Avoid Heat and Direct Sunlight Marble can be sensitive to heat and direct sunlight, which can cause discoloration. Keep marble surfaces away from direct heat sources and prolonged sunlight exposure. Regular Inspection Regularly inspect marble surfaces for signs of wear, stains, or damage. Early detection and minor repairs can prevent more extensive damage in the future.
By following these guidelines and using the advanced techniques outlined in this guide, you can ensure that your marble surfaces remain in pristine condition, adding a touch of timeless elegance to your home.
Thank you for reading through our detailed guide on marble renovation. We hope this information empowers you to restore and maintain the beauty of your marble surfaces effectively. If you have any questions or need further assistance, feel free to reach out to our team of experts. Happy renovating!
This comprehensive guide aims to provide you with the knowledge and techniques needed to successfully renovate and maintain your marble surfaces, ensuring they continue to shine with elegance and luxury for years to come.