Introduction and Preparation for Polishing Artificial Stone Countertops
${part1}
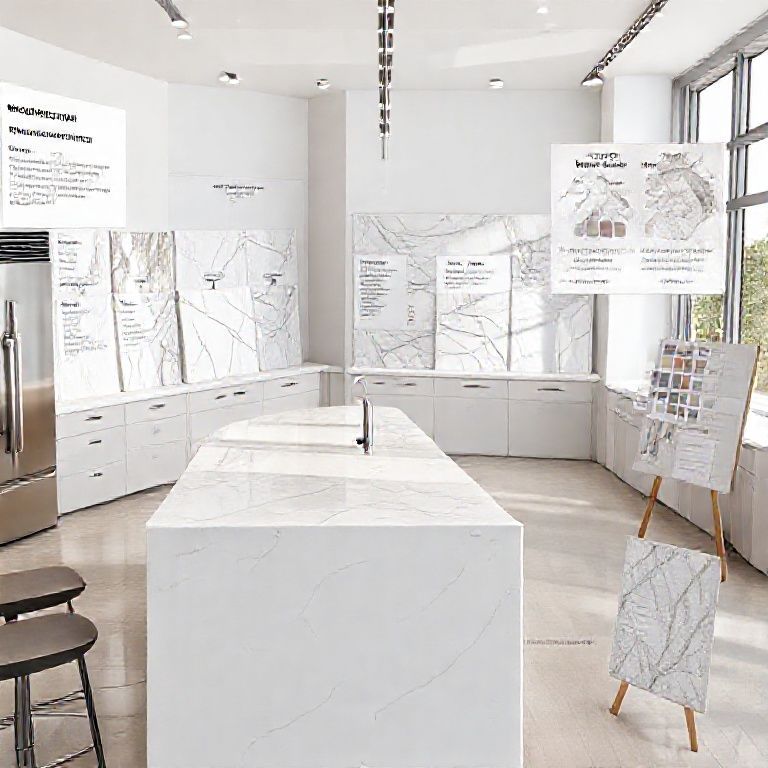
Welcome to our detailed guide on polishing artificial stone countertops! Artificial stone, often known as quartz or stone composite, has become a popular choice for kitchen and bathroom countertops due to its durability, low maintenance, and stunning aesthetic appeal. However, to maintain its pristine look and extend its lifespan, proper polishing and sanding techniques are essential. In this first part of our guide, we will cover the initial preparation and essential tools you need to begin polishing your artificial stone countertop.

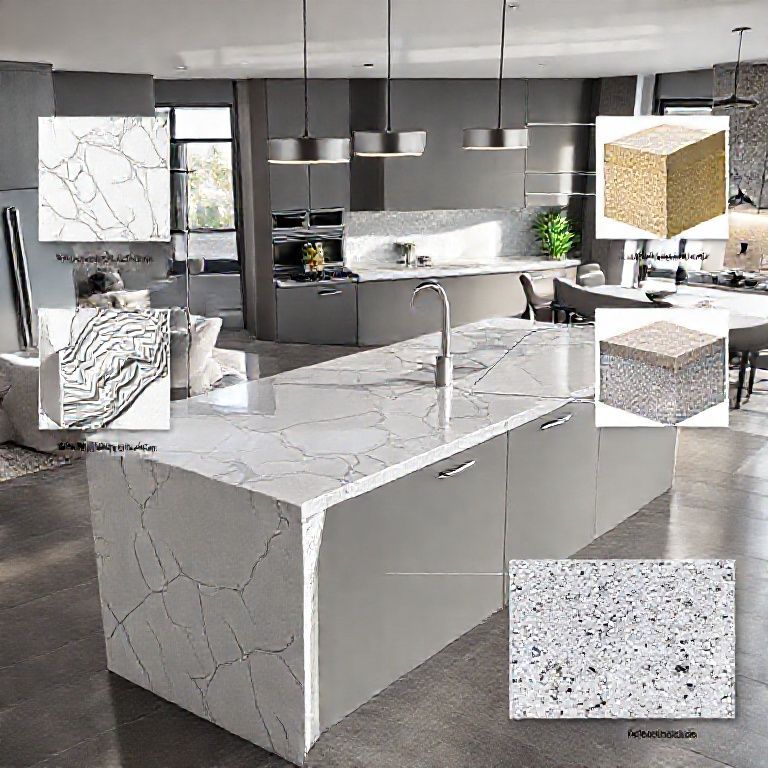
Understanding Artificial Stone Countertops
Artificial stone countertops are made from a combination of natural stone powder and resins. Brands like quartz, which are composed of 93% stone powder, offer an incredibly durable surface that resists scratches, stains, and thermal damage. Despite their robustness, these countertops can develop scratches, chips, and discoloration over time due to everyday use. Regular polishing and sanding can restore their original shine and beauty.
The Importance of Polishing
Polishing artificial stone countertops is crucial for several reasons:
Enhanced Appearance: Polishing can remove scratches, stains, and minor imperfections, giving your countertop a fresh, polished look. Durability: Proper polishing can enhance the surface’s durability by filling in tiny imperfections and ensuring a smoother surface. Hygienic Maintenance: Regular polishing can help maintain the cleanliness of the countertop by making it easier to wipe clean.
Tools and Materials Needed
Before diving into the polishing process, it’s important to gather the right tools and materials. Here’s a list of essentials you’ll need:

Safety Gear: Safety glasses, gloves, and a dust mask are essential to protect yourself from dust and debris. Sanding Tools: You will need a diamond sanding pad or a diamond polishing machine for best results. Polishing Compound: A high-quality polishing compound specifically designed for artificial stone countertops. Cleaning Supplies: A microfiber cloth and a bucket of clean water for cleaning the countertop before and after polishing.
Step-by-Step Preparation
Clean the Surface: Start by thoroughly cleaning the countertop to remove any dirt, grease, or grime. Use a mild detergent and a microfiber cloth to wipe the surface clean. Inspect the Surface: Check for any visible scratches, chips, or discoloration. This will help you determine the level of sanding and polishing needed. Prepare Your Workspace: Ensure that your workspace is well-ventilated and covered with a drop cloth or plastic sheet to protect the surrounding area from dust and debris.
Safety First
When dealing with sanding and polishing tools, safety should be your top priority. Always wear appropriate safety gear to protect your eyes, skin, and lungs from dust and debris. If using a sanding machine, make sure it is properly calibrated to avoid excessive pressure that could damage the countertop surface.
Detailed Polishing and Sanding Techniques for Artificial Stone Countertops
${part2}
Welcome back to our comprehensive guide on polishing artificial stone countertops! In this second part, we will delve into the detailed techniques for sanding and polishing your artificial stone countertop to achieve a flawless finish. Follow our step-by-step instructions to restore your countertop’s original beauty and extend its longevity.
Step-by-Step Sanding Process
Begin with Coarse Sanding: Select the Right Grit: Start with a coarse diamond sanding pad (around 80 to 100 grit). This will help remove any significant scratches or imperfections. Sanding Technique: Using a sanding machine, apply even pressure across the countertop surface. Move in circular motions to ensure uniform sanding. Pay special attention to areas with noticeable scratches or chips. Safety Precautions: Always wear your safety gear, and ensure your workspace is covered to contain the dust. Transition to Medium Sanding: Select Medium Grit: Switch to a medium diamond sanding pad (around 200 to 300 grit). This will help smooth out the surface from the initial coarse sanding. Sanding Technique: Continue using circular motions, but take your time to ensure an even surface. Wipe the countertop with a microfiber cloth periodically to remove dust and check your progress. Finish with Fine Sanding: Select Fine Grit: For the final sanding, use a fine diamond sanding pad (around 400 to 500 grit). This will create a smooth, polished surface. Sanding Technique: Again, use circular motions, applying gentle pressure. This step is crucial for preparing the surface for polishing.
Polishing Techniques
Apply Polishing Compound: Even Layer: Using a microfiber cloth, apply a thin, even layer of the polishing compound to the countertop. Ensure the compound covers the entire surface. Wait Time: Allow the compound to sit for a few minutes as per the manufacturer’s instructions. This ensures the compound penetrates the surface. Polishing with a Machine: Set Up Machine: Attach the polishing pad to your machine and set it to a low speed to avoid damaging the surface. Polishing Technique: Slowly move the machine in circular motions over the countertop. Apply even pressure to ensure the compound is evenly distributed. Check Progress: Periodically wipe the surface with a clean microfiber cloth to check the progress and remove any excess compound. Manual Polishing: Alternative Method: If you prefer not to use a machine, you can manually polish the countertop using a polishing pad and cloth. Apply the compound and use circular motions to polish the surface. Consistency: Ensure even pressure and consistent motion to avoid streaks and uneven polishing.
Final Touches
Wipe Down the Countertop: After polishing, use a clean, damp microfiber cloth to wipe down the countertop and remove any remaining dust or residue from the polishing compound. Inspect the Finish: Examine the countertop under good lighting to ensure an even, shiny finish. If any spots appear uneven, repeat the sanding or polishing process as needed.
Maintenance Tips
To maintain the polished look of your artificial stone countertop, follow these tips:
Regular Cleaning: Wipe the countertop regularly with a mild detergent and water to prevent grime buildup. Avoid Abrasive Cleaners: Use non-abrasive cleaning products to avoid scratching the surface. Immediate Cleanup: Clean up spills immediately to prevent stains and discoloration.
Conclusion
Polishing and sanding artificial stone countertops is a straightforward yet meticulous process that can restore their beauty and enhance their durability. By following our detailed guide, you can achieve a professional-looking finish that will leave your countertop looking as good as new. Whether you’re a DIY enthusiast or a professional, these techniques will help you maintain the pristine condition of your artificial stone countertop for years to come. For a visual walkthrough, be sure to check out our video tutorial where we demonstrate each step in detail.
We hope this guide proves helpful in achieving the perfect polish on your artificial stone countertops. Happy polishing!