Preparing Your Artificial Stone Countertop for Polishing
When it comes to achieving a flawless finish on your artificial stone countertop, preparation is key. Artificial stone, also known as quartz or cultured stone, is a popular choice for its durability and aesthetic appeal. However, to maintain its beauty and longevity, proper polishing is essential. This part of the guide will walk you through the essential preparation steps to ensure a smooth and polished surface.

1. Understanding Your Artificial Stone
First, it’s crucial to understand the type of artificial stone you have. Different materials may require different polishing techniques. Quartz, for example, is more resilient and can withstand heavy use, while cultured stone might require more delicate handling. Knowing the specifics of your stone will guide you in choosing the right tools and methods for polishing.
2. Cleaning the Surface
Before polishing, the surface must be impeccably clean. Use a mild detergent and warm water to remove any dirt, grease, or grime. Avoid using harsh chemicals that could damage the stone. Once the surface is clean, dry it thoroughly with a lint-free cloth to prevent water spots and ensure that no moisture remains.
3. Identifying Surface Imperfections
Inspect your countertop for any imperfections such as scratches, chips, or stains. While polishing can improve the appearance of minor blemishes, it’s important to address any significant damage. For deep scratches, consider using a stone repair kit or consulting a professional for repair before polishing.
4. Applying a Protective Coating
To protect your artificial stone during the polishing process, apply a protective coating. This layer guards against scratches and makes the polishing process more manageable. Follow the manufacturer’s instructions for applying the coating and allow it to dry completely before proceeding to polishing.
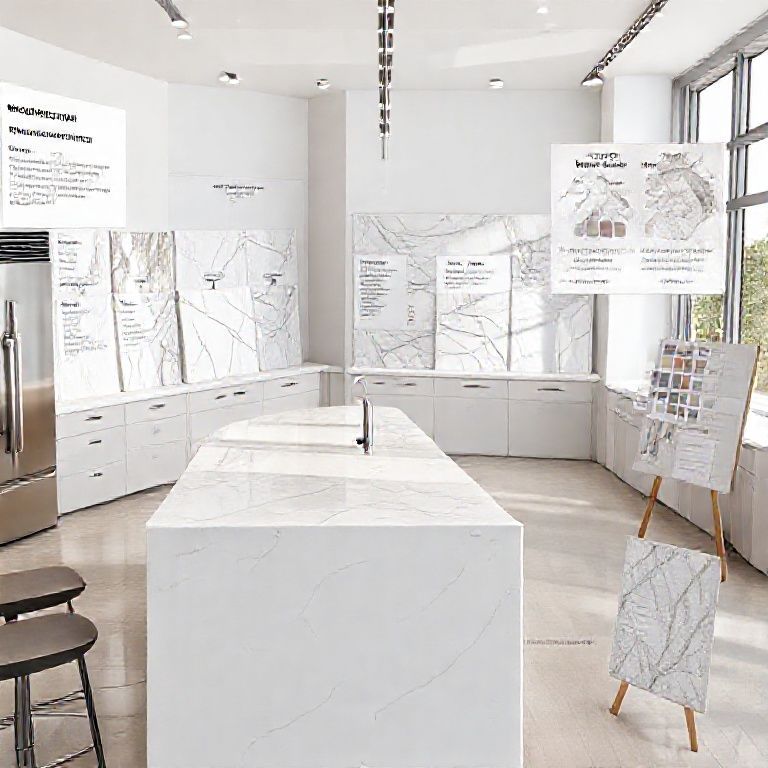
5. Gathering Your Tools and Materials
Having the right tools on hand is essential for a successful polishing job. Here’s a list of what you’ll need:
Fine-grit sandpaper (2000-3000 grit) Polishing pads (diamond or cerium oxide) Polishing compound Buffing machine or rotary tool Microfiber cloths Safety goggles and gloves
Ensuring you have all the necessary tools and materials will streamline the polishing process and yield better results.
Conclusion
Proper preparation sets the stage for an impeccable polish job on your artificial stone countertop. By understanding your stone, cleaning it thoroughly, addressing any imperfections, applying a protective coating, and gathering the right tools, you are well on your way to achieving a stunning finish. In the next part of this guide, we will delve into the step-by-step process of polishing your artificial stone countertop to perfection.
Step-by-Step Polishing Techniques for Artificial Stone Countertops
With your artificial stone countertop prepped and ready, it’s time to move on to the polishing process. This step-by-step guide will take you through the advanced techniques and tips to ensure your stone countertop gleams with a professional finish. Let’s get started!

1. Starting with Fine-Grit Sandpaper
Once your surface is clean and dry, begin the polishing process with fine-grit sandpaper (2000-3000 grit). This step helps to smooth out minor imperfections and prepare the surface for the finer work to come. Lightly sand the entire surface, using even pressure and circular motions to avoid creating scratches or gouges. Wipe the surface clean with a microfiber cloth after sanding.
2. Introducing Polishing Pads and Compound
Next, it’s time to introduce the polishing pads and compound. For the initial polish, use a diamond or cerium oxide pad. Apply a small amount of polishing compound to the pad and gently rub it onto the countertop using a circular motion. Ensure even coverage and avoid applying too much pressure. Allow the compound to sit on the surface for a few minutes to break down any remaining imperfections.
3. Using a Buffing Machine or Rotary Tool
To achieve a more refined shine, use a buffing machine or rotary tool with the polishing pad. Attach the pad to the tool and set it to a low speed. Gently glide the tool over the countertop in a consistent circular motion. This step will help to blend the polish and create a smooth, glossy finish. Wipe the surface clean with a microfiber cloth between passes to prevent buildup of polish.
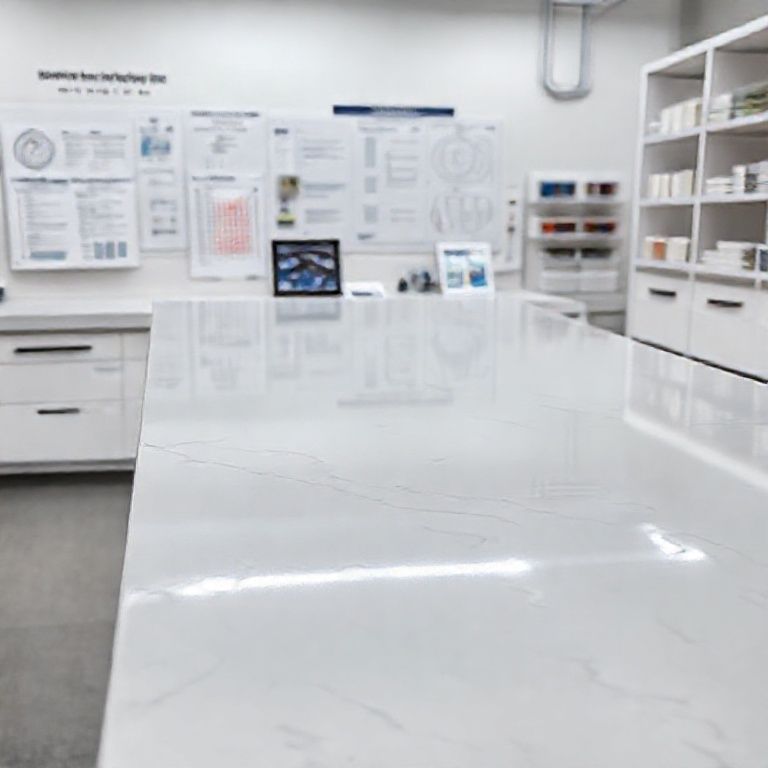
4. Finishing with a High-Gloss Polish
For the final touch, apply a high-gloss polish to your artificial stone countertop. This step will lock in the shine and protect the surface from future scratches and stains. Use a clean microfiber cloth to apply the polish, following the same circular motion as before. Allow the polish to dry completely before using the countertop.
5. Regular Maintenance and Care
To maintain the polished finish of your artificial stone countertop, regular maintenance is essential. Here are some tips to keep your countertop looking its best:
Clean the surface daily with a mild detergent and warm water. Avoid using abrasive cleaners or sponges that could scratch the surface. Wipe up spills immediately to prevent stains and damage. Use cutting boards and other protective barriers when working with food to prevent scratches. Apply a sealant or protective coating periodically to maintain the shine and protect against scratches.
Conclusion
Polishing your artificial stone countertop is a meticulous process that, when done correctly, results in a stunning, professional finish. By following these detailed, step-by-step techniques, you can achieve a polished, high-gloss surface that enhances the beauty and functionality of your kitchen or bathroom. Regular maintenance and proper care will ensure that your countertop remains in top condition for years to come. With these guidelines, you’re well-equipped to bring your artificial stone countertop to its fullest potential. Happy polishing!