Identifying and Preparing for Crack Repair
In this first part of our extensive guide on repairing cracks in artificial stone countertops, we’ll cover the essential steps to identify and prepare your surface for effective repair. Proper preparation ensures that your repair lasts and looks professional.
Identifying Cracks
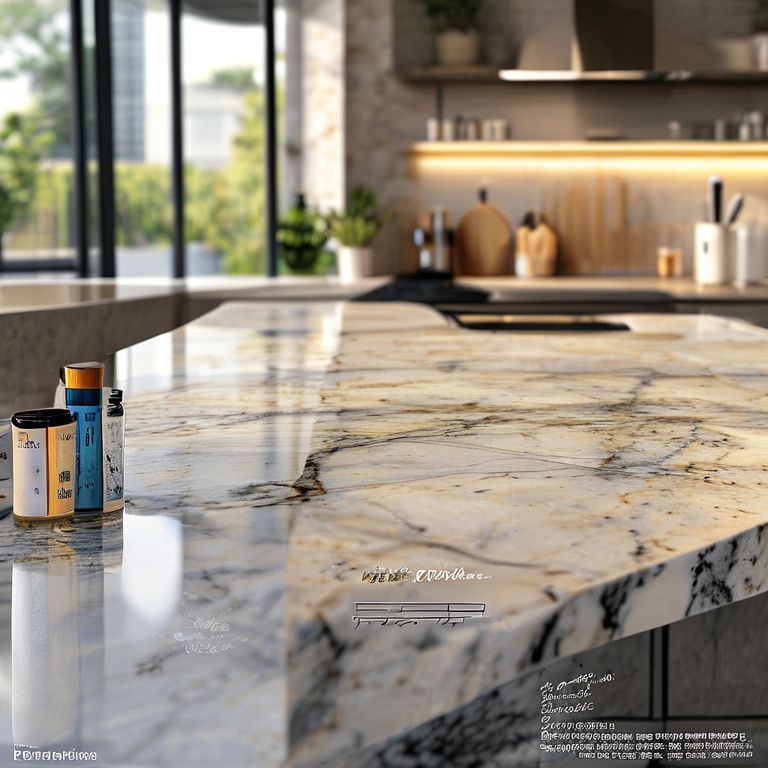
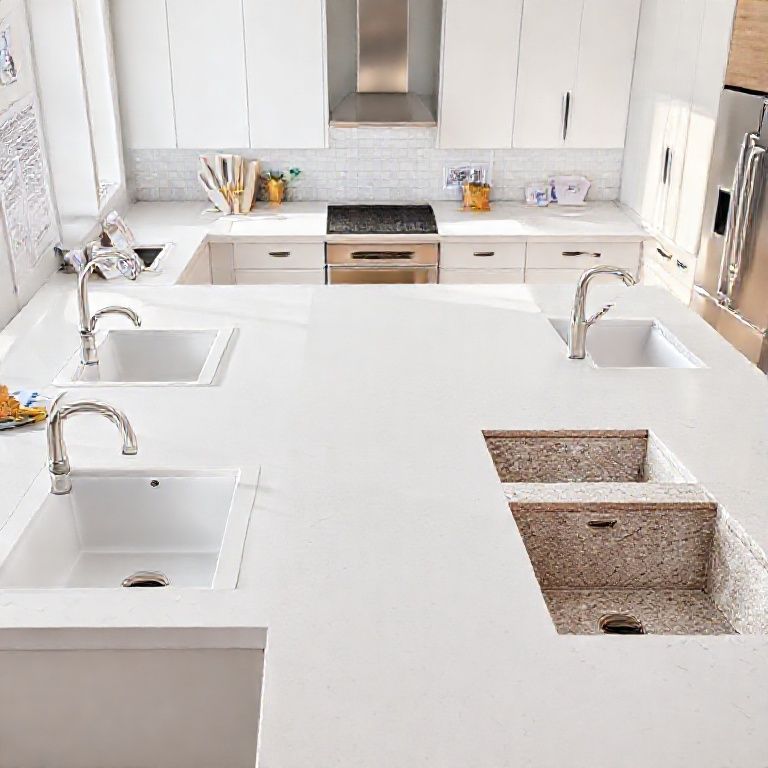
Artificial stone countertops are durable, but even these can develop cracks over time due to heavy use, impacts, or manufacturing defects. Identifying these cracks is the first step to repairing them. Here are some tips:
Visual Inspection: Start with a thorough visual inspection. Cracks can appear as small hairline fractures or larger splits. Check all surfaces, edges, and corners. Magnification: Use a magnifying glass for a closer look at potential cracks, especially in hard-to-see areas. Light Test: Shine a bright light across the surface to highlight cracks. These will appear more pronounced when light catches the edges of the fractures.
Preparing the Area
Once you’ve identified the cracks, it’s essential to prepare the area for repair. This involves cleaning and ensuring the surface is free from any contaminants that could interfere with the repair material.

Clean the Surface: Use a mild detergent and water to clean the countertop. Avoid using abrasive cleaners that could scratch the surface. Dry thoroughly with a clean cloth. Remove Loose Debris: Check the cracks and remove any loose debris or particles using a small brush or compressed air. Dry Completely: Ensure the area is completely dry before applying any repair materials. Moisture can cause the repair to fail.
Tools and Materials Needed
For the repair process, you will need the following tools and materials:
Epoxy Resin or Caulk: These are the most commonly used materials for repairing cracks in artificial stone countertops. Scraper or Spatula: To apply the epoxy or caulk. Masking Tape: To create a guide for the repair material. Cloth or Wipes: For cleaning and smoothing the repair material. Latex Gloves: To protect your hands during the repair process. Sandpaper (optional): For smoothing the repaired area if needed.
Safety First
Safety is paramount when working with repair materials. Always wear latex gloves and, if necessary, a mask to avoid inhaling fumes from the epoxy resin or caulk. Work in a well-ventilated area to ensure your safety.

Watching Our Repair Videos
To guide you through each step, we have created a series of instructional videos. These videos cover everything from identifying cracks to the final smoothing of the repaired area. Here are some key videos to start with:
Video 1: “How to Identify Cracks in Artificial Stone Countertops” Video 2: “Preparing Your Artificial Stone Countertop for Repair” Video 3: “Essential Tools and Materials for Countertop Repair”
By following these preparation steps and watching our detailed videos, you’ll be well-equipped to tackle any crack in your artificial stone countertop with confidence.
Applying the Repair Material and Finishing Touches
Having prepared your artificial stone countertop and identified the cracks, it’s time to move on to the application of the repair material. This part will guide you through the process of applying epoxy resin or caulk to fix the cracks and finishing the surface to ensure a seamless repair.
Applying Epoxy Resin or Caulk
The choice between epoxy resin and caulk largely depends on the nature and size of the cracks in your artificial stone countertop. Here’s how to apply each:
Using Epoxy Resin
Mix the Epoxy: Follow the manufacturer’s instructions to mix the epoxy resin. Typically, this involves combining the resin and hardener in a mixing container. Apply the Epoxy: Using a scraper or spatula, apply the mixed epoxy to the crack. Fill the crack completely, ensuring no air bubbles are trapped. Smooth the Surface: Use a cloth or a spatula to smooth the epoxy over the crack and into the surrounding area. This helps to ensure a seamless repair. Let it Cure: Allow the epoxy to cure as per the manufacturer’s instructions. This usually takes a few hours.
Using Caulk
Prepare the Caulk Tube: Insert the caulk tube into the caulk gun and ensure it is properly seated. Apply the Caulk: Insert the nozzle of the caulk gun into the crack and apply steady pressure to dispense the caulk. Fill the crack completely. Smooth the Caulk: Use a damp cloth to smooth the caulk over the crack. This will help to blend the repair material seamlessly with the countertop surface. Cure Time: Allow the caulk to cure according to the manufacturer’s recommendations, usually a few hours to a day.
Sanding and Smoothing
After the epoxy or caulk has cured, it’s important to smooth the surface to ensure it looks professional and is ready for use.
Sanding (if necessary): If the repaired area is rough or uneven, use fine-grit sandpaper to smooth it down. Be gentle to avoid damaging the countertop. Final Cleaning: Clean the surface with a damp cloth to remove any dust or residue from the sanding process. Seal the Repair: To extend the life of the repair, consider applying a clear sealant over the repaired area. This will protect it from future damage and maintain its appearance.
Final Inspection and Maintenance
After completing the repair, perform a final inspection to ensure everything looks and feels smooth. Here are some final tips:
Inspect Under Lights: Use a bright light to check for any missed spots or imperfections. Test the Area: Gently press the repaired area to ensure it’s solid and integrated with the rest of the countertop. Regular Maintenance: To prevent future cracks, avoid placing hot pots or pans directly on the surface. Use trivets and pads when possible.
Additional Repair Tips
To make the most of our video collection on “人造石台面裂缝修补方法视频大全,” here are some additional tips and insights:
Watch Multiple Videos: Each video covers a different aspect of the repair process. Watching multiple videos will give you a comprehensive understanding. Practice Patience: Repairs can take time, especially if the cracks are extensive. Patience is key to achieving the best results. Ask for Help: If you’re unsure about any step, don’t hesitate to seek advice from our expert community or professionals.
By following these detailed steps and utilizing our comprehensive video tutorials, you’ll be able to repair cracks in your artificial stone countertops effectively and confidently. Enjoy your restored countertop and thank you for exploring our extensive video collection on repairing artificial stone cracks.