Transform Your Kitchen with an Exquisite Artificial Stone Countertop Installation Plan
When it comes to kitchen renovation, one of the most impactful and long-lasting changes you can make is upgrading your countertops. Artificial stone countertops are a popular choice for their blend of durability, aesthetic appeal, and ease of maintenance. In this detailed guide, we will explore every step of the installation process to help you transform your kitchen into a modern, functional, and beautiful space.
Understanding Artificial Stone Countertops
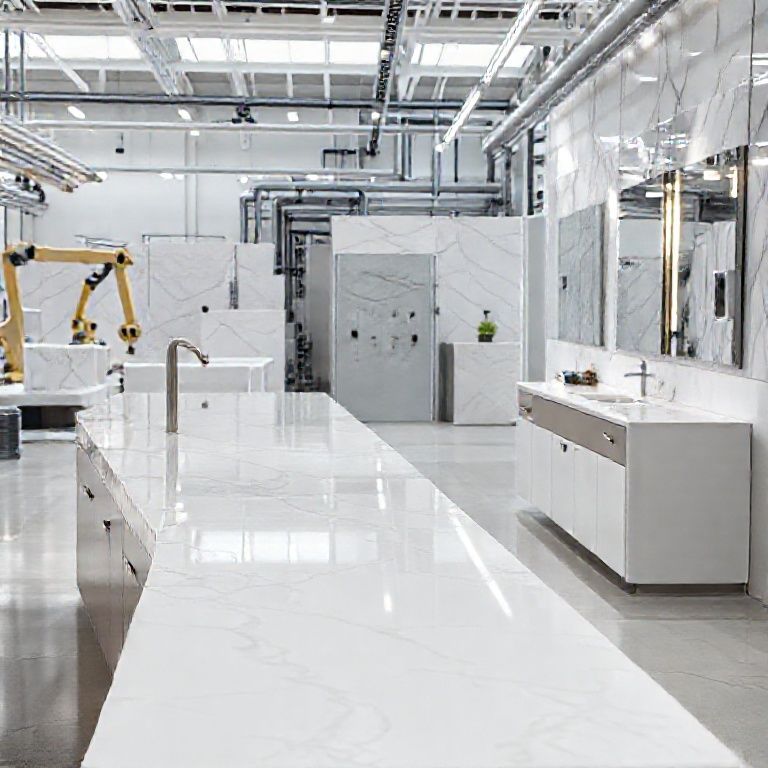
Artificial stone countertops, also known as cultured stone, are made from a combination of natural stone powder, bonding agents, and water. These materials are mixed together and then poured into a mold, where they harden into a solid slab. The result is a countertop that mimics the look and feel of natural stone but is much more durable and less expensive.
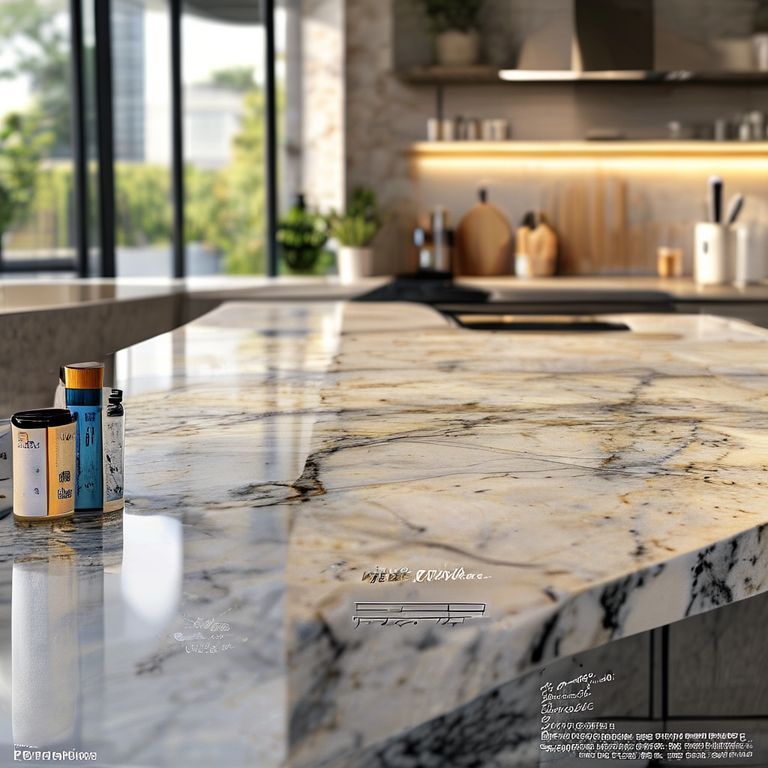
Artificial stone is available in a wide variety of colors and designs, allowing for endless customization options. It is also highly resistant to stains, scratches, and heat, making it an excellent choice for high-traffic areas like kitchens.
Preparing for Installation
Before beginning the installation process, it is crucial to prepare both the countertop and the surface where it will be placed. Here are the steps you need to follow:

1. Measure and Plan
The first step is to measure the area where the countertop will be installed. This will help you determine the size of the slab you need. Ensure you account for the thickness of the countertop and any necessary trims or moldings.
2. Remove Old Countertop
If you are replacing an existing countertop, you will need to remove it carefully. Use a crowbar and a chisel to avoid damaging the underlying cabinetry. Wear protective gloves and eyewear to prevent injury.
3. Prepare the Surface
Once the old countertop is removed, clean the surface thoroughly to remove any grease, dust, or debris. Use a degreasing cleaner and a stiff-bristled brush to ensure the surface is clean and dry before installation.
4. Check for Level and Square
Use a level and a square to ensure the surface is perfectly level and square. This is crucial for a successful installation. Make any necessary adjustments to the cabinetry or the surface to achieve the correct alignment.
Cutting and Shaping the Countertop
Artificial stone countertops are often sold as large slabs, so you will likely need to cut them to fit your space. Here’s how to do it:
1. Measure and Mark
Measure the area where the countertop will be placed and mark the slab with a pencil according to your measurements. Use a straight edge to ensure accurate cuts.
2. Score and Snap
Use a diamond-tipped scoring tool to score the marked line on the countertop. Hold the slab firmly and snap it along the scored line to create a clean break. For more precise cuts, consider using a wet saw.
3. Smooth Edges
After cutting, the edges of the countertop may need to be smoothed to prevent chipping. Use a bench grinder or a sanding block to smooth any rough edges. Be sure to wear a dust mask and goggles to protect yourself from debris.
Installation Process
Now that your countertop is cut and ready, it’s time to install it. Follow these steps for a seamless and professional-looking finish.
1. Apply Adhesive
Apply a high-quality adhesive to the surface where the countertop will be placed. Use a notched trowel to spread the adhesive evenly and in a zig-zag pattern to ensure full coverage.
2. Position the Countertop
Carefully position the countertop on the adhesive. Use a level to ensure it is perfectly level. Press down firmly to eliminate any air bubbles and ensure a strong bond.
3. Use Clamps
To hold the countertop in place while the adhesive sets, use clamps. Place the clamps around the perimeter of the countertop and tighten them gradually to ensure even pressure.
4. Allow Adhesive to Set
Allow the adhesive to set according to the manufacturer’s instructions. This usually takes several hours, during which time you should avoid any movement or weight on the countertop.
5. Remove Clamps
Once the adhesive is fully set, carefully remove the clamps. Check the countertop for any air bubbles or gaps and apply additional adhesive if necessary.
Finishing Touches
The final steps involve trimming, sealing, and adding any necessary hardware to complete the installation.
1. Trim Edges
Use a utility knife to trim any excess countertop that hangs over the edges. Be careful to make clean, straight cuts.
2. Seal the Surface
To protect the countertop from stains and scratches, apply a high-quality sealant. This step is crucial for maintaining the beauty and durability of your artificial stone countertop.
3. Install Hardware
Finally, install any necessary hardware, such as sink bases, faucets, and cabinet doors. Ensure everything is securely fastened and aligned correctly.
Maintenance Tips
To keep your artificial stone countertop looking its best, follow these maintenance tips:
Clean Regularly: Use a mild detergent and warm water to clean the surface. Avoid using abrasive cleaners or scouring pads. Spot Clean Stains: For tough stains, use a mixture of vinegar and water or a commercial stone cleaner. Avoid Sharp Objects: Do not use sharp objects on the surface as it can scratch or chip the countertop. Seal Periodically: Reapply sealant every 6 to 12 months to maintain the protective barrier.
Conclusion
Installing an artificial stone countertop is a rewarding DIY project that can dramatically improve the look and functionality of your kitchen. With careful planning, precise cutting, and professional installation techniques, you can achieve a stunning result that will last for years to come. By following this comprehensive guide, you are well on your way to transforming your kitchen into a modern, beautiful space.
Transform Your Kitchen with an Exquisite Artificial Stone Countertop Installation Plan
In the previous part, we delved into the comprehensive steps required to install an artificial stone countertop. Now, we will explore additional considerations, advanced techniques, and creative design ideas to elevate your kitchen transformation project.
Advanced Installation Techniques
While the basic installation process is straightforward, there are advanced techniques and tips that can help you achieve an even more professional finish.
1. Miter Cuts for Seamless Edges
For a seamless and polished look, especially where the countertop meets cabinets or other surfaces, consider making miter cuts. This involves cutting the countertop at a 45-degree angle to create a mitered joint. Use a miter saw for precise cuts and ensure the edges are flush for a clean appearance.
2. Backer Board Installation
In some cases, especially for sinks and custom designs, it’s beneficial to use a backer board. This is a thin, reinforced board that provides extra support and helps create a more professional finish. Install the backer board before placing the countertop to ensure a sturdy base.
3. Coping Techniques
Coping is the process of cutting and shaping the countertop to fit around edges like cabinets and islands. This technique involves cutting a series of small notches along the edge of the countertop and then shaping the top edge with a coping saw. It requires precision and patience but results in a seamless, professional finish.
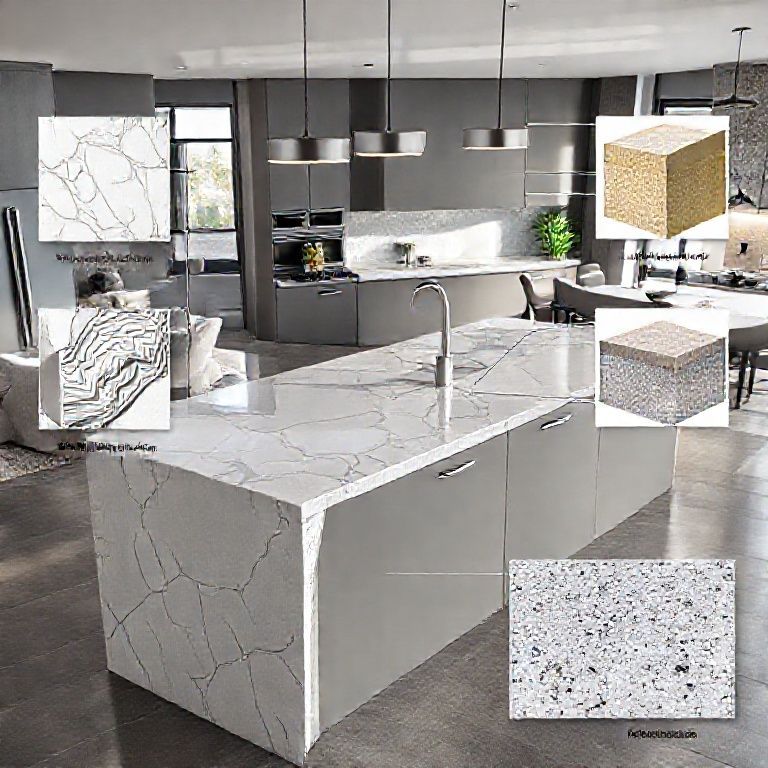
Creative Design Ideas
Artificial stone countertops offer endless design possibilities. Here are some creative ideas to inspire your kitchen transformation:
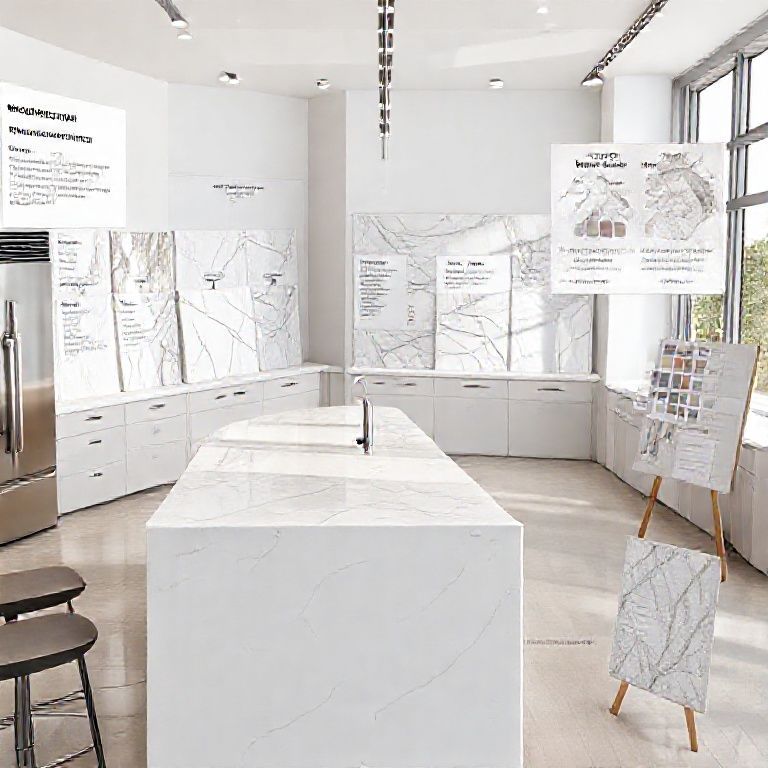
1. Custom Patterns
Take advantage of the wide range of colors and patterns available with artificial stone. Create custom designs by mixing different shades and patterns to achieve a unique look. Use a template or stencil to guide your cutting and shaping for a precise finish.
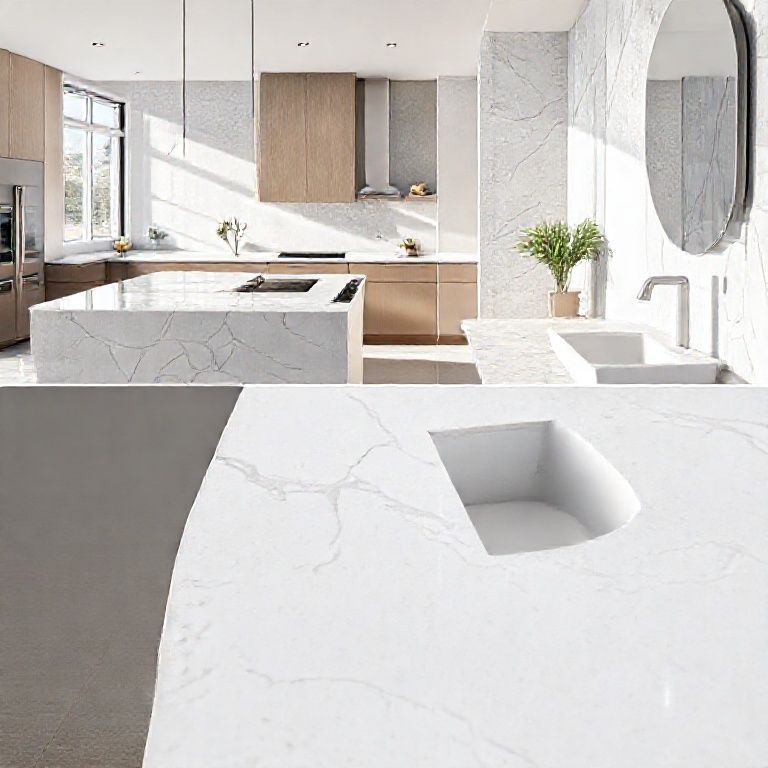
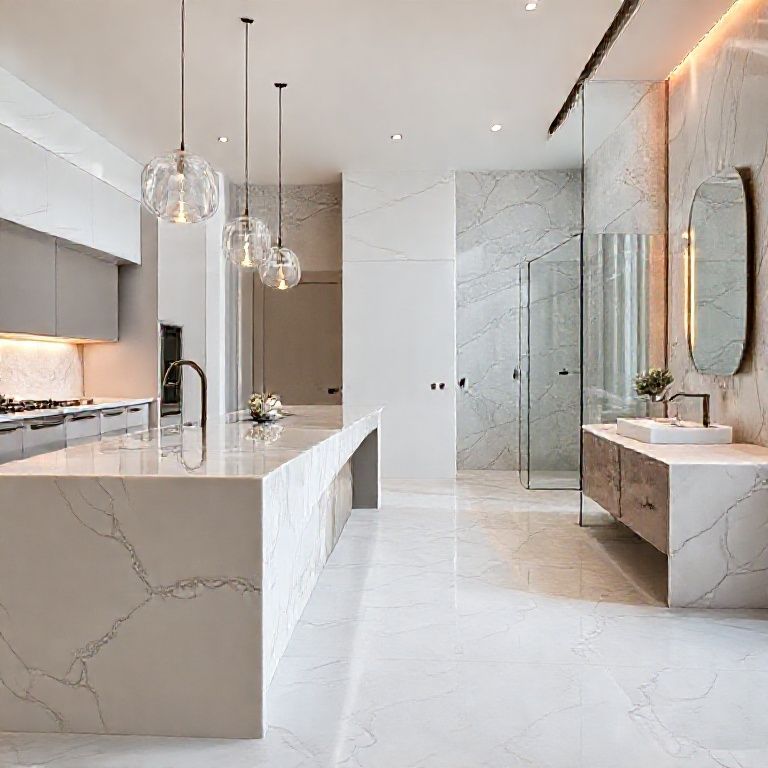
2. Island and Bar Tops
Artificial stone is perfect for island and bar tops. Its durability and resistance to heat and stains make it ideal for these high-traffic areas. Consider incorporating a custom design or pattern to add a unique touch to your kitchen.
3. Built-in Appliances
Incorporate built-in appliances like microwaves, toasters, and coffee makers into your countertop design. Use the natural edges of the artificial stone to create a seamless and integrated look. This not only adds functionality but also enhances the aesthetic appeal of your kitchen.
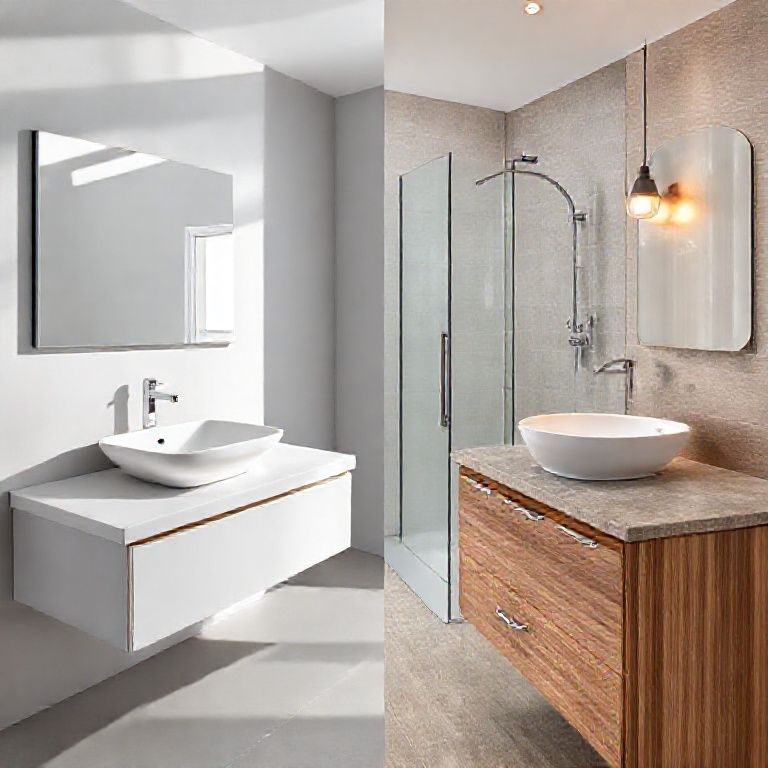
4. Integrated Sinks
When installing an integrated sink, make sure to plan for proper water lines and drainage. Use a backer board to support the countertop around the sink area. Consider creating a custom splashback using artificial stone to add a cohesive look to the sink area.
Additional Considerations
When planning and installing your artificial stone countertop, there are several additional considerations to keep in mind:
1. Weight and Support
Artificial stone is heavy, so ensure that your cabinetry and underlying structure can support the weight. Use appropriate fasteners and supports during installation to prevent any sagging or damage.
2. Water Resistance
While artificial stone is resistant to water and stains, it’s important to avoid prolonged exposure to water, especially around sinks and other wet areas. Use proper sealing techniques and ensure any water lines are correctly installed to prevent damage.
Transform Your Kitchen with an Exquisite Artificial Stone Countertop Installation Plan
In this second part, we will delve deeper into additional advanced techniques, innovative design ideas, and practical considerations to ensure your artificial stone countertop installation is both visually stunning and long-lasting.
Advanced Installation Techniques
Beyond the basic installation steps, there are several advanced techniques that can elevate the quality and appearance of your kitchen transformation project.
1. Precision Cutting for Seamless Integration
For a seamless and polished integration, especially in areas where the countertop meets cabinets or other surfaces, consider precision cutting techniques. This includes:
Trimming with a Miter Saw: For straight cuts, a miter saw provides precision and ease.
Using a Coping Saw for Curved Cuts: For more intricate designs, a coping saw is ideal for making curved cuts and shaping edges to fit perfectly around corners and edges.
Laser Cutting for Custom Shapes: For highly customized designs, laser cutting offers unparalleled precision and clean edges, allowing for intricate patterns and shapes.
2. Enhanced Support Structures
To ensure longevity and structural integrity, especially in areas with heavy use, consider these advanced support structures:
Reinforced Backer Boards: Use reinforced backer boards in areas like sink bases and island tops to provide additional support. This ensures that the countertop remains flat and prevents sagging over time.
Custom Moldings: Install custom moldings to hide seams and provide a seamless transition between different countertop sections. This not only enhances the appearance but also adds durability.
Creative Design Ideas
Artificial stone countertops offer a multitude of design possibilities. Here are some innovative ideas to inspire your kitchen transformation:
1. Custom Mosaics
Create stunning mosaic designs using different colors and patterns of artificial stone. Use templates or stencils to guide your cutting and shaping for a precise finish. This can add a unique and artistic touch to your kitchen.
2. Unique Edge Treatments
Experiment with different edge treatments to enhance the visual appeal of your countertop:
Bullnose Edges: Curved, rounded edges for a modern and elegant look.
Beveled Edges: Angled cuts for a textured, sophisticated finish.
Flush Edges: Clean, straight edges for a minimalist, streamlined appearance.
3. Built-in Storage Solutions
Integrate built-in storage solutions into your countertop design:
Drawers and Cabinets: Incorporate drawers and cabinets into the design for functional storage without compromising the aesthetic.
Hidden Compartments: Design hidden compartments within the countertop for small items like utensils, spices, and cutting boards.
Additional Considerations
When planning and installing your artificial stone countertop, consider these additional factors to ensure a successful and durable installation.
1. Weight and Support
Artificial stone is heavy, so ensure that your cabinetry and underlying structure can support the weight. Use appropriate fasteners and supports during installation to prevent any sagging or damage.
2. Water Resistance
While artificial stone is resistant to water and stains, it’s important to avoid prolonged exposure to water, especially around sinks and other wet areas. Use proper sealing techniques and ensure any water lines are correctly installed to prevent damage.
3. Temperature Resistance
Artificial stone has excellent heat resistance, but extreme temperatures can cause damage. Avoid placing hot items directly on the countertop and use trivets or heat-resistant pads for pots and pans.
4. Installation Environment
Consider the installation environment. Ensure the area is clean, dry, and free from dust and debris to allow the adhesive to bond properly. Use a level frequently to ensure the countertop is perfectly aligned.
5. Professional Help
While many aspects of the installation can be DIY, complex designs and installations may benefit from professional help. Consider hiring a professional for:
Precision Cutting: Especially for intricate designs.
Custom Moldings and Support Structures: To ensure a seamless and durable finish.
Advanced Installation Techniques: For a professional-looking result.
Conclusion
Installing an artificial stone countertop is a rewarding DIY project that can significantly enhance the look and functionality of your kitchen. By incorporating advanced techniques, creative design ideas, and practical considerations, you can achieve a stunning result that will last for years to come. With careful planning, precise execution, and attention to detail, you are well on your way to transforming your kitchen into a modern, beautiful, and functional space.
By following this comprehensive guide, you’ll not only install a beautiful artificial stone countertop but also enjoy the long-lasting benefits of this elegant and durable material. Whether you’re a DIY enthusiast or considering professional help, the steps outlined here will help you achieve a professional-quality finish that elevates your kitchen transformation project.