Ultimate Guide to Artificial Marble Installation: Expert Tips & Tricks in Action
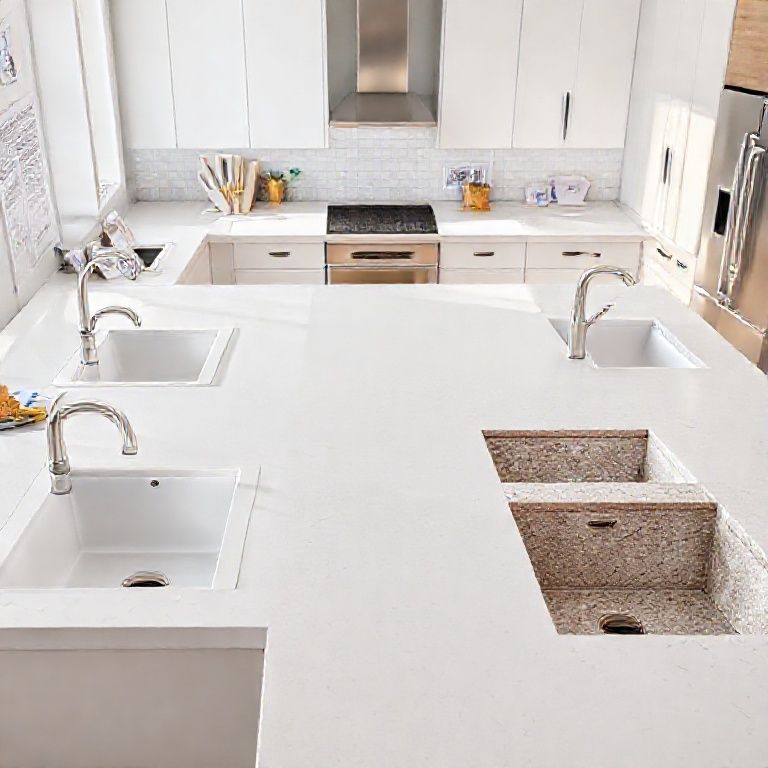
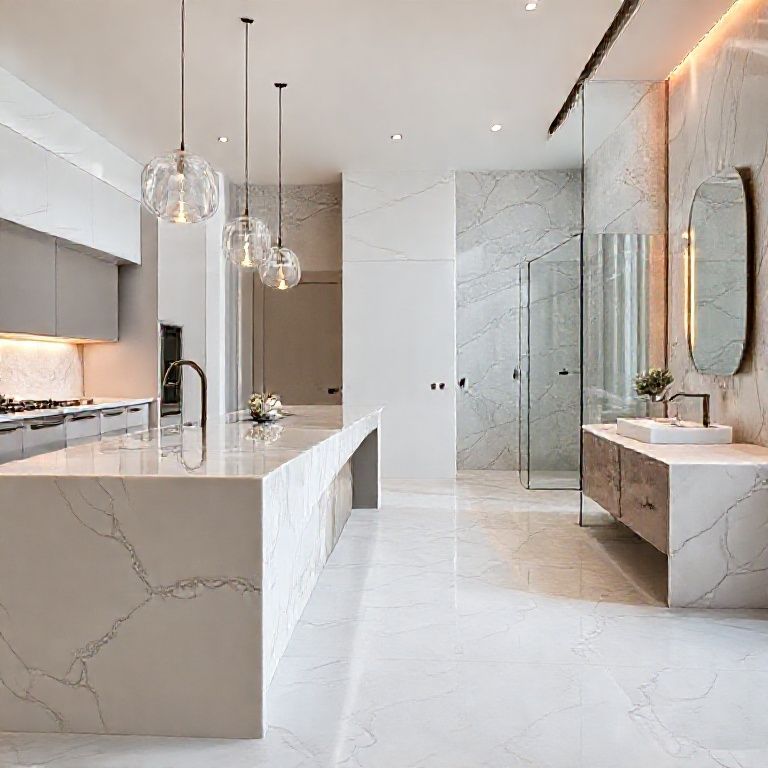
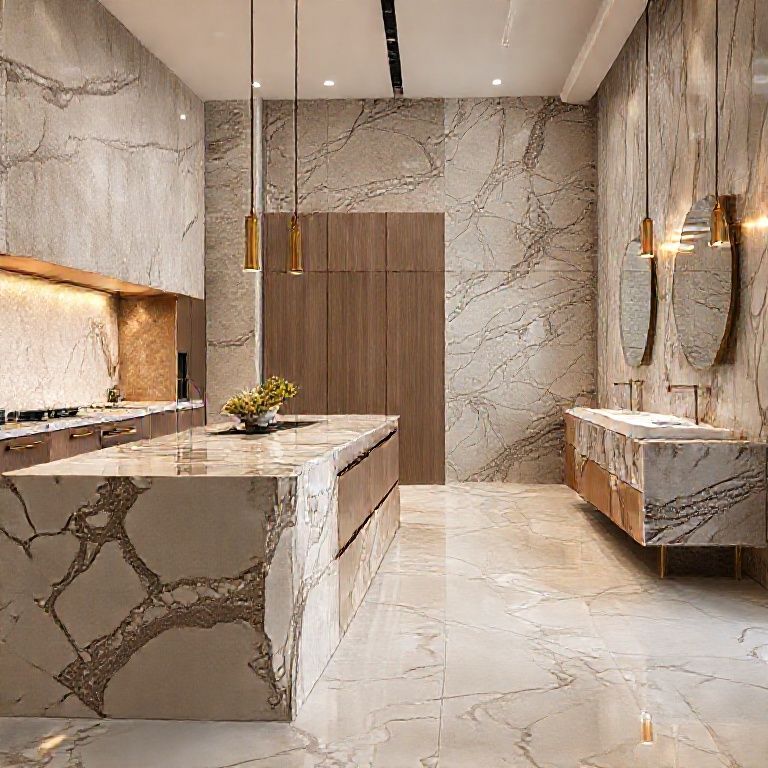
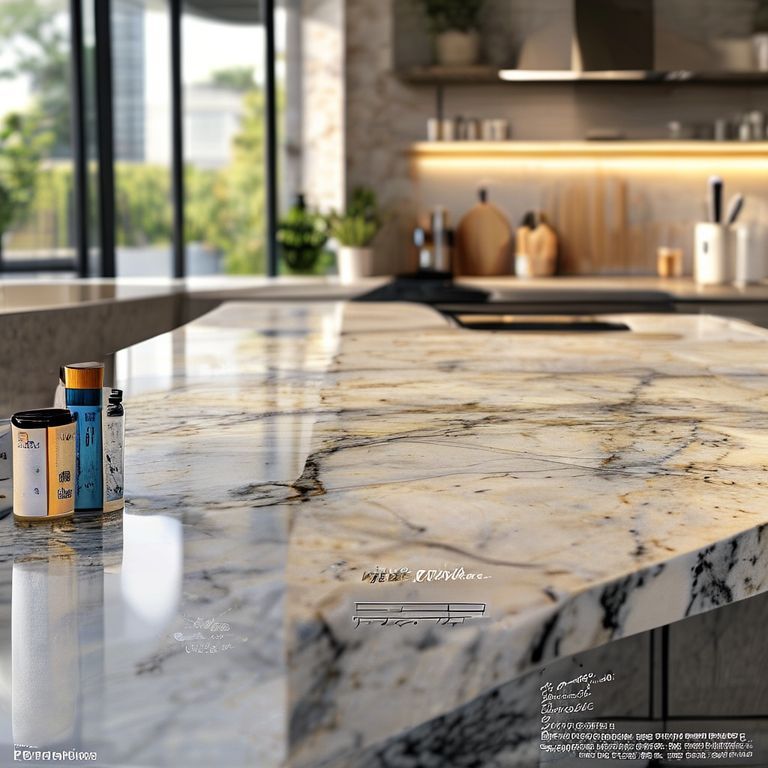
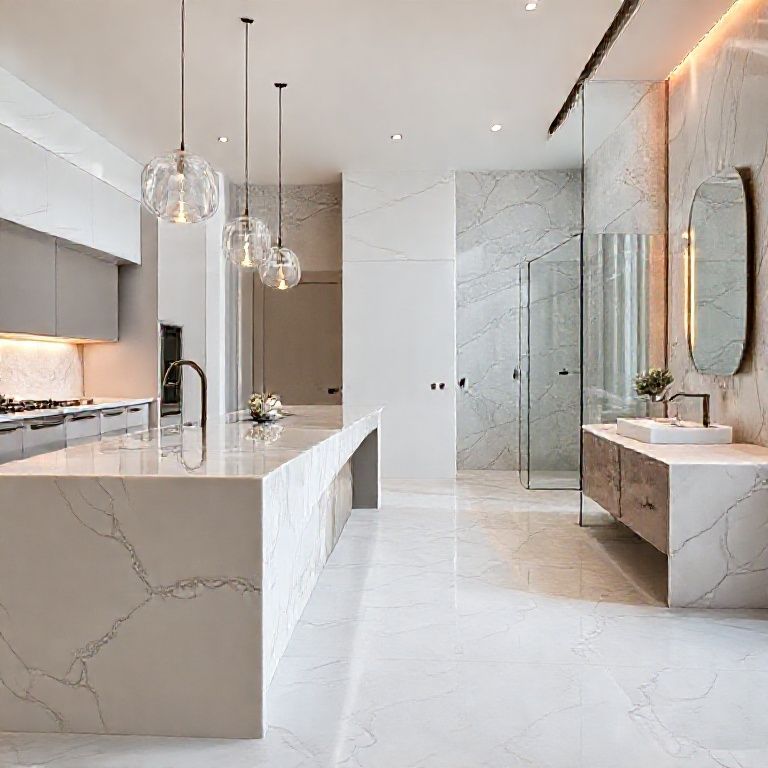
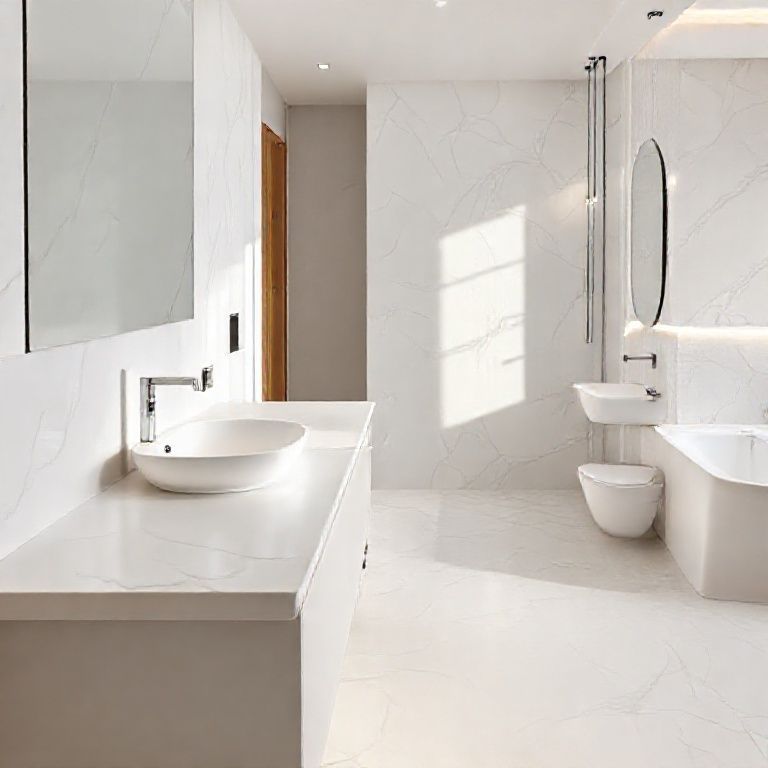
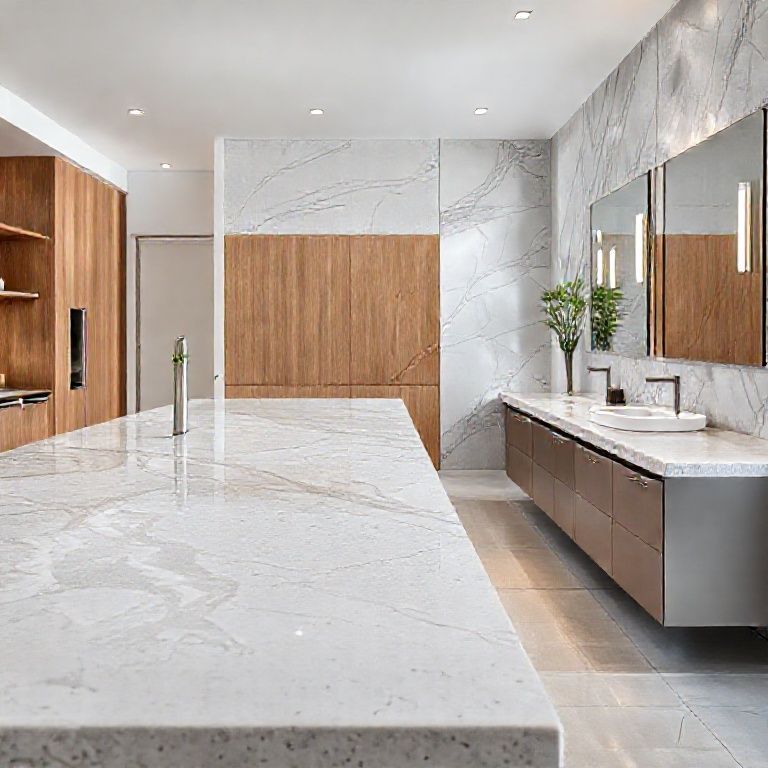
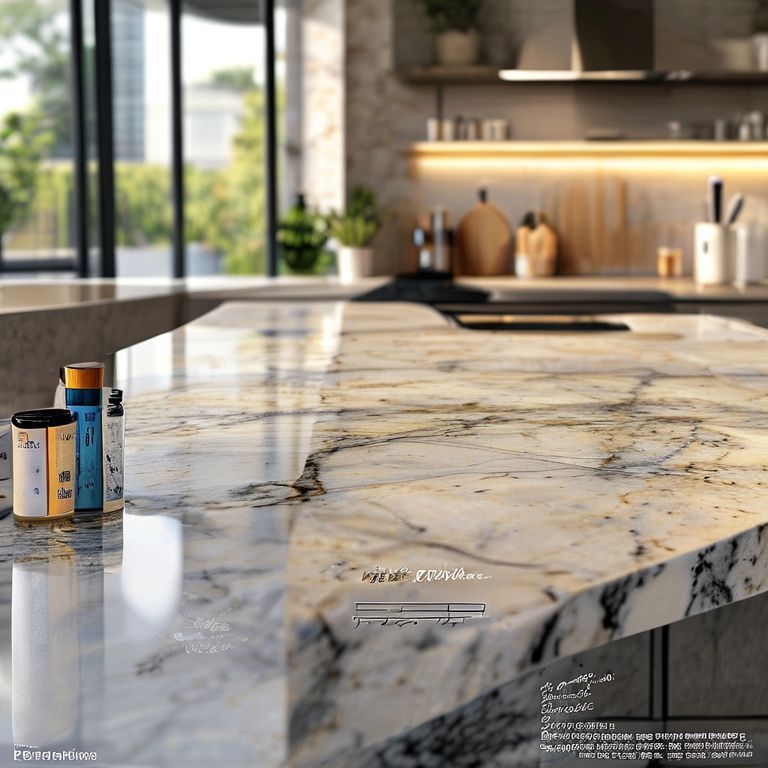
Artificial marble has become an increasingly popular choice for countertops and other surfaces due to its stunning aesthetic, durability, and affordability compared to natural marble. This comprehensive guide aims to walk you through the entire process of installing artificial marble, offering expert tips and tricks that will help you achieve professional results.

Understanding Artificial Marble
Artificial marble, also known as engineered stone, is a composite material made from natural minerals like calcite, limestone, and silica mixed with resin and pigments. This combination creates a product that mimics the appearance of natural marble while offering enhanced durability and resistance to scratches, stains, and thermal shock.
Benefits of Artificial Marble:
Aesthetic Appeal: Artificial marble can replicate the intricate veining and colors of natural marble. Durability: Resistant to scratches, stains, and chips. Maintenance: Requires minimal upkeep compared to natural stone. Cost-Effective: Often more affordable than natural marble.
Preparing for Installation
Before diving into the installation process, it’s crucial to prepare adequately. Here are the steps to ensure a smooth installation:

Measure Your Space: Accurately measure the area where the artificial marble will be installed. Use a tape measure to get precise dimensions. Choose the Right Tools: Ensure you have all the necessary tools: a saw for cutting the marble, a level to ensure even placement, a grouting tool, and a clean cloth for wiping. Select the Appropriate Adhesive: Use a high-quality thin-set adhesive designed for installing stone surfaces. Follow the manufacturer’s instructions for the best results. Plan Your Layout: Lay out the artificial marble pieces on the work surface to plan the final arrangement. This helps in visualizing the final look and ensuring all pieces fit perfectly.
Step-by-Step Installation Process
Step 1: Cutting the Artificial Marble
Accurate cutting is essential for a professional finish. Follow these steps to cut your artificial marble:
Mark the Cut Line: Use a pencil or marker to draw the cut line on the marble piece. Double-check the measurements for accuracy. Cut the Marble: Use a wet saw with a diamond blade. Wet saws prevent the marble from overheating and cracking. Make sure to follow the manufacturer’s guidelines for cutting. Smooth the Edges: After cutting, use a fine-grit sandpaper or a diamond-tipped grinder to smooth out any rough edges. This ensures a clean and professional finish.
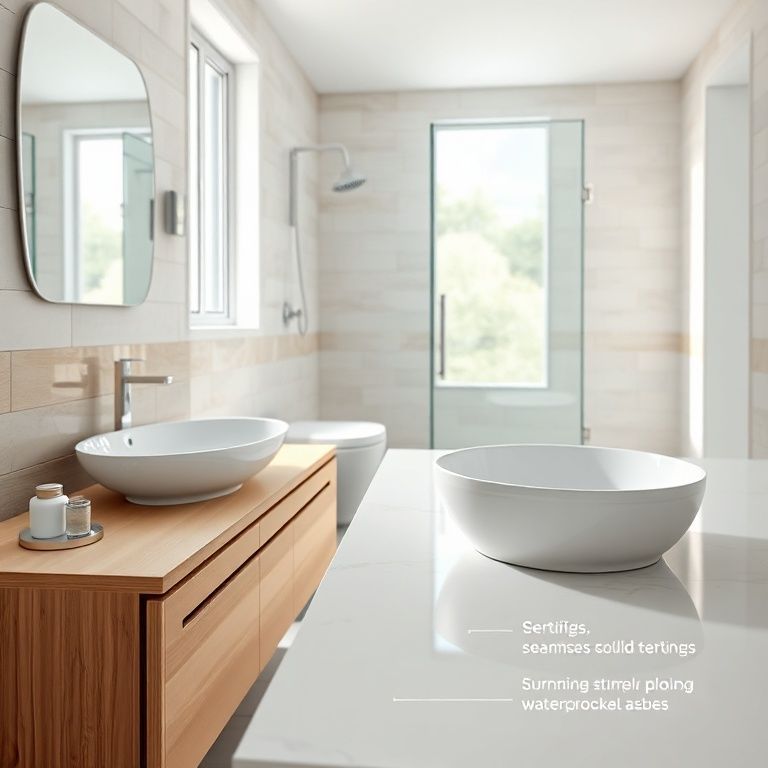
Step 2: Preparing the Surface
The surface where the artificial marble will be installed must be clean and level:
Clean the Area: Remove any dirt, dust, and old adhesive residue from the surface using a vacuum or broom. Check for Levelness: Use a level to ensure the surface is even. Make adjustments if necessary to ensure the marble will sit correctly.
Step 3: Applying the Adhesive
Proper application of the adhesive is crucial for a strong bond:
Mix the Adhesive: Follow the adhesive manufacturer’s instructions to mix the adhesive to the recommended consistency. Spread the Adhesive: Use a notched trowel to spread the adhesive evenly on the surface. The grooves in the trowel help create a consistent adhesive bed for the marble pieces.
Step 4: Installing the Artificial Marble
With the adhesive in place, it’s time to install the artificial marble pieces:
Position the First Piece: Place the first piece of artificial marble on the adhesive. Use a level to ensure it’s straight and adjust as needed. Press Firmly: Press the marble firmly into the adhesive to ensure a strong bond. Use a rubber mallet to gently tap the piece into place if needed. Continue with the Remaining Pieces: Work in sections, placing and pressing each piece firmly into the adhesive. Follow your planned layout to ensure a cohesive design.

Step 5: Grouting the Seams
Grouting fills the gaps between the marble pieces, completing the installation:
Mix the Grout: Prepare the grout according to the manufacturer’s instructions. Use a color that matches or complements your artificial marble. Apply the Grout: Use a grout float to apply the grout to the seams between the marble pieces. Work quickly as the grout sets. Clean Excess Grout: Use a damp sponge to wipe away excess grout before it dries. Be gentle to avoid scratching the marble surface.
Step 6: Finishing Touches
Final touches ensure the installation looks polished and professional:
Allow to Cure: Let the adhesive and grout cure as per the manufacturer’s instructions. This ensures maximum strength and durability. Clean the Surface: Once the grout is fully cured, clean the surface with a soft cloth to remove any remaining dust or residue.
Expert Tips for Artificial Marble Installation
Here are some expert tips to elevate your installation skills:
Use a Moisture Barrier: If installing over concrete, use a moisture barrier to prevent water damage. Avoid Overheating: Keep the saw and other tools cool to avoid overheating and cracking the artificial marble. Clean Regularly: Maintain the installed surface with a suitable cleaner to keep it looking pristine. Plan for Expansion: Leave small gaps between pieces to allow for expansion and contraction, preventing cracking.
Conclusion
Installing artificial marble is a rewarding DIY project that can transform the look of your space while offering durability and low maintenance. By following the detailed steps and expert tips outlined in this guide, you’ll achieve a professional-looking installation that stands the test of time. Watch our detailed video tutorials to see the process in action and gain more insights for a flawless finish.
Ultimate Guide to Artificial Marble Installation: Expert Tips & Tricks in Action
In part two of our comprehensive guide, we delve deeper into the intricacies of artificial marble installation. From advanced techniques to troubleshooting common issues, this section aims to provide you with all the knowledge you need for a seamless project.
Advanced Installation Techniques
For those looking to take their installation skills to the next level, here are some advanced techniques to consider:
1. Edge Finishing
Properly finishing the edges of your artificial marble installation enhances the overall appearance and durability:
Beveling: Use a beveling tool to create a slight angle on the edges. This not only adds visual interest but also provides a smoother transition.
Sealing: Apply a high-quality sealant to the edges to protect against stains and wear.
2. Custom Shapes and Curves
Artificial marble can be cut to custom shapes and curves to fit unique spaces:
Precision Cutting: Use a wet saw with a fine-tooth blade for intricate cuts. Practice on scrap pieces before working on your final installation.
Templates: Create templates from cardboard or another material to guide your cuts, ensuring accuracy.
3. Reinforcement
Adding reinforcement can make your installation more durable:
Backing Board: For installations where extra support is needed, consider using a backing board made from plywood or another suitable material.
Reinforcement Strips: Use metal reinforcement strips behind the marble to provide additional stability.
Troubleshooting Common Issues
Even with careful planning, some issues may arise during installation. Here’s how to troubleshoot common problems:
1. Uneven Adhesive Bed
An uneven adhesive bed can lead to misaligned pieces and an unprofessional finish:
Check Surface Levelness: Use a level to ensure the surface is perfectly even before applying adhesive.
Reapply Adhesive: If the adhesive bed is uneven, carefully remove the pieces and reapply the adhesive.
2. Cracked Marble
Cracked marble can be a significant issue, often caused by improper cutting or handling:
Cool Tools: Always keep your saw and tools cool to avoid overheating and cracking.
Proper Handling: Handle the marble pieces gently and avoid dropping them.
3. Grout Issues
Problems with grout can affect the appearance and durability of your installation:
Consistent Color: Choose a grout color that matches or complements your artificial marble.
Proper Application: Use a grout float to apply the grout evenly and avoid over-pressing.
Maintenance and Care
Proper maintenance ensures your artificial marble installation remains beautiful and durable:
1. Regular Cleaning
Regular cleaning keeps your artificial marble looking pristine:
Use a Mild Cleaner: Avoid harsh chemicals. Use a mild, pH-neutral cleaner and a soft cloth.
日常清洁
软布和中性清洁剂:每日使用干净的软布和中性清洁剂清洁人造大理石表面,避免使用酸性或碱性清洁剂,这些可能会损害石材表面。
迅速擦干:用干布迅速擦干,以防止水渍和污渍留下。
处理污渍和划痕
液体渗透:对于液体渗透的污渍,用干净的布迅速擦拭,以防止液体渗入表面。
专用修复剂:对于较深的污渍,可以使用专门的人造大理石修复剂。根据产品说明进行操作。
划痕处理:轻微划痕可以使用专用的大理石抛光剂来抛光处理,以恢复光泽。深层划痕可能需要专业处理。
特殊维护
定期检查:定期检查人造大理石的紧固件,确保没有松动或其他问题。
避免过热:避免将热锅或热食直接放在人造大理石上,使用烤盘或垫子来防止热损伤。
防护措施
防溅垫:在厨房台面下方放置防溅垫,减少水和油的溅出。
厨房喷雾器:在厨房使用喷雾器时,尽量避免喷到台面上。
环境适应
避免直接阳光照射:长时间的阳光照射可能会导致颜色褪色,可以在阳光直射的区域放置遮阳网或窗帘。
湿度控制:保持室内适当的湿度,避免过于干燥或潮湿的环境,以防止材料膨胀或收缩。
专业维护
定期保养:建议每年请专业人员进行一次全面的保养,包括清洁、抛光和检查。
修复服务:在发现严重损坏或污渍时,尽早联系专业维修服务进行处理,避免问题恶化。
通过以上方法,可以有效延长人造大理石的使用寿命,保持其美观和功能。如果有任何具体问题或需要进一步的建议,请随时提问。