Ultimate Guide to Restoring and Smoothing Artificial Stone Countertops: Expert Tips and Techniques
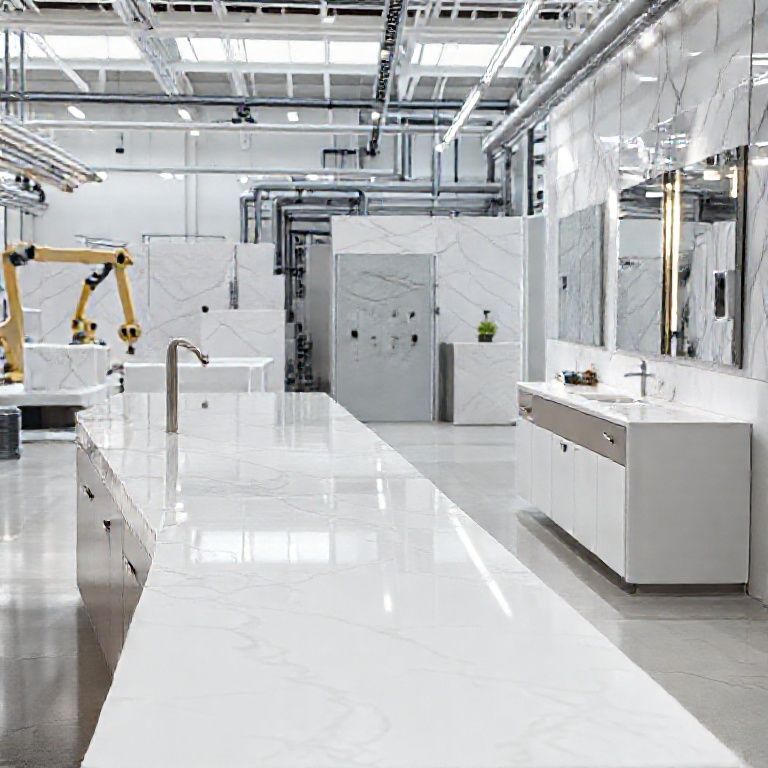
Artificial stone countertops are a popular choice for modern kitchens and bathrooms due to their durability, easy maintenance, and aesthetic appeal. However, like any surface, they can become scratched, pitted, or otherwise damaged over time. Restoring and smoothing artificial stone countertops can be a daunting task, but with the right tools and techniques, you can achieve professional-level results in the comfort of your own home.

Understanding Artificial Stone Countertops
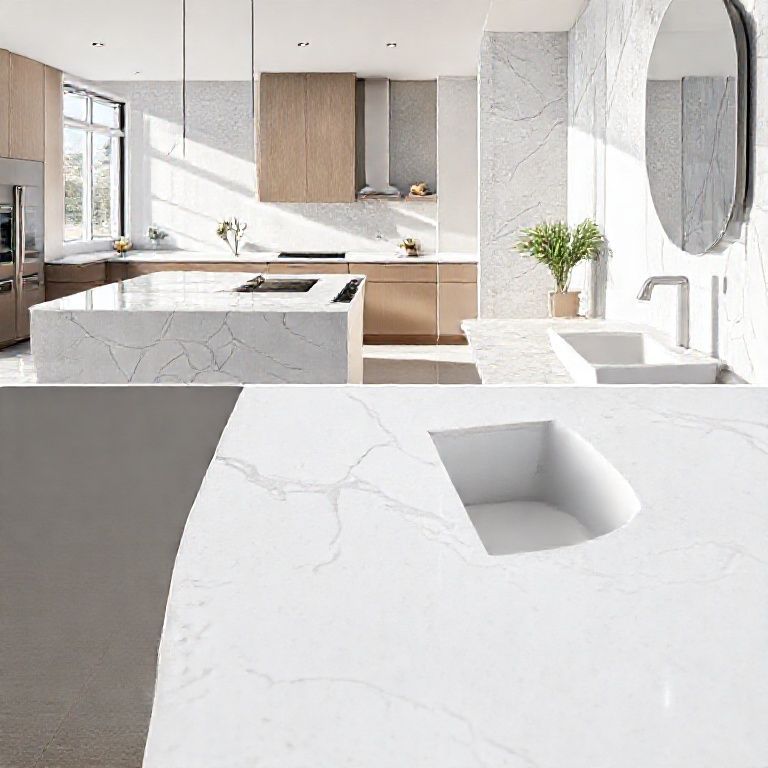
Before diving into the restoration process, it’s essential to understand what artificial stone is and why it requires special care. Artificial stone, also known as cultured stone, is a composite material made from natural stone, resin, and colorants. It is known for its high strength and resistance to scratches, stains, and chips, making it a popular choice for countertops. However, it can still suffer from wear and tear over time, necessitating periodic restoration.
Identifying Damage
To begin the restoration process, you need to identify the type and extent of damage on your artificial stone countertop. Common issues include scratches, pits, and surface discoloration. Carefully examine the countertop using a flashlight to spot any imperfections.
Tools and Materials Needed
Restoring your artificial stone countertop will require several tools and materials. Here’s a list to get you started:
Diamond Polishing Pads and Discs: These are specifically designed for artificial stone and can smooth out scratches and pits. Polishing Compounds: Use a polishing compound that’s compatible with artificial stone to achieve a high-gloss finish. Grinding Machine: A grinder with a variable speed setting is ideal for a smooth, even finish. Protective Gear: Safety glasses, gloves, and a dust mask are essential to protect yourself during the restoration process. Cleaning Supplies: Use a non-abrasive cleaner to wipe down the countertop before starting the restoration.
Step-by-Step Restoration Process
Step 1: Safety First
Before beginning any restoration work, ensure you’re wearing your protective gear. This will safeguard you against any dust or debris that might become airborne during the process.
Step 2: Initial Cleaning
Start by cleaning the countertop thoroughly. Use a non-abrasive cleaner and a soft cloth to remove any dust, grease, or grime. This will help you accurately assess the damage and ensure a smoother finish during the polishing process.

Step 3: Addressing Scratches and Pits
For minor scratches and pits, a diamond polishing pad or disc can work wonders. Attach the pad or disc to your grinder and use a medium speed setting. Start by applying a small amount of polishing compound to the pad and gently rub it over the damaged area. Move in a circular motion to ensure even coverage and smoothing.
For deeper pits, a more aggressive technique might be necessary. Gradually increase the speed of your grinder and use a finer polishing compound to achieve a smooth finish. Always check your progress frequently to avoid over-polishing any area.
Step 4: Polishing the Entire Surface
Once you’ve addressed the specific damage, it’s time to polish the entire countertop for a uniform finish. Use a larger diamond polishing pad or disc and apply a generous amount of polishing compound. Start at one edge and move in long, sweeping motions to cover the entire surface evenly.

For best results, work in sections, polishing each section thoroughly before moving on to the next. This ensures that you don’t miss any spots and achieve a consistent, high-gloss finish.
Step 5: Final Cleaning
After polishing, the countertop will likely be covered in fine dust. Carefully clean the surface with a damp cloth to remove any remaining particles. Be sure to dry the countertop completely to prevent any water spots or damage.
Ultimate Guide to Restoring and Smoothing Artificial Stone Countertops: Expert Tips and Techniques
In the previous part, we covered the essentials of restoring and smoothing artificial stone countertops, including the tools and step-by-step process. Now, let’s delve deeper into advanced techniques and expert tips to ensure your countertops look as good as new.
Advanced Techniques for Tough Damage
While minor scratches and pits are usually manageable with basic tools, more severe damage may require advanced techniques. Here are some methods to tackle tougher issues:
Using a Diamond Grinding Wheel
For deep grooves or significant pitting, a diamond grinding wheel might be necessary. Attach the wheel to your grinder and use a medium to high-speed setting. Start with a coarse diamond compound to remove the bulk of the damage, then switch to a finer compound for a smooth finish. Always ensure the surface is clean before and after grinding to avoid additional scratches.
Chemical Etching
In some cases, chemical etching might be required to remove stubborn stains or discoloration. Use a stone-specific etchant according to the manufacturer’s instructions. Apply the etchant to the damaged area and let it sit for the recommended time. Rinse thoroughly with water and dry the surface completely.
Maintenance Tips
To keep your artificial stone countertops looking their best, follow these maintenance tips:
Regular Cleaning: Clean your countertops regularly with a non-abrasive cleaner to prevent the buildup of grime and stains. Avoid Abrasive Cleaners: Never use abrasive cleaners or sponges that can scratch the surface. Use Coasters and Trivets: Protect your countertops from heat and impact by using coasters, trivets, and cutting boards. Immediate Stain Removal: Wipe up spills immediately to prevent stains from setting in.
Video Tutorials for Professional-Level Results
To help you achieve the best results, we’ve created detailed video tutorials that walk you through each step of the restoration process. These videos feature expert tips and techniques, ensuring you have all the information you need to restore your countertops to like-new condition.
Video 1: Basic Restoration Techniques
This video covers the fundamental methods for restoring minor scratches and pits. You’ll learn how to use diamond polishing pads and compounds, as well as the importance of working in sections for an even finish.
Video 2: Advanced Restoration Techniques
In this video, we delve into more advanced techniques for tackling tough damage. Watch as we demonstrate the use of diamond grinding wheels and chemical etching to bring back countertops with severe damage.
Video 3: Maintenance and Prevention
The final video focuses on maintaining your artificial stone countertops to prevent future damage. We provide tips on regular cleaning, avoiding abrasives, and protecting the surface from heat and impact.
Conclusion
Restoring and smoothing artificial stone countertops doesn’t have to be a complicated or costly endeavor. With the right tools, techniques, and a bit of patience, you can revive your countertops to their original beauty. Follow our expert tips and watch our detailed video tutorials to achieve professional-level results right in your own home.
Remember, the key to successful restoration is thorough cleaning, careful polishing, and regular maintenance. By taking these steps, you can ensure that your artificial stone countertops remain a stunning feature of your kitchen or bathroom for years to come.