DIY Artificial Marble Countertop Repair: Effortless Beauty and Durability
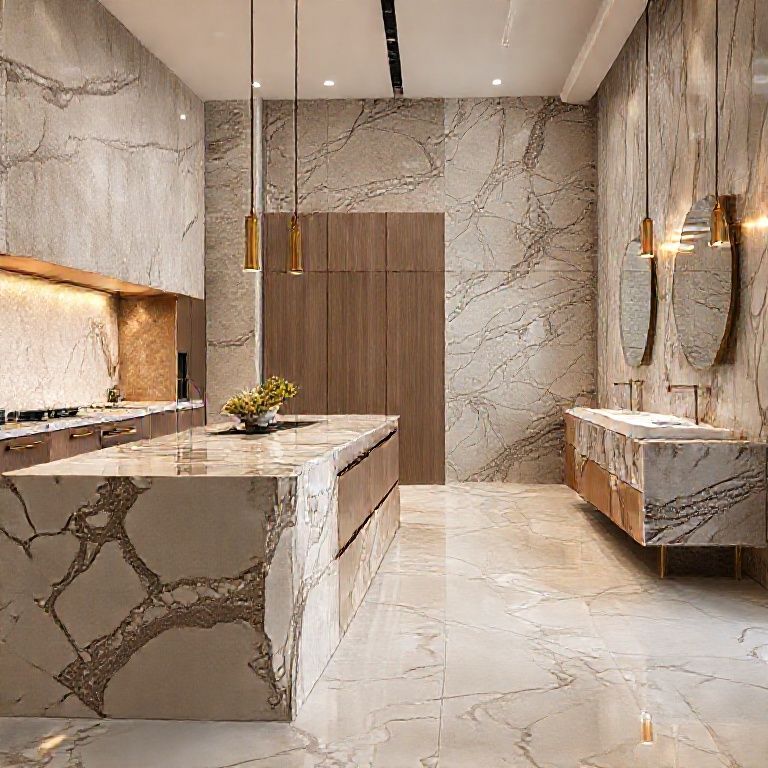
Artificial marble countertops have become a popular choice for kitchens and bathrooms due to their stunning aesthetics, durability, and low maintenance requirements. However, even the most high-quality artificial marble can suffer from minor scratches, chips, or discoloration over time. Fortunately, repairing artificial marble countertops is not as daunting as it may seem. With the right tools and techniques, you can restore your countertop to its original beauty and ensure its longevity. This comprehensive guide will walk you through the essential steps for DIY artificial marble countertop repair.
Understanding Artificial Marble
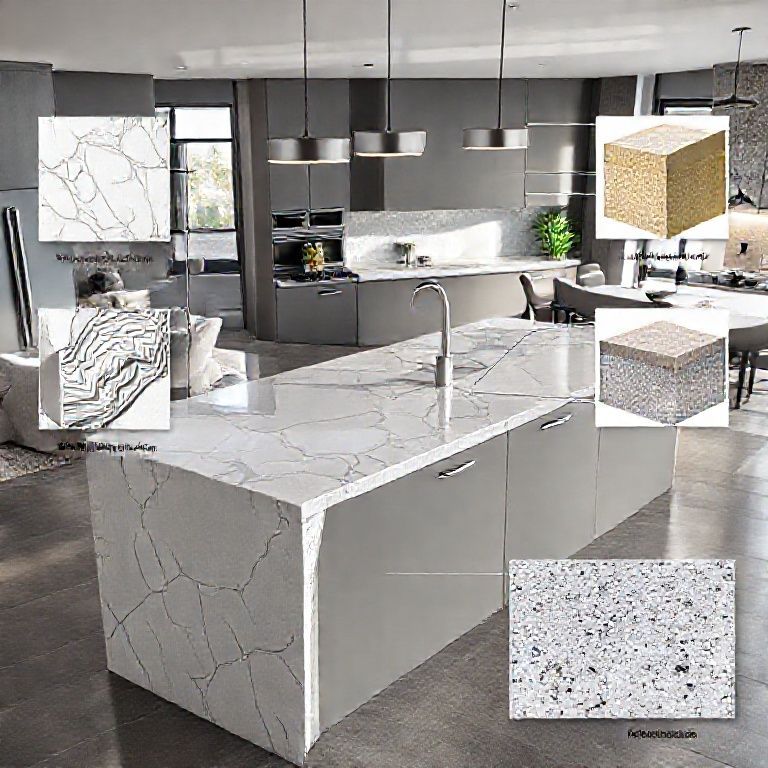
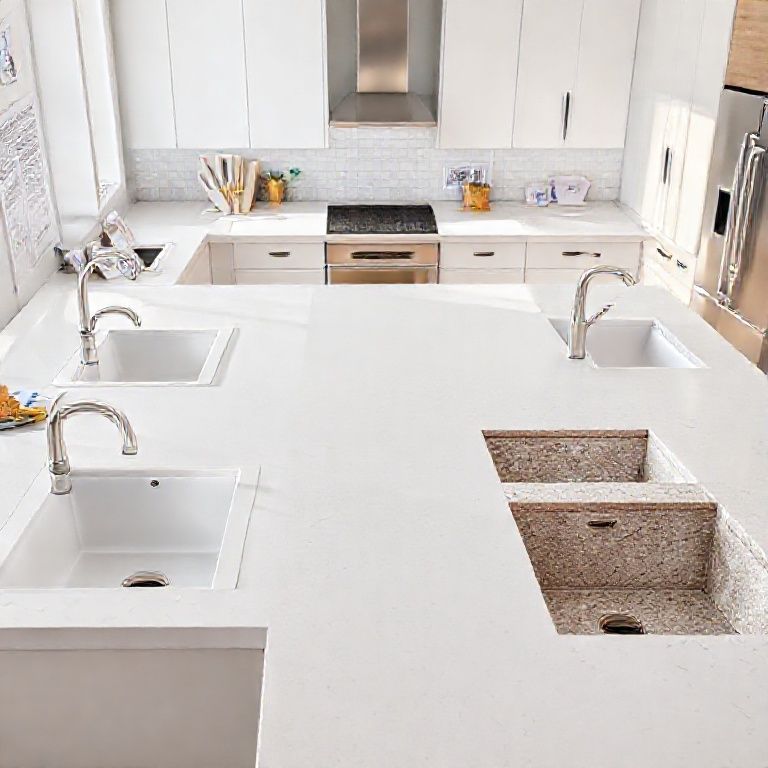
Before diving into the repair process, it’s crucial to understand what artificial marble is and how it’s made. Artificial marble is a composite material made from a combination of minerals, resins, and pigments. It is designed to mimic the appearance of natural marble while offering superior strength and resistance to stains and scratches. Unlike natural marble, artificial marble does not have the same porous nature, making it easier to clean and maintain.
Common Issues with Artificial Marble Countertops
While artificial marble is durable, it’s not impervious to damage. The most common issues include:
Scratches: Minor scratches can occur from everyday use with utensils or other hard objects. Chips and Cracks: These can happen due to impacts or improper use of sharp objects. Discoloration: Exposure to certain chemicals or heat can cause artificial marble to fade or discolor.
Tools and Materials Needed for Repair
To repair your artificial marble countertop, you’ll need the following tools and materials:
Fine-grit sandpaper (220-400 grit) Polishing compound Microfiber cloths Cleaning solution (pH-neutral cleaner) Toothpaste or specialized marble repair paste Soft-bristle brush or sponge Protective gloves
Step-by-Step Repair Process
Step 1: Surface Preparation
Clean the Area: Start by cleaning the affected area with a pH-neutral cleaner to remove any dirt, grease, or residue. Use a microfiber cloth and a soft-bristle brush to ensure a clean surface. Dry Thoroughly: Make sure the surface is completely dry before proceeding with the repair.
Step 2: Addressing Minor Scratches
For minor scratches, you can use a polishing compound and a microfiber cloth:
Apply Polishing Compound: Generously apply a polishing compound to the scratched area. Buff the Surface: Using a microfiber cloth, buff the area in a circular motion until the scratch is no longer visible. Be gentle to avoid further damage. Wipe Clean: Clean the surface with a damp microfiber cloth to remove any residue.
Step 3: Repairing Chips and Cracks
For chips and cracks, a specialized marble repair paste or toothpaste can be very effective:
Choose Your Repair Paste: Select a marble repair paste or toothpaste that is safe for artificial marble. Apply the Paste: Apply a small amount of the paste to the chip or crack. Use a soft-bristle brush to spread it evenly. Let it Sit: Allow the paste to sit for a few minutes to penetrate the crack. Buff the Area: Use a clean microfiber cloth to buff the area until the crack is filled and the surface is smooth. Clean Off Excess: Wipe away any excess paste with a damp cloth.

Step 4: Discoloration Repair
For discoloration caused by chemical exposure or heat, a combination of cleaning and polishing will help:
Clean the Area: Use a pH-neutral cleaner and a microfiber cloth to clean the discolored area. Apply Polishing Compound: Buff the area with a polishing compound and a microfiber cloth to restore the color. Rinse and Dry: Rinse the area with water and dry it thoroughly with a clean microfiber cloth.
Maintenance Tips for Artificial Marble Countertops
To keep your artificial marble countertops looking their best, follow these maintenance tips:
Use Coasters and Placemats: Always use coasters and placemats to prevent heat and liquid spills. Avoid Abrasive Cleaners: Use pH-neutral cleaners and avoid abrasive sponges or pads. Regular Cleaning: Clean your countertops regularly with a pH-neutral cleaner and dry them with a microfiber cloth. Immediate Spill Cleanup: Clean up spills immediately to prevent stains and discoloration.
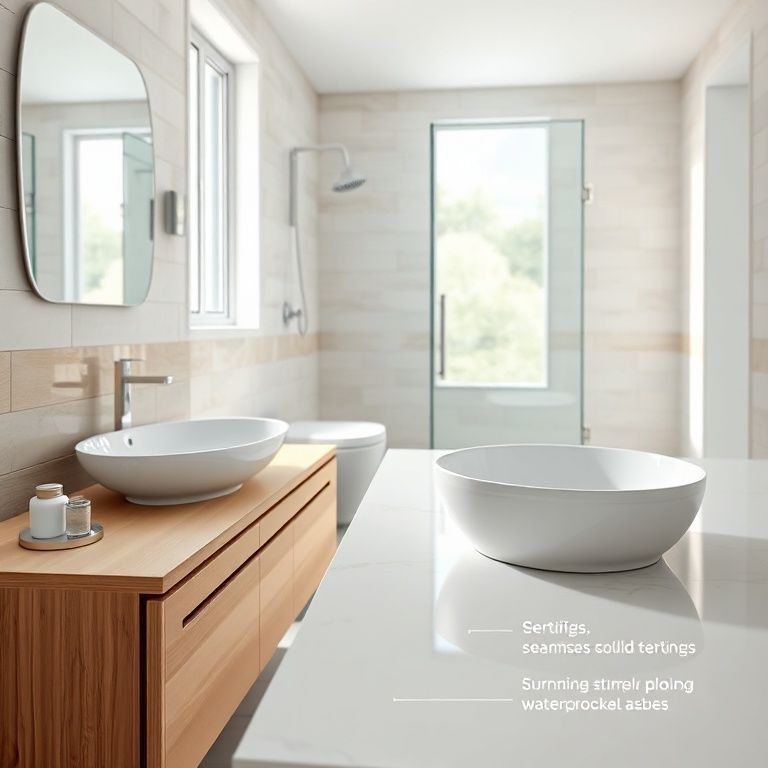
By following these steps and maintaining proper care, you can ensure that your artificial marble countertops remain beautiful and durable for years to come. In the next part of our guide, we will delve deeper into advanced repair techniques and explore how to prevent future damage.
Advanced DIY Artificial Marble Countertop Repair: Pro Techniques for Lasting Beauty
Once you’ve mastered the basics of artificial marble countertop repair, it’s time to take your skills to the next level. Whether you’re dealing with deep scratches, extensive chips, or other significant damage, advanced repair techniques can help you achieve professional-looking results. This part of the guide will explore specialized repair kits, advanced polishing methods, and preventive measures to ensure your artificial marble countertops remain beautiful and durable.
Specialized Repair Kits
Specialized repair kits are designed to address more severe damage and provide a seamless repair job. These kits often include high-grade polishing compounds, specialized fillers, and step-by-step instructions for different types of damage. Here’s how to use them effectively:
Identify the Kit: Choose a repair kit that matches the type of damage you’re dealing with. Kits are available for scratches, chips, cracks, and discoloration. Follow Instructions: Carefully follow the manufacturer’s instructions, which typically involve several steps: Preparation: Clean and dry the damaged area. Application: Apply the repair compound or filler to the affected area. Curing: Allow the compound to cure as per the kit’s instructions. Polishing: Buff the area with a polishing compound to blend the repair seamlessly.
Advanced Polishing Techniques
Polishing is a critical step in restoring the shine and appearance of artificial marble countertops. Here are some advanced polishing techniques to achieve a professional finish:
Double-Polishing Method: For deep scratches, use a double-polishing method. First, buff the area with a fine-grit sandpaper (400 grit) to smooth the scratch. Then, use a finer-grit sandpaper (600-1200 grit) to polish the area until it’s smooth and shiny. Buffing with Compounds: Use different polishing compounds in a step-by-step manner. Start with a coarse polishing compound and gradually move to finer compounds to achieve a high-gloss finish. Electric Polishers: For larger areas, consider using an electric polisher with a polishing pad and compound. Ensure you use a slow, consistent motion to avoid scratching the surface.
Preventing Future Damage
Prevention is always better than cure. Here are some tips to keep your artificial marble countertops in pristine condition:
Use Protective Pads: Always use protective pads or placemats under hot pots, pans, and other heat sources to prevent thermal damage. Avoid Sharp Objects: Never use sharp objects to cut or scratch the countertop. Always use a cutting board or a non-abrasive cutter. Immediate Cleanup: Clean up spills immediately to prevent stains and discoloration. Use a pH-neutral cleaner to clean the surface regularly. Sealing: While artificial marble does not require sealing like natural stone, it’s a good idea to apply a non-toxic, pH-neutral sealant to protect against certain chemicals and stains.
Common Mistakes to Avoid
Even with the best techniques, certain mistakes can undermine your repair efforts. Here are some common mistakes to avoid:
Over-Polishing: Over-polishing can create a glossy, uneven surface. Stick to the recommended number of buffing steps. Using Incorrect Tools: Using the wrong tools, like abrasive pads or harsh cleaners, can cause more damage. Always opt for non-abrasive materials. Ignoring Manufacturer Instructions: Failing to follow the manufacturer’s instructions can result in improper repairs. Always read and follow the guidelines provided with your repair kit.
Conclusion
高级修复技术
1. 深层刮痕修复
清洁和干燥:在开始修复之前,确保受损区域完全干燥并清洁无油、无污渍。 填充材料:根据说明,将填充材料涂抹到刮痕区域。用小的软刷或者软布均匀涂抹。 等待时间:让填充材料在表面硬化所需的时间,通常需要几小时。 打磨处理:使用细砂纸(600-1200目)轻轻打磨填充区域,直到其与周围表面平齐。
抛光:使用抛光膏和抛光机器或手动抛光,直到表面光滑平整。最后使用高级抛光膏进行最后的抛光步骤。
2. 嵌入物修复
如果有嵌入的物体,如笔划或者其他嵌入的污渍,您可能需要更加精细的方法:
小心挖出:用小刀或专用工具小心地挖出嵌入的物质,确保不要进一步损坏台面。 填充和打磨:使用填充膏填充空洞,然后用细砂纸打磨直到平整。 抛光:进行抛光步骤,使修复部分与周围区域无缝衔接。
高级维护技巧
1. 定期清洁
使用温水和中性清洁剂:用温水和中性清洁剂轻轻擦拭台面,避免使用酸性或碱性强的清洁剂。 干燥:使用干净的干布将台面彻底擦干,防止水渍和腐蚀。
2. 定期抛光
定期抛光可以保持台面的光泽和防污性:
选择适当的抛光膏:选择专门为人造大理石设计的抛光膏。 使用抛光布:用软布均匀涂抹抛光膏,然后用干布擦干净。
3. 避免化学污染
尽量避免使用含有酸性或碱性成分的清洁剂,如漂白剂、酸性清洁剂等,以防止对台面造成损害。
专业维修与保养
尽管自己修复可以解决大部分问题,但有时专业服务是不可或缺的。如果您的人造大理石台面损坏严重,或者您不确定如何处理,建议寻求专业帮助。专业人员不仅能提供更精准的修复,还能给出长期保养的建议。
总结
通过掌握这些高级修复和维护技巧,您可以确保您的人造大理石台面长久保持美观和耐用。记住,定期的保养和小心的处理是关键。无论您是处理小的划痕还是大的损坏,遵循正确的步骤和使用合适的工具,您都能实现令人满意的修复效果。