Planning and Initial Assessment
${part1}
When it comes to marble renovation, the duration of the project can vary significantly based on several factors including the size of the area to be renovated, the extent of damage or wear, the complexity of the design, and the chosen methods for restoration. Here, we’ll delve into the initial stages of marble renovation to provide you with a clear understanding of what to expect.
1. Understanding Your Marble Needs
The first step in any marble renovation is a thorough assessment of your marble surfaces. This involves identifying the extent of wear, damage, or aging. Depending on the condition of your marble, this can range from simple cleaning and polishing to more extensive repair and restoration.
Key Areas to Assess:
Surface Wear: Look for scratches, stains, and areas where the marble has lost its shine. Structural Damage: Check for cracks, chips, and any structural weaknesses that could compromise the integrity of the marble. Design Complexity: Consider the design and patterns on your marble surfaces. Intricate designs may require more time and expertise to replicate accurately.
2. Consultation and Planning
Once you have a clear understanding of the condition of your marble, it’s time to consult with a professional marble renovation specialist. During this consultation, the specialist will evaluate your marble and discuss the best approach for its renovation. This might include recommendations for cleaning, polishing, resurfacing, or full restoration.
Key Considerations:
Material Compatibility: Ensure the specialist uses materials and techniques compatible with your specific type of marble. Budgeting: Discuss costs and get a detailed quote that includes all aspects of the renovation. Timeline Estimation: Based on the initial assessment, the specialist will provide a rough estimate of how long the renovation might take.
3. Preparing for Renovation
Preparation is crucial for a successful marble renovation. This involves setting up a clean, safe workspace and acquiring all necessary materials and tools. The preparation phase ensures that the renovation process can proceed smoothly without interruptions.
Key Steps:
Workspace Setup: Clear the area where the marble is located to create a safe and clean environment. Material Procurement: Obtain all the cleaning solutions, polishing compounds, resurfacing materials, and any other tools required for the renovation. Safety Measures: Ensure all safety protocols are in place to protect both the marble and the renovation team.
4. The Initial Cleaning and Inspection
Before any renovation work begins, a comprehensive cleaning of the marble surfaces is essential. This step removes dirt, grime, and any substances that could interfere with the renovation process. Following cleaning, a detailed inspection is conducted to ensure the marble is ready for the next steps.
Cleaning Techniques:
Manual Cleaning: Using soft cloths and specialized cleaning solutions to manually remove surface dirt. Ultrasonic Cleaning: Using ultrasonic waves to clean intricate and heavily soiled areas without damaging the marble.
5. Initial Repairs and Minor Restorations
For minor repairs such as small chips or surface scratches, initial restorations can be performed before moving on to more complex tasks. These minor repairs can often be done relatively quickly, providing an immediate improvement to the appearance of the marble.
Common Minor Restoration Techniques:
Chip Repair: Using epoxy or marble filler to repair small cracks and chips. Surface Polishing: Using abrasive pads and polishing compounds to restore the shine to the marble surface.
Conclusion
Understanding the initial stages of marble renovation sets the foundation for the entire process. From thorough assessments and consultations to meticulous preparation and initial cleaning, these steps are crucial for ensuring a successful and long-lasting renovation. While this part has covered the initial phases, the next part will delve into the more intensive aspects of marble renovation, including resurfacing, major repairs, and the final touches.
Stay tuned for Part 2, where we’ll explore the more in-depth and intensive stages of marble renovation!
Resurfacing, Major Repairs, and Final Touches
${part2}
In this second part of our detailed guide, we will explore the more intensive stages of marble renovation. This includes resurfacing, major repairs, and the final touches that bring your project to completion. Understanding these stages will help you manage your expectations and appreciate the meticulous effort that goes into restoring marble to its former glory.
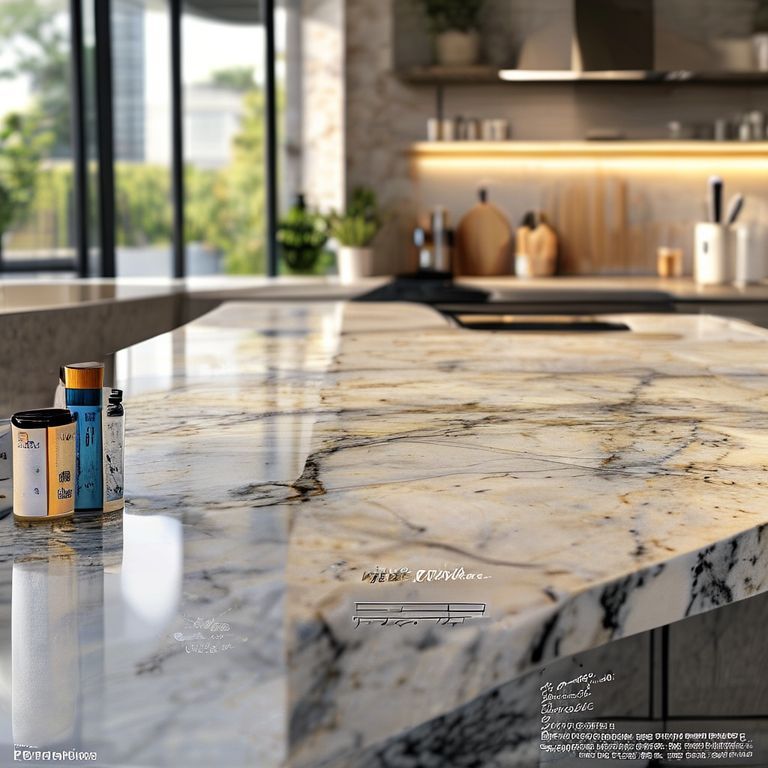
1. Resurfacing Marble: Precision and Expertise
Resurfacing marble is often one of the most time-consuming and intricate parts of the renovation process. This involves removing the existing surface layer of the marble to expose the fresh, unblemished surface beneath. Resurfacing can be done using various techniques, each with its own set of time requirements.
Resurfacing Techniques:
Diamond Polishing: Using diamond abrasives to remove the top layer of the marble and expose a smooth, shiny surface. This technique is precise and can be completed in a relatively short time once the surface is prepared. Grinding: A more intensive process that involves using a diamond grinding machine to remove a significant portion of the marble’s surface. This method is more time-consuming but ensures a thorough and uniform removal of the old surface.
2. Major Structural Repairs
For significant structural damage such as large cracks or extensive chips, major repairs are necessary. This step involves filling in the damaged areas and then blending the repaired sections seamlessly with the surrounding marble.
Repair Techniques:
Epoxy or Marble Filler: Using specialized fillers that match the color and texture of the marble to repair cracks and chips. After the filler is applied and allowed to set, the surface is polished to blend the repaired areas. Resurfacing: In cases where the structural integrity is compromised, resurfacing may be necessary to ensure a safe and aesthetically pleasing surface.
3. Detailed Restoration and Pattern Re-creation
For marble with intricate designs and patterns, detailed restoration is required to recreate the original look as closely as possible. This process can be quite complex and time-consuming, especially if the original design is highly detailed.
Restoration Techniques:
Color Matching: Ensuring that the restoration materials match the original color and texture of the marble. Pattern Re-creation: Using specialized tools and techniques to replicate intricate patterns and designs on the marble surface.
4. Polishing and Finishing Touches
Once the major repairs and resurfacing are complete, the final step involves polishing the marble to achieve the desired shine and texture. This process can vary in time based on the size of the area and the level of detail involved.
Polishing Techniques:
Hand Polishing: Using hand-held polishers and specialized compounds to achieve a high-gloss finish. Machine Polishing: Employing industrial machines to polish large areas quickly and uniformly.
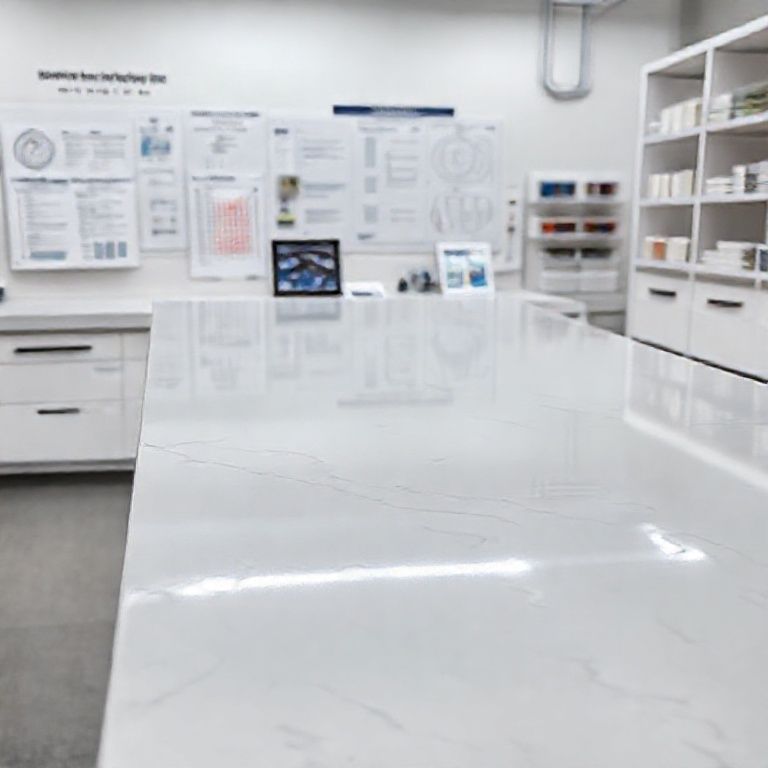
5. Quality Assurance and Final Inspection
After the renovation is complete, a thorough quality assurance process is undertaken to ensure that the marble meets the highest standards of quality and appearance. This involves a detailed inspection to check for any imperfections or areas that may require additional attention.
Quality Assurance Steps:
Visual Inspection: Checking for uniformity, color consistency, and the overall appearance of the marble. Functional Testing: Ensuring that the structural integrity of the marble has been restored and that there are no weak points.
6. Project Completion and Clean-Up
The final stage involves cleaning up the workspace, removing any debris, and ensuring that the area is left clean and safe. The marble renovation team will also provide any necessary instructions for the care and maintenance of the newly renovated marble to ensure its longevity.
Final Steps:
Site Clean-Up: Clearing the work area and disposing of any waste materials. Maintenance Instructions: Providing guidelines on how to care for the marble to maintain its pristine condition.
Conclusion
Marble renovation is a meticulous and detailed process that requires careful planning, expertise, and precision. From initial assessments and minor repairs to extensive resurfacing and intricate pattern re-creation, each stage plays a vital role in delivering a beautiful and long-lasting result. By understanding the timeline and the effort involved in each phase, you can plan your project more effectively and appreciate the craftsmanship that goes into marble restoration.
Thank you for joining us on this detailed exploration of marble renovation timelines. If you have any questions or need further assistance, don’t hesitate to reach out to our expert team. Your beautiful, renewed marble awaits!
7. 项目管理和沟通
有效的项目管理和持续的沟通是确保大理石翻新项目按时完成的关键。这不仅包括与专业翻新团队的协调,还涉及到您与他们的沟通。
项目管理要点:
时间表管理: 制定详细的时间表,明确每个阶段的开始和结束时间。这有助于确保每个步骤都在预期的时间内完成。
预算控制: 保持对整个项目的财务控制,确保在预算范围内完成所有工作。如果预算超支,及时进行调整和沟通。
进度跟踪: 定期检查项目的进展情况,确保没有任何延误。如果发现任何问题,立即采取纠正措施。
沟通要点:
透明度: 确保所有信息都是透明的,无论是关于进度、预算还是问题和挑战。这有助于建立信任和合作关系。
反馈机制: 提供和接受反馈,以便及时调整和改进。这不仅包括对翻新团队的反馈,还包括他们对您的反馈。
8. 后续保养和维护
大理石翻新只是开始,正确的保养和维护才能确保您的大理石在未来多年里保持其美观和完整。
保养和维护建议:
日常清洁: 使用温和的清洁剂和软布进行日常清洁,避免使用含酸的清洁剂,这可能会对大理石造成损害。
定期保护: 定期使用专业的大理石保护剂,以增强大理石的耐用性和光泽度。
及时修复: 对于小的划痕和污渍,及时进行修复,以防止问题恶化。
避免冲击: 避免在大理石表面放置重物或进行剧烈的物理活动,以防止意外破损。
9. 选择可靠的专业团队
选择经验丰富、信誉良好的专业翻新团队是确保项目成功的关键。
选择专业团队的标准:
经验和资质: 确保翻新团队有丰富的经验和必要的资质,能够处理各种复杂的大理石翻新项目。
客户评价: 查看团队的客户评价和案例,了解他们的工作质量和服务水平。
保修和服务: 选择提供保修和良好售后服务的团队,以便在出现问题时能够及时解决。
10. 环保和可持续性
随着环保意识的增强,越来越多的人开始关注翻新过程中的环保和可持续性问题。
环保翻新建议:
使用环保材料: 选择低VOC(挥发性有机化合物)的清洁剂和保护产品,减少对环境和健康的影响。
废物管理: 确保翻新团队有完善的废物管理系统,合理处理建筑垃圾和其他废物。
节能技术: 采用节能和低能耗的翻新技术和设备,减少能源消耗。
结论
大理石翻新是一个复杂而精细的过程,需要详细的规划、专业的技术和良好的管理。通过深入了解每个阶段的具体要求和注意事项,您可以确保项目顺利进行,并最终拥有一块美丽、耐用的大理石表面。无论是选择翻新团队、管理项目,还是进行后续的保养和维护,每一个环节都至关重要。
希望这些建议能够帮助您成功完成大理石翻新项目!如果您有任何具体问题或需要进一步的建议,请随时联系专业翻新团队。