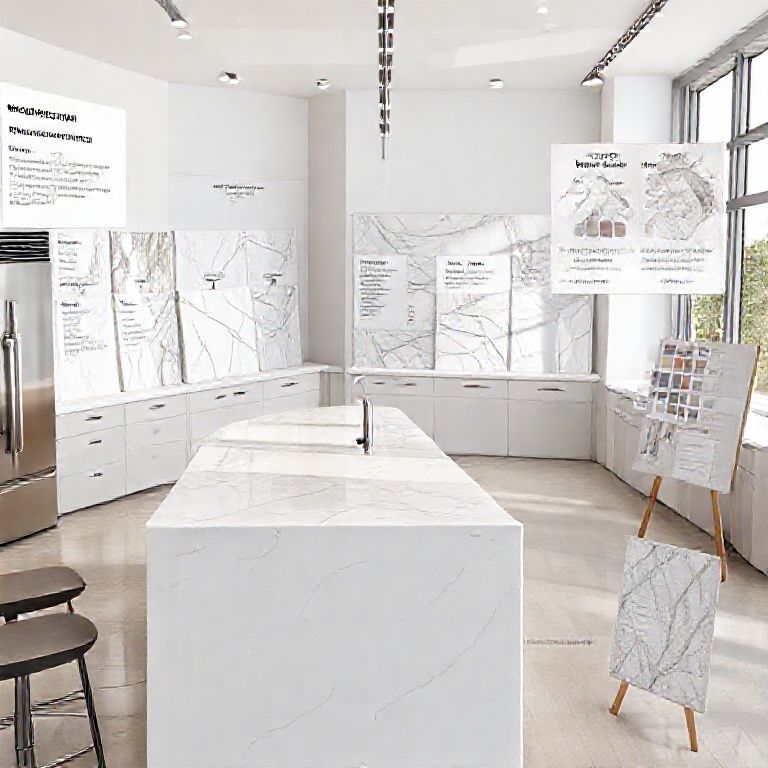
Assessing the Damage and Gathering Materials
Introduction:
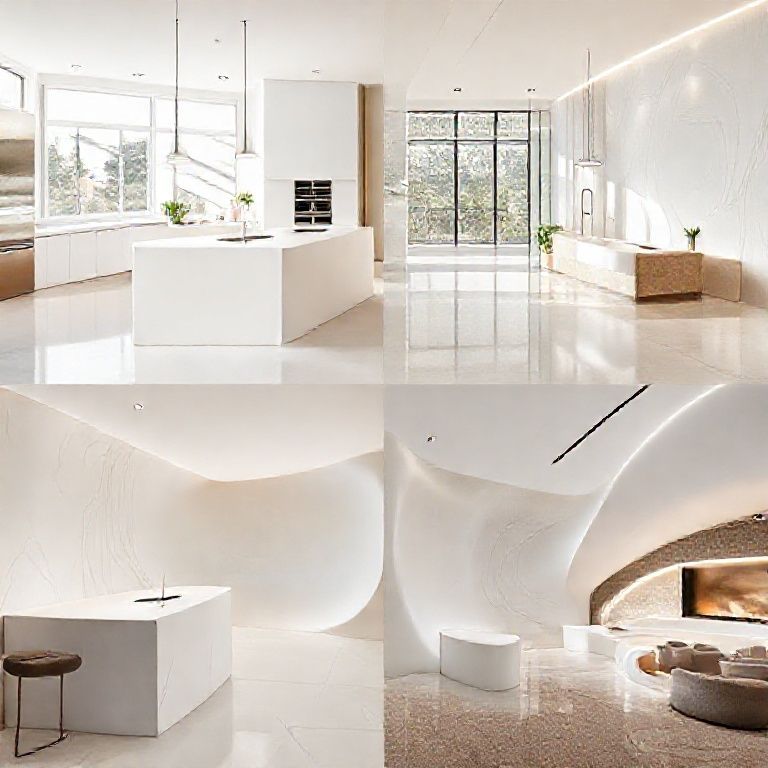
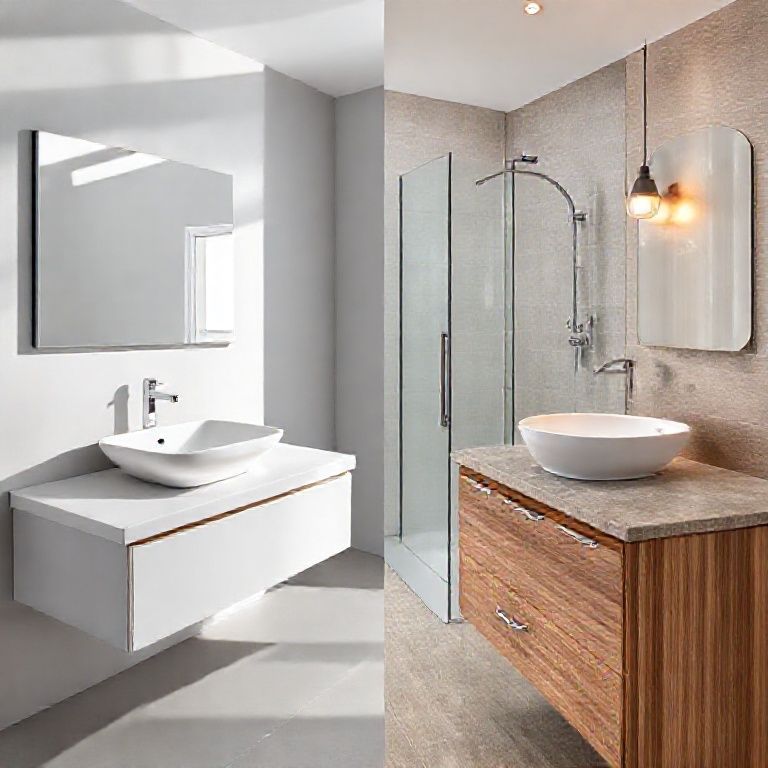
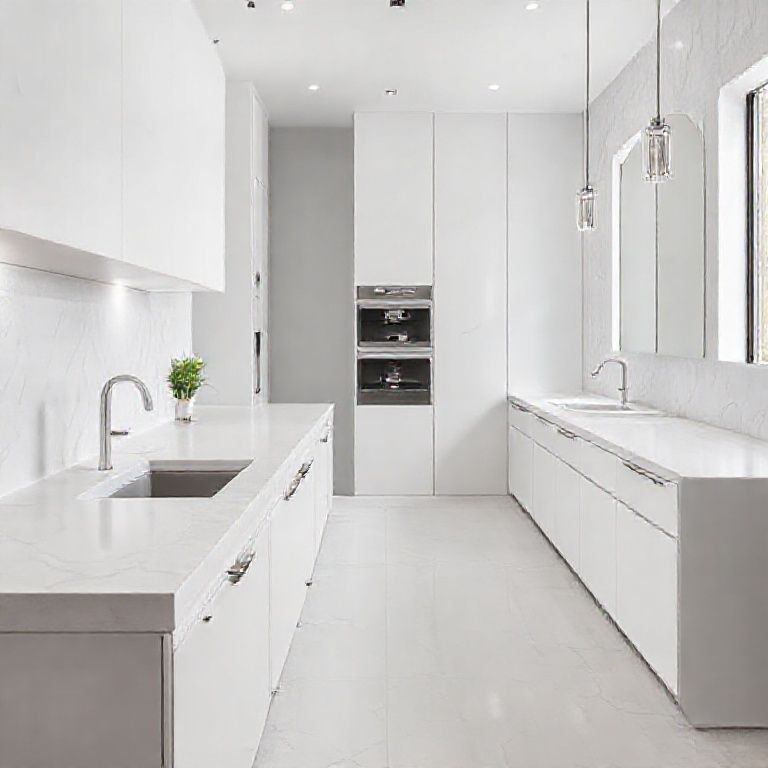
Artificial marble countertops are popular for their durability, aesthetic appeal, and relatively low maintenance. However, despite their resilience, accidents happen. When a crack or break occurs, it’s essential to know how to repair it properly. This guide will take you through the first crucial steps of assessing the damage and gathering the necessary materials for a successful repair.
Step 1: Assess the Damage
The first step in repairing a broken artificial marble countertop is to assess the extent of the damage. Here’s how to do it:
Examine the Break: Look closely at the break to determine its size and location. If the break is superficial, it might be easier to repair than a deep or extensive crack.
Check for Chips: Small chips or cracks are easier to fix than large, gaping breaks. Ensure that the surrounding area is intact and does not have any additional damage.
Evaluate the Surface: Make sure that the surface around the break is clean and free of dust, debris, or any contaminants. This will help in achieving a smooth and even finish after the repair.
Step 2: Gather Your Materials
To repair your artificial marble countertop, you’ll need the following materials:
Epoxy Resin: A high-quality epoxy resin specifically designed for artificial marble. This is the primary material used to fill and bond the broken pieces together.
Mixing Tools: Small mixing bowls and stir sticks for preparing the epoxy resin.
Sandpaper: Medium-grit sandpaper (around 120-grit) to smooth out the epoxy after it has cured.
Fine-grit Sandpaper: A finer sandpaper (around 400-grit) for a polished finish.
Cleaning Supplies: Microfiber cloths and a mild detergent to clean the countertop surface.
Masking Tape: To create clean lines during the repair process.
Clamps (optional): To hold the pieces together during the curing process.
Step 3: Prepare the Area
Before starting the repair, ensure the area around the break is clean:
Clean the Surface: Use a microfiber cloth and mild detergent to clean the countertop thoroughly. Make sure it is completely dry before proceeding.
Mask Off Areas: Use masking tape to cover adjacent areas that you do not want to be affected by the epoxy resin. This helps in achieving clean edges.
Step 4: Mix the Epoxy Resin
Follow the manufacturer’s instructions to mix the epoxy resin. Typically, this involves:
Mixing Ratios: Accurately measure and mix the resin and hardener in the recommended ratio. Ensure that the mixing is thorough to avoid any inconsistencies in the cure.
Stir Well: Use a stir stick to mix until the epoxy is a uniform color and consistency.
Conclusion:
Assessing the damage and gathering the right materials are crucial first steps in repairing a broken artificial marble countertop. By carefully evaluating the extent of the break and ensuring you have all necessary supplies, you set the foundation for a successful repair. In the next part of this guide, we’ll delve into the actual repair process, from applying the epoxy to finishing touches.
Applying the Epoxy and Finishing Touches
Introduction:
With the materials ready and the area prepared, it’s time to tackle the actual repair of your artificial marble countertop. This part of the guide will cover the detailed steps for applying the epoxy resin to the break, ensuring it bonds properly, and finishing the surface for a seamless look.
Step 1: Apply the Epoxy Resin
Now that the surface is prepped and the epoxy resin is mixed, it’s time to apply it to the break:
Fill the Break: Using a small applicator or a syringe, carefully fill the break with the epoxy resin. Make sure to fill the gap completely and avoid any air bubbles.
Smooth the Surface: Use a putty knife or a similar tool to smooth out the epoxy resin over the break. Ensure that it extends slightly beyond the break to ensure a strong bond.
Clamp the Pieces: If you have clamps, gently place them over the repair area to hold the pieces together. This will help in ensuring a tight bond as the epoxy cures.
Clean Excess Resin: Wipe away any excess resin that has squeezed out of the break. Use a damp cloth to clean the surface around the break.
Step 2: Curate the Epoxy
Once the epoxy resin is applied, it needs to cure:
Follow Instructions: Refer to the epoxy resin manufacturer’s instructions for the recommended curing time and temperature. Typically, this can range from a few hours to overnight.
Monitor Curing: Check the epoxy periodically to ensure it’s curing properly. The resin should become hard and opaque.
Step 3: Sanding the Repaired Area
After the epoxy has fully cured, it’s time to smooth out the repaired area:
Start with Medium-grit Sandpaper: Begin sanding the epoxy with medium-grit sandpaper (around 120-grit). Use a gentle, even pressure to avoid damaging the countertop surface.
Transition to Fine-grit Sandpaper: Once the epoxy is smooth, switch to finer-grit sandpaper (around 400-grit) to achieve a polished finish.
Sand in Circular Motions: Use circular motions to sand the epoxy evenly. This will help in blending the repaired area seamlessly with the rest of the countertop.
Step 4: Clean the Surface
After sanding, it’s important to clean the surface again:
Wipe Down: Use a microfiber cloth and mild detergent to clean the countertop. Remove any sanding dust or residue.
Dry Thoroughly: Ensure the surface is completely dry before moving on to the final touches.
Step 5: Final Touches and Maintenance
To ensure your repair looks flawless and lasts long, follow these final steps:
Seal the Epoxy: Applying a clear sealant over the repaired area can add an extra layer of protection and help maintain the countertop’s appearance. Follow the sealant manufacturer’s instructions for application.
Polish the Surface: For a shiny finish, use a countertop polish suitable for artificial marble. This will give your countertop a fresh, new look.
Regular Maintenance: To keep your artificial marble countertop looking pristine, clean it regularly with a mild detergent and avoid using harsh chemicals or abrasive cleaners.
Conclusion:
Repairing a broken artificial marble countertop is a manageable DIY project with the right approach and materials. By applying the epoxy resin carefully, allowing it to cure, and then sanding and polishing the repaired area, you can restore your countertop to its original beauty. Regular maintenance and proper care will ensure your countertop remains durable and attractive for years to come. With this comprehensive guide, you now have all the information you need to tackle a broken artificial marble countertop confidently.
By following these detailed steps, you can repair a broken artificial marble countertop effectively and restore its original beauty. Whether it’s a small chip or a larger break, with the right materials and techniques, you can achieve professional-looking results at home.