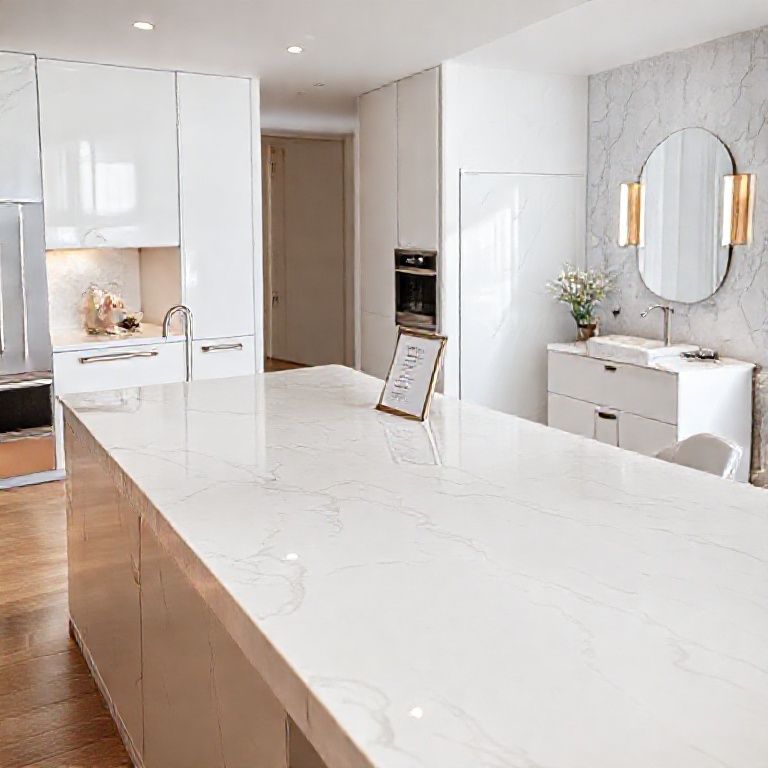
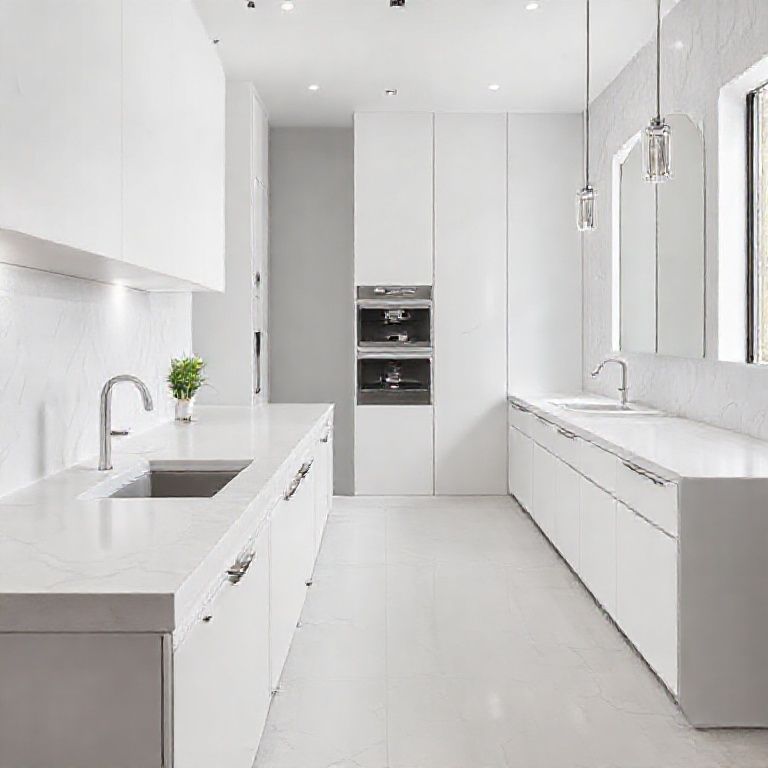
In today’s fast-paced world, maintaining the aesthetic appeal of our homes is paramount. Artificial stone countertops are a popular choice due to their durability, low maintenance, and stunning appearance. However, accidents happen, and even the strongest materials can suffer damage. This comprehensive guide will walk you through the process of repairing a broken artificial stone countertop.

Step 1: Assessing the Damage
The first step in repairing your artificial stone countertop is to carefully assess the damage. Take a close look at the broken area to determine the extent of the damage. Is it just a crack, or has a larger section broken off? Identifying the nature and severity of the damage will guide you in choosing the right repair technique.
Step 2: Gather Your Tools and Materials
Before starting the repair, gather all necessary tools and materials. Here’s what you’ll need:
Epoxy Resin and Hardener: Specifically designed for repairing stone surfaces. Sandpaper: Different grits for smoothing out the area. Mixing Tools: For combining epoxy resin and hardener. Cleaning Supplies: To ensure the surface is clean and free from dust. Protective Gear: Gloves, safety glasses, and a mask to protect yourself from chemicals.
Step 3: Preparing the Area
Proper preparation is key to a successful repair. Follow these steps:
Clean the Area: Use a damp cloth to clean the broken area thoroughly. Remove any dust, debris, or old adhesive. Dry the Surface: Ensure the area is completely dry before proceeding. Sand the Edges: Lightly sand the broken edges with fine-grit sandpaper to create a rough surface that will help the epoxy adhere better.
Step 4: Applying the Epoxy Resin
Now that your countertop is prepped, it’s time to apply the epoxy resin:
Mix the Epoxy: Follow the manufacturer’s instructions for mixing the epoxy resin and hardener. Typically, a ratio of two parts resin to one part hardener is used. Apply the Mixture: Use a putty knife or a similar tool to apply the epoxy mixture to the broken area. Ensure it fills the crack or gap completely. Smooth the Surface: Use a clean cloth or a spatula to smooth the surface of the epoxy, ensuring it’s level with the rest of the countertop.
Step 5: Curing the Epoxy
Allow the epoxy to cure according to the instructions provided by the manufacturer. This usually takes several hours. During this time, avoid placing any heavy objects on the repaired area to prevent any further damage.
Step 6: Final Touches
Once the epoxy has cured, it’s time for the final touches:
Sand the Area: Lightly sand the repaired area with fine-grit sandpaper to smooth it out and blend it with the rest of the countertop. Clean Again: Clean the area to remove any sanding dust. Seal the Surface: For added durability, apply a stone countertop sealant to protect the repair and the rest of the surface.
Additional Tips
Match the Color: To ensure the repair blends seamlessly, purchase epoxy resin that matches the color of your artificial stone. Practice: If you’re new to this type of repair, practice on a small, inconspicuous area first to get a feel for the process. Seek Help: If the damage is extensive, consider seeking professional help to avoid compromising the integrity of the countertop.
By following these steps, you can effectively repair a broken artificial stone countertop, restoring its beauty and functionality. In the next part of this guide, we will delve deeper into advanced techniques and troubleshooting tips for more complex repairs.
Welcome back! In this part of our comprehensive guide, we’ll explore advanced techniques for repairing a broken artificial stone countertop. Whether you’re dealing with a complex crack or a significant section that has broken off, this section provides expert tips and troubleshooting advice to ensure your countertop is restored to its former glory.
Advanced Repair Techniques
1. Replacing a Broken Section
When a large section of your artificial stone countertop is broken, replacing it might be the best option. Here’s how:
Measure the Broken Area: Use a tape measure to determine the size of the broken section. Cut a Replacement Piece: Purchase a piece of artificial stone that matches the color and style of your countertop. Use a wet saw to carefully cut the replacement piece to size. Prepare the Edges: Sand the edges of both the broken section and the replacement piece to create a smooth fit. Apply Adhesive: Use a high-quality adhesive specifically designed for stone surfaces. Apply it to the edges of the broken section and the replacement piece. Fit the Replacement: Carefully fit the replacement piece into place and hold it in position until the adhesive sets. Smooth and Finish: Once the adhesive has cured, sand the edges to blend the new piece seamlessly with the existing countertop. Clean and seal the surface as described in Part 1.
2. Using Fillers for Large Cracks
For large cracks that are difficult to fill with epoxy alone, using a stone filler can provide a more durable solution:
Select a Filler: Choose a stone filler that matches the color of your countertop. Mix the Filler: Follow the manufacturer’s instructions for mixing the filler. Apply the Filler: Use a putty knife to apply the filler into the crack. Ensure it fills the crack completely and smooth the surface. Cure and Sand: Allow the filler to cure, then sand the area until it’s smooth and level with the rest of the countertop. Seal the Surface: Apply a stone sealant to protect the repair.
Troubleshooting Common Issues
Even with the best preparation and techniques, issues can arise. Here’s how to troubleshoot common problems:
1. Epoxy Doesn’t Adhere
If the epoxy doesn’t adhere properly, it’s likely due to an unclean surface or incorrect mixing:
Clean Thoroughly: Ensure the surface is completely clean and dry before applying the epoxy. Mix Properly: Follow the ratio instructions carefully and mix thoroughly. Test a Small Area: Practice on a small, inconspicuous area to ensure the epoxy adheres properly.
2. Cracks Appear After Repair
If cracks reappear after the repair, consider these potential issues:
Improper Curing: Ensure the epoxy has fully cured before using the countertop. Overloading: Avoid placing heavy objects on the repaired area until it’s fully cured. Quality of Materials: Use high-quality epoxy and adhesive to ensure durability.
3. Color Doesn’t Match
Color mismatch can be a concern when repairing artificial stone:
Match the Color: Purchase epoxy or filler that matches the color of your countertop. Test on a Small Area: Test the color match on a small, inconspicuous area before applying it to the entire repair.
Innovative Solutions
For those looking to go beyond basic repairs, consider these innovative solutions:
1. Custom Repair Kits
Some manufacturers offer custom repair kits that include color-matched epoxy, fillers, and adhesives. These kits are designed to provide an exact match and ensure a seamless repair.
2. 3D Printing
For particularly complex repairs, 3D printing can create custom pieces that fit perfectly. This technology is more advanced but can offer a highly precise solution.
3. Professional Services
If the damage is extensive or you’re not confident in your DIY skills, consider hiring a professional. Professionals have the tools and expertise to ensure a flawless repair, often at a cost当然,可以继续探讨关于修复人造石台面的更多细节和技巧。
在这里,我们将深入探讨如何处理更复杂的损坏情况,如深层裂缝、磨损区域和表面划痕等。
深层裂缝修复
深层裂缝可能需要更复杂的修复方法:
切割与填充:使用湿切割机将裂缝沿着裂缝的方向进行精细切割。然后使用专门的填充剂填充裂缝,填充剂应与人造石颜色匹配。填充后,需要进行打磨和抛光以使其与台面表面平滑。
使用石材修复胶:选择一种高性能的石材修复胶,这种胶水不仅能填补裂缝,还能强化石材的结构。根据产品说明进行混合,然后使用注入器将其注入裂缝,最后打磨抛光。
磨损区域修复
磨损区域可能是由于日常使用导致的表面磨损:
重新打磨与抛光:在磨损区域进行细致打磨,使用不同粒度的砂纸或电动打磨器逐步打磨,直到表面平滑。然后进行抛光,以恢复光泽。
表面重新涂层:对于严重磨损的区域,可以考虑在表面涂上一层保护性涂层。这种涂层不仅能修复表面,还能增加耐用性和防污性。
表面划痕修复
表面划痕可能是由于用尖锐物品滑过台面时造成的:
填充与打磨:使用专门的石材填充剂填充划痕,确保颜色匹配。填充后,需要使用细砂纸进行打磨,直到划痕消失,然后进行抛光。
高科技修复:对于深层划痕,可以使用激光修复技术。激光能够精确地去除划痕并重新抛光,使得修复区域与原表面完全一致。
预防措施
为了避免未来再次发生损坏,可以采取以下预防措施:
使用保护垫:在放置锐角物品或热物品时,使用保护垫来防止划伤和热损伤。
定期清洁:使用适合人造石材质地的清洁剂,定期清洁台面,避免积累油污和污垢。
避免使用硬刷子:硬刷子可能会划伤表面,应使用软毛刷或海绵清洁。
保护盖:在长期不使用台面时,可以使用保护盖来避免灰尘和损坏。