How to Repair a Broken Artificial Stone Countertop: Comprehensive Guide with Visual Aids
Artificial stone countertops are popular for their durability, easy maintenance, and natural appearance. However, despite their robustness, they can still crack or break over time due to various reasons like accidental impacts or wear and tear. Fortunately, repairing a broken artificial stone countertop doesn’t have to be a daunting task. With the right materials and a clear set of instructions, you can restore your countertop to its original state. Here’s a comprehensive guide to help you repair your broken artificial stone countertop with visual aids.
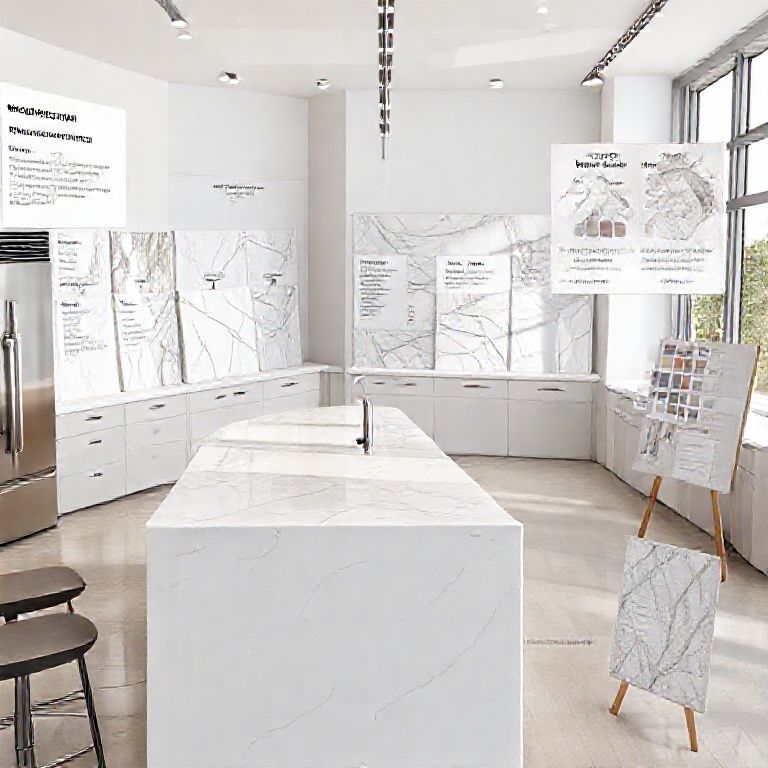
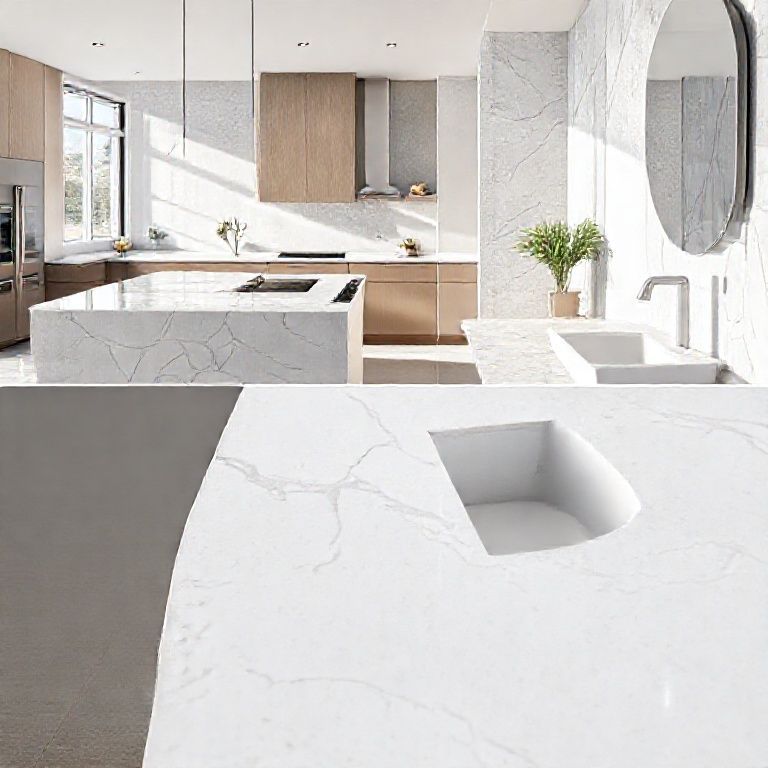
Understanding the Basics of Artificial Stone Countertops
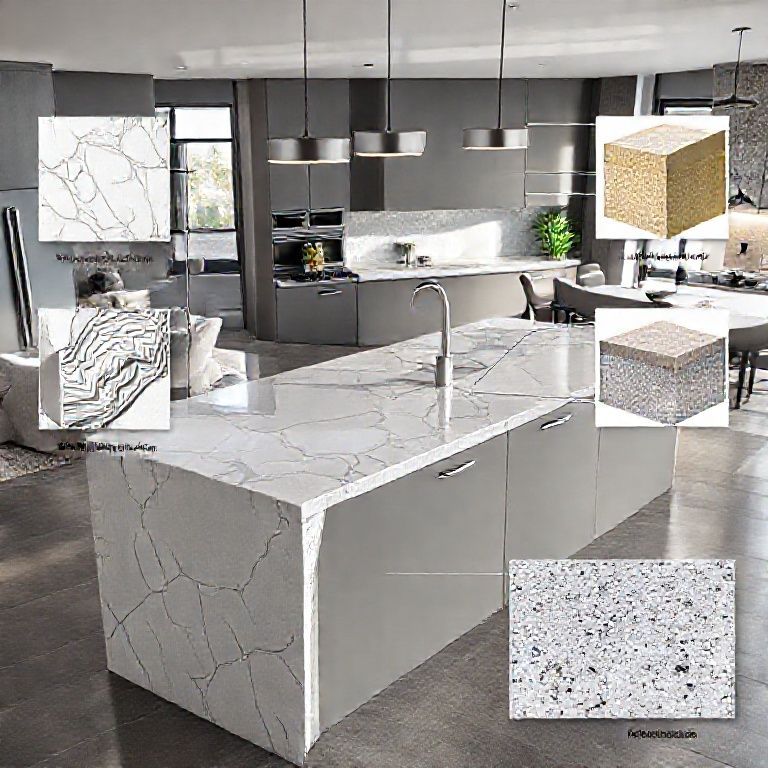
Before diving into the repair process, it’s essential to understand what artificial stone is made of. Artificial stone, often called quartz, is a composite material made from silica sand, calcium carbonate, and other minerals, which are fused together at high temperatures to form a solid, durable surface. This material is less prone to scratches and chips compared to natural stone, but it can still suffer damage that requires repair.
Materials You’ll Need for Repair
To repair a broken artificial stone countertop, you will need the following materials:
Artificial stone repair kit (including color matching paste) Fine-grit sandpaper (120-220 grit) Mixing spatula Soft cloths Water Clean cloth for cleaning the surface
Step-by-Step Repair Process
Step 1: Assess the Damage
The first step in repairing your artificial stone countertop is to assess the damage. Determine the extent of the crack or break. If the damage is minor, such as a small chip or crack, you can proceed with the repair. For larger breaks, ensure you have the right color matching paste from your repair kit.
Step 2: Clean the Area
Clean the damaged area thoroughly using a damp cloth. Ensure the surface is free from dust, grease, and any other debris. This step is crucial as any contaminants can prevent the repair paste from adhering properly.
Step 3: Sand the Edges
Using fine-grit sandpaper (120-220 grit), lightly sand the edges of the crack or break. This will create a rough surface that will help the repair paste adhere better. Be gentle to avoid making the crack larger. After sanding, clean the area again with a clean, dry cloth.
Step 4: Apply Repair Paste
Using the mixing spatula, apply a small amount of color matching repair paste to the damaged area. Ensure the paste is the same color as your countertop to maintain a seamless look. Apply it thinly and evenly, making sure to fill any gaps or cracks completely. Allow the paste to dry according to the manufacturer’s instructions, which is usually a few minutes.
Step 5: Smooth the Surface
Once the paste has dried, use a soft cloth to smooth the surface. This step will ensure the repaired area blends seamlessly with the rest of the countertop.
Step 6: Final Clean
Finally, clean the entire countertop with a damp cloth to remove any dust or residue left from the repair process. Your artificial stone countertop should now look as good as new.
Tips for Long-Lasting Repairs
To ensure your repairs last as long as possible, consider the following tips:
Always use color-matching repair paste to ensure the repair area blends seamlessly. Avoid placing heavy objects directly on the repaired area until it has fully cured. Regularly clean and maintain your countertop to prevent future damage.
How to Repair a Broken Artificial Stone Countertop: Comprehensive Guide with Visual Aids
Repairing a broken artificial stone countertop can be a straightforward process if you follow the right steps and use the appropriate materials. This comprehensive guide will walk you through the repair process with visual aids to help you achieve the best results.
Visual Aids for Repair Process
To help you understand each step better, here are some visual aids that depict the repair process. These images will guide you through each stage, from assessing the damage to the final cleaning.
Figure 1: Assess the Damage – Inspect the crack or break to determine the extent of the damage.
Figure 2: Cleaning the Area – Use a damp cloth to clean the damaged area thoroughly.
Figure 3: Sanding the Edges – Gently sand the edges of the crack with fine-grit sandpaper.
Figure 4: Applying Repair Paste – Apply the color matching repair paste thinly and evenly.
Figure 5: Smoothing the Surface – Use a soft cloth to smooth the surface of the repair paste.
Figure 6: Final Clean – Clean the entire countertop to remove any dust or residue.
Common Mistakes to Avoid
When repairing an artificial stone countertop, it’s easy to make mistakes that can compromise the repair. Here are some common mistakes to avoid:
Using the wrong color repair paste: Always use a color-matching paste to ensure a seamless repair. Not allowing enough drying time: Follow the manufacturer’s instructions for drying times to ensure the repair holds well. Over-sanding: Be gentle when sanding the edges to avoid making the crack larger. Not smoothing the surface properly: Ensure the surface is smooth to avoid an uneven finish.
Preventative Measures for Future Repairs
To minimize the chances of needing repairs in the future, consider these preventative measures:
Use protective pads on heavy objects: Place protective pads or weights on objects that are frequently placed on the countertop to prevent scratches and chips. Clean regularly: Regularly clean the countertop to remove spills and stains promptly, which can lead to further damage. Avoid sharp objects: Do not use sharp objects on the countertop as they can easily cause cracks.
Conclusion
Repairing a broken artificial stone countertop doesn’t have to be a complex or costly process. With the right materials and a clear set of instructions, you can restore your countertop to its former glory. Follow the steps outlined in this guide, use the visual aids provided, and avoid common mistakes to achieve a professional-looking repair. Remember, regular maintenance and preventative measures will help prolong the life of your artificial stone countertop, reducing the need for future repairs.
By taking the time to properly repair your artificial stone countertop, you ensure its longevity and maintain the aesthetic appeal of your kitchen or bathroom. Happy repairing!
With this comprehensive guide, you now have the knowledge and tools to repair a broken artificial stone countertop effectively. Whether it’s a small chip or a larger break, you can restore your countertop to its original beauty with confidence.