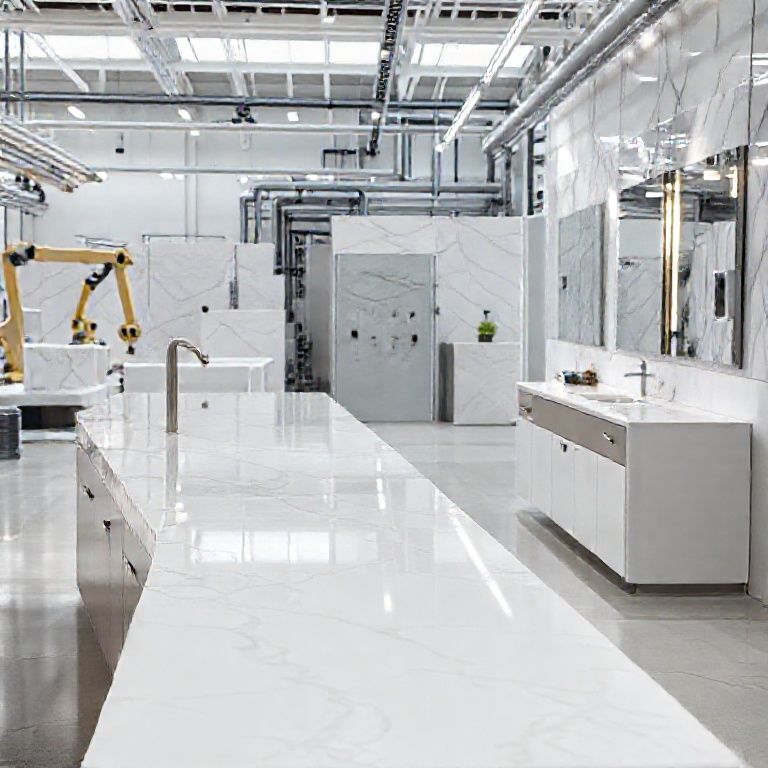
Welcome to the first part of our comprehensive guide on repairing and polishing artificial stone countertops using water polishing. Artificial stone, a popular choice for its durability and aesthetic appeal, can develop cracks over time due to various factors such as accidental impacts or wear and tear. Fear not, as with the right techniques and tools, you can restore your countertop to its pristine condition. In this part, we will cover the initial steps, from identifying the crack to preparing the surface for polishing.
Step 1: Identifying and Assessing the Crack
The first step in repairing your artificial stone countertop is to identify and assess the crack. Artificial stone countertops can develop cracks in various places, but understanding the extent and nature of the damage is crucial for the repair process.
Look for:
Visible Cracks: Cracks that are visible to the naked eye. Hidden Cracks: Cracks that may not be visible but can be felt under pressure. Size and Depth: The size and depth of the crack determine the repair method and materials needed.
Tools Needed:
Flashlight Magnifying glass Crack assessment tools (if necessary)
Step 2: Cleaning the Crack
Before you can repair the crack, you need to clean the area thoroughly. Any dirt, debris, or old repair material can affect the effectiveness of the new repair.
Cleaning Steps:
Vacuum the Area: Use a vacuum cleaner with a brush attachment to remove any loose dirt and debris from the crack. Wipe with a Damp Cloth: Dampen a cloth with water or a mild cleaner and wipe the area around the crack to remove any remaining dirt. Dry Thoroughly: Ensure the area is completely dry before proceeding with the repair.
Step 3: Preparing the Surface for Repair
Preparation is key to a successful repair. You need to ensure that the surface is clean, dry, and free from any contaminants that could interfere with the repair process.
Surface Preparation Steps:
Sand the Crack: Use a fine-grit sandpaper (around 220 grit) to gently sand the edges of the crack. This helps to create a clean surface for the repair material to adhere to. Remove Loose Particles: After sanding, use a vacuum cleaner to remove any loose particles and dust from the surface. Inspect the Surface: Ensure the surface is smooth and free from any remaining debris.
Step 4: Choosing the Right Repair Material
Choosing the right repair material is essential for a successful repair. For artificial stone, a high-quality epoxy or a specialized stone repair kit is recommended. These materials are designed to bond well with artificial stone and provide a durable repair.
Considerations:
Color Matching: Choose a repair material that closely matches the color of your countertop. Brand Reputation: Opt for well-known brands that offer reliable and durable repair products. Application Method: Ensure the product is easy to apply and matches your skill level.
Step 5: Applying the Repair Material
Now that your surface is prepared, it’s time to apply the repair material. Follow the manufacturer’s instructions carefully for the best results.
Application Steps:
Mix the Repair Material: Follow the manufacturer’s instructions to mix the repair material correctly. Apply the Repair Material: Use a putty knife or a similar tool to apply the repair material into the crack. Fill the crack completely and smooth out the surface. Allow to Cure: Let the repair material cure as per the manufacturer’s instructions. This usually involves letting it sit undisturbed for a specific period.
Conclusion
In this part of our guide, we’ve covered the essential steps to repair and polish artificial stone countertops using water polishing techniques. From identifying and assessing the crack to preparing the surface and applying the repair material, each step is crucial for achieving a successful repair. In the next part, we will delve deeper into the polishing techniques and provide a detailed video guide to help you through the process. Stay tuned for more expert tips and professional-quality results!
Stay connected with our channel for more detailed guides and tutorials on home repair and maintenance. Don’t forget to like, share, and subscribe for more valuable content!