Repairing Cracks in Artificial Stone Countertops
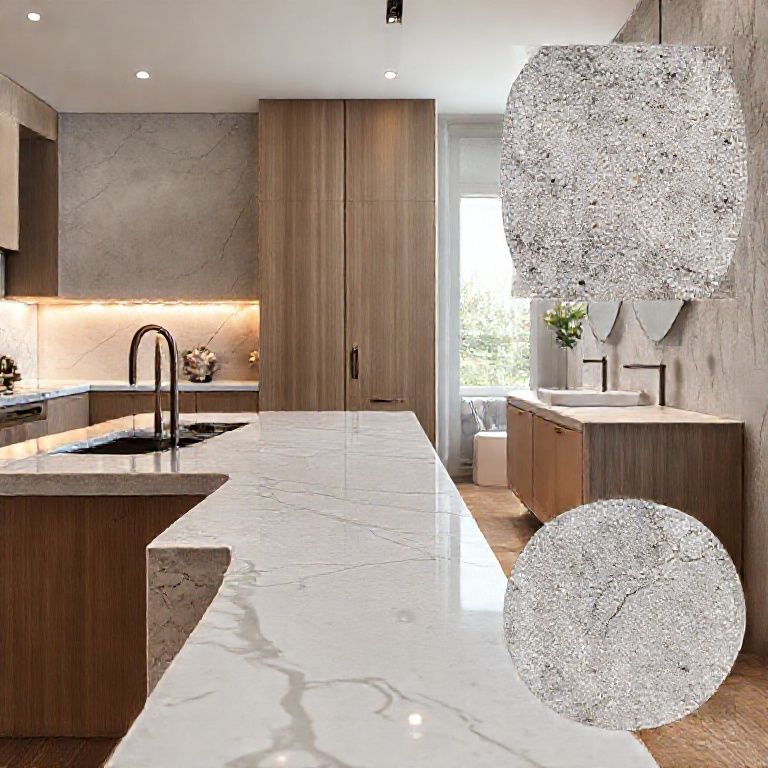
Introduction: Artificial stone countertops are incredibly popular for their durability, ease of maintenance, and stunning aesthetics. However, like all materials, they are susceptible to cracks over time due to wear, tear, and impact. Thankfully, repairing these cracks is a straightforward process, especially when employing water-polishing techniques. In this first part of our guide, we will explore the step-by-step process for repairing cracks in artificial stone countertops effectively.
Step 1: Preparation
Before diving into the repair process, proper preparation is crucial. Here’s what you need to do:
Safety First: Always wear protective gear such as gloves, safety goggles, and a dust mask to protect yourself from harmful particles and chemicals.
Clean the Area: Thoroughly clean the cracked area with a damp cloth to remove any dust, debris, or grime. This ensures a clean surface for the repair material to adhere properly.
Dry the Surface: Allow the cleaned area to dry completely before proceeding with the repair. Moisture can interfere with the bonding process.
Step 2: Crack Repair
Once the area is prepared, follow these steps to repair the crack:
Inspect the Crack: Carefully examine the crack to determine its depth and width. This will help you choose the right repair material.
Select Repair Material: For small to medium cracks, a specialized stone countertop repair filler is ideal. These fillers are available in various colors to match your countertop.
Apply Repair Filler: Using a small applicator or a putty knife, fill the crack with the repair filler. Apply it in thin layers to avoid excess material. Smooth the filler over the crack with a damp cloth to ensure it blends seamlessly with the surface.
Allow to Dry: Let the repair filler dry completely according to the manufacturer’s instructions. This usually takes a few hours.
Step 3: Sanding the Repair
After the filler has dried, it’s time to sand the repaired area to create a smooth surface:
Sanding Block: Use a sanding block with fine-grit sandpaper to gently sand the repaired area. Start with a coarser grit and gradually move to finer grits for a polished finish.
Smooth the Surface: Ensure that the sanded area is perfectly smooth and level with the surrounding countertop. This is crucial for the water-polishing step that follows.
Step 4: Initial Polishing
The next step is to polish the repaired area to enhance its appearance:
Polishing Compound: Apply a small amount of polishing compound to a soft cloth or a polishing pad.
Polish the Area: Gently polish the repaired area using circular motions. Ensure that the compound is evenly distributed across the surface.
Buff to Shine: Once the compound is removed, buff the area with a clean, dry cloth to achieve a high shine. This step highlights the repaired section and integrates it seamlessly with the rest of the countertop.
Conclusion:
Repairing cracks in artificial stone countertops using water-polishing techniques can restore your countertop to its original beauty. With careful preparation, the right materials, and proper technique, even the most visible cracks can be repaired and polished to perfection. In the next part of this guide, we will delve deeper into the water-polishing process and provide a detailed video tutorial to help you master this technique.
Mastering Water-Polishing Techniques for Artificial Stone Countertops
Introduction:
Water-polishing is a highly effective method for achieving a stunning finish on artificial stone countertops. This technique not only enhances the aesthetic appeal but also adds a layer of protection to the surface. In this second part of our guide, we will explore advanced water-polishing techniques and provide an in-depth video tutorial to help you master this process.
Step 1: Understanding Water-Polishing
Water-polishing involves using a special polishing compound and water to achieve a high-gloss finish. Here’s how it works:
Polishing Compound: This is a specialized paste or cream designed for use with artificial stone. It contains fine abrasives that help to smooth and shine the surface.
Water: Water is mixed with the polishing compound to create a slurry that helps in the polishing process. The water also helps to remove the polishing compound and any dust or debris generated during polishing.
Step 2: Setting Up for Water-Polishing
Before you begin, ensure you have all the necessary tools and materials:
Polishing Machine: A dual-action polisher is ideal for achieving a professional finish. It has both a polishing pad and a water-mixing mechanism.
Polishing Pad: A soft, non-abrasive polishing pad is essential for artificial stone.
Polishing Compound: Choose a high-quality compound specifically formulated for artificial stone.
Water Source: A small bucket or container to hold water.
Step 3: Applying the Polishing Compound
Follow these steps to apply the polishing compound:
Prepare the Pad: Dip the polishing pad into the polishing compound and work it into the pad until it’s evenly coated.
Apply to Surface: Gently apply the pad to the countertop, starting from the center and working outward in circular motions. Ensure that the compound is evenly distributed across the surface.
Step 4: Adding Water
The key to water-polishing is the correct ratio of water to polishing compound:
Water Mixture: Fill the water container with water. The ideal ratio is typically 3:1 water to compound.
Soak Pad: Dip the polishing pad into the water mixture and let it soak for a few seconds. This softens the compound and makes it more effective.
Polish with Water: Apply the pad to the countertop, allowing the water to flow over the surface. The water helps to lubricate the pad and removes the polishing compound and dust.
Step 5: Polishing Technique
Achieving a professional finish requires precision and patience:
Circular Motions: Use consistent, circular motions to polish the entire surface. This helps to evenly distribute the polishing compound and water.
Overlap Strokes: Ensure that each stroke overlaps slightly with the previous one to avoid any missed spots.
Buffing: Once the polishing pad has been used over the entire surface, switch to a clean, dry pad to buff the countertop. This step removes any remaining water and leaves a high shine.
Step 6: Final Touches
After polishing, the countertop should look immaculate:
Inspect the Surface: Check for any missed spots or areas that require additional polishing. Address these with the polishing pad and water.
Clean the Countertop: Use a clean, damp cloth to wipe away any remaining water or residue. Follow up with a dry cloth to ensure the surface is completely dry.
Seal the Surface (Optional): For added protection, consider applying a countertop sealant. Follow the manufacturer’s instructions for application.
Video Tutorial:
To help you master the water-polishing technique, we’ve created a detailed video tutorial. Watch it to see the process in action and to get tips and tricks from our experts:
Watch the Water-Polishing Tutorial Here
Conclusion:
Water-polishing is an essential technique for maintaining and enhancing the beauty of artificial stone countertops. By following the steps outlined in this guide and watching our video tutorial, you’ll be able to achieve a professional-looking finish that will impress anyone who sees your work. Remember, patience and practice are key to mastering this technique. Happy polishing!