part1
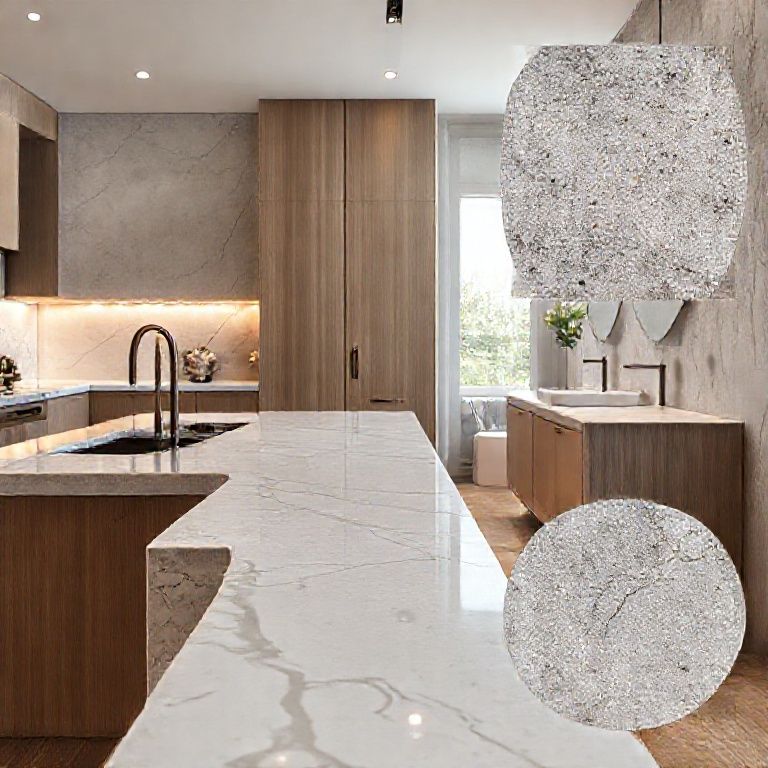
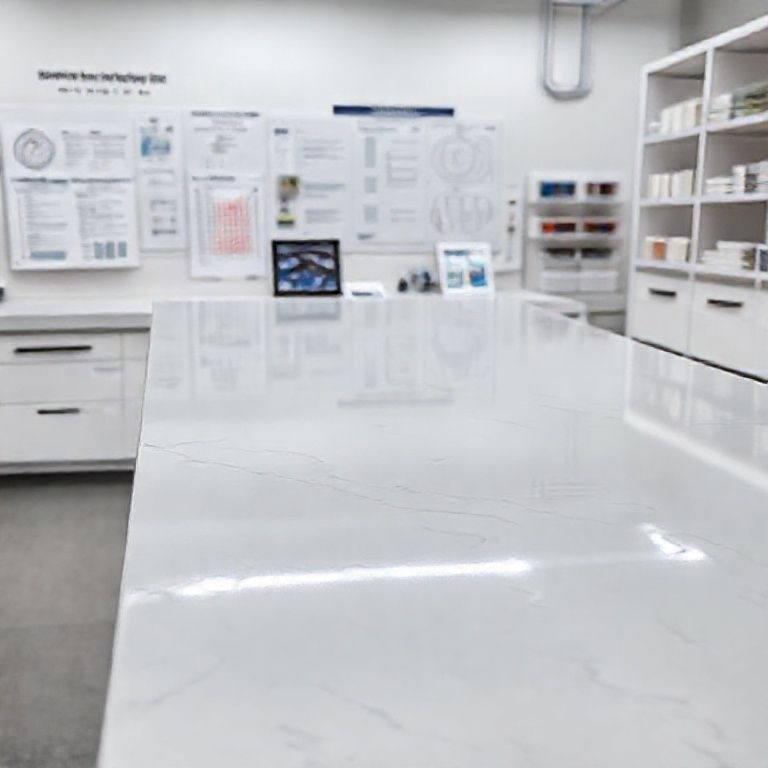
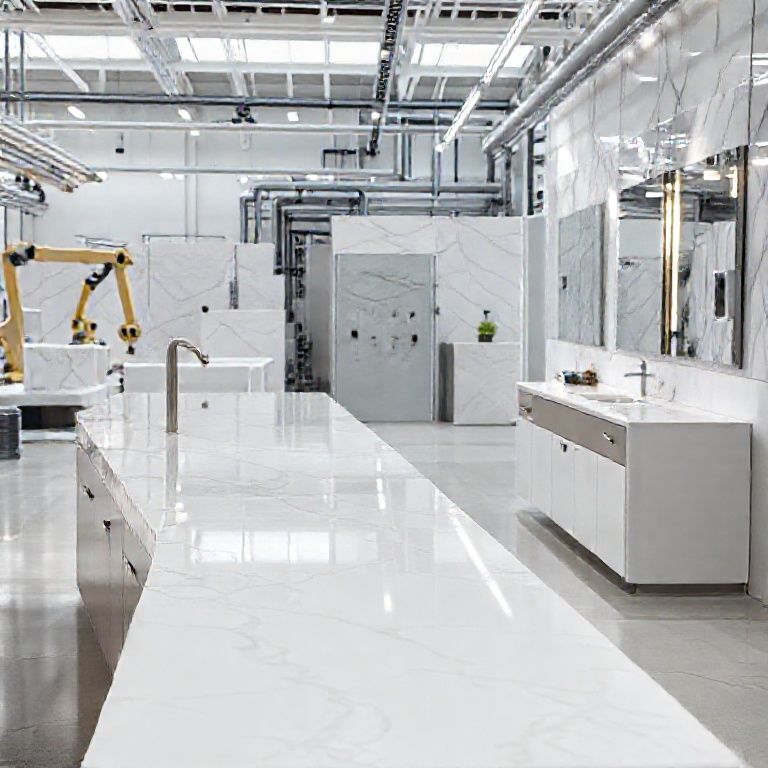
In today’s modern kitchens and bathrooms, artificial stone countertops have become a popular choice due to their durability, aesthetic appeal, and low maintenance requirements. However, despite their robustness, these countertops are not immune to damage. One of the most common issues is the formation of cracks. Whether it’s from heavy objects, accidental impacts, or natural wear and tear, cracks can be a significant concern. In this comprehensive guide, we’ll delve into how to repair cracks in artificial stone countertops, focusing on the initial assessment, necessary tools, and the importance of proper preparation.
Initial Assessment: Understanding the Damage
Before diving into the repair process, it’s crucial to conduct a thorough assessment of the crack. This step will help determine the severity of the damage and guide you on the appropriate repair method. Here’s how to approach the initial assessment:
Examine the Crack: Carefully inspect the crack to determine its size, depth, and location. Cracks can vary greatly in these aspects, and understanding them will help you decide on the best repair technique.
Check for Multiple Cracks: Sometimes, a single crack may be accompanied by several smaller ones. Addressing all cracks together ensures a more seamless repair.

Assess Surface Integrity: Ensure that the surrounding surface of the countertop is intact and not compromised. If the surface is damaged, it may need to be sanded or polished before repair.
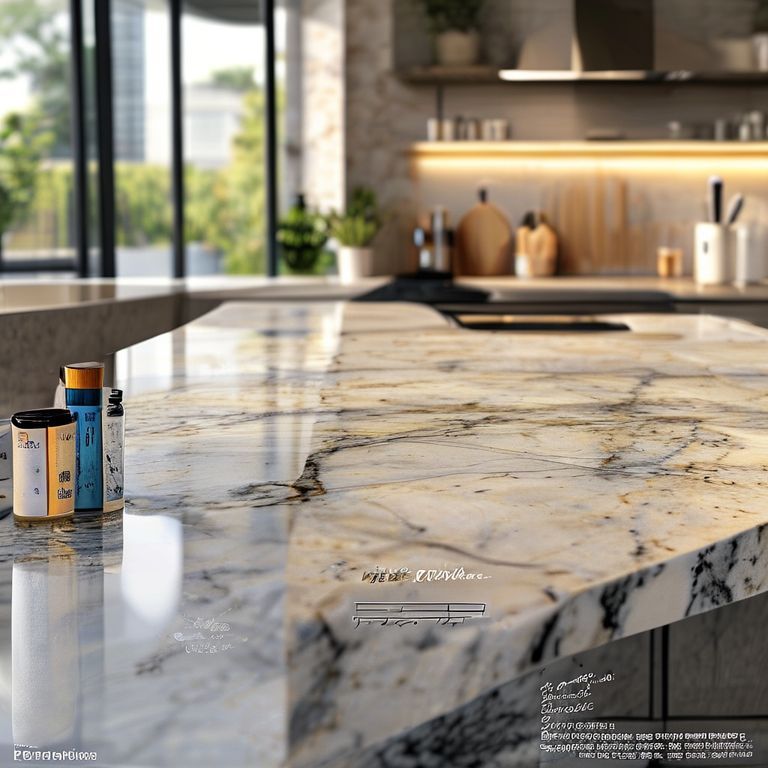
Evaluate the Material: Artificial stone comes in various types, such as quartz, granite, and composite stones. Knowing the specific type of material will help in selecting the right repair method and materials.
Necessary Tools and Materials
To successfully repair cracks in artificial stone countertops, you’ll need a few essential tools and materials. Here’s a list to get you started:
Fine Sandpaper or Diamond Grinding Wheel: For smoothing out the edges of the crack and the surrounding area.
Epoxy Resin: Specifically designed for stone repairs, this is the primary material for filling cracks.
Mixing Bowl and Stirring Rod: For preparing the epoxy resin if it requires mixing.
Cloths and Rags: For cleaning and wiping surfaces during and after the repair process.
Protective Gear: Safety glasses, gloves, and a dust mask to protect yourself from dust and debris.
Epoxy Hardener: If your epoxy resin requires a hardener, make sure to have this on hand.
Importance of Proper Preparation
Proper preparation is critical to the success of the repair process. Here’s why it’s essential and what steps to take:

Clean the Area: Before any repair work, thoroughly clean the cracked area. Use a damp cloth to remove any dirt, grease, or debris. Allow the surface to dry completely.
Wear Protective Gear: Safety should always come first. Wear gloves, safety glasses, and a dust mask to protect yourself from harmful particles and chemicals.
Dry Fit the Epoxy: Before applying the epoxy resin, do a dry fit to ensure it fits well in the crack. This helps in assessing the amount of material needed.
Measure and Cut Epoxy if Needed: If the epoxy resin comes in a larger size than the crack, you may need to cut it to fit. Use a utility knife for precise cuts.
Prepare the Surrounding Area: Ensure that the surrounding area is free from dust and debris. This will help in achieving a clean and professional finish.
Step-by-Step Repair Process
Now that you have assessed the damage, gathered the necessary tools, and prepared the area, it’s time to move on to the actual repair process. Here’s a detailed, step-by-step guide:
Sand the Crack: Using fine sandpaper or a diamond grinding wheel, carefully sand the edges of the crack. This will help create a smooth surface for the epoxy to adhere to. Be gentle to avoid spreading the crack further.
Apply Epoxy Resin: Mix the epoxy resin according to the manufacturer’s instructions. Pour a small amount into the crack and use a stirring rod to spread it evenly. Make sure to fill the crack completely.
Smooth the Epoxy: Once the epoxy is in place, use a clean cloth or a brush to smooth it out. This ensures that the epoxy sits flush with the surface of the countertop.
Allow to Cure: Let the epoxy resin cure according to the manufacturer’s recommendations. This usually involves leaving it undisturbed for several hours or overnight.
Sand the Cured Epoxy: Once the epoxy has cured, sand it gently to ensure it is smooth and level with the countertop surface.
Clean the Surface: After sanding, clean the surface with a damp cloth to remove any dust or residue. Allow it to dry completely.
Final Touches: If necessary, polish the area with a stone countertop polish to restore the shine and finish.
Conclusion
Repairing cracks in artificial stone countertops is a manageable DIY project with the right approach and tools. By conducting a thorough assessment, gathering the necessary materials, and following proper preparation steps, you can effectively restore the integrity and appearance of your countertop. In the next part, we’ll explore advanced techniques and additional tips for ensuring a flawless repair.
part2
Building on the foundational steps covered in the first part, this second installment of our guide will delve into advanced techniques, troubleshooting common issues, and maintenance tips to ensure the longevity of your repaired artificial stone countertop. Here’s everything you need to know to achieve a lasting and professional-looking repair.
Advanced Repair Techniques
For more complex or extensive cracks, advanced techniques may be required to ensure a seamless repair. Here are some methods to consider:
Using a Composite Resin: For larger cracks, a composite resin may be more suitable than epoxy. Composite resins offer greater flexibility and adhere well to various surfaces. Follow the same preparation steps, but mix the resin according to the manufacturer’s instructions and apply it carefully into the crack.
Fiber Reinforced Repair: In cases where the crack is deep and extensive, incorporating a fiber reinforcement can provide additional strength to the repair. Fiberglass mesh or strips can be mixed with the resin and placed in the crack before it is fully cured.
Professional Repair Services: For very severe or intricate damage, it might be best to seek professional help. Experienced technicians can provide more durable and precise repairs, especially for countertops with intricate designs or high-stress areas.
Troubleshooting Common Issues
Even with careful preparation and application, some issues may still arise during the repair process. Here’s how to troubleshoot and resolve common problems:
Epoxy Doesn’t Adhere: If the epoxy resin does not adhere well to the crack, it’s likely that the surface was not properly cleaned or prepared. Re-sand the area, clean thoroughly, and apply a new layer of epoxy.
Epoxy Bubbles or Runs: If bubbles form or the epoxy runs out of the crack, it’s important to clean the area and start again. Use a fine cloth to remove any excess epoxy and sand the surface lightly before applying a fresh layer.
Crack Reappearance: If the crack reappears after initial repair, it indicates underlying structural issues. Consider using a more robust repair material or reinforcing the area with fiberglass mesh.
Maintenance Tips for Longevity
To ensure that your repaired countertop remains in excellent condition, follow these maintenance tips:
Regular Cleaning: Use a mild, non-abrasive cleaner to regularly clean your countertop. Avoid using harsh chemicals or abrasive scrubbers that can damage the surface.
Immediate Repair of Minor Cracks: Address any minor cracks immediately to prevent them from spreading. Small cracks can become more extensive if left unattended.
Avoiding Heat Sources: Place trivets or heat-resistant pads under hot pots and pans to prevent direct heat contact, which can cause cracks.
Proper Use of Cutting Boards: Use cutting boards to protect the countertop from sharp objects. This reduces the risk of scratches and chips.
Regular Polishing: Periodically polish your countertop to restore its shine and protect the surface. Use a stone countertop polish specifically designed for artificial stone materials.
Final Thoughts
Repairing cracks in artificial stone countertops is a rewarding DIY project that can restore the beauty and functionality of your countertop. By employing advanced repair techniques, troubleshooting common issues, and following maintenance tips, you can ensure a long-lasting and professional-looking repair. Whether you tackle the job yourself or seek professional assistance, these guidelines will help you achieve the最佳的结果。
无论是在家庭环境还是在专业的设计空间,精心的维护和定期的保养都能帮助延长人造石台面的使用寿命,并保持其美观。
定期检查和预防措施
定期检查:定期检查台面上的任何新裂痕或损坏,这可以帮助及时处理小问题,防止它们变得更严重。
使用保护垫:在放置热源或重物时,始终使用保护垫。这可以避免直接热量或冲击力对台面的损害。
避免使用钢丝球:钢丝球虽然能有效清洁,但它们的钢丝可能会对人造石表面造成划伤,应避免使用。
正确的清洁方法:使用中性清洁剂,并避免使用含酸性或强碱性的清洁剂。这些化学物质可能会对人造石表面造成腐蚀。
专业维护和保养
定期抛光:定期抛光可以保持人造石台面的光泽和防污效果。专业的抛光服务通常建议每12个月进行一次。
使用专门的护理产品:市面上有许多专门针对人造石台面的保养产品,这些产品可以增强台面的光泽和防污性。
及时处理泄漏:如果台面上有泄漏或水渍,应立即用干布擦干。长时间的湿润可能会导致霉菌和其他问题。
安全操作
谨慎搬运重物:在搬运重物时,尽量避免直接放在台面上。如果必须,应该使用适当的保护垫。
小心使用厨具:在使用刀具或其他尖锐物品时,应小心处理,以避免划伤台面。
紧急处理措施:如果发生了严重损坏,尽快采取行动,不要拖延。较大的裂痕可能需要专业的修复服务。
人造石台面以其耐用性和美观性成为现代厨房和浴室的热门选择。通过正确的维护和保养,你可以确保它们在家庭环境中长期保持其最佳状态。记住,及时处理损坏和定期保养是延长人造石台面寿命的关键。希望这些建议能帮助你更好地维护你的人造石台面,让它们在你的生活中焕发持久的光彩。