Discover the art of restoring and resurfacing your artificial stone countertops with our comprehensive guide. This detailed tutorial will walk you through the entire process, from preparation to final polishing, ensuring your countertops look as good as new. Watch our video tutorial to learn the best techniques and tools for achieving a flawless finish.

artificial stone countertop restoration, resurface artificial stone, stone countertop repair, countertop resurfacing techniques, stone countertop polishing, countertop renovation, DIY countertop restoration, stone countertop maintenance, how to fix artificial stone
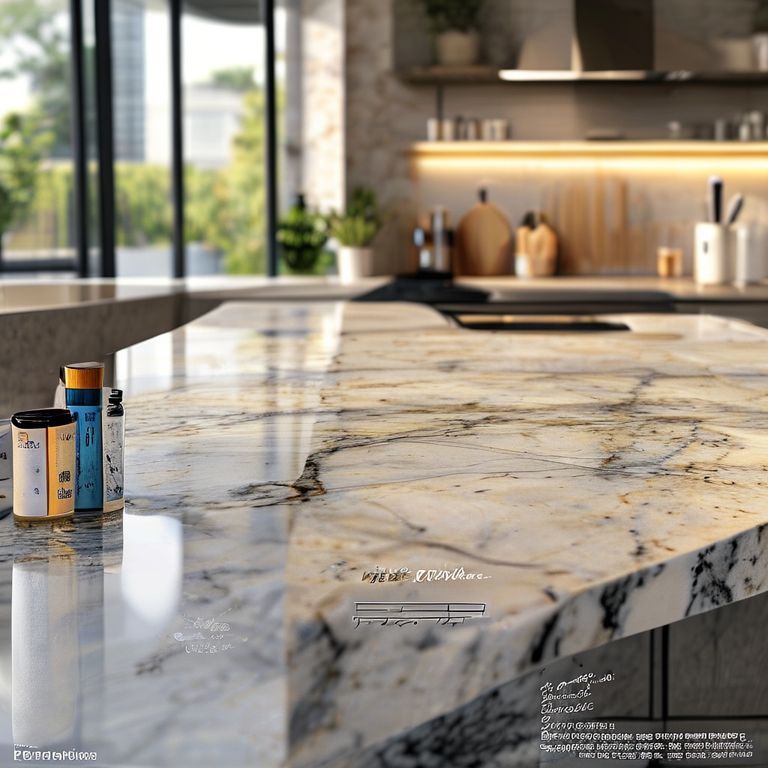
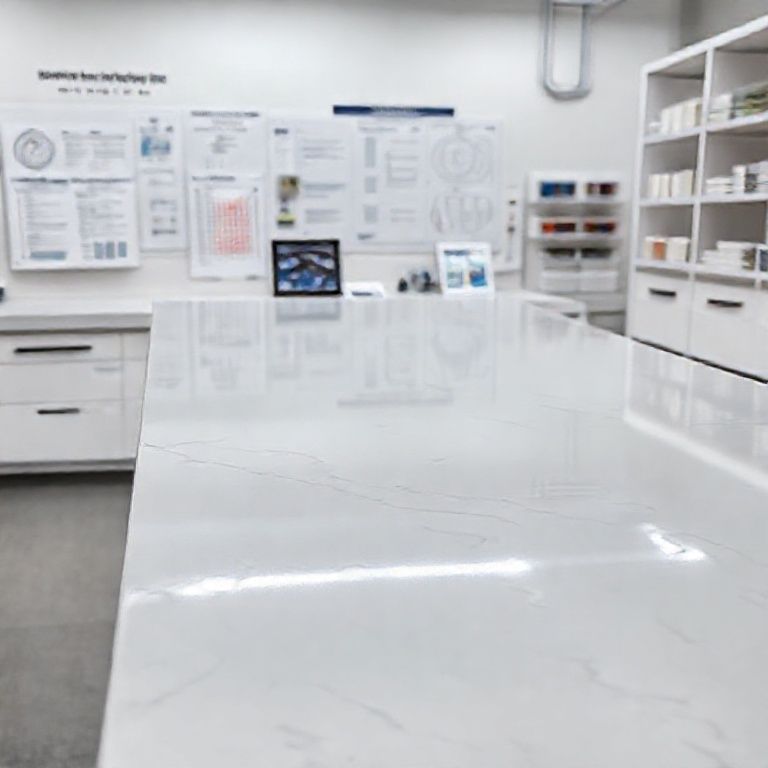
Artificial stone countertops are popular due to their durability and aesthetic appeal. However, over time, they can become scratched, stained, or worn out, diminishing their appearance. Fortunately, with the right tools and techniques, you can restore your artificial stone countertops to their original glory. This guide will walk you through the initial steps of preparation and resurfacing.
Preparation:
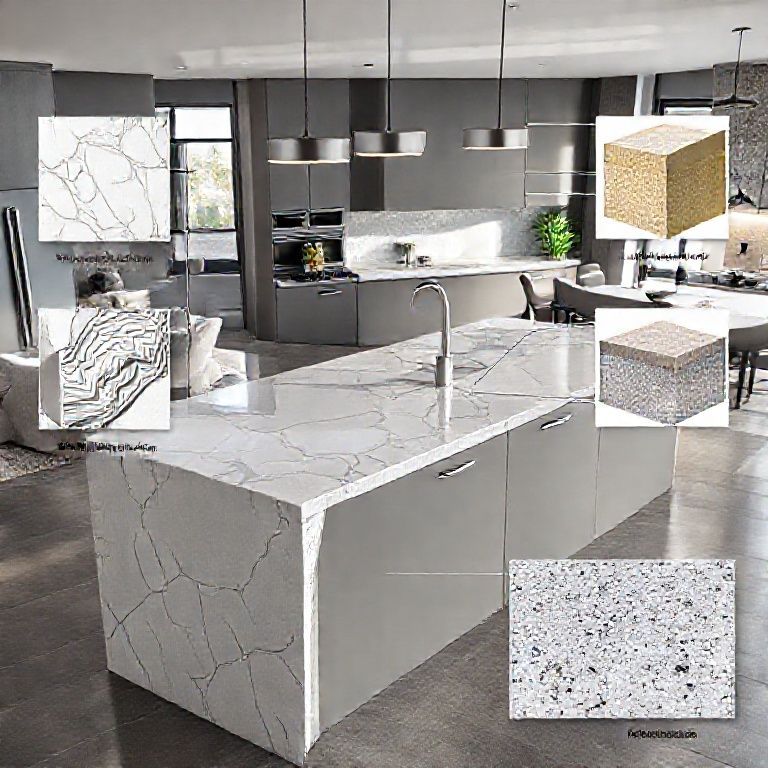
Gather Your Tools and Materials: Before you begin, ensure you have all the necessary tools and materials. You will need: Safety goggles and gloves A vacuum cleaner or broom Mild dish soap Soft cloths or sponges Artificial stone resurfacing kit (includes different grit sandpapers, polishing compounds, and a polishing machine) Water spray bottle
Clean the Surface: Begin by thoroughly cleaning the countertop to remove any dirt, grime, or residue. Use a mild dish soap mixed with water and a soft cloth or sponge to scrub the surface. Pay special attention to any stains or areas with heavy buildup. Rinse with a clean cloth and allow the surface to dry completely.
Assess the Damage: Examine the countertop to determine the extent of the damage. Identify areas that need the most attention, such as scratches, stains, or uneven surfaces. This will help you decide which tools and materials to use.
Initial Resurfacing Steps:
Start with Coarse Sandpaper: Begin the resurfacing process with a coarse-grit sandpaper (around 80-120 grit). This will help remove the deepest scratches and surface imperfections. Sand in the direction of the grain to avoid further damage. Use light pressure to prevent gouges in the stone.
Wet Sanding Technique: For a smoother finish, consider using the wet sanding technique. Dampen the sandpaper with water and continue sanding the surface. This reduces dust and helps achieve a more polished result. Rinse the countertop with water and wipe it down with a damp cloth to remove any sanding dust.
Progress to Finer Grits: Once the coarse sanding is complete, gradually move to finer grit sandpapers (up to 400-600 grit). This will smooth out the surface further and prepare it for polishing. Continue sanding in the direction of the grain and rinse the countertop regularly to keep it clean.
Video Tutorial Insight:
In our video tutorial, we demonstrate each step in detail, showing you how to use the tools effectively. We also provide tips on avoiding common mistakes, such as sanding against the grain or using too much pressure, which can cause further damage to the stone.

Conclusion:
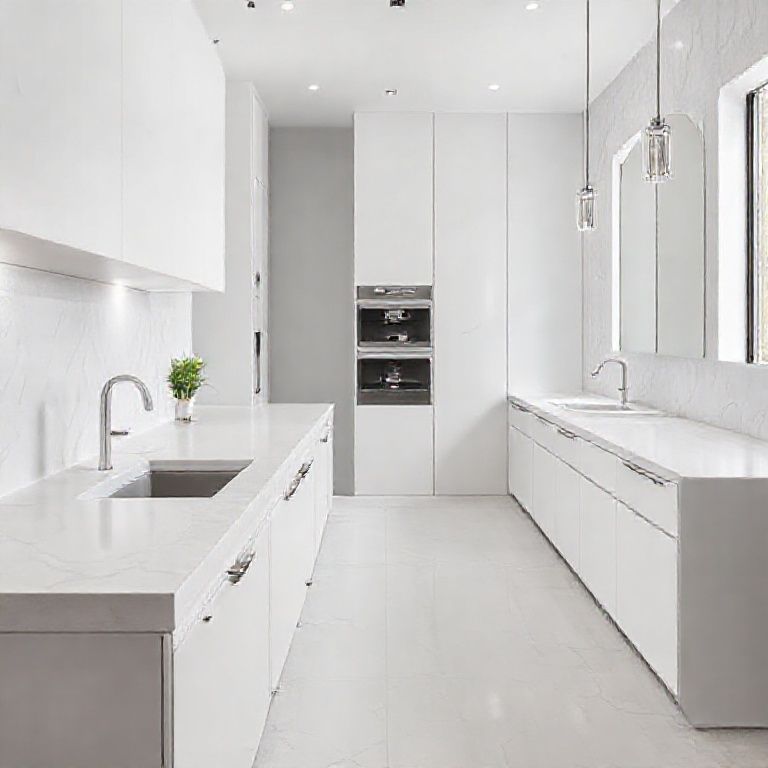
By following these initial steps, you can significantly improve the appearance of your artificial stone countertops. Preparation and careful sanding are crucial to achieving a smooth, polished finish. In the next part of our guide, we will delve deeper into the polishing techniques and final touches to complete your restoration project.
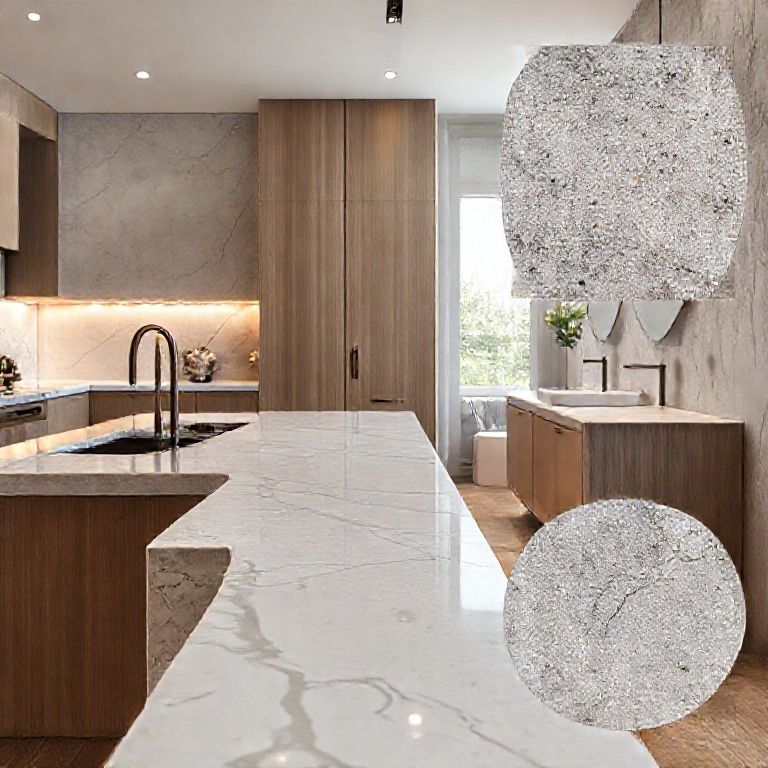
Building on the preparation and initial resurfacing steps, this part will guide you through the advanced polishing techniques and final touches necessary to restore your artificial stone countertops to their best condition. By following these detailed steps, you can achieve a professional-grade finish at home.
Polishing Techniques:
Use a Polishing Machine: For a smooth, glossy finish, a polishing machine is the best tool for the job. Start by attaching the appropriate polishing pad to the machine. This pad should match the polishing compound you are using. Apply a small amount of the polishing compound to the pad and then to the countertop surface.
Polish in the Direction of the Grain: Using the polishing machine, move in the direction of the grain of the stone. This ensures an even finish and prevents scratches. Use a light touch and avoid pressing too hard, as this can cause damage.
Rinse and Wipe: After polishing a section of the countertop, rinse it with water and wipe it down with a clean, damp cloth to remove any polishing compound residue. This step helps to reveal the true shine of the polished surface.
Repeat the Process: Continue polishing the entire countertop, section by section, until the entire surface is smooth and shiny. Pay extra attention to areas that were heavily scratched or stained.
Final Touches:
Seal the Countertop: To protect your newly polished countertops, apply a high-quality countertop sealant. This will help to repel stains, spills, and everyday wear and tear. Follow the manufacturer’s instructions for application, ensuring even coverage.
Regular Maintenance: To maintain the beauty and longevity of your artificial stone countertops, perform regular maintenance. Clean with a mild soap and water, and avoid using abrasive cleaners or tools that could scratch the surface.
Inspect for Future Damage: Regularly inspect your countertops for any signs of wear or damage. Address minor issues early to prevent them from becoming more significant problems. This proactive approach will keep your countertops looking pristine for longer.
Video Tutorial Insight:
In the second part of our video tutorial, we showcase advanced polishing techniques and provide a detailed walkthrough of applying the sealant. We also share maintenance tips to help you keep your countertops in top condition.
Conclusion:
By following these advanced polishing techniques and final touch steps, you can achieve a flawless finish on your artificial stone countertops. The key is to be patient and meticulous, ensuring each step is completed to perfection. With regular maintenance and care, your restored countertops will remain beautiful and functional for years to come.
Thank you for joining us on this journey to restore and resurface your artificial stone countertops. We hope this guide and video tutorial have provided you with the knowledge and confidence to bring your countertops back to their former glory. Enjoy the renewed beauty and functionality of your kitchen or bathroom space!