Discover the art of restoring your artificial stone countertops to their pristine condition. This comprehensive guide covers everything you need to know about repairing scratches on your artificial stone surface, ensuring your kitchen or bathroom area looks as good as new. From understanding the causes of damage to mastering the repair techniques, follow our step-by-step instructions to revive your countertop. Read on to learn how to maintain the beauty and longevity of your artificial stone surface.

artificial stone countertop, scratch repair, stone countertop restoration, kitchen countertop repair, bathroom countertop repair, countertop maintenance, how to fix stone countertop, stone countertop polishing, countertop resurfacing, scratch removal
How to Repair Your Artificial Stone Countertop from Scratches
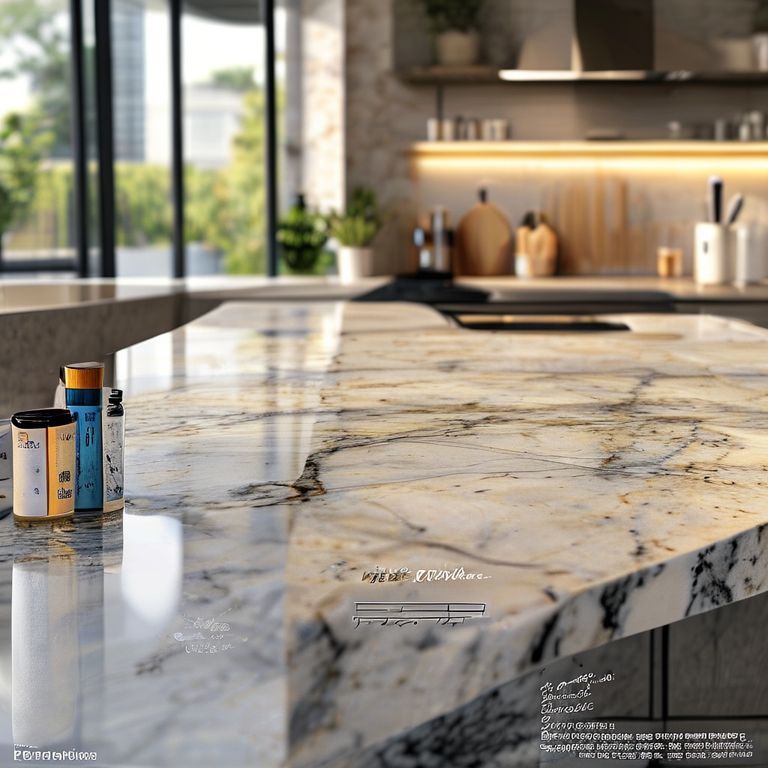
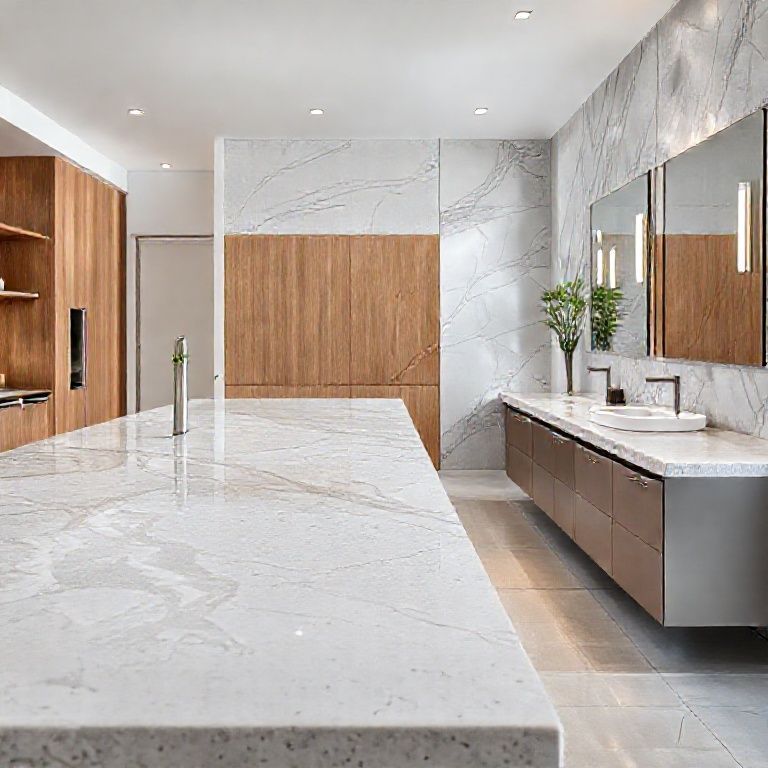
Artificial stone countertops have revolutionized modern kitchen and bathroom design, providing a durable, low-maintenance alternative to traditional materials. However, like any surface, they are susceptible to scratches, chips, and discoloration over time. Fortunately, with the right techniques and tools, you can restore your artificial stone countertop to its original beauty. Here’s a detailed guide on how to repair scratches on your artificial stone countertop.
Understanding the Problem
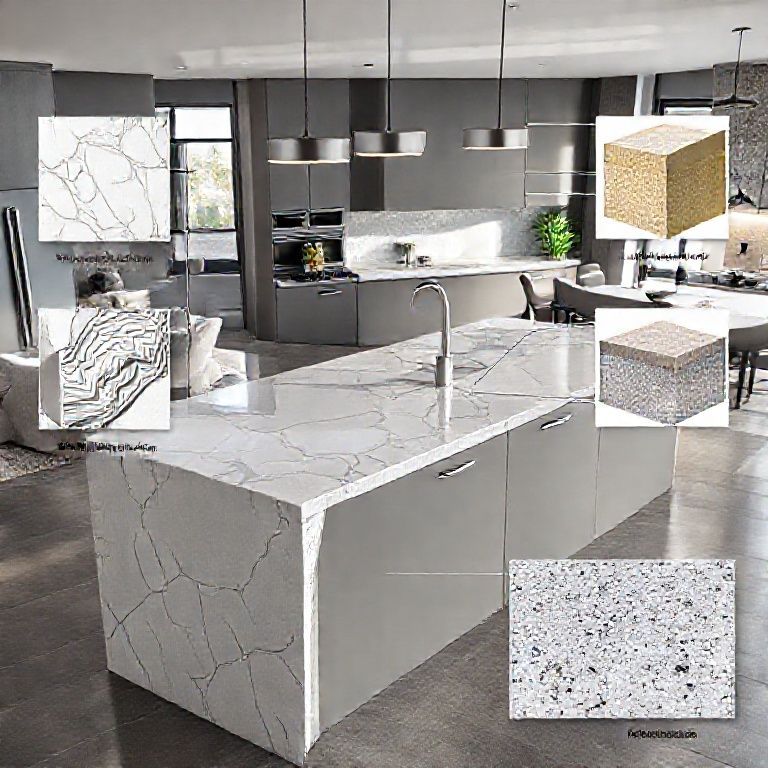
Artificial stone, often made from a composite of natural stone dust, resin, and other binding materials, is designed to mimic the appearance of natural stone while offering superior durability and resistance to stains. Despite these benefits, scratches can still occur, especially in high-traffic areas. Common causes of scratches include:
Culinary mishaps: Spills, spills of acidic foods, or sharp objects like knives. Daily wear and tear: Use of hard or sharp objects on the surface. Improper cleaning: Using harsh chemicals or abrasive cleaners.
Tools and Materials Needed
Before diving into the repair process, gather the necessary materials:
Fine-grit sandpaper (2000-4000 grit) Polishing compounds Polishing pads Microfiber cloths Clean water Protective gloves
Step-by-Step Repair Process
Step 1: Clean the Area
The first step to any repair process is to clean the affected area thoroughly. Use a microfiber cloth dampened with water to wipe away any debris, food particles, or grime from the scratch. Ensure that the surface is completely dry before proceeding.
Step 2: Sanding
Sanding is essential for removing the scratch and smoothing the surface. Use fine-grit sandpaper (around 2000-4000 grit) to gently sand the scratched area. Lightly sand the area until the scratch is no longer visible. Be careful not to apply too much pressure, as this can cause further damage to the surface.
Step 3: Polishing
After sanding, apply a polishing compound to the area using a polishing pad. Start with a small amount of compound and apply it to the pad. Gently rub the compound onto the sanded area in a circular motion. Follow the manufacturer’s instructions for the polishing compound to ensure proper application.
Step 4: Buffing
Once the polishing compound has been applied and worked into the surface, use a clean microfiber cloth to buff the area. Buffing helps to remove any residue from the polishing compound and brings out the natural shine of the artificial stone.

Step 5: Final Inspection
Carefully inspect the repaired area under good lighting to ensure that the scratch is no longer visible. If necessary, repeat the sanding and polishing steps until the surface looks seamless.
Preventing Future Damage
Preventing scratches is always easier than repairing them. Here are some tips to help maintain your artificial stone countertop:
Use cutting boards: Always use a cutting board when cutting foods to prevent scratches from knives and other sharp objects. Avoid abrasive cleaners: Use non-abrasive, pH-neutral cleaners to avoid scratching the surface. Protect the surface: Place mats or pads under pots, pans, and heavy objects to prevent scratches. Regular maintenance: Regularly clean and polish your countertop to maintain its appearance and prolong its lifespan.
Conclusion
Repairing scratches on your artificial stone countertop is a straightforward process that can be done with the right tools and techniques. By understanding the causes of damage and following a detailed repair process, you can restore your countertop to its original beauty. Remember, prevention is always better than cure, so take the necessary steps to protect your countertop from future scratches. With proper care and maintenance, your artificial stone countertop will remain a stunning focal point in your kitchen or bathroom for years to come.
How to Repair Your Artificial Stone Countertop from Scratches
Introduction
Artificial stone countertops are a popular choice for their durability, low maintenance, and realistic stone appearance. However, they can still be prone to scratches, chips, and other types of damage. This guide will delve deeper into the repair process, offering more advanced techniques and tips to ensure your artificial stone countertop remains pristine.
Advanced Repair Techniques
Step 6: Using a Filling Compound
For deeper scratches or significant damage, using a filling compound can help to level out the surface before sanding and polishing. Follow these steps:
Clean the surface: Ensure the area is clean and dry. Apply filling compound: Using a small applicator or a brush, apply the filling compound to the scratched area. Follow the manufacturer’s instructions for application. Smooth the compound: Use a putty knife or a similar tool to smooth the compound over the scratch, ensuring it is level with the surrounding surface. Let it cure: Allow the compound to cure as per the manufacturer’s instructions. This usually involves leaving it undisturbed for a specific period. Sand the area: Once cured, sand the area lightly with fine-grit sandpaper to smooth out any imperfections. Polish as usual: Proceed with the polishing steps as described earlier to restore the surface.
Step 7: Using Polishing Machines
For large areas or multiple scratches, using a polishing machine can be more efficient. These machines come with various pads and compounds designed specifically for artificial stone. Follow these steps:
Select the right pad and compound: Choose a pad and polishing compound suitable for artificial stone. Apply the compound: Spread a small amount of polishing compound onto the pad. Polish the surface: Using the polishing machine, gently rub the compound onto the countertop in a circular motion. Buff the area: Once the compound has been fully absorbed, buff the area with a clean microfiber cloth to remove any residue and bring out the shine.
Special Considerations for Different Types of Scratches
Deep Scratches
Deep scratches may require more extensive repair. Follow these additional steps:
Fill the scratch: Use a filling compound designed for deep scratches. Apply it generously and smooth it out with a putty knife. Cure and sand: Allow the compound to cure, then sand it lightly to ensure it is level with the surrounding surface. Polish thoroughly: Use a fine-grit sandpaper and a polishing machine for a thorough polish.
Surface Scratches
Surface scratches are easier to repair:
Sand lightly: Use fine-grit sandpaper to gently sand the scratch. Polish: Apply a polishing compound and use a polishing pad or machine to bring back the shine.
Repairing Edges and Corners
Edges and corners are often more prone to scratches due to their shape. Repair these areas carefully:
Sand with care: Use a fine-grit sandpaper, following the natural curve of the edge. Polish with precision: Apply the polishing compound along the edge and use a polishing pad to bring out the shine without damaging the surrounding surface.
Professional Repair Services
While DIY repairs are effective for many issues, some problems may require professional intervention. Consider these scenarios:
Extensive damage: If the countertop has extensive scratches, chips, or discoloration, it might be best to hire a professional. Complex repairs: For intricate designs or large areas, professional services can provide more precise and polished results. Warranty concerns: If your countertop is still under warranty, check the warranty terms to ensure DIY repairs do not void it.
Long-Term Maintenance
To keep your artificial stone countertop looking new, follow these long-term maintenance tips:
Regular cleaning: Clean your countertop regularly with pH-neutral, non-abrasive cleaners to prevent buildup and minor scratches. Avoid harsh chemicals: Avoid using bleach, ammonia, or other harsh chemicals that can damage the surface. Use coasters and trivets: Place coasters under drinks and trivets under hot dishes to prevent thermal damage and scratches. Re-polishing: Occasionally, re-polishing the surface can help maintain its shine and protect it from future scratches.
Conclusion
Repairing scratches on an artificial stone countertop is a manageable task with the right approach and tools. By understanding the nature of the damage and following detailed repair techniques, you can restore your countertop to its original beauty. Additionally, preventive measures and regular maintenance will help prolong the life of your artificial stone countertop, ensuring it remains a stunning feature in your home for years to come. Whether you tackle the repairs yourself or opt for professional help, your efforts will pay off in a countertop that looks as good as new.