Introduction to Artificial Marble Repair
Artificial marble, also known as engineered stone, is a popular choice for countertops, sinks, and other surfaces due to its durability and aesthetic appeal. However, despite its resilience, it can suffer from scratches, chips, and discoloration over time. Understanding how to properly repair artificial marble is essential to maintaining its beauty and extending its lifespan. In this first part of our comprehensive video tutorial guide, we will cover the basics of identifying common issues and provide a step-by-step approach to repair them.
Understanding Common Issues
Before diving into the repair techniques, it’s important to recognize the types of damage that can occur to artificial marble. Common issues include:
Scratches and Chips: These can be caused by sharp objects or improper cleaning. Discoloration: This may occur due to exposure to certain chemicals or prolonged contact with staining substances. Cracks: Although less common, cracks can happen due to physical impacts or thermal stress.
Preparation and Safety Measures
Safety first! Before starting any repair work, ensure the area is clean and well-ventilated. Wear protective gloves and safety goggles to shield yourself from any harsh chemicals or dust that may be generated during the repair process. Gather all necessary tools and materials, which typically include:
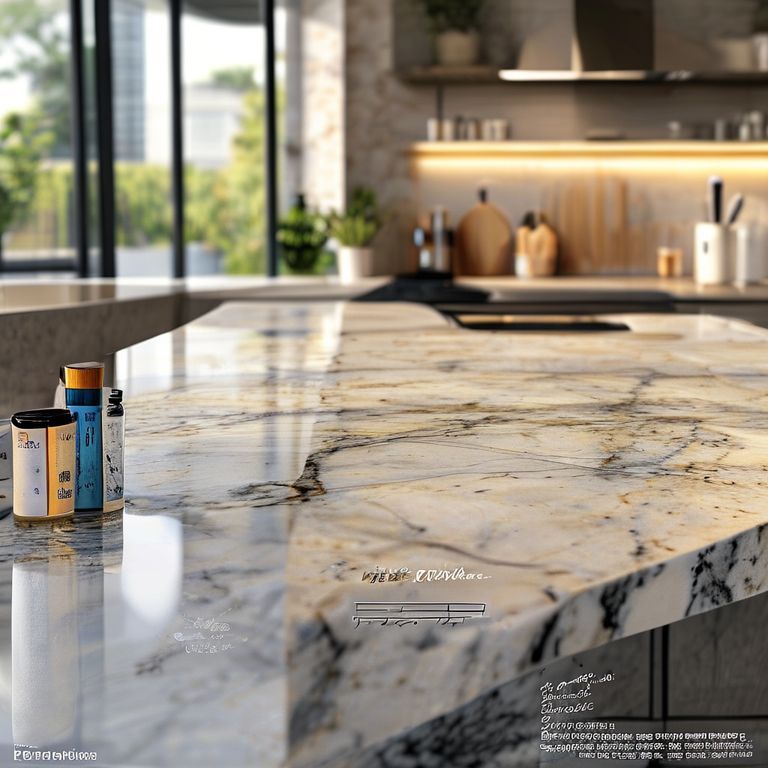
Fine-grit sandpaper Polishing compounds Cleaning solutions Replacement pieces (if needed) A small chisel and hammer (for minor repairs) A spirit level
Step-by-Step Repair Techniques
1. Scratches and Chips
Step 1: Clean the Surface Begin by thoroughly cleaning the affected area with a suitable cleaning solution to remove any dust or debris. Use a soft cloth to ensure no particles remain.
Step 2: Sanding the Area For minor scratches, use fine-grit sandpaper to gently sand the damaged area. Start with a coarser grit and gradually move to finer grits to avoid further scratching. Sand in the direction of the marble grain for a smoother finish.
Step 3: Polishing Once the surface is smooth, apply a polishing compound to blend the repaired area with the surrounding surface. Use a soft cloth to apply the compound in circular motions until the area is uniform in color and texture.
2. Discoloration
Step 1: Identify the Cause Determine the source of the discoloration. It could be due to a specific chemical or prolonged exposure to certain substances.
Step 2: Apply Cleaning Solution Use a cleaning solution specifically designed for artificial marble. Apply it to a soft cloth and gently rub the affected area. Avoid using abrasive materials that could scratch the surface.
Step 3: Polishing After cleaning, polish the area with a marble polishing compound to restore the original luster.
3. Cracks
Step 1: Assess the Damage Examine the crack to determine its depth and width. For minor cracks, a small chisel and hammer can be used to carefully remove the damaged piece.
Step 2: Fit Replacement Piece If necessary, cut a replacement piece to fit the crack. Make sure it’s the correct size and fits snugly.
Step 3: Secure the Repair Use a suitable adhesive to secure the replacement piece. Allow it to dry completely before proceeding to the polishing stage.
Conclusion
Repairing artificial marble doesn’t have to be daunting. With the right tools, techniques, and a bit of patience, you can restore your surfaces to their original beauty. In the next part of our guide, we will explore advanced repair methods and maintenance tips to keep your artificial marble in top condition. Stay tuned for more detailed instructions and professional insights!
Advanced Repair Techniques and Maintenance Tips
Advanced Repair Techniques
1. Filling and Smoothing Deeper Scratches
Step 1: Prepare the Area Clean the scratched area thoroughly to remove any dust or debris. Ensure the surface is completely dry.
Step 2: Apply Filler Use a filler specifically designed for artificial marble. Apply it to the scratch using a small applicator or putty knife. Fill the scratch to the level of the surrounding surface.
Step 3: Smooth the Filler Once the filler is set, use fine-grit sandpaper to smooth it down until it’s level with the rest of the surface. Be gentle to avoid scratching the marble.
Step 4: Polishing Apply a polishing compound to blend the repaired area with the surrounding surface. Use a soft cloth in circular motions until the area is uniform in color and texture.
2. Resurfacing Larger Areas
Step 1: Remove Old Finish For larger damaged areas, you may need to remove the old finish completely. Use a power sander with fine-grit sandpaper to achieve a smooth surface.
Step 2: Apply New Finish Once the surface is smooth, apply a new finish designed for artificial marble. This will protect the surface and restore its appearance.
Step 3: Polishing Allow the finish to dry completely, then polish the surface to a high shine. Use a polishing compound and a soft cloth to achieve the best results.
Maintenance Tips
1. Regular Cleaning Regular cleaning is crucial to maintaining the appearance of artificial marble. Use a mild, non-abrasive cleaner and a soft cloth to wipe the surface daily. Avoid using harsh chemicals or abrasive materials that can scratch the surface.
2. Immediate Stain Treatment If you notice any stains or discoloration, treat them immediately. Use a suitable cleaning solution to remove the stain as soon as possible to prevent it from setting in.
3. Use Protective Pads When placing hot pots or pans on artificial marble surfaces, use protective pads to prevent thermal damage. This is especially important in kitchens where temperature changes are frequent.
4. Avoid Sharp Objects Be cautious with sharp objects when placing them on artificial marble surfaces. Use cutting boards and place mats to protect the surface from scratches and chips.
5. Regular Polishing To maintain the shine of your artificial marble, regular polishing is essential. Use a marble polishing compound and a soft cloth to polish the surface periodically, ensuring it remains in top condition.
Conclusion
Mastering the art of artificial marble repair not only extends the life of your surfaces but also enhances their aesthetic appeal. By following advanced repair techniques and adhering to maintenance tips, you can keep your artificial marble looking pristine for years to come. Whether you’re dealing with minor scratches or larger repairs, this comprehensive guide provides you with the knowledge and tools to achieve professional-quality results. Keep up the good work, and your artificial marble will remain a stunning feature in your home for a long time.
Remember, practice makes perfect! Don’t hesitate to watch our video tutorial series for more detailed demonstrations and professional insights. Happy repairing!