Understanding the Causes and Initial Preparations for Repairing Artificial Marble Countertops
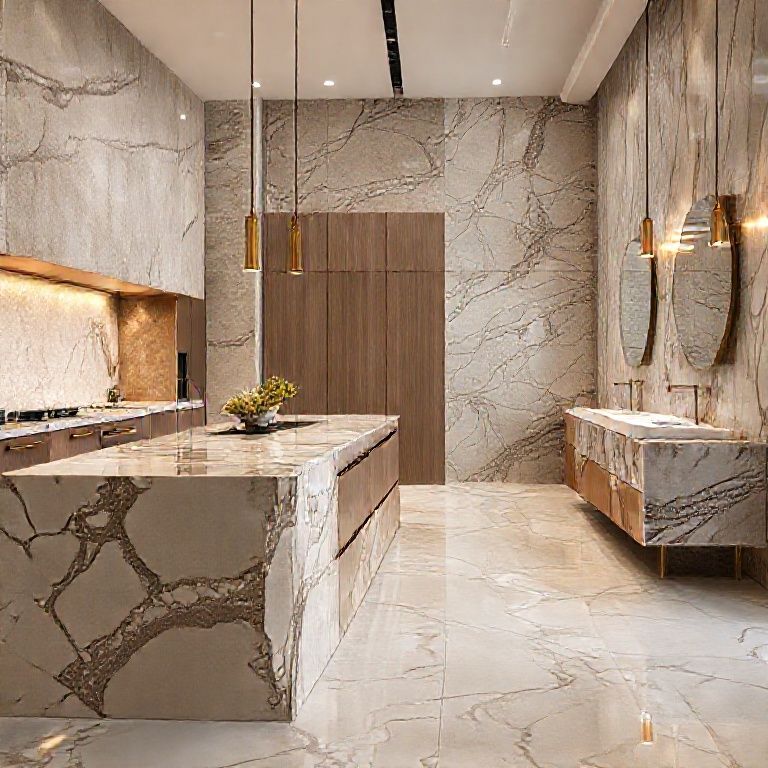
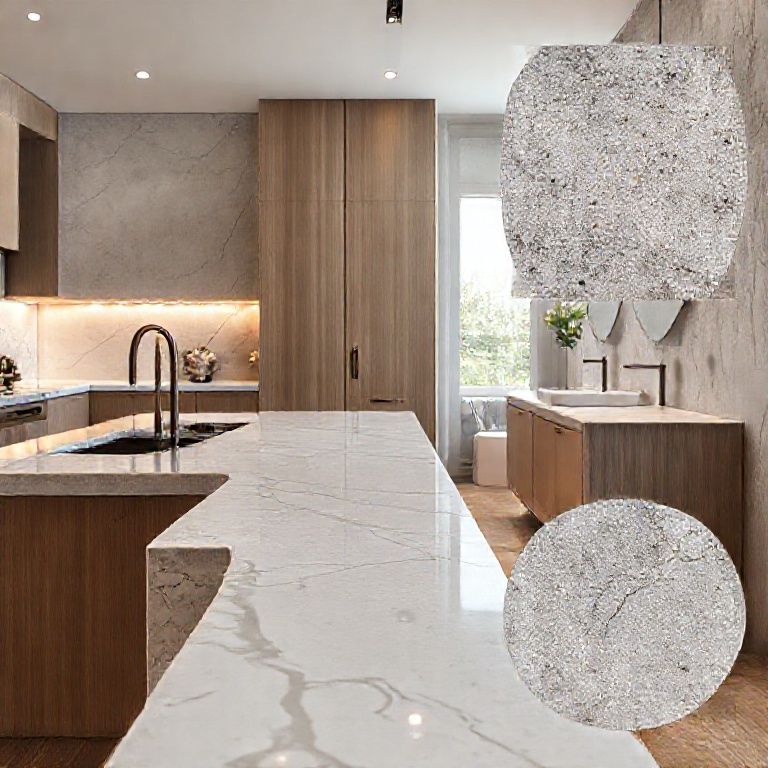
Artificial marble countertops are renowned for their durability, aesthetic appeal, and low maintenance. However, like any material, they can suffer minor cracks and imperfections over time. Understanding the causes of these cracks and preparing adequately for the repair process is essential for achieving a successful and lasting fix.
Identifying Common Causes of Cracks
One of the primary reasons for cracks in artificial marble countertops is improper installation. If the countertop was not properly anchored or if there were sudden impacts during installation, it can lead to small fractures. Another common cause is daily wear and tear, such as spills from hot liquids or sharp objects dropping onto the surface. Environmental factors like temperature changes can also contribute to the development of cracks.
To effectively repair minor cracks, it’s essential first to identify and address the root cause. For instance, if the cracks are due to improper installation, it might be worth consulting a professional to ensure the countertop is securely fixed. In cases of wear and tear, it’s important to avoid further damage by using proper protective measures, such as placing trivets under hot pots and pans.
Preparation for Repair
Before starting the repair process, several preparation steps should be taken to ensure the best results.
Cleaning the Area: Thoroughly clean the cracked area with a mild soap solution and water to remove any dirt, grease, or residue. Use a soft cloth or sponge to avoid scratching the surface further. Allow the area to dry completely before proceeding.
Gathering Supplies: To repair minor cracks, you will need specific tools and materials. Here’s a list of what you’ll need:
Artificial marble repair kit Fine-grit sandpaper Cleaning cloths Protective gloves Clear sealant or epoxy Safety Precautions: Wear protective gloves to safeguard your hands from any chemicals or sharp tools used during the repair process. Ensure you’re working in a well-ventilated area, especially if using sealants or epoxy.

Step-by-Step Preparation
Surface Preparation: Once the area is clean, lightly sand the edges of the crack with fine-grit sandpaper to create a slight groove. This helps the repair material adhere better to the countertop.
Inspection: Examine the crack closely to determine the best method for repair. Minor cracks that are less than 1/4 inch wide are typically the easiest to fix. For deeper or more extensive cracks, consider professional help.
Application of Repair Material: Depending on the kit you have, the repair process might involve filling the crack with a colored epoxy or a specially formulated repair compound. Follow the instructions provided with your repair kit carefully.
By following these preparation steps, you’ll set a solid foundation for a successful repair job, ensuring that the cracks in your artificial marble countertop are effectively and aesthetically restored.
Techniques and Finishing Touches for Flawless Artificial Marble Countertop Repair
Once you’ve prepared the area and gathered all necessary supplies, it’s time to dive into the actual repair process. Using the right techniques and finishing touches will ensure that your artificial marble countertop looks as good as new. Here’s a detailed guide to completing the repair job with precision and care.
Techniques for Effective Repair
Filling the Crack: Apply the repair compound or epoxy into the crack using a small spatula or the tool provided in the repair kit. Ensure that the material fills the crack completely without any air bubbles. For minor cracks, a small amount of compound will suffice. Use a steady hand to avoid overfilling or creating excess material around the crack. Smoothing the Surface: Once the repair material is applied, use a damp cloth to smooth out the surface. Wipe away any excess material that may have squeezed out of the crack. This step is crucial for achieving a seamless finish. If the kit includes a special polish or a smoothing tool, use it to blend the repair area with the surrounding countertop. This ensures a uniform appearance and texture. Curing Time: Allow the repair material to cure as per the instructions provided in the kit. Curing time can vary from a few hours to overnight, depending on the product. It’s important to follow the recommended curing time to ensure the repair is fully set.
Finishing Touches for a Flawless Look
Sealing the Repair: After the repair material has cured, apply a clear sealant or epoxy over the repaired area. This step not only enhances the durability of the repair but also provides an additional layer of protection against future damage. Use a clean cloth to apply the sealant evenly over the repair area. Make sure to cover the entire surface without creating excess buildup. Final Sanding and Polishing: Lightly sand the sealed area with fine-grit sandpaper to remove any imperfections or high spots. Be gentle to avoid sanding through the sealant. Use a polishing cloth to buff the area, bringing out the natural shine of the artificial marble. This step will make the repaired area blend seamlessly with the rest of the countertop. Cleaning and Maintenance: Clean the countertop with a mild soap solution and water to remove any dust or residue from the sanding and polishing process. Use a microfiber cloth to dry the surface. To maintain the repaired area, avoid placing hot items directly on the countertop and use trivets or pot holders. Regularly clean the countertop with appropriate cleaners to prevent future stains and damage.
Final Tips for Long-Lasting Results
To ensure that your repair lasts and maintains its appearance, consider these additional tips:
Regular Maintenance: Regularly inspect your artificial marble countertops for any signs of wear or damage. Addressing minor issues early can prevent them from becoming more significant problems.
Professional Help: For extensive or deep cracks, or if you’re unsure about the repair process, it’s best to consult a professional. They have the expertise and tools to ensure a flawless repair.
Avoiding Damage: Use protective pads under hot pots and pans, and avoid using abrasive cleaners or sponges that can scratch the surface.
By following these detailed steps and techniques, you can effectively repair minor cracks in your artificial marble countertops, restoring their beauty and functionality. With proper care and maintenance, your countertops will remain a stunning focal point in your home for years to come.