${part1}
Introduction to Marble Restoration
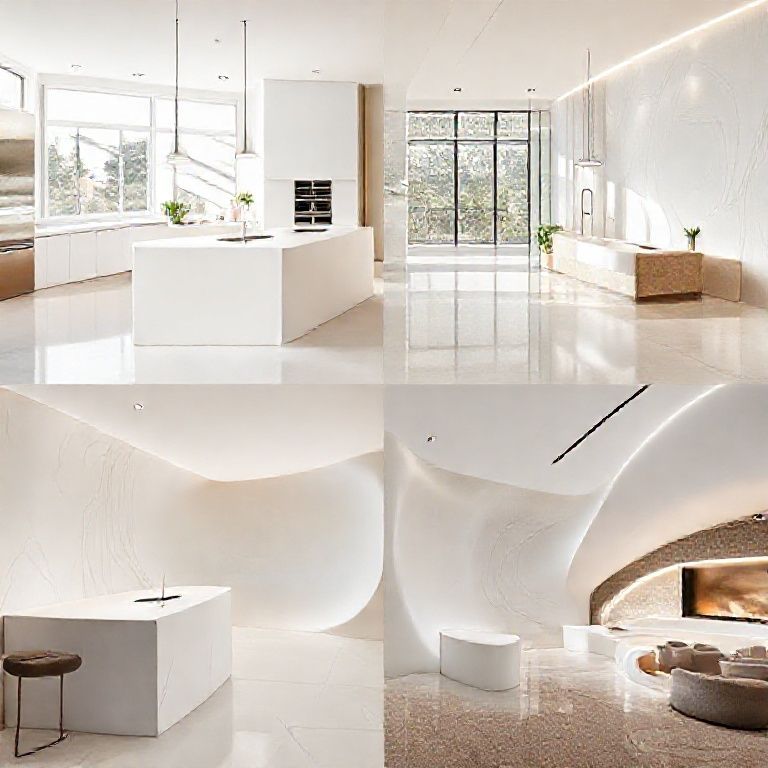
Welcome to our comprehensive video tutorial on marble restoration! Marble, known for its exquisite beauty and durability, can suffer from wear and tear over time. Whether it’s from daily use, spills, or age, marble surfaces can become dull or cracked. Our tutorial will guide you through the entire process of marble restoration, ensuring your marble surfaces look as good as new.
Understanding the Basics
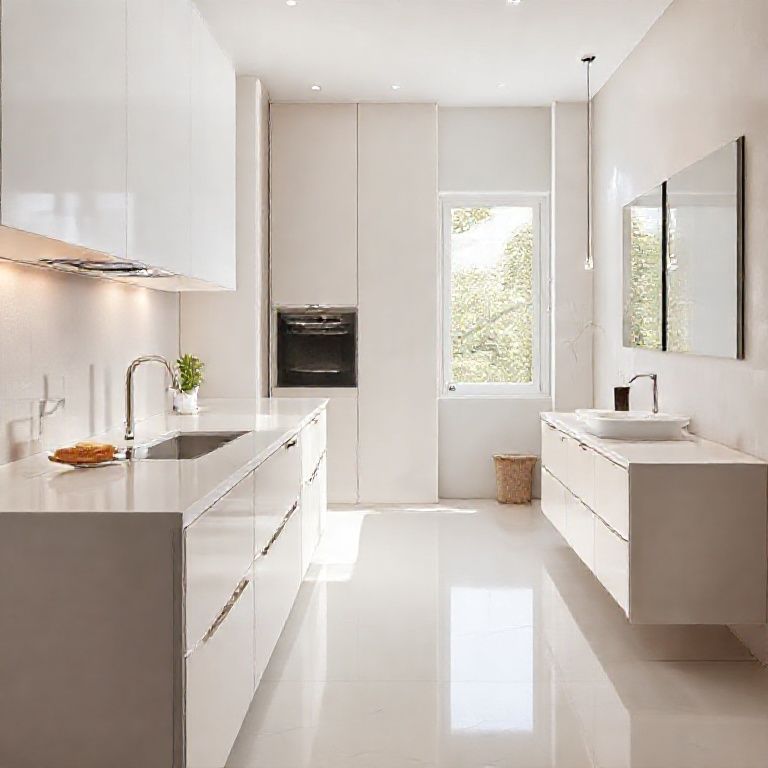
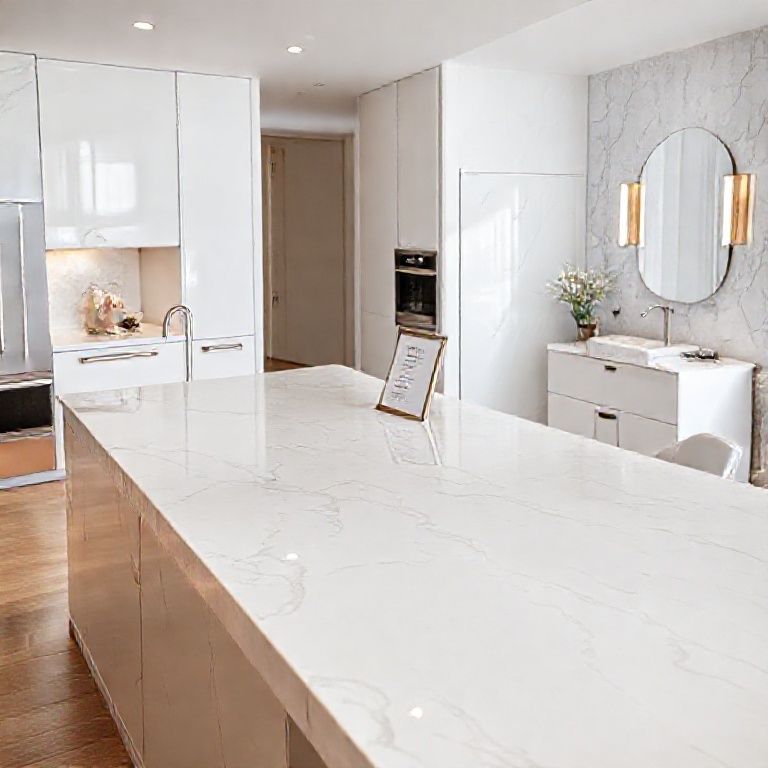
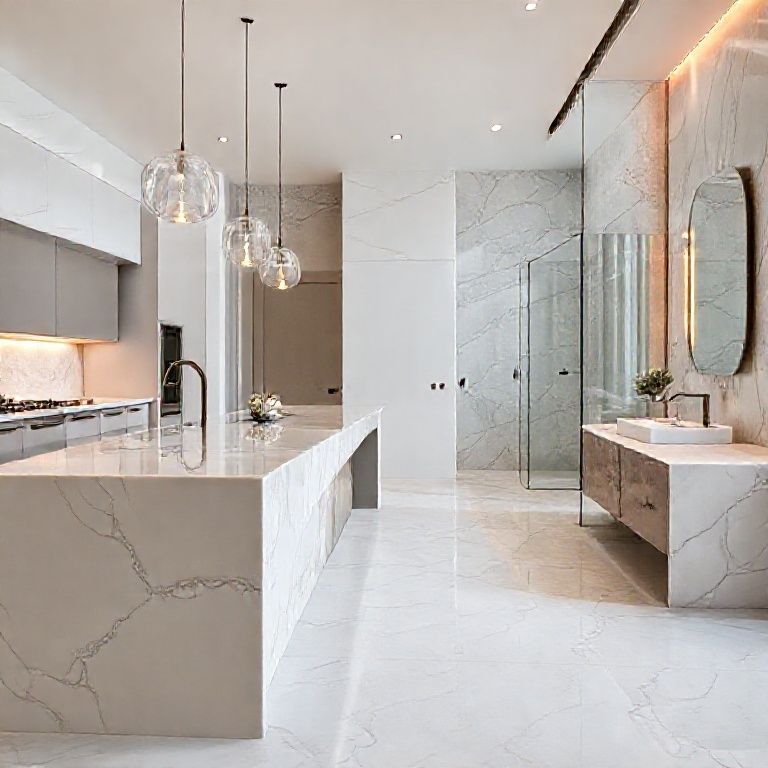
Before diving into the restoration process, it’s crucial to understand the basics of marble and how it can be restored. Marble is a popular choice for countertops, flooring, and other surfaces due to its aesthetic appeal. However, its porous nature makes it susceptible to staining and etching. To restore marble, you need to remove surface stains and smooth out any imperfections.
Tools and Materials Needed
To start your marble restoration project, you will need the following tools and materials:
Soft cloths Rubber gloves pH-neutral cleaning solution Microfiber cloths Diamond polisher Polishing pads Marble sealant
Having these items ready will ensure you can follow along seamlessly with our tutorial.
Preparation and Safety
Before beginning the restoration process, it’s essential to prepare the area properly. Ensure that the surface is free of any debris, and clear the area around the marble to prevent any accidents. Safety is paramount; therefore, wear rubber gloves to protect your hands from chemicals, and work in a well-ventilated space to avoid inhaling fumes.
Step-by-Step Restoration Process
Step 1: Surface Cleaning
The first step in restoring marble is a thorough cleaning. Start by wiping the surface with a damp cloth to remove any loose dirt and debris. Follow this with a pH-neutral cleaning solution to eliminate surface stains. Apply the solution with a soft cloth, avoiding any harsh scrubbing to prevent damage to the marble.
Step 2: Deep Cleaning
Once the surface is clean, it’s time for a deeper clean. Use a specialized marble cleaner and a soft cloth to scrub the surface gently. Pay special attention to stained or etched areas. Rinse the marble with a clean, damp cloth to remove any cleaning solution residue.
Step 3: Polishing
The polishing phase is where the magic happens. Use a diamond polisher to begin the process. Apply a small amount of polishing compound to the pad, and gently rub it onto the marble surface. Use circular motions to ensure even coverage and to avoid any scratches. Polish the entire surface until it begins to shine.
Step 4: Buffing
After polishing, it’s time for buffing. Use a clean microfiber cloth to buff the surface, removing any remaining polishing compound and revealing a shiny, restored marble surface. Buffing also helps to smooth out any minor imperfections.
Step 5: Sealing
The final step in the restoration process is sealing the marble. Apply a high-quality marble sealant to protect the restored surface from future stains and etching. Use a clean cloth to apply the sealant evenly, ensuring complete coverage. Allow the sealant to dry as per the manufacturer’s instructions before using the marble surface again.
Conclusion
Restoring marble can seem like a daunting task, but with the right tools, materials, and guidance, you can achieve professional results in your own home. Our video tutorial provides a step-by-step guide to help you through the entire process. Remember, patience and care are key to restoring your marble surfaces to their former glory.
Stay tuned for the second part of our marble restoration tutorial, where we’ll delve deeper into advanced techniques and tips to maintain your restored marble.
${part2}
Advanced Techniques and Maintenance Tips for Restored Marble
Welcome back to our comprehensive marble restoration tutorial! In this second part, we’ll explore advanced techniques to further enhance your marble restoration skills. Additionally, we’ll provide essential maintenance tips to ensure your restored marble remains pristine for years to come.
Advanced Restoration Techniques
Step 1: Dealing with Deep Stains
Sometimes, marble surfaces may have deep stains that require more intensive treatment. For these stubborn stains, consider using a marble restoration paste. Apply the paste to a polishing pad and gently rub it onto the stained area using circular motions. Allow it to sit for a few minutes before buffing it off with a clean microfiber cloth. This method can help lift even the most persistent stains.
Step 2: Repairing Chips and Cracks
If your marble has chips or cracks, you can use a marble repair kit. These kits contain a filler that matches the color of your marble. Apply the filler to the chipped or cracked area, smooth it out, and let it dry. Once dry, polish the area to blend the filler seamlessly with the surrounding marble.
Step 3: Etching Removal
Etching can mar the appearance of marble surfaces. To remove etching, use a specialized etching removal solution. Apply the solution to the etched area and let it sit for the recommended time. Use a soft cloth to scrub the area gently and then rinse thoroughly. Finally, polish the surface to restore its shine.
Maintenance Tips for Restored Marble
Tip 1: Regular Cleaning
Regular cleaning is essential to maintain the restored look of your marble. Use a pH-neutral cleaner and a soft cloth to wipe the surface daily. Avoid using harsh chemicals or abrasive cleaners, as these can damage the marble.
Tip 2: Immediate Spill Cleanup
Marble is prone to absorbing spills, which can lead to stains. It’s crucial to clean up spills immediately. Use a damp cloth to wipe up liquid spills promptly and dry the surface with a clean cloth. For acidic spills (like fruit juice or wine), use a pH-neutral cleaner to neutralize the acidity before wiping the surface.
Tip 3: Proper Utensil Use
When placing hot pots or pans on marble countertops, use trivets or heat-resistant pads to prevent thermal shock, which can cause cracks. Additionally, avoid using sharp objects on the marble surface to prevent scratches and abrasions.
Tip 4: Protective Furniture Pads
To protect marble furniture like tables and desks, use protective pads underneath items that are frequently moved. This prevents scratches and scuffs caused by the weight of the items.
Tip 5: Avoid Over-Sealing
While sealing your marble is important, over-sealing can create a glossy surface that’s difficult to clean. Follow the manufacturer’s instructions for application and avoid resealing too frequently. Allow the sealant to wear off naturally over time.
Final Thoughts
Marble restoration is an art that requires patience, precision, and the right techniques. By following our advanced restoration methods and maintenance tips, you can keep your marble surfaces looking beautiful and prolong their lifespan. Remember, regular care and maintenance are key to preserving the natural beauty of marble.
Thank you for joining us in this detailed guide to marble restoration. Whether you’re a beginner or an experienced DIYer, our tutorial aims to provide you with the knowledge and confidence to restore your marble surfaces to their former glory. If you found this tutorial helpful, don’t forget to share it with friends and family who might benefit from these insights.
Stay tuned for more tips and tutorials on home improvement and restoration projects!