Introduction to Artificial Stone Countertop Repair
Welcome to our comprehensive video tutorial series on “人造石台面拼缝修复视频教程” (Artificial Stone Countertop Repair). In this first part, we’ll introduce you to the fundamentals of repairing artificial stone countertops. Whether you’re dealing with a cracked surface, uneven seams, or general wear and tear, our guide will help you bring your countertop back to its pristine condition.

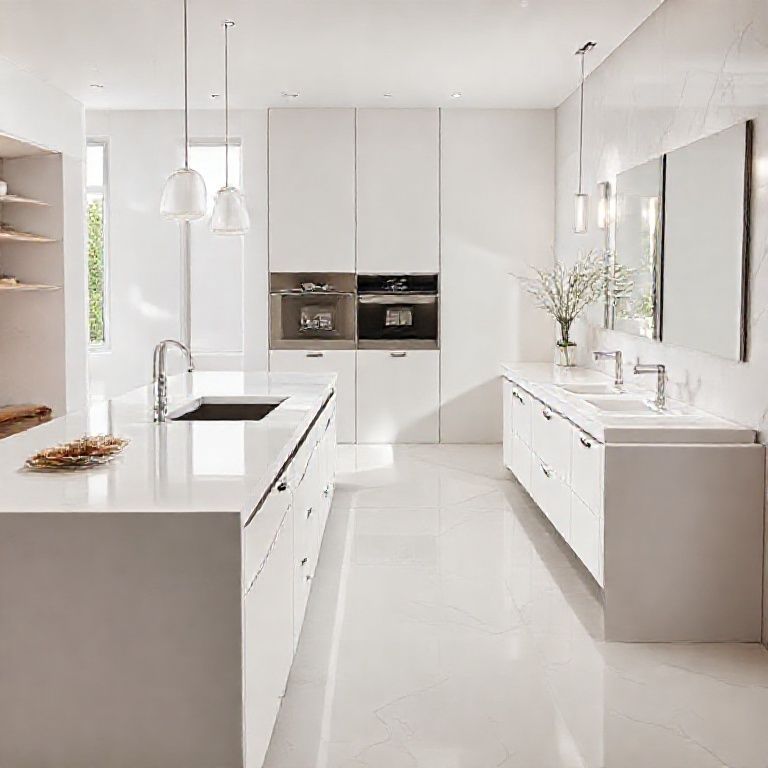
Understanding Artificial Stone Countertops
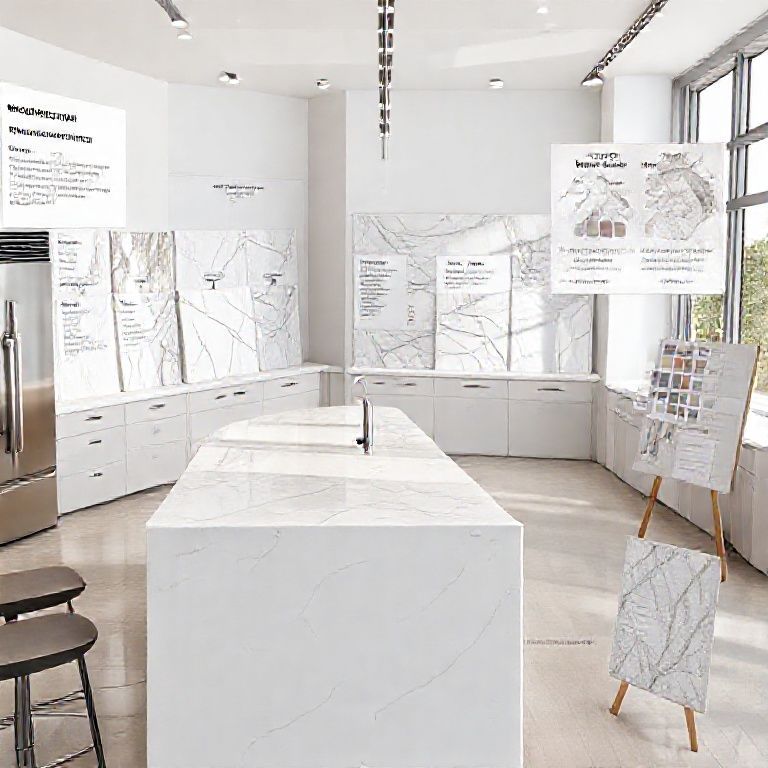
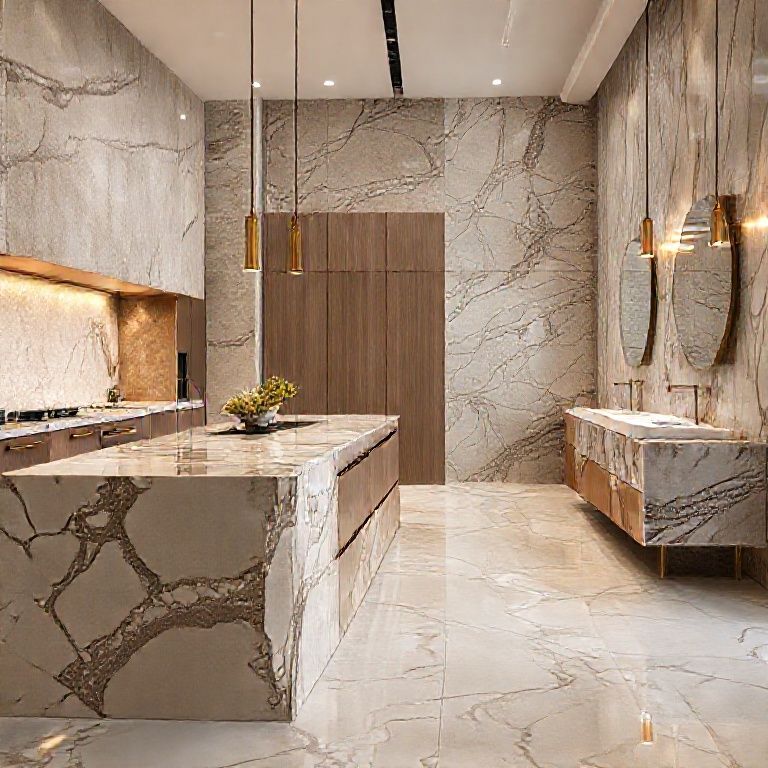
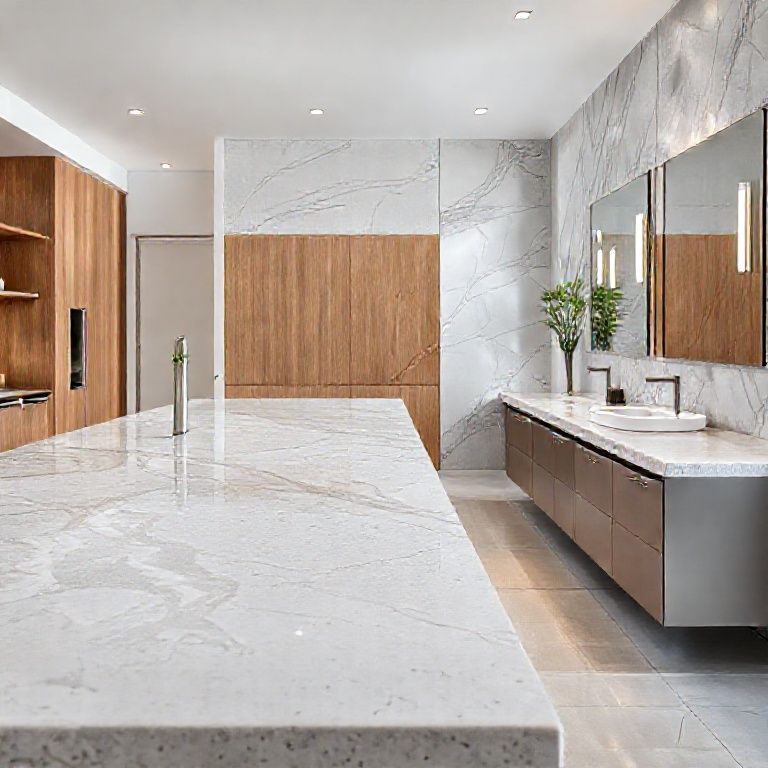
Artificial stone countertops, often made from a combination of quartz, resin, and minerals, are popular for their durability, aesthetics, and low maintenance. Despite their resilience, they can still suffer from damages that need professional repair. Understanding the material is the first step in effective repair.
Common Issues with Artificial Stone Countertops
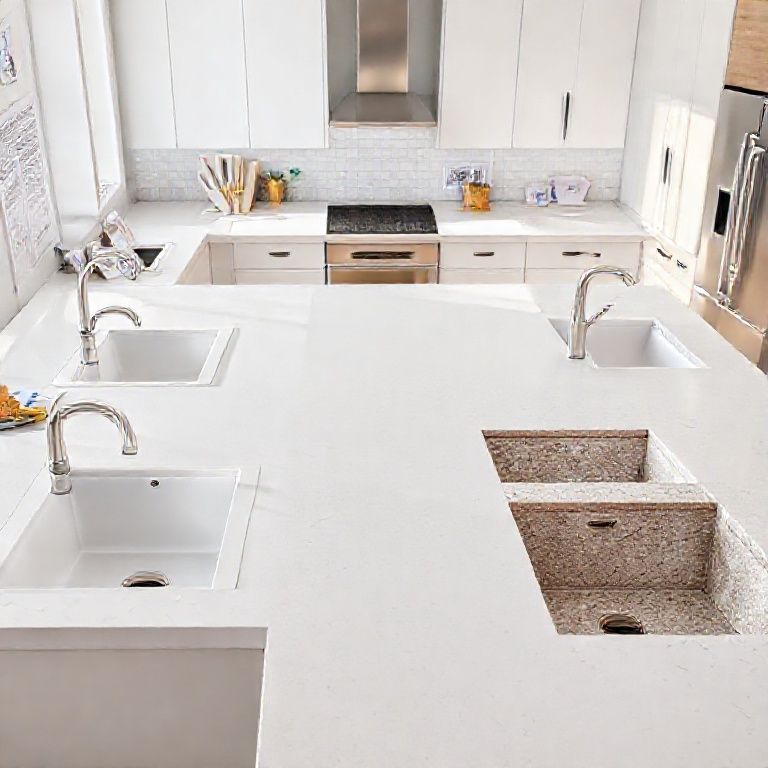
Artificial stone countertops can develop several types of damage:
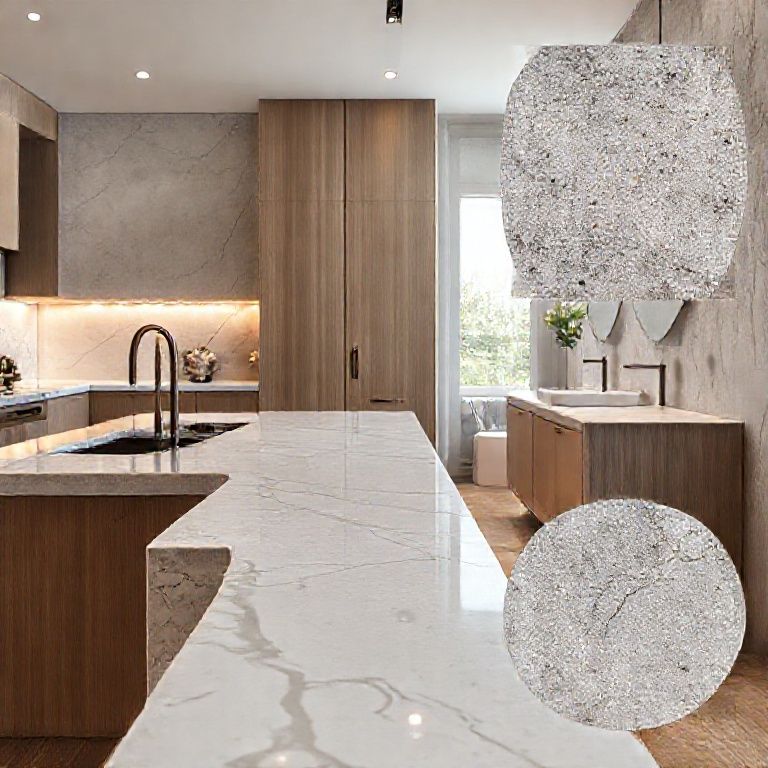
Cracks and Chips: Often caused by dropping heavy objects or impacts. Uneven Seams: Gaps or cracks between two pieces of stone that can develop over time. Surface Wear: Daily use can lead to scratches and dull appearance. Discoloration: Exposure to certain chemicals or stains can lead to unsightly marks.
Preparation for Repair
Before diving into the repair process, it’s crucial to gather the right tools and materials:
Fine-grit sandpaper Cleaning solution suitable for artificial stone Caulk or repair compound Spatula Paintbrush Gloves
Safety First
Safety is paramount when dealing with any repair work. Always wear protective gloves and eye protection to shield yourself from resin particles and chemicals.
Step-by-Step Repair Process
Let’s break down the repair process into manageable steps:
Clean the Area: Start by thoroughly cleaning the affected area with a suitable cleaning solution to remove any dust, grime, or residues. Assess the Damage: Carefully examine the crack or seam to determine its depth and extent. This will help you choose the right repair method. Prepare the Surface: Use fine-grit sandpaper to smooth out any rough edges or uneven areas around the damage. This ensures a clean surface for the repair material to adhere properly. Apply Caulk or Repair Compound: Use a spatula to apply a thin layer of caulk or repair compound over the crack or seam. Make sure to fill the gap completely and smooth out the surface.
Advanced Techniques
For more complex repairs, we recommend watching our advanced video tutorials. These include:
Using epoxy resin for deeper cracks Applying colored caulk for seamless color matching Tips for achieving a professional finish
By following these steps, you can effectively repair minor damages on your artificial stone countertops, ensuring they look as good as new for years to come. Stay tuned for the second part, where we’ll delve deeper into advanced repair techniques and additional tips for maintaining your countertops.
Advanced Repair Techniques for Artificial Stone Countertops
Welcome back to our “人造石台面拼缝修复视频教程” (Artificial Stone Countertop Repair) series. In this second part, we’ll explore advanced repair techniques that will elevate your skill set and ensure your artificial stone countertops are impeccably maintained.
Deep Crack and Chip Repairs
When dealing with deeper cracks or chips, a simple caulk or repair compound may not suffice. Here’s how to tackle these more severe damages:
Epoxy Resin: Epoxy resin is highly effective for deep cracks. Mix the resin according to the manufacturer’s instructions and apply it into the crack using a syringe or a small container with a nozzle. This provides a strong and durable repair.
Reinforce with Fiberglass: For extremely deep or wide cracks, consider reinforcing the repair with fiberglass mesh. Apply the epoxy resin as usual, then place a piece of fiberglass mesh over the crack and cover it with another layer of resin. This provides additional strength and stability.
Seam and Joint Repair
Uneven seams or gaps between two pieces of artificial stone can be unsightly and may even affect the structural integrity of your countertop. Here’s how to repair these seams:
Color Matching: To ensure a seamless look, it’s essential to match the color of the caulk or repair compound to the existing countertop. Many brands offer color-matched products specifically for stone countertops.
Smooth Application: Apply the caulk or repair compound in a thin, even layer using a caulk gun. Smooth out the surface with a damp finger or a caulk smoothing tool to eliminate air bubbles and ensure a seamless finish.
Surface Wear and Discoloration
Artificial stone countertops are resistant to many types of wear and stains, but they can still suffer from surface scratches and discoloration. Here’s how to address these issues:
Polishing Compounds: Use a polishing compound specifically designed for artificial stone. Apply it to a soft cloth and gently rub it over the affected area in a circular motion until the surface is smooth and shiny.
Chemical Stain Removers: For discoloration caused by chemicals, use a stain remover suitable for artificial stone. Follow the manufacturer’s instructions carefully to avoid damaging the surface.
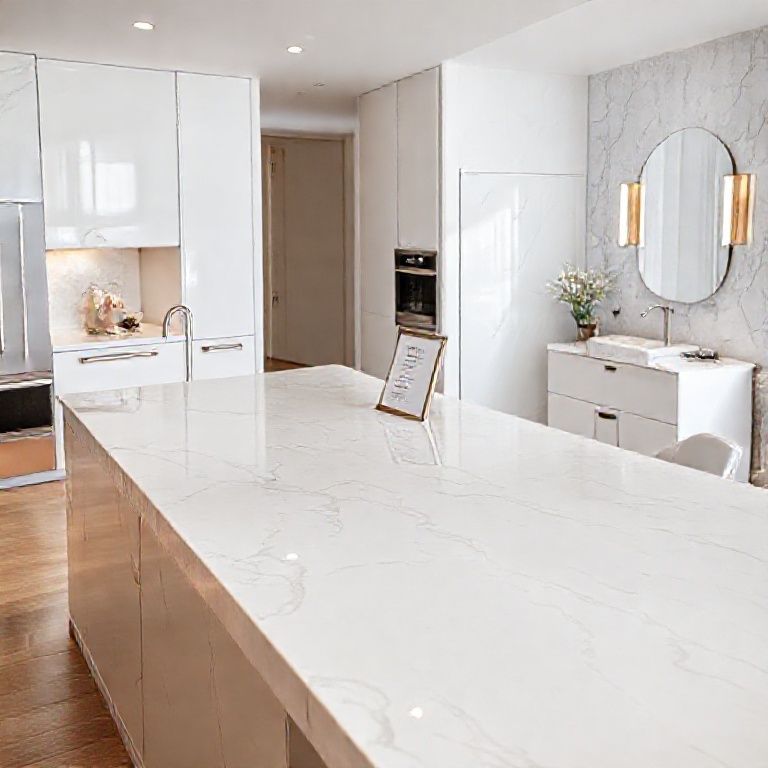
Maintaining Your Artificial Stone Countertop
Preventative maintenance is key to keeping your artificial stone countertop looking its best. Here are some tips for ongoing care:
Regular Cleaning: Clean your countertop regularly with a mild soap and water solution. Avoid using harsh chemicals that could damage the surface.
Immediate Repairs: Address small cracks or scratches immediately to prevent them from becoming larger issues. Prompt repairs can save you time and effort in the long run.
Avoid Abrasive Cleaners: Never use abrasive cleaners or scrubbers on artificial stone countertops as they can scratch the surface.
Final Touches for a Professional Finish
To achieve a professional finish, pay attention to the details:
Caulk Line Smoothing: After applying caulk to seams, use a caulk smoothing tool to ensure a smooth, even finish. Wipe off any excess caulk immediately with a damp cloth.
Color Blending: If you’re working on larger areas of discoloration, use a colored caulk or repair compound to blend in with the surrounding countertop. This creates a seamless look.
High-Gloss Polish: For a high-gloss finish, apply a high-gloss polish specifically designed for artificial stone. Follow the manufacturer’s instructions for best results.
Conclusion
By mastering these advanced repair techniques and maintenance tips, you can extend the life of your artificial stone countertops and keep them looking stunning. Whether you’re repairing minor cracks, addressing uneven seams, or tackling surface wear, our comprehensive video tutorials will guide you every step of the way.
Thank you for joining us in this detailed exploration of artificial stone countertop repair. Stay tuned for more tips and tricks to keep your kitchen and bathroom countertops looking pristine. Happy repairing!
We hope this detailed guide helps you in mastering the art of artificial stone countertop repair. For more in-depth tutorials and expert advice, stay tuned to our channel and don’t forget to like, share, and subscribe for more valuable content.