Artificial stone countertops have become a popular choice for kitchens and bathrooms due to their durability, ease of maintenance, and stunning aesthetic appeal. However, like any other surface, they can suffer damage over time, requiring expert repair to restore their pristine condition. In this first part of our comprehensive guide, we’ll explore the fundamental techniques and tools essential for effective artificial stone countertop repair.

Understanding Artificial Stone Countertops
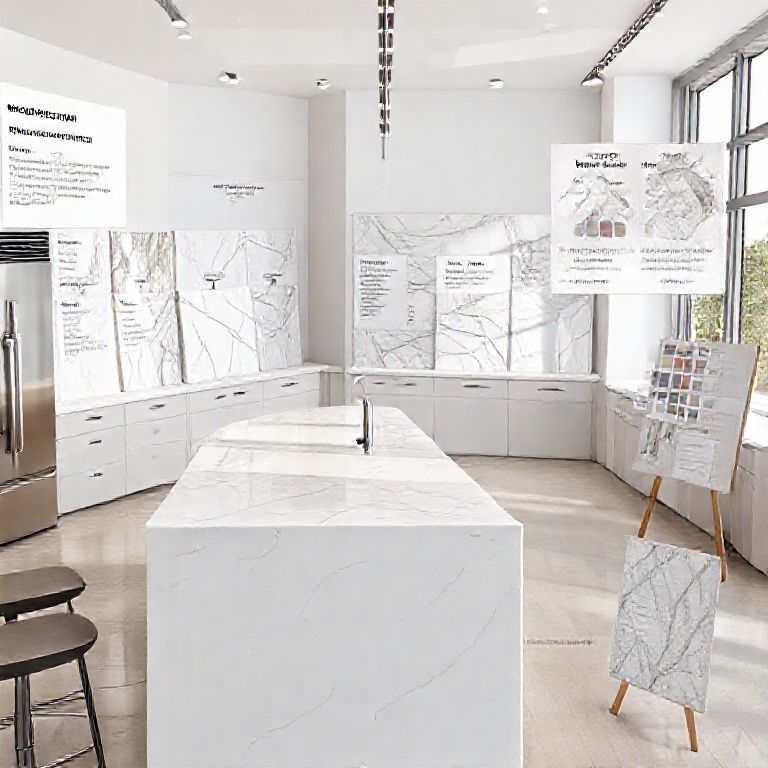
Before diving into repair techniques, it’s crucial to understand the nature of artificial stone. This type of countertop is made from a combination of natural stone dust and resin, giving it the appearance and texture of natural stone while being more durable and easier to maintain. Common types include quartz, granite, and other engineered stones. Despite their durability, artificial stone can suffer from cracks, chips, and staining, necessitating professional repair.
Essential Tools and Materials
To effectively repair artificial stone countertops, you’ll need a selection of specialized tools and materials. Here’s a list of what you’ll need:
Diamond Grinding Wheel: For cutting and grinding the stone. Epoxy Resin: For filling cracks and seams. Stone Sealer: To protect the repaired surface. Diamond Polishing Pad: For smoothing and polishing the repaired area. Mixing Tools: To prepare epoxy resin. Safety Gear: Including gloves, goggles, and a dust mask.

Having the right tools and materials at hand ensures you can tackle any repair job with confidence.
Step-by-Step Repair Techniques
Step 1: Assess the Damage
The first step in any repair job is to assess the damage thoroughly. Identify the type and extent of the damage. Common issues include cracks, chips, and stained areas.
Step 2: Clean the Area
Clean the damaged area thoroughly to remove any dirt, grease, or residue. Use a stone-safe cleaner and a soft cloth to wipe the surface. Ensure that the area is completely dry before proceeding.
Step 3: Prepare the Surface
For cracks and chips, you may need to cut out the damaged area. Use a diamond grinding wheel to carefully cut away the damaged portion, following the natural lines of the stone. Ensure that the cut is clean and precise to allow for a seamless repair.

Step 4: Apply Epoxy Resin
Mix the epoxy resin according to the manufacturer’s instructions. Apply the resin to the repaired area using a putty knife or a mixing tool. Make sure to fill the crack or seam completely and smooth the surface. Allow the epoxy to cure as per the instructions.
Step 5: Polish the Repair
Once the epoxy has cured, use a diamond polishing pad to smooth the repaired area. This step will help blend the repaired section seamlessly with the rest of the countertop.
Step 6: Seal the Surface
Finally, apply a stone sealer to protect the repaired area. This will prevent future stains and damage. Follow the manufacturer’s instructions for application and curing time.
Common Mistakes to Avoid
When repairing artificial stone countertops, it’s essential to avoid common mistakes that can compromise the repair’s effectiveness:
Using the Wrong Tools: Always use tools specifically designed for stone repair to avoid damaging the surface further. Inadequate Cleaning: Failing to clean the area properly can lead to poor adhesion and ineffective repairs. Overmixing Epoxy: Too much epoxy can lead to an uneven surface, while too little may not adequately fill the crack. Skipping the Polishing Step: Failing to smooth the repair can result in an uneven surface that stands out.
Conclusion
Mastering the art of artificial stone countertop repair involves understanding the material, using the right tools and techniques, and avoiding common pitfalls. With the right approach, you can restore your countertops to their original beauty, ensuring they remain a stunning feature of your home for years to come. In the next part, we will delve deeper into specific repair scenarios and advanced techniques for tackling more complex damage.
In the previous part, we laid the groundwork for understanding and repairing artificial stone countertops. Now, we will delve deeper into specific repair scenarios and advanced techniques for tackling more complex damage. Whether you’re dealing with intricate chip repairs, extensive cracks, or intricate stain removal, this part will equip you with the knowledge and skills needed to handle a variety of repair challenges.
Advanced Repair Scenarios
Scenario 1: Complex Crack Repairs
Complex cracks often involve multiple fractures that intersect, creating a web-like pattern. To repair these, follow these steps:
Assess the Crack: Identify the extent of the cracks and how they interconnect. Cut Out Damaged Sections: Using a diamond grinding wheel, carefully cut out the damaged sections, ensuring clean cuts that follow the natural lines of the stone. Apply Epoxy Resin: Mix and apply the epoxy resin to fill the cracks. For intricate repairs, use a small applicator to fill each crack individually. Cure and Smooth: Allow the epoxy to cure completely, then use a diamond polishing pad to smooth out the repaired areas.
Scenario 2: Large Chip Repairs
Large chips can be more challenging due to the size of the missing piece. Here’s how to tackle them:
Prepare the Area: Clean and prepare the chipped area as described in the previous part. Cut and Fit: Use a diamond wheel to cut a section around the chip to create a fitting surface. Create a Replacement Piece: Using a piece of artificial stone from the same batch, cut it to size and shape it to fit the chipped area. Glue and Cure: Apply a strong adhesive to the replacement piece and the countertop, then press them together. Allow the adhesive to cure completely before smoothing the surface with a diamond polishing pad.
Scenario 3: Stain Removal and Restoration
Stains can mar the beauty of artificial stone countertops. To remove stains and restore the surface, follow these steps:
Identify the Stain: Determine the type of stain (e.g., oil, coffee, food) to choose the appropriate cleaning method. Clean the Area: Use a stone-safe cleaner suitable for the stain type. Apply the cleaner with a soft cloth and let it sit for the recommended time. Scrub Gently: Use a non-abrasive sponge to gently scrub the stain. Avoid harsh scrubbing to prevent damaging the surface. Rinse and Dry: Rinse the area with water and dry it thoroughly. Polish and Seal: Use a diamond polishing pad to restore the shine. Finally, apply a stone sealer to protect against future stains.
Advanced Techniques
Using Fillers for Seam Repair
Seam repair can be particularly challenging due to the need for a seamless blend with the surrounding stone. Here’s a detailed technique:
Clean the Seam: Thoroughly clean the seam area to remove any dirt and debris. Apply Seam Filler: Use a specialized seam filler compatible with your artificial stone. Apply the filler into the seam using a caulking gun. Smooth the Filler: Use a seam filler smoothing tool to blend the filler seamlessly into the countertop. Cure and Polish: Allow the filler to cure completely, then use a diamond polishing pad to smooth the area.
Using Composite Repair Techniques
For more extensive repairs, composite techniques may be necessary:
Cut Out the Area: Remove the damaged section using a diamond grinding wheel. Prepare the Surface: Clean and prepare the surface for repair. Apply Composite Resin: Mix a composite resin and apply it to the countertop. Use a putty knife to shape and smooth the resin. Cure and Polish: Allow the composite to cure, then use a diamond polishing pad to achieve a smooth finish.
Final Thoughts
Mastering the art of artificial stone countertop repair involves understanding the material, using specialized tools, and employing advanced techniques for complex repairs. By following these detailed steps and avoiding common mistakes, you can restore your countertops to their original beauty and ensure they remain a stunning feature of your home.
In conclusion, whether you’re dealing with small chips or intricate stains, the right techniques and tools can make all the difference. With the knowledge and skills gained from this guide, you’re well-equipped to handle any artificial stone countertop repair challenge that comes your way. Happy repairing!