Discover the intricacies of repairing artificial marble countertops with our detailed guide. This article will walk you through the essential techniques and materials needed to restore your countertop to its former glory. Perfect for both DIY enthusiasts and professionals, this guide is your ultimate resource for understanding the repair process in depth. Stay tuned for expert tips and tricks to ensure a flawless finish.

artificial marble countertops, countertop repair, countertop restoration, marble countertop repair, crack repair, countertop crack fix, DIY countertop repair, marble countertop cracks, countertop repair video, repair techniques
Understanding and Preparing for Artificial Marble Countertop Repair
Artificial marble countertops have become increasingly popular due to their durability, low maintenance, and aesthetic appeal. However, like any material, they can suffer damage over time. One of the most common issues is cracking, which can be a source of frustration for homeowners and businesses alike. In this part of our guide, we will delve into understanding the nature of these cracks, the materials you will need, and the preparatory steps essential for a successful repair.
The Nature of Cracks in Artificial Marble Countertops
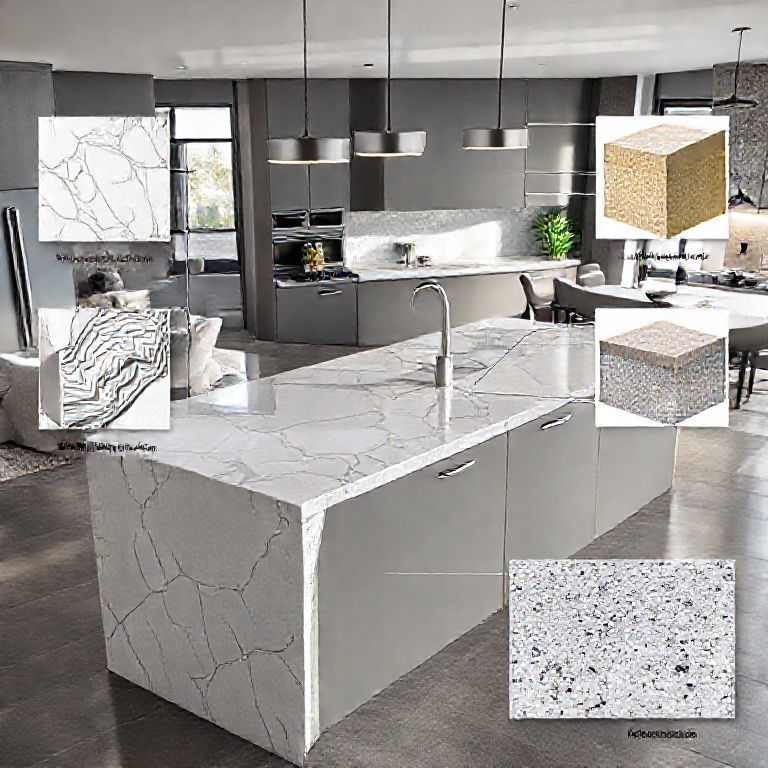
Artificial marble, also known as quartz, is a composite material made from natural stone powder bonded together with resin. Despite its robust nature, it can still develop cracks due to various factors such as heavy impacts, improper installation, or aging. The cracks can appear in different patterns and sizes, and understanding these variations is crucial for selecting the appropriate repair method.
Identifying the Type of Crack
Before diving into the repair process, it’s essential to identify the type of crack present on your countertop. Cracks can be classified into several categories:
Surface Cracks: These are superficial cracks that only affect the top layer of the countertop. These are generally less severe and easier to repair. Deep Cracks: These cracks penetrate deeper into the material and may require more extensive repair techniques. Network Cracks: These are a series of cracks that spread throughout the surface, often indicating significant damage.
Essential Materials for Repair
To repair artificial marble countertops, you will need specific materials and tools that ensure a seamless and durable fix. Here’s a list of essential items:
Epoxy Resin and Hardener: This is the primary material used for filling cracks. Make sure to choose a high-quality, color-matched epoxy for a flawless finish. Sandpaper: Various grits of sandpaper will be needed for smoothing out the surface before and after the repair. Mixing Tools: Use a mixing stick or a drill with a mixing attachment to properly blend the epoxy resin and hardener. Cleaning Supplies: A cleaner and a cloth for cleaning the surface to remove any dust or debris. Masking Tape and Painter’s Tape: To protect surrounding areas from the epoxy. Fine-grit Polishing Compound: For polishing the repaired area to match the countertop’s shine.
Preparation Steps
Preparation is key to a successful repair. Follow these steps to ensure your countertop is ready for repair:
Clean the Area: Thoroughly clean the cracked area with a suitable cleaner to remove any dust, grease, or debris. This ensures that the epoxy adheres properly. Dry the Surface: Make sure the area is completely dry before proceeding with the repair. Inspect the Crack: Examine the crack to determine its depth and width. This will help you gauge the amount of epoxy needed. Mask Off Surrounding Areas: Use masking tape to protect areas around the crack from epoxy seepage.
Tips for Success
Work in a Well-Ventilated Area: Epoxy resin and hardener can emit fumes, so ensure proper ventilation. Follow the Manufacturer’s Instructions: Always adhere to the guidelines provided by the epoxy manufacturer for mixing and application times. Practice on a Small Area First: If you’re new to countertop repair, practice on a smaller, less visible area first to get the hang of the process.
By understanding the nature of the cracks, gathering the necessary materials, and following thorough preparation steps, you set the stage for a successful repair job. In the next part of our guide, we will delve into the step-by-step process of repairing artificial marble countertops, providing you with detailed instructions to ensure a flawless finish.
Step-by-Step Guide to Repair Artificial Marble Countertops
Now that we’ve covered the preparatory steps, it’s time to dive into the step-by-step process of repairing artificial marble countertops. This part of our guide will walk you through the detailed instructions, ensuring you have the knowledge and confidence to execute a flawless repair job.
Step 1: Mixing the Epoxy Resin and Hardener
The first step in repairing a cracked countertop is to properly mix the epoxy resin and hardener. Follow these steps:
Calculate the Proportions: Refer to the manufacturer’s instructions to determine the correct ratio of resin to hardener. Typically, the ratio is 1:1 by weight. Mixing: Use a mixing stick or a drill with a mixing attachment to thoroughly blend the resin and hardener. Mix until you achieve a homogeneous, smooth mixture. This ensures that the epoxy will cure evenly.
Step 2: Filling the Crack
Once your epoxy mixture is ready, it’s time to fill the crack:
Insert a Wooden Stick: For deep cracks, insert a wooden stick into the crack before applying the epoxy. This helps to create a channel for the epoxy to flow into the crack. Apply the Epoxy: Use a putty knife or a small applicator to fill the crack with the epoxy mixture. Ensure that the epoxy fills the crack completely and extends slightly beyond the edges. Smooth the Surface: Once the epoxy is applied, use a clean cloth or a spatula to smooth the surface. This helps to eliminate any air bubbles and ensures a seamless finish.
Step 3: Cleaning and Curing
After filling the crack with epoxy, it’s important to let it cure properly:
Clean the Surface: Wipe away any excess epoxy that may have spilled over the edges of the crack with a clean, damp cloth. This ensures a neat finish. Allow Curing Time: Follow the manufacturer’s instructions for the curing time. Typically, epoxy needs several hours to cure fully. During this time, avoid placing any heavy objects on the countertop to prevent further damage.
Step 4: Sanding the Repaired Area
Once the epoxy has cured, it’s time to sand the repaired area to achieve a smooth, seamless finish:
Start with Coarse Sandpaper: Begin sanding with a coarse grit sandpaper (around 40-60 grit) to remove any rough edges and smooth the surface. Sand in the direction of the grain of the countertop. Progressively Finer Grits: Gradually switch to finer grits (80, 120, 220) to achieve a smoother finish. Make sure to sand evenly across the entire repaired area. Clean the Surface Again: After sanding, clean the surface thoroughly to remove any sanding dust. Use a tack cloth or a damp cloth to ensure the surface is clean and dry.
Step 5: Polishing the Repaired Area
The final step in repairing your artificial marble countertop is polishing the repaired area to match the original shine:
Apply Polishing Compound: Using a clean cloth, apply a fine-grit polishing compound to the repaired area. Work in small circular motions to blend the repair seamlessly with the rest of the countertop. Buff the Surface: Use a clean, dry cloth to buff the area until it shines. This will give the repaired area a uniform shine that matches the rest of the countertop.
Troubleshooting Common Issues
While repairing artificial marble countertops, you may encounter some common issues. Here’s how to troubleshoot them:
Epoxy Seepage: If epoxy seeps into surrounding areas, clean it immediately with a damp cloth before it dries. Once dry, sanding and polishing will be necessary to remove the residue. Uneven Color: If the repaired area has an uneven color, ensure that you used a color-matched epoxy and followed the proper mixing ratio. Additional polishing may help. Bubbles or Air Pockets: If bubbles or air pockets form, gently remove the epoxy with a heated putty knife and re-apply a fresh mixture. Smooth it out again before it cures.
Expert Tips and Tricks
To achieve a professional-looking repair, consider these expert tips:
Practice Patience: Rushing through the repair process can lead to mistakes. Take your time with each step to ensure a flawless finish. Use Quality Materials: Invest in high-quality epoxy and polishing compounds. The better the materials, the more durable and aesthetically pleasing the repair will be. Regular Maintenance: To prevent future cracks, regularly clean and maintain your countertops. Use gentle cleaners and avoid placing sharp objects directly on the surface.
By following these detailed steps and tips, you can successfully repair artificial marble countertops, restoring their beauty and functionality. With practice and attention to detail, you’ll be able to handle even the most challenging repairs with confidence. In the next part of our guide, we will explore additional advanced techniques and maintenance tips to keep your artificial marble countertops in pristine condition for years to come.