Welcome to your ultimate guide to revitalizing your kitchen with an artificial stone countertop renovation! Artificial stone, known for its durability and aesthetic appeal, is an excellent choice for those looking to upgrade their kitchen’s look and functionality. In this part, we’ll explore the crucial steps to ensure a successful renovation, from initial preparation to the selection of materials.
Understanding Artificial Stone
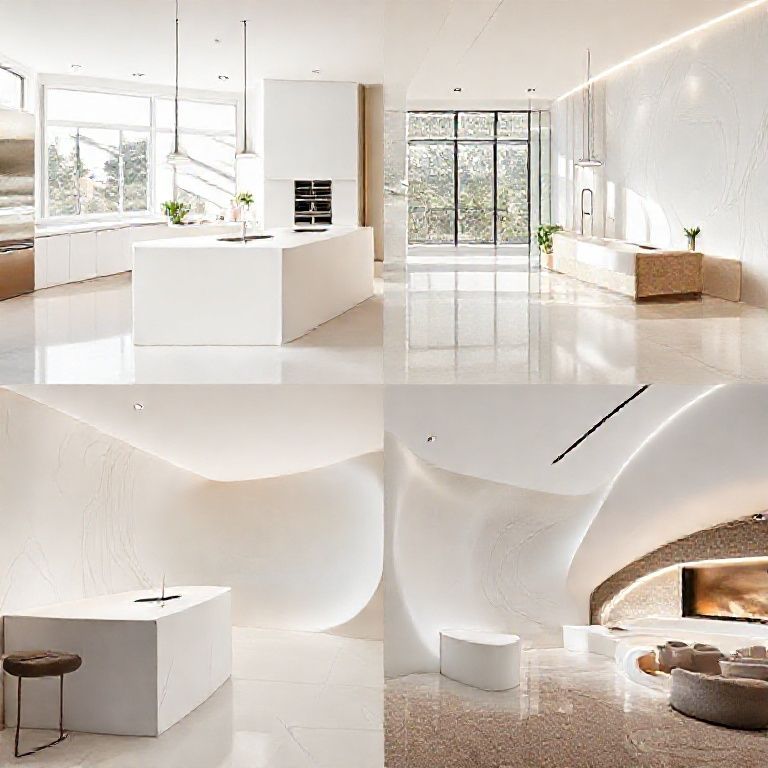
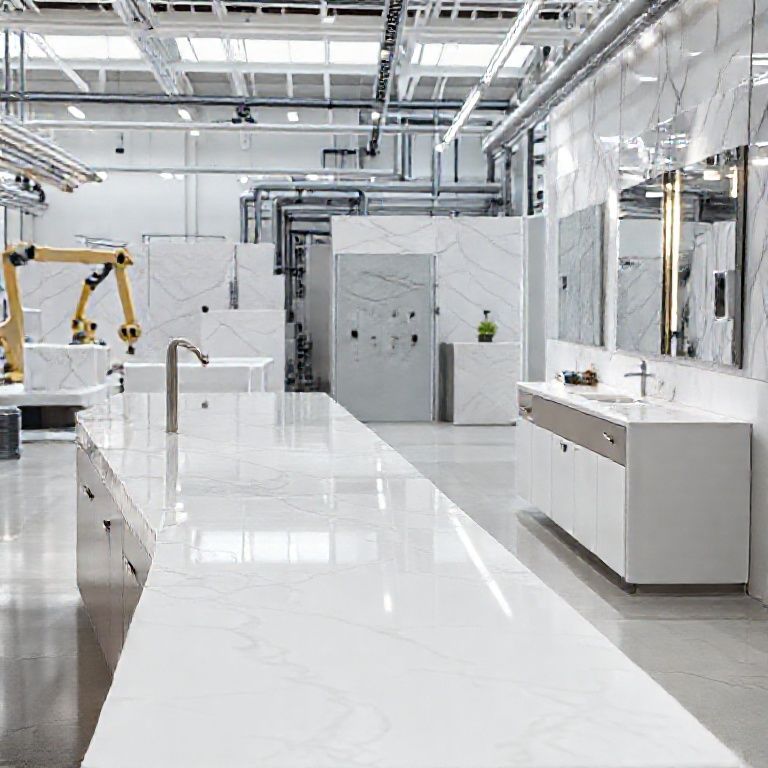
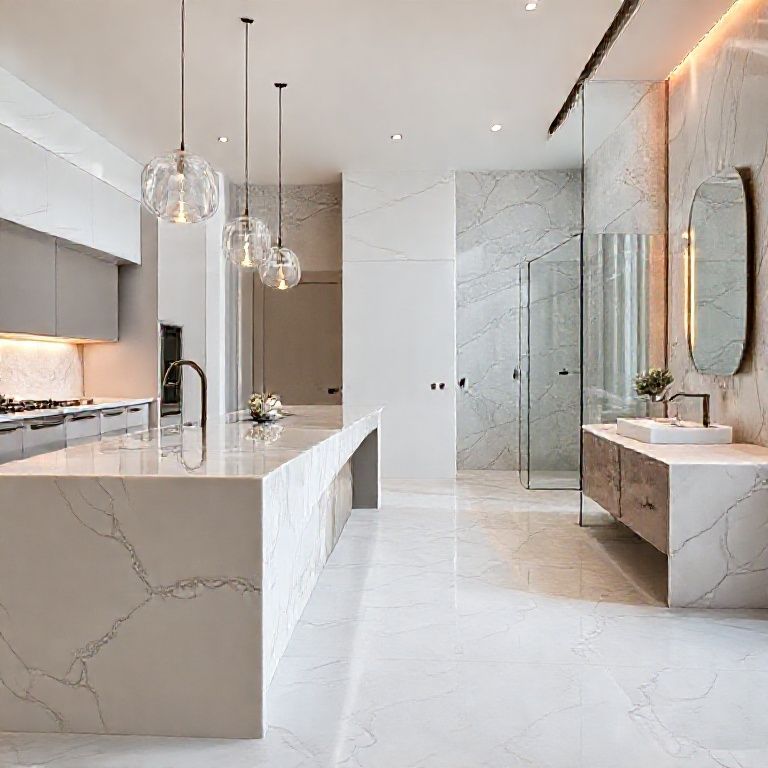
Artificial stone, often referred to as quartz, is a blend of natural stone powders and resins that is pressed and heat-cured to form a solid surface. This material is not only incredibly durable but also easy to clean, making it a popular choice for modern kitchens. Unlike traditional stone countertops, artificial stone is less prone to scratches, chips, and stains, which makes it ideal for busy households.
Why Choose Artificial Stone?
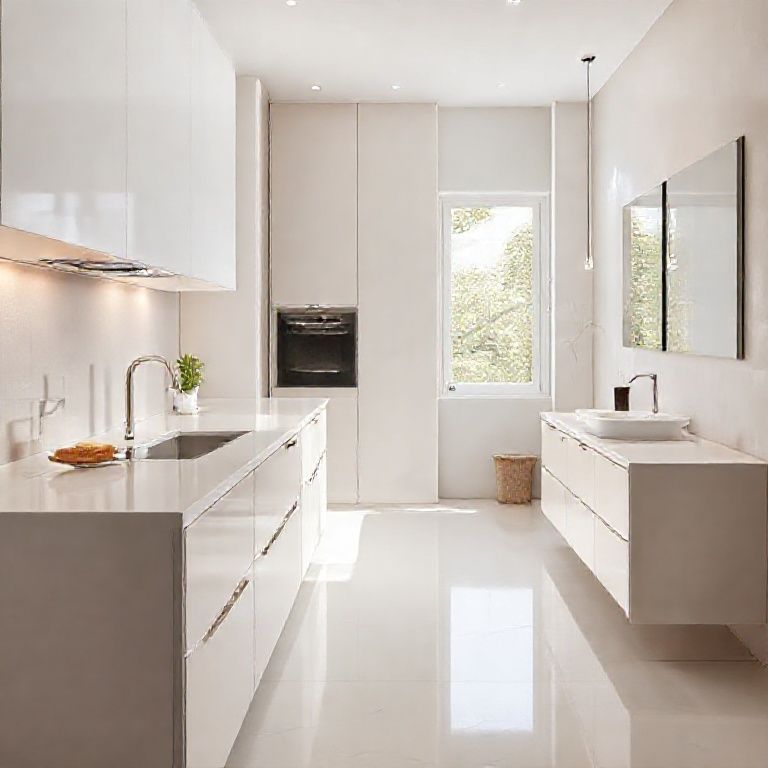
Durability: Artificial stone is highly resistant to scratches, chips, and stains, ensuring a long-lasting surface that maintains its appearance over time. Ease of Maintenance: Cleaning artificial stone is straightforward; a simple wipe with a damp cloth and mild soap is usually sufficient. Variety of Colors and Designs: Artificial stone comes in an array of colors and patterns, allowing for a customized look that can match or enhance your kitchen decor. Affordability: Compared to natural stone, artificial stone is more cost-effective, offering a luxurious appearance at a lower price point.
Preparation for the Renovation
Before diving into the renovation process, thorough preparation is essential to ensure a smooth and successful project.
1. Assess Your Current Countertop
Evaluate the condition of your existing countertop. If it’s in poor condition with cracks, chips, or significant damage, it may need to be removed before installation. Otherwise, you can proceed with an overlay method.
2. Measure and Plan
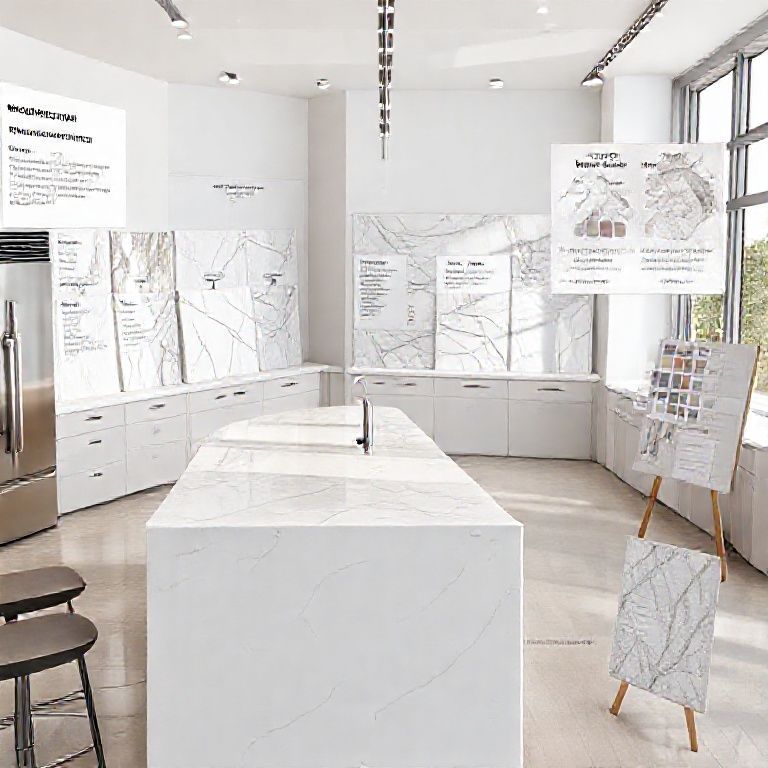
Take accurate measurements of your countertop space. This will help you determine the amount of artificial stone material you need to purchase. Plan your design layout, considering the aesthetic you want to achieve and the functionality of the space.
3. Gather Supplies and Tools
You will need the following tools and materials:
Artificial stone countertop material Measuring tape Utility knife Chisel and hammer (if removing existing countertop) Adhesive and sealant Caulking gun Level Safety gear (gloves, goggles, mask)
4. Clean and Prepare the Surface
Ensure the surface where the new countertop will be installed is clean and free of any debris. If you’re removing an existing countertop, make sure the area is clear and smooth.
5. Design the Layout
Plan the design of your new artificial stone countertop. Use design software or draw a layout on paper to visualize the final appearance. Consider the placement of sink, stove, and other elements to ensure the design fits seamlessly into your kitchen.
Installation Process
Once you are prepared, you can begin the installation process. Here are the detailed steps to follow:
1. Remove the Existing Countertop
If your existing countertop needs to be removed, use a chisel and hammer to carefully break it apart. Wear safety gear to protect yourself from debris. Once removed, clean the surface thoroughly to ensure it’s smooth and free of any residue.
2. Cut the Artificial Stone
Measure and cut the artificial stone to fit the countertop area using a utility knife. Make sure the cuts are as straight as possible for a professional finish. Use a level to ensure the stone fits correctly.
3. Apply Adhesive
Apply a generous amount of adhesive to the surface where the artificial stone will be placed. Spread it evenly using a trowel. Follow the manufacturer’s instructions for the appropriate amount of adhesive and curing time.
4. Install the Artificial Stone
Carefully place the artificial stone onto the adhesive. Press down firmly to ensure a good bond. Use a level to make sure the stone is straight and adjust as necessary.
5. Allow Adhesive to Cure
Allow the adhesive to cure according to the manufacturer’s instructions. This may take several hours, so plan accordingly.
6. Caulking
Once the adhesive has cured, use a caulking gun to fill any gaps between the countertop and the cabinet edges or other surfaces. Choose a color that matches your artificial stone for a seamless look.
7. Clean Up
After the caulk has dried, clean the surface with a damp cloth to remove any excess caulk or residue.
By following these steps, you’ll have a beautifully renovated kitchen with a stunning artificial stone countertop that’s both functional and stylish. Stay tuned for the second part of this guide where we’ll cover additional finishing touches and maintenance tips to keep your new countertop looking its best.
In this final part of our guide, we’ll focus on the finishing touches and ongoing maintenance for your artificial stone countertop to ensure it remains in pristine condition. Let’s delve into the details to help you maintain the beauty and durability of your new kitchen feature.
Finishing Touches
1. Polishing and Sealing
To enhance the appearance and protect your artificial stone countertop, consider polishing and sealing it. Polishing removes any surface scratches or imperfections, while sealing provides an additional layer of protection against stains and spills.
Polishing: Use a stone polish specifically designed for artificial stone to gently buff the surface, bringing out its natural shine. Sealing: Apply a high-quality sealant to protect against stains and enhance durability. Follow the manufacturer’s instructions for application and curing.
2. Custom Accessories
Add custom accessories to complement your artificial stone countertop. Consider adding:
Cabinetry: Matching or complementary cabinetry to create a cohesive look. Backsplash: A stylish backsplash that ties the countertop design into the rest of your kitchen. Hardware: High-quality hardware like drawer pulls, cabinet handles, and faucets to add a touch of elegance.
3. Proper Tools and Equipment
Ensure you have the right tools and equipment to use with your artificial stone countertop. Avoid using metal utensils or knives that can scratch the surface. Instead, use wooden or plastic tools to prevent damage.
Maintenance Tips
Proper maintenance is crucial for keeping your artificial stone countertop looking its best. Here are some essential tips to follow:
1. Regular Cleaning
Daily Cleaning: Wipe down the countertop with a damp cloth and mild soap after each use. This prevents food particles and grease from setting in. Weekly Cleaning: For a deeper clean, use a stone cleaner specifically formulated for artificial stone. Avoid abrasive cleaners that can scratch the surface.
2. Handling Spills Immediately
Spills can cause stains on artificial stone. Blot up liquid spills immediately with a clean cloth to prevent them from soaking into the surface.
3. Avoid Harsh Chemicals
Harsh chemicals can damage the surface of your artificial stone. Use mild soap and water for cleaning instead of bleach, ammonia, or other strong chemicals.
4. Use Protective Pads
When placing hot pots, pans, or dishes on the countertop, use protective pads or trivets to prevent thermal damage and scratches.
5. Regular Inspections
Regularly inspect your countertop for any signs of damage, such as scratches or chips. Address minor issues promptly to prevent them from worsening.
Enhancing Aesthetics
To further enhance the aesthetics of your artificial stone countertop, consider the following ideas:
1. Integrate with Kitchen Design
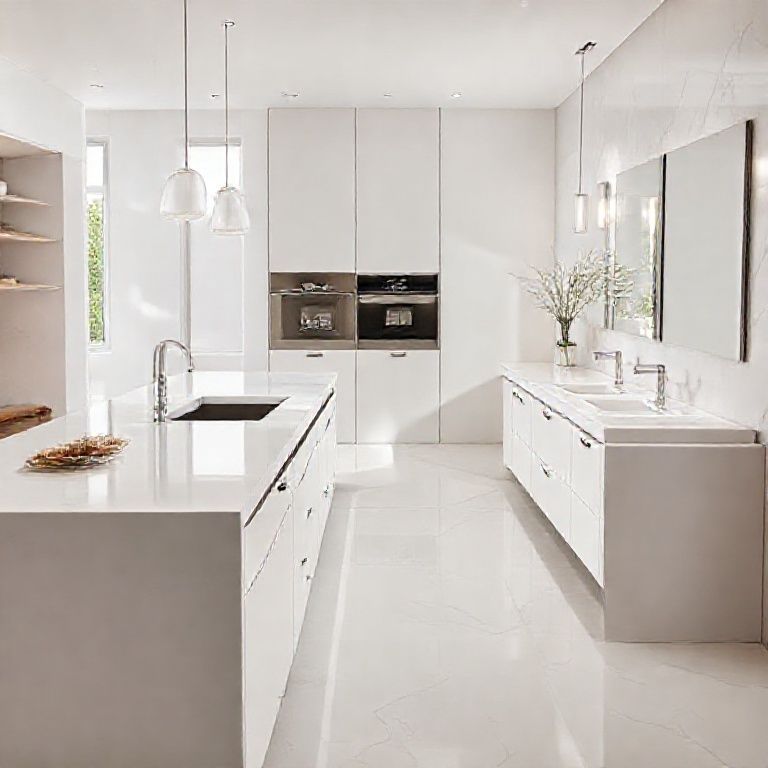
Ensure your countertop design matches the overall kitchen design. Whether you prefer a modern, rustic, or traditional look, choose a color and pattern that complements your kitchen decor.
2. Use Complementary Colors
Use complementary colors and materials in your kitchen to create a cohesive and harmonious look. For example, pair your artificial stone countertop with matching cabinets and backsplash.
3. Highlight Features
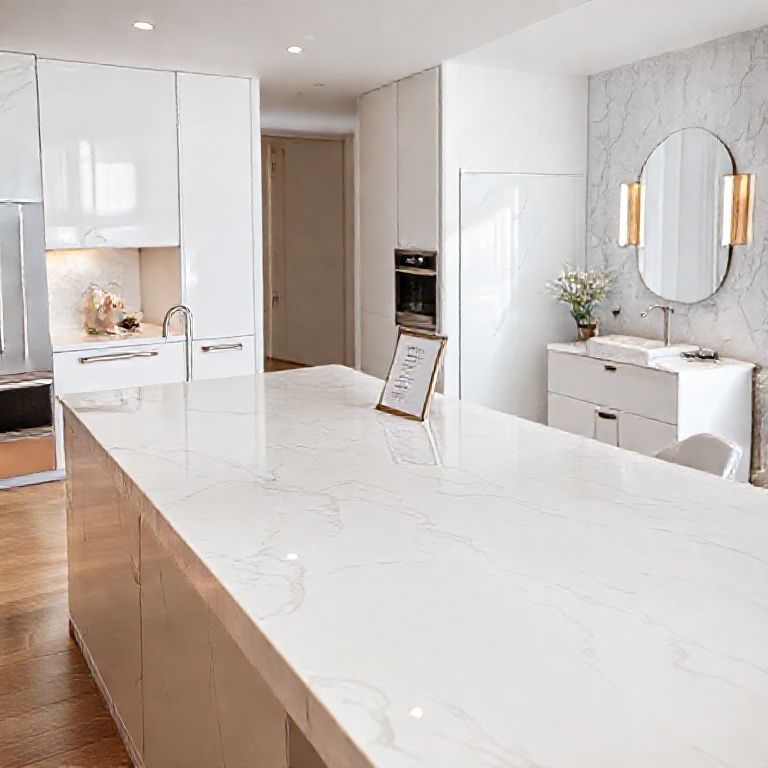
Highlight specific features of your countertop, such as unique patterns or colors, by incorporating them into your kitchen design. This can draw attention to the countertop and make it a focal point.
Final Thoughts
Congratulations on successfully renovating your kitchen with an artificial stone countertop! With careful planning, preparation, and maintenance, you can enjoy a stunning对你的厨房进行人造石台面翻新不仅可以提升整个空间的美观度,还能增加其实用性和耐用性。
现在,让我们总结一下关键的步骤和建议,以确保你的翻新项目取得成功。
1. 项目规划与设计
在开始任何翻新项目之前,进行详细的规划和设计至关重要。这包括以下几个方面:
预算: 确定你的总预算,包括材料费用、工具费用以及可能的人工费用。 设计: 在设计阶段,选择合适的人造石颜色和图案。考虑到整个厨房的风格,确保你的选择能够协调一致。 时间表: 制定一个详细的时间表,确保每个步骤都有足够的时间完成,避免任何紧急情况。
2. 准备工作
在开始安装之前,必须进行一些重要的准备工作:
清洁: 确保台面和周围区域彻底清洁。清除任何污垢、油脂或建筑垃圾。 测量和切割: 根据测量好的厨房台面尺寸,准确切割人造石材。使用精确的工具和测量工具以确保切割的准确性。 拆除旧台面: 如果需要更换旧台面,小心地拆除旧台面,确保周围的厨房结构没有受到损坏。
3. 安装步骤
安装人造石台面的过程可以分为几个主要步骤:
铺设胶水: 在台面底部均匀涂抹建议的胶水。确保胶水的涂抹均匀,以避免未来出现空隙或漏水的问题。 放置台面: 小心地将人造石台面放在预先准备好的位置上,并用夹具固定,确保其在胶水干燥过程中不会移动。 等待干燥: 根据制造商的建议,等待胶水完全干燥。
这通常需要几个小时到一天的时间。
4. 密封和封闭
安装完成后,进行密封和封闭工作:
密封: 使用专业的密封剂沿着台面的边缘涂抹,以防止水分进入接缝处。这一步对于防止漏水和延长台面寿命非常重要。 边缘处理: 对台面的边缘进行处理,确保其光滑和安全。可以使用专门的边缘保护剂或涂料来美化和保护台面边缘。
5. 最后的检查和清理
翻新完成后,进行最后的检查和清理:
检查: 仔细检查整个台面,确保没有任何漏水、胶水溢出或密封不良的问题。 清洁: 使用湿布轻轻擦拭台面,去除任何可能残留的灰尘或污渍。避免使用过多的水分,以免影响密封效果。
6. 维护与保养
为了确保你的人造石台面长久美观和耐用,定期进行以下维护:
清洁: 每天用湿布擦拭台面,定期用中性清洁剂进行深度清洁。 处理溅渍: 及时处理烹饪过程中的溅渍,以避免染色或损坏。 密封: 每隔一段时间,检查台面的密封情况,并根据需要重新密封。
通过以上详细步骤和建议,你的厨房人造石台面翻新项目将能够顺利进行,并为你带来一个美观、实用且耐用的厨房台面。希望这些信息对你有所帮助,祝你翻新项目成功!