In the realm of modern kitchen and bathroom design, artificial stone countertops have emerged as a preferred choice for their stunning aesthetics, durability, and ease of maintenance. This comprehensive guide explores the intricate installation process of artificial stone countertops, ensuring you achieve a flawless finish.
Understanding Artificial Stone Countertops
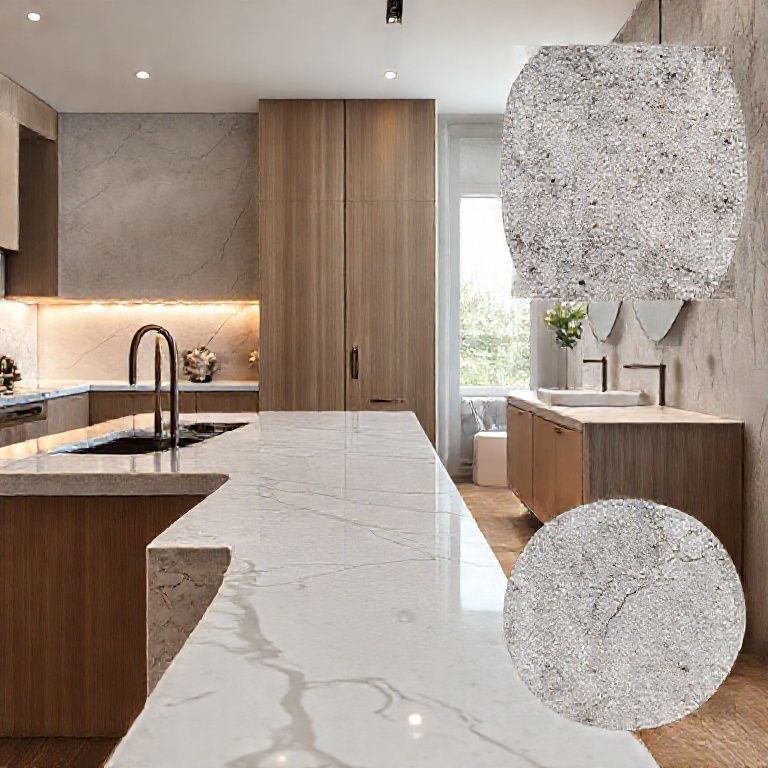
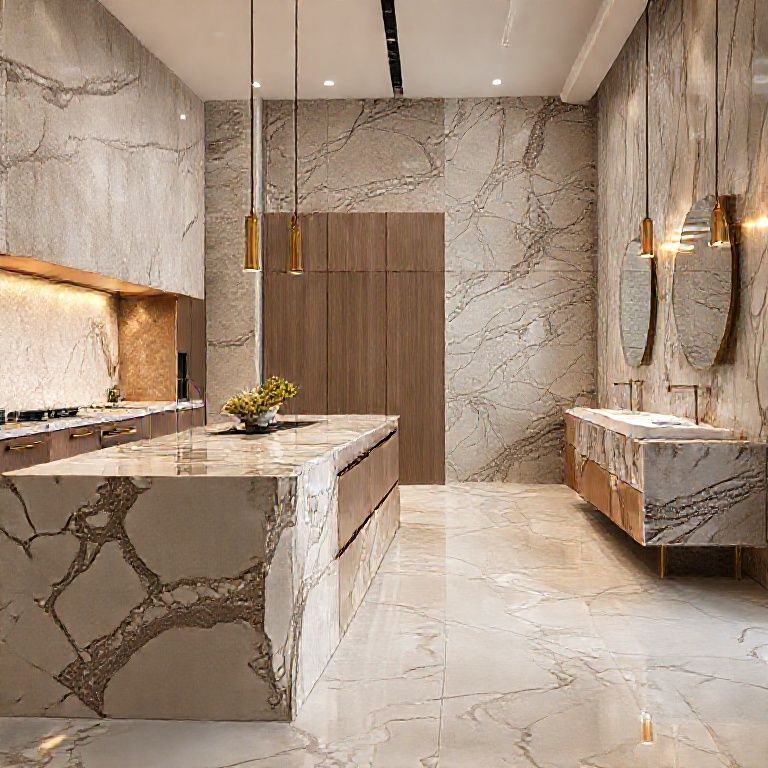
Before we delve into the installation process, it’s essential to understand what artificial stone is and why it’s becoming increasingly popular. Artificial stone, also known as cultured stone, is a composite material made from natural stone aggregates, such as quartz, marble, or granite, combined with resin. This blend creates a material that mimics the appearance and texture of natural stone while offering superior durability and resistance to stains and scratches.
Preparation: Setting the Stage for Perfection
The first step in installing artificial stone countertops is thorough preparation. This stage is critical as it sets the foundation for a successful installation.
Design and Measurement Begin with a detailed design of the countertop layout. Measure the area where the countertop will be installed to ensure accurate cutting and fit. It’s crucial to consider the thickness of the stone, typically ranging from 1 to 2 inches, to ensure a proper fit around edges and under fixtures.

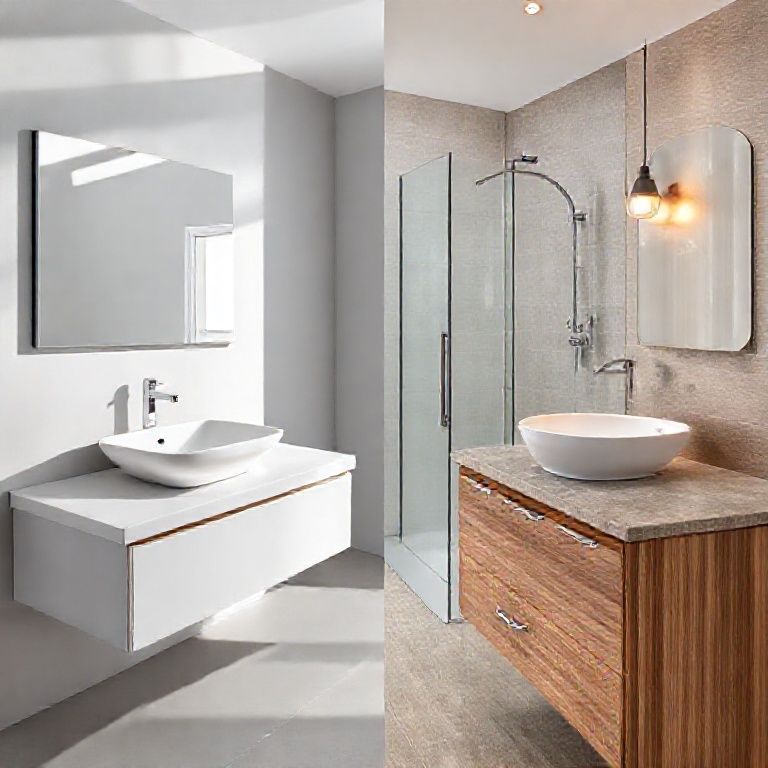
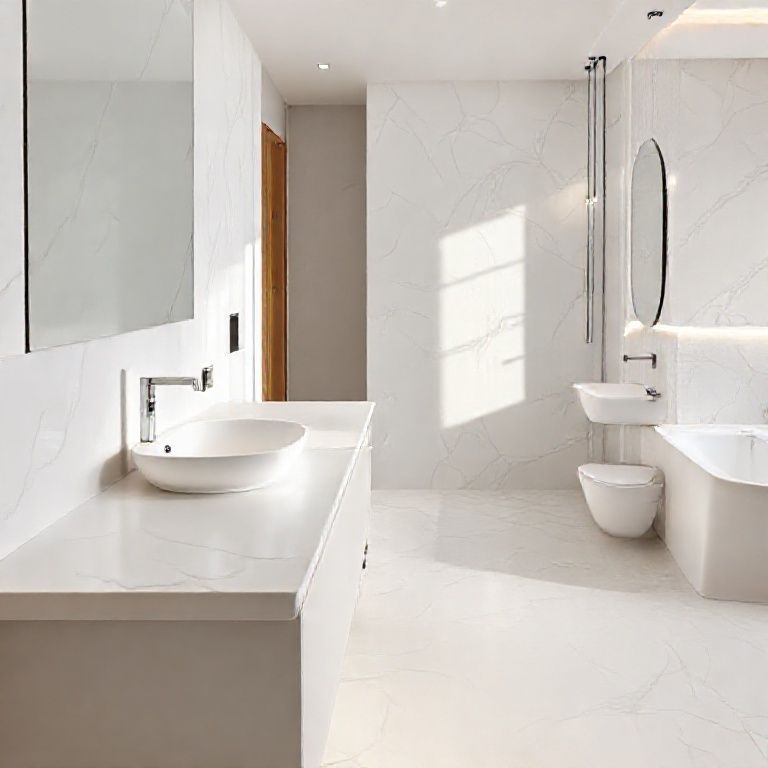
Surface Preparation Prepare the surface where the countertop will be installed. Ensure that the area is clean, dry, and free of any debris. For kitchen countertops, the underlying surface is usually a wood or metal frame, while bathroom countertops might be mounted directly onto a cement board or tile.
Choosing the Right Adhesive Select a high-quality, flexible adhesive suitable for artificial stone. Epoxy or polyurethane adhesives are commonly used for their strong bonding properties and resistance to moisture.
Initial Installation Steps
With preparation complete, we move on to the initial installation steps that ensure a seamless and professional finish.

Cutting the Stone Using a wet saw, carefully cut the artificial stone to the desired dimensions. It’s important to wear safety goggles and a dust mask to protect against sharp edges and dust. Mark the cutting line with a pencil and ensure the saw blade is sharp to achieve clean cuts.
Applying the Adhesive Apply the adhesive to the prepared surface using a notched trowel. The adhesive should be spread evenly to ensure a strong bond without excess that could seep out. The amount of adhesive used depends on the size of the countertop; generally, a 1:3 ratio of adhesive to stone surface area is recommended.
Positioning the Countertop Carefully position the countertop onto the adhesive. Use a rubber mallet to gently tap the countertop into place, ensuring it is level and properly aligned. It’s essential to press the stone firmly against the adhesive to eliminate air pockets and ensure a strong bond.

Using Spacers To maintain even edges and prevent the countertop from sticking out too far, use spacers along the edges. These small plastic or metal pieces help keep the countertop flush with the surrounding walls or cabinets.
Securing the Countertop
Once the countertop is in place, the next step is securing it to ensure it remains stable throughout the curing process.
Clamping Use clamps to hold the countertop in place. Place the clamps along the edges, ensuring they are evenly distributed to provide uniform pressure. Adjust the clamps to ensure the countertop is held firmly without causing any damage.
Allowing Time to Cure Allow the adhesive to cure according to the manufacturer’s instructions. This process usually takes several hours to a full day, depending on the adhesive used and the ambient temperature.
Part 2 will cover the final steps of installation, including edge finishing, sealing the countertop, and maintaining its longevity.
Building upon the initial installation steps, the final stages of installing artificial stone countertops are crucial for ensuring a professional, long-lasting finish.
Finishing the Edges
Once the adhesive has fully cured, the next step is to finish the edges of the countertop. This step involves smoothing out any rough edges and ensuring a seamless transition between the countertop and the surrounding surfaces.
Removing Clamps Carefully remove the clamps from the countertop. It’s important to do this gently to avoid dislodging the countertop or causing it to crack.
Edge Trimming Use a stone edge trimmer or a similar tool to trim any excess adhesive or rough edges around the countertop. This step ensures a clean and polished edge, providing a seamless look.
Edge Caulking For a professional finish, apply a flexible silicone caulk along the edges where the countertop meets the wall or cabinet. Choose a caulk color that matches the countertop to create a seamless appearance. Smooth the caulk with a wet finger or a caulking tool to ensure an even application.
Sealing the Countertop
Sealing the artificial stone countertop is essential to protect it from stains, scratches, and water damage, ensuring its longevity and maintaining its beauty.
Selecting the Right Sealant Choose a high-quality, acid-resistant sealant suitable for artificial stone. Most stone sealants are available in a variety of colors to match the countertop.
Applying the Sealant Apply the sealant using a lint-free cloth or a sealant applicator. Start at one edge and work your way across the countertop, ensuring even coverage. Apply the sealant in a back-and-forth motion to avoid streaks.
Curing Time Allow the sealant to cure according to the manufacturer’s instructions. This process usually takes several hours to a full day. During this time, avoid placing any heavy objects on the countertop.
Final Touches and Maintenance
After the countertop is securely installed and sealed, the final touches ensure it remains in pristine condition for years to come.
Cleaning Clean the countertop with a mild soap and water solution. Avoid using harsh chemicals or abrasive cleaners that could damage the surface. For routine cleaning, a damp cloth or a stone countertop cleaner is sufficient.
Regular Maintenance Regularly inspect the countertop for any signs of wear or damage. Reapply sealant every 12 to 24 months, depending on usage and exposure to water. For high-traffic areas, more frequent sealing may be necessary.
Handling Spills In case of spills, clean them immediately with a damp cloth to prevent stains. For tough stains, use a specialized stone cleaner and follow the manufacturer’s instructions.
Conclusion
Installing artificial stone countertops is an art that combines precision and technique to create stunning, durable surfaces for your kitchen or bathroom. From preparation and initial installation to finishing and sealing, each step is crucial in achieving a professional, long-lasting result. With proper installation and regular maintenance, your artificial stone countertop will not only enhance the beauty of your space but also provide a functional and enduring surface for years to come.
By understanding and following these detailed steps, you can ensure a flawless installation that showcases the beauty and durability of artificial stone countertops, making your kitchen or bathroom a true reflection of modern design and craftsmanship.