The Ultimate Guide to Creating a Stunning Artificial Stone Countertop
Artificial stone countertops have revolutionized modern kitchen and bathroom design, combining the durability of natural stone with the flexibility of composite materials. Whether you’re a DIY enthusiast or a professional looking to expand your skills, this comprehensive guide will walk you through everything you need to know about creating a stunning artificial stone countertop.

What is Artificial Stone?
Artificial stone, also known as cultured stone, is a composite material made from a mixture of minerals, polymers, and colorants. This material mimics the appearance and durability of natural stone while offering greater flexibility and ease of use. The result is a high-quality, long-lasting countertop that can be shaped into any form or design.
Benefits of Artificial Stone Countertops
Durability: Artificial stone is highly resistant to scratches, stains, and heat. Unlike natural stone, it does not require sealing or regular maintenance. Versatility: You can create a wide range of designs and patterns with artificial stone. It’s available in various colors and finishes, allowing for endless customization. Cost-Effective: While the initial cost might be higher than some alternatives, the long-term durability and low maintenance make artificial stone a cost-effective choice. Ease of Installation: Artificial stone can be easily cut and shaped, making it suitable for both professional and DIY projects.
Materials and Tools You’ll Need
To create your artificial stone countertop, you will need the following materials and tools:
Materials:
Artificial stone slabs Hardener Colorants (optional) Release agents
Tools:
Cutting saw Chisels and hammers Mixing container Stirring sticks Mixing pad Gloves and safety goggles
Step-by-Step Instructions
Step 1: Preparation
Choose Your Design: Decide on the design and color of your countertop. Sketch it out if you need a visual guide. Prepare Your Workspace: Ensure your workspace is well-ventilated. Lay down a mixing pad to prevent the stone from sticking. Safety First: Put on your gloves and safety goggles to protect yourself from dust and chemicals.
Step 2: Mixing the Artificial Stone
Measure Ingredients: Measure the required amount of artificial stone and hardener. The ratio typically is 1:1, but this can vary depending on the product specifications. Mixing: Pour the stone and hardener into a mixing container. Use a stirring stick to thoroughly combine the ingredients until a uniform color is achieved. If you want a custom color, add the colorant at this stage. Kneading: Transfer the mixture onto the mixing pad and knead it with your hands until it reaches a clay-like consistency.
Step 3: Shaping the Countertop
Forming: Use chisels and hammers to shape the artificial stone into the desired form. For straight edges, use a straight chisel, and for curves, use a curved chisel. Cutting: Once shaped, use a cutting saw to cut the countertop to size. Make sure to wear safety goggles during this process. Smoothing: Smooth the edges with fine-grit sandpaper to ensure a polished finish.
Step 4: Curing
Initial Curing: Allow the countertop to cure for at least 24 hours. Place it in a warm, dry area to accelerate the curing process. Final Cure: For best results, let the countertop cure for up to 7 days. During this time, avoid placing heavy objects on it to prevent any damage.
Tips for a Flawless Finish
Consistency is Key: Ensure the mixture is of the right consistency before shaping it. Too dry and it won’t hold shape; too wet and it will crumble. Precision: Use precision tools for clean cuts and shapes. Practice makes perfect. Patience: Allow sufficient curing time to achieve maximum durability.
Conclusion
Creating an artificial stone countertop is a rewarding DIY project that offers a stunning, durable, and customizable surface for your kitchen or bathroom. By following the steps outlined above, you can transform your space with a beautiful, high-quality countertop that will last for years to come. Whether you’re a novice or an experienced DIYer, this guide will help you achieve professional-looking results.
Stay tuned for part two, where we will delve deeper into advanced techniques and design ideas for your artificial stone countertops!
Advanced Techniques and Design Ideas for Artificial Stone Countertops
Welcome back to our ultimate guide on creating artificial stone countertops! In part two, we’ll explore advanced techniques and innovative design ideas that will take your artificial stone creations to the next level. Whether you’re looking to refine your skills or are inspired to try something new, this section has something for everyone.
Advanced Techniques for Artificial Stone Countertops
1. Creating Complex Shapes
Artificial stone’s flexibility allows for intricate designs and shapes. Here’s how to create some complex forms:
Curved Shapes: For curves, use a curved chisel and hammer. Start by gently tapping around the area where you want the curve. Gradually increase the pressure to achieve the desired depth. Angled Cuts: To make angled cuts, use a miter box or a specialized cutting tool. This will ensure clean, precise cuts that fit perfectly together. Layering: For multi-layered designs, create individual pieces and assemble them. This technique is perfect for intricate patterns and multi-tiered designs.
2. Edge Finishing
Finishing the edges of your countertop is crucial for a professional look:
Beveled Edges: Use a beveling tool to create a slanted edge. This adds a polished, sophisticated finish to your countertop. Smooth Edges: For a seamless finish, use fine-grit sandpaper to smooth out any rough edges after cutting. Ensure the edges are completely smooth to prevent chips and cracks.
3. Adding Textures
Artificial stone can mimic a variety of textures. Here’s how to add different textures to your countertop:
Marble Effect: To achieve a marbled look, mix different colors of stone and hardener. Use a marble roller or your hands to swirl the colors together before kneading. Granite Texture: For a granite finish, use a textured mold before shaping the stone. This creates a realistic granite pattern that adds depth and realism to your countertop.
Innovative Design Ideas
1. Unique Shapes and Forms
Don’t be afraid to think outside the box. Artificial stone allows for a wide range of unique designs:
Freeform Designs: Create freeform shapes that mimic natural forms like waves or leaves. This adds a touch of organic beauty to your countertop. Custom Curves: Design custom curves and arcs that fit your specific space. This can create a focal point in your kitchen or bathroom.
2. Color and Pattern Combinations
Experiment with different color and pattern combinations to create a statement piece:
Two-Tone Designs: Combine two complementary colors for a balanced, elegant look. Marble and Wood Fusion: Mix marble-like artificial stone with wood veneers to create a fusion of materials that adds warmth and texture.
3. Multi-Functional Countertops
Artificial stone is not just for countertops. Get creative with multifunctional designs:
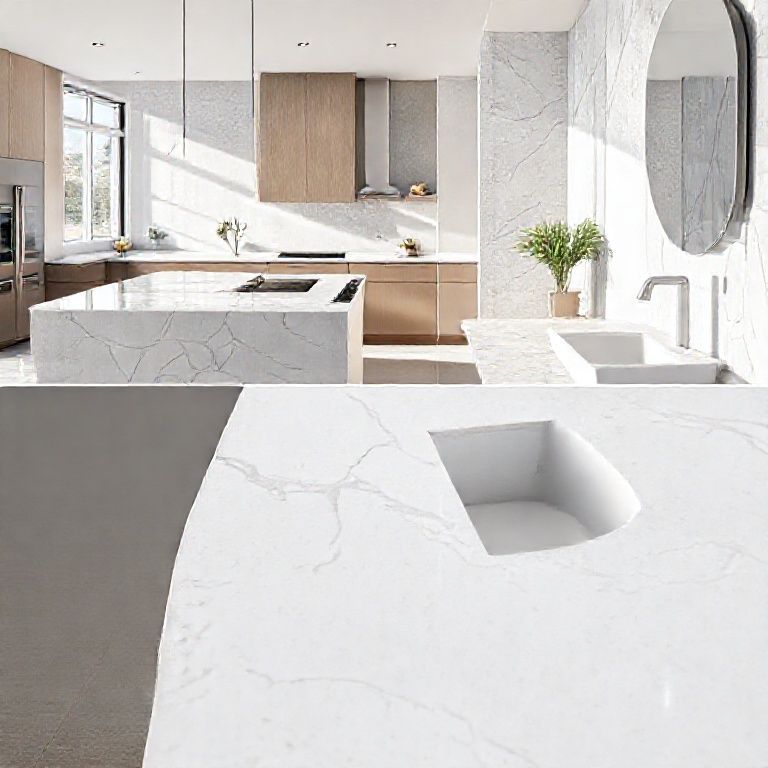
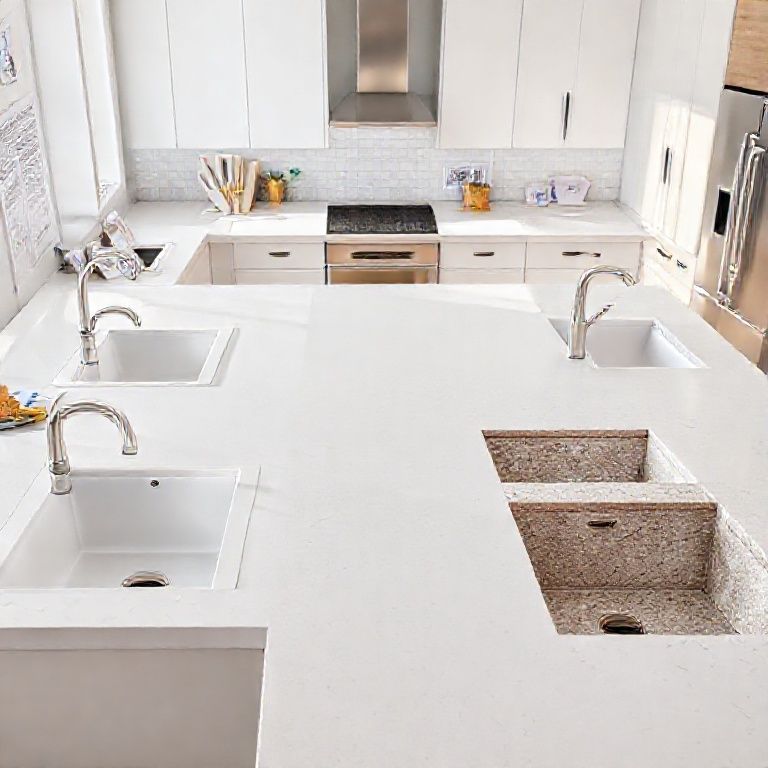
Integrated Sinks: Create a countertop that incorporates a sink. This requires precise shaping and cutting but can result in a seamless, integrated look. Built-In Appliances: Design countertops that accommodate built-in appliances like coffee makers or blenders. This adds functionality without compromising on aesthetics.
Tips for Professional Results
1. Practice Makes Perfect
Advanced techniques require practice. Don’t be discouraged if your first few attempts aren’t perfect. Keep refining your skills, and soon you’ll achieve professional-looking results.
2. Precision Tools
Invest in high-quality tools. Precision chisels, cutting saws, and finishing tools can make a significant difference in the quality of your work.
3. Patience and Attention to Detail
Artificial stone requires patience, especially when it comes to curing and finishing. Pay attention to each step to ensure the best results.
Real-Life Examples
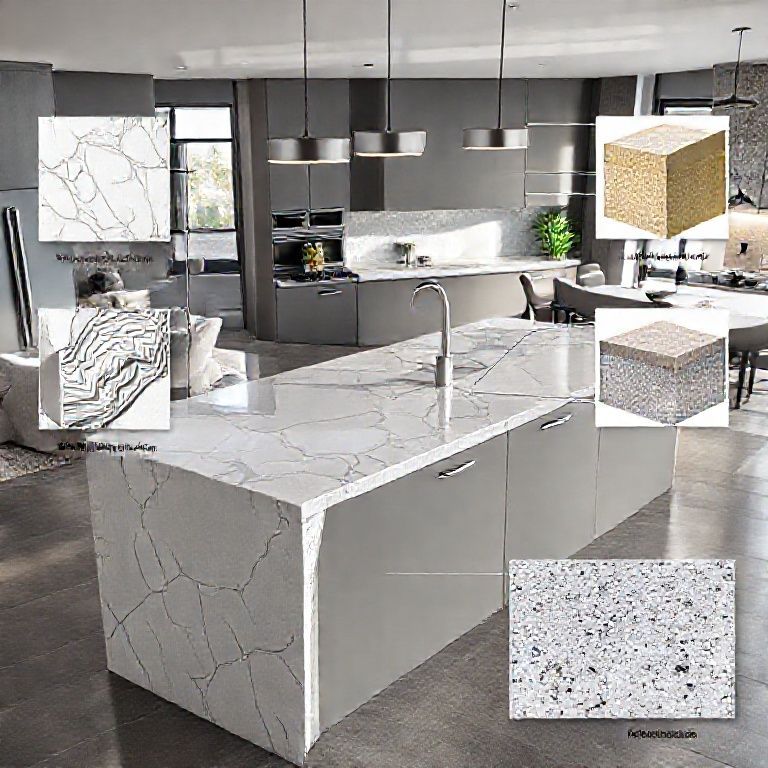
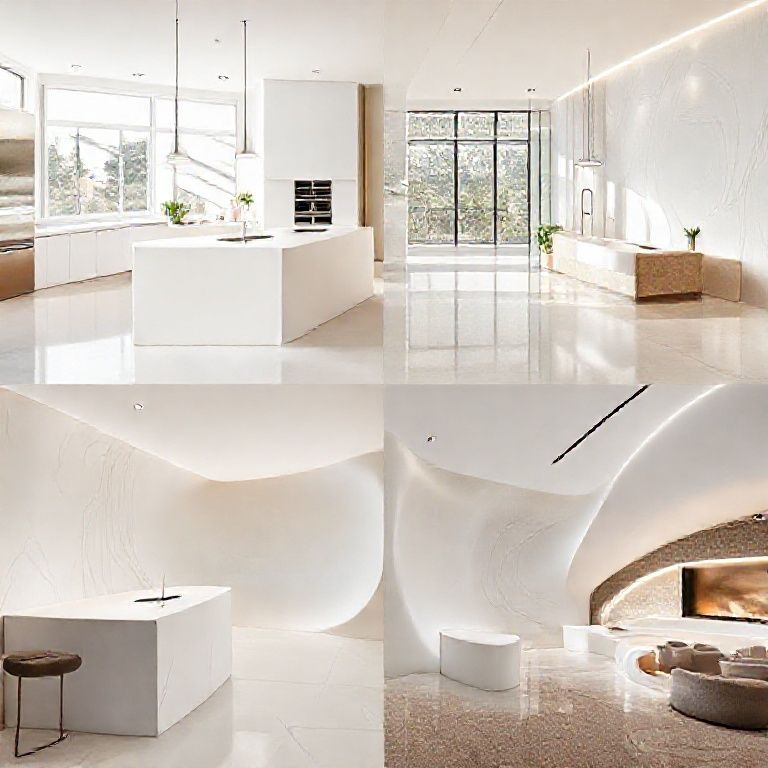
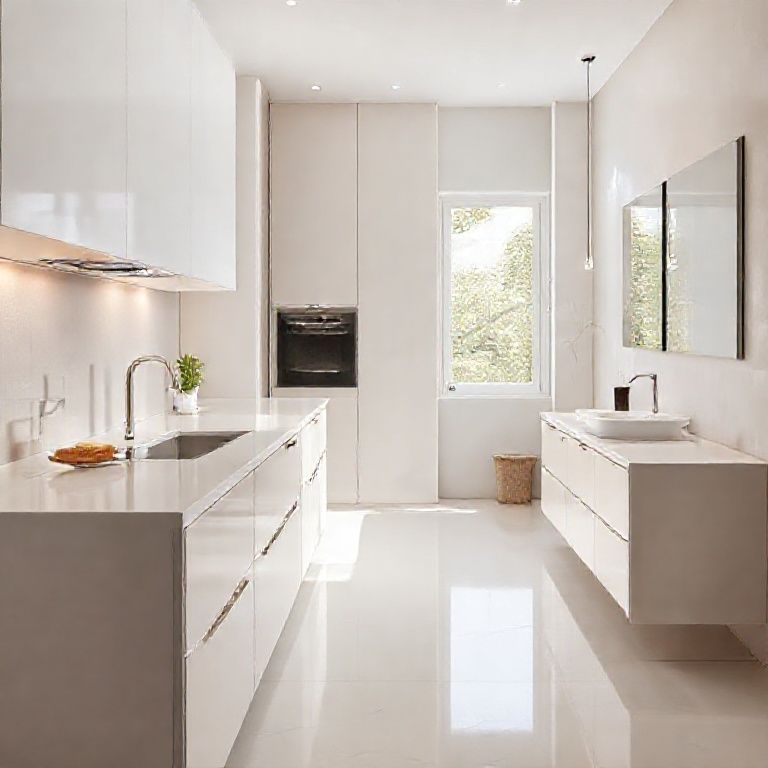
1. Modern Kitchen Countertop
A sleek, modern kitchen countertop with clean lines and a minimalist design can be created using artificial stone. Choose a neutral color like gray or white, and add subtle veining for a natural stone look. Use precision cutting tools to create straight edges and smooth finishes.
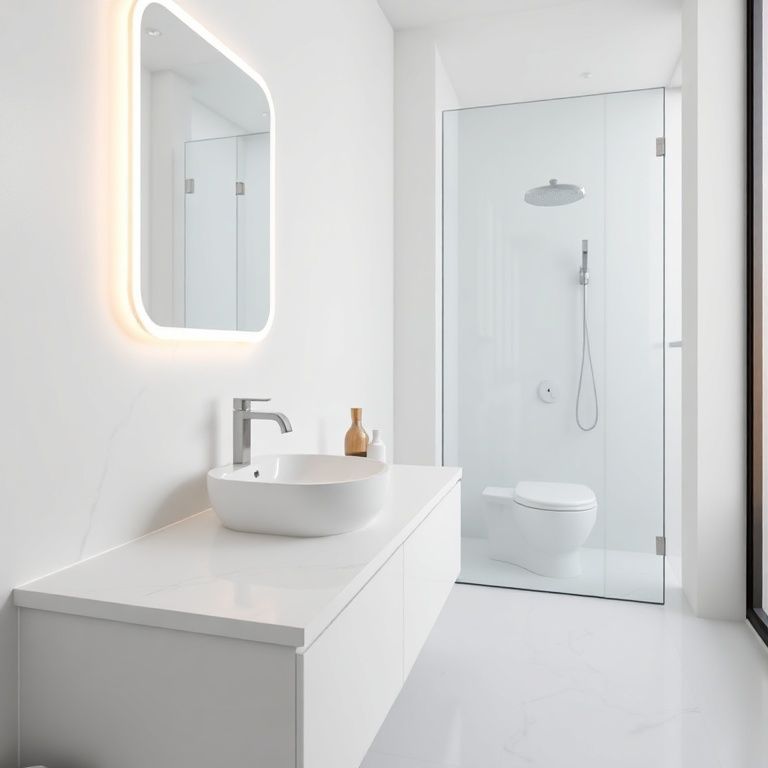
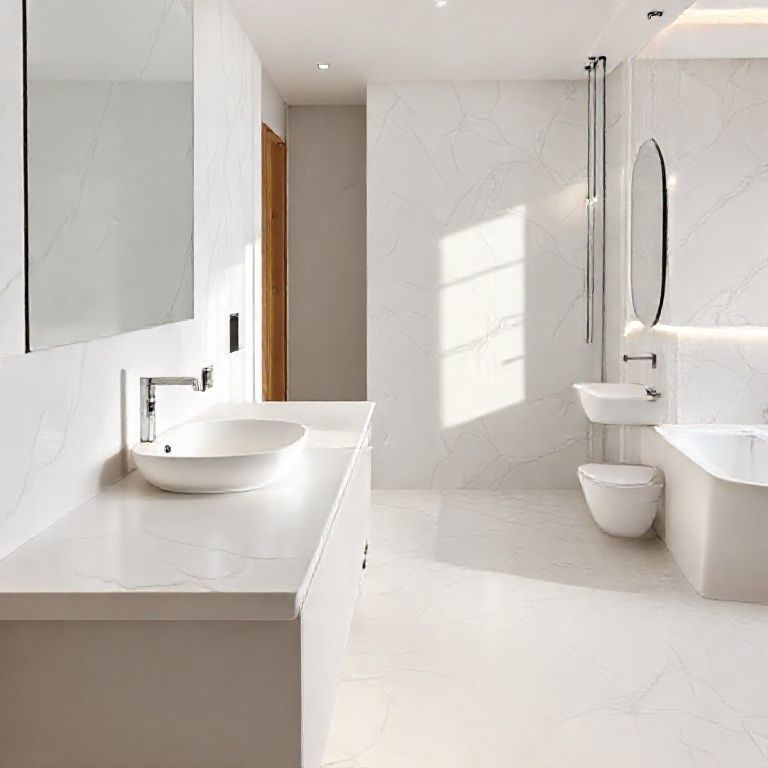
2. Rustic Bathroom Countertop
For a rustic, farmhouse-style bathroom, opt for a warm, earthy color with a wood grain finish. Use a textured mold to achieve a realistic wood pattern and add natural stone veining for added depth.
3. Artistic Statement Piece
Create a statement piece in your kitchen or living room with a freeform design. Use vibrant colors and complex当然,我将继续介绍更多关于创建精美人造石台面的创新设计和技巧。
4. Artistic Statement Piece
创建一件艺术品台面是展示你创意和个人风格的绝佳方式。选择鲜艳的颜色和复杂的设计,通过手工搅拌和混合不同的颜色来创建独特的纹理。这些台面可以成为你空间的焦点,吸引所有人的目光。
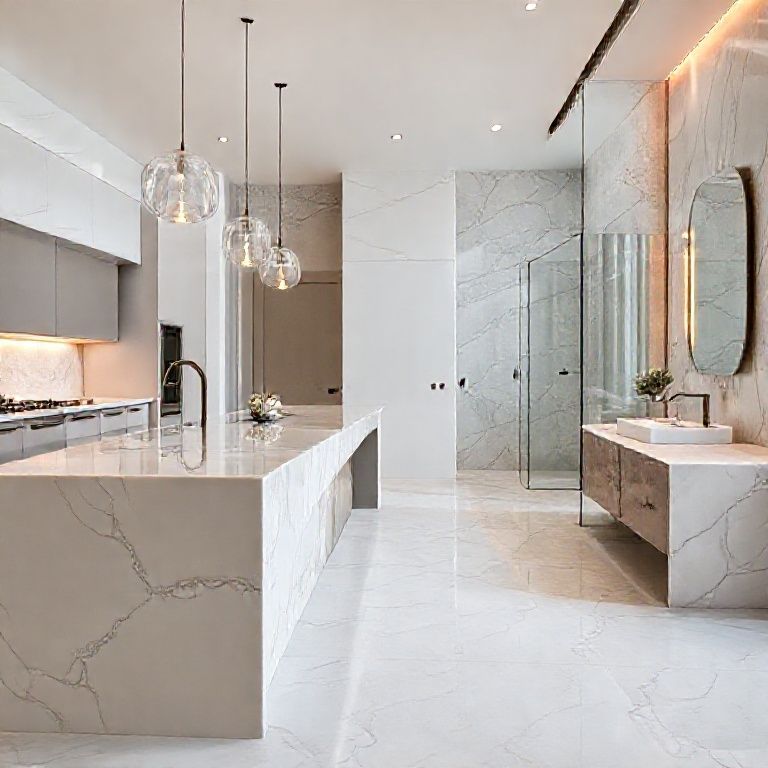
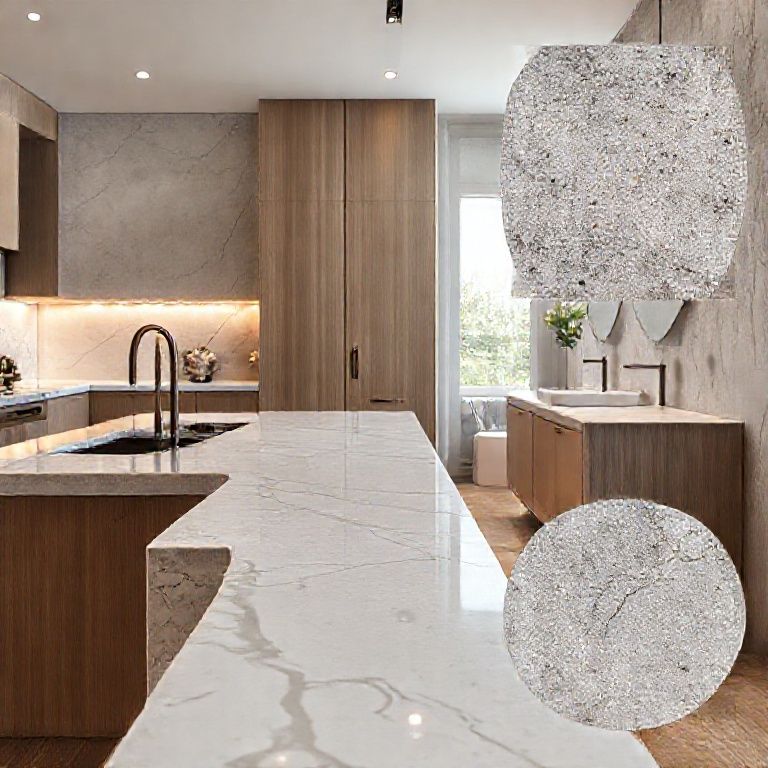
5. Custom Kitchen Islands
定制厨房岛台面可以为你的厨房带来更多的功能区域。设计一个带有多个功能区的岛台,包括准备区、烹饪区和储物区。使用不同材质和颜色的人造石来区分各个功能区,同时保持整体美观。
6. Integrated Bar and Dining Area
在你的厨房或客厅中,创建一个集酒吧和餐厅于一体的空间。使用人造石材创建一个独特的台面,可以作为餐桌或酒吧台。选择一个大理石般的效果,并在台面上添加雕刻或浮雕,以增加视觉上的吸引力。
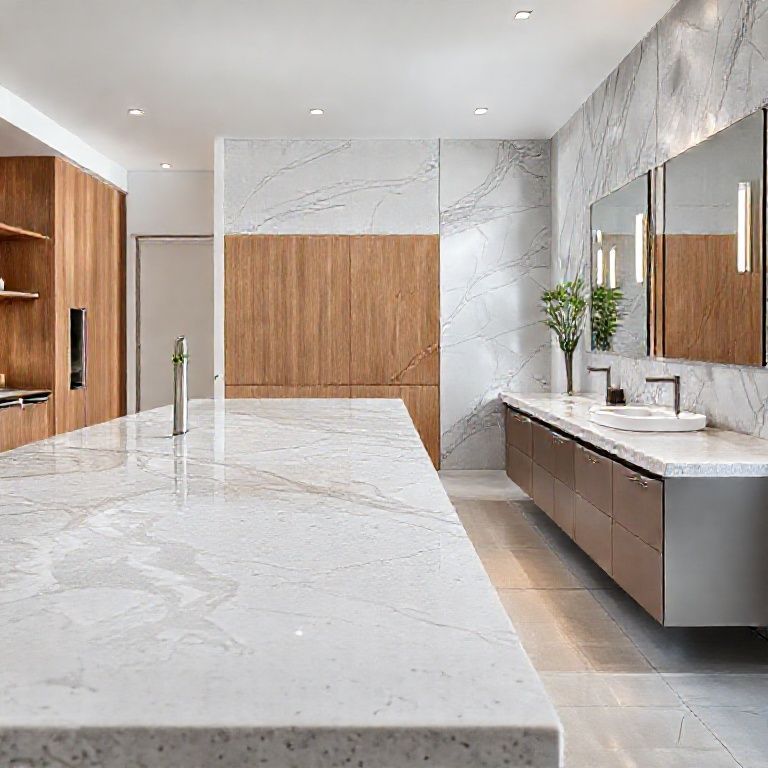
7. Bath and Shower Areas
人造石不仅适合台面,还可以用于浴室和淋浴区。设计一个带有复杂图案的洗手台,或者创建一个与淋浴区相连的台面,以提供额外的存储空间和洗浴用品的展示区。
8. Outdoor Designs
人造石的耐候性使其成为户外设计的绝佳选择。设计一个户外烧烤区的台面,或者为你的露台创建一个耐用的桌面。选择防水和耐高温的人造石材,以确保其在各种天气条件下都能保持美观。
9. Unique Shapes and Installations
人造石的可塑性使你可以创造出任何形状和形式的台面。无论是弧形、椭圆形,还是完全自由形状,只要你有创意,就能实现。人造石台面的安装也非常灵活,可以直接固定在墙上或与其他结构结合,以创建独特的设计。
Final Thoughts
创建人造石台面不仅是一项技术,更是一种艺术。通过了解材料的特性和学习各种技术,你可以创造出极具个性和美感的设计。无论你是专业的石材工匠,还是热衷于DIY的爱好者,这些技巧和设计想法都将帮助你在你的项目中取得成功。