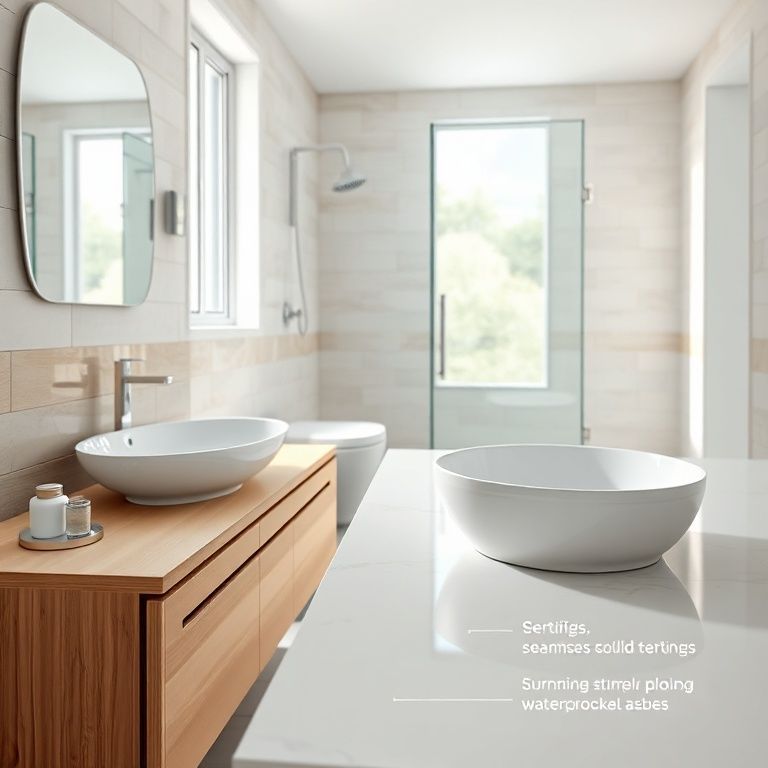
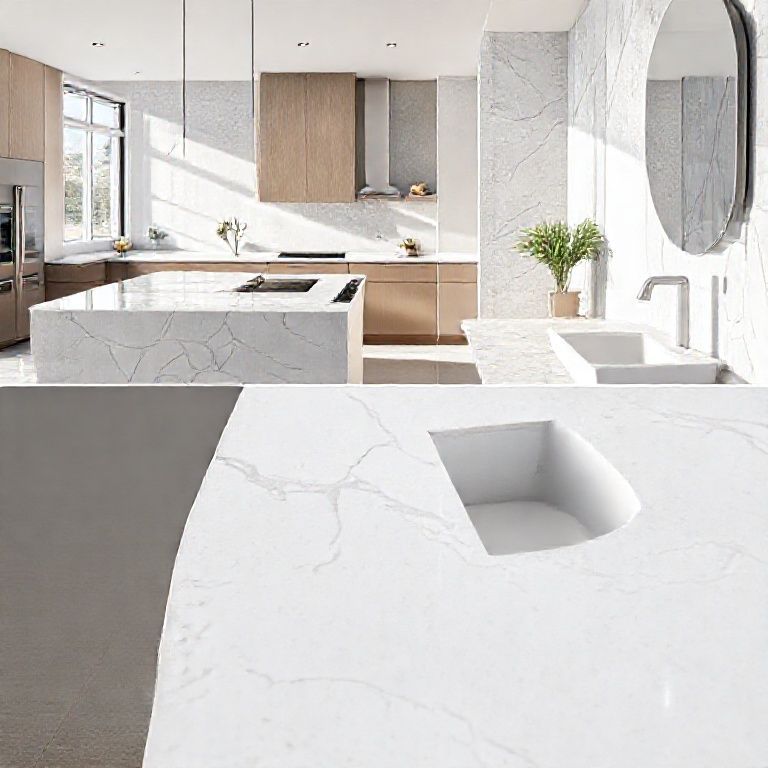
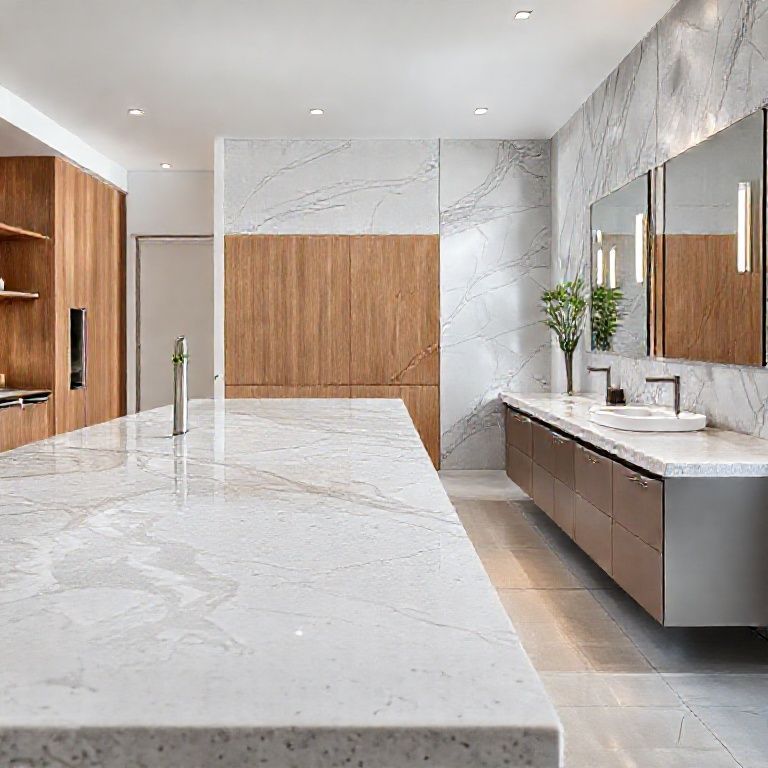
Understanding and Preparing for Artificial Stone Countertop Crack Repair
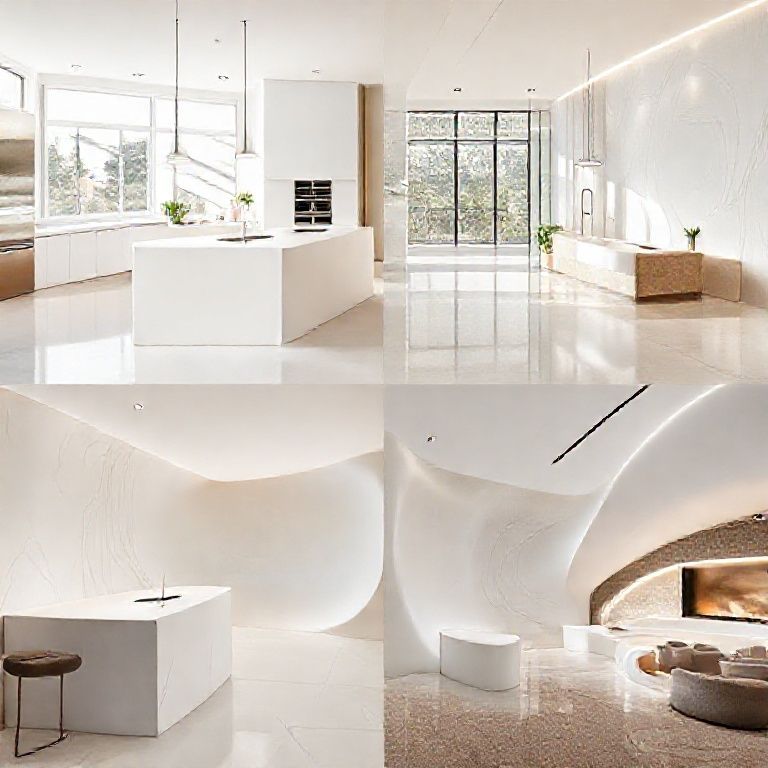
When it comes to home renovations and maintenance, ensuring that your countertops remain in pristine condition is paramount. Artificial stone countertops are renowned for their durability, aesthetic appeal, and low maintenance. However, even the best materials can develop cracks over time, whether from minor accidents or general wear and tear. Addressing these cracks promptly is essential to maintaining the integrity and appearance of your countertop.
Understanding the Causes of Cracks in Artificial Stone Countertops
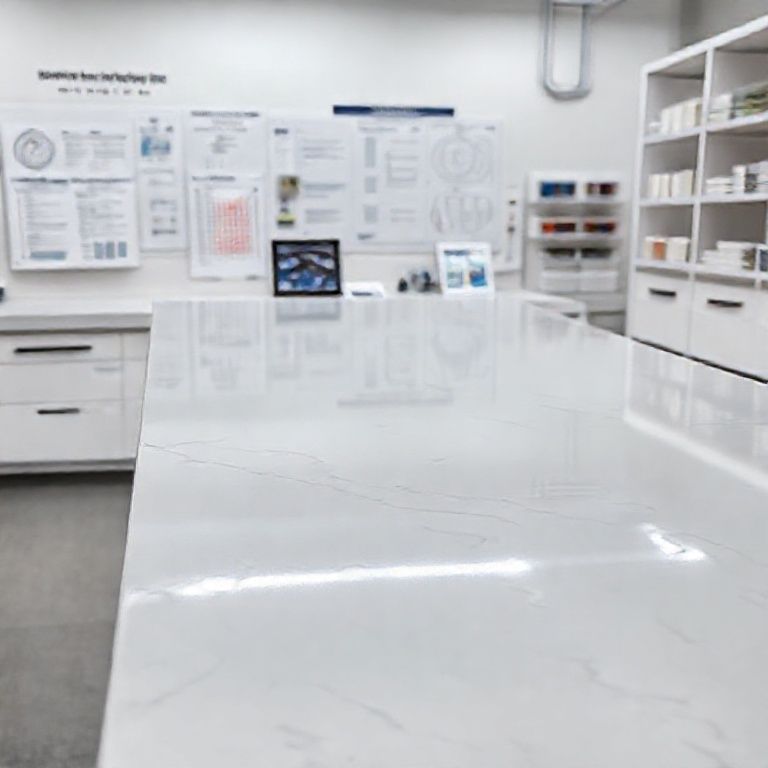
Artificial stone, a composite material made from a mixture of natural stone, resin, and other additives, is designed to mimic the look and feel of natural stone while offering superior durability. Despite its strength, artificial stone is not immune to cracks. Common causes include:
Impact Damage: Sudden impacts, such as dropping heavy objects or placing sharp tools directly on the surface, can cause cracks. Thermal Stress: Rapid temperature changes can lead to expansion and contraction, resulting in cracks. Aging and Wear: Over time, the natural wear and tear from daily use can lead to microscopic fractures that become more pronounced.
Preparing for the Repair Process
Before diving into the repair, it’s essential to prepare both the countertop and yourself for the task. Proper preparation ensures that the repair is effective and leaves no trace of the repair work. Here’s what you need to do:

Gather Necessary Tools and Materials: Fine-grit sandpaper or a sanding block Diamond cutting disc (if needed for larger cracks) Epoxy resin specifically designed for artificial stone Mixing tools Clean cloths and a bucket of water Protective gloves and eyewear Clean the Area: Thoroughly clean the cracked area using a damp cloth and mild soap to remove any debris, grease, or grime. This step is crucial to ensure that the epoxy resin adheres properly. Inspect the Crack: Examine the crack to determine its depth and width. This will help you choose the appropriate repair method and materials. Safety First: Wear protective gloves and eyewear to safeguard against resin splatters and dust.
Step-by-Step Repair Process
Surface Preparation: If the crack is minor, start by sanding the area around the crack using fine-grit sandpaper. This will create a smooth surface for the epoxy to adhere to. For larger cracks, you may need to use a diamond cutting disc to clean out the crack and remove any loose or damaged material. Applying Epoxy Resin: Mix the epoxy resin according to the manufacturer’s instructions. Use a mixing tool to ensure a uniform consistency. Carefully apply the epoxy resin into the crack using a syringe or a small applicator. Fill the crack completely and ensure there are no air bubbles. Smoothing the Surface: Once the epoxy has been applied, use a clean cloth to smooth the surface and remove any excess resin that may have spilled over the crack. Allow the epoxy to cure according to the manufacturer’s recommended time. This usually involves letting it sit undisturbed for several hours. Final Touches: After the epoxy has fully cured, sand the area lightly to achieve a smooth finish that blends seamlessly with the rest of the countertop. If necessary, apply a matching sealant or finish to protect the repaired area and restore the countertop’s original appearance.
By following these steps, you can effectively repair cracks in your artificial stone countertop, leaving no trace of the repair. In the next part, we will explore advanced techniques and additional tips to ensure your countertop remains flawless and durable.
Advanced Techniques and Maintenance Tips for Flawless Artificial Stone Countertops
In the previous part, we discussed the basic steps to repair cracks in artificial stone countertops. Now, let’s delve into more advanced techniques and maintenance tips to ensure that your countertop remains pristine and lasts for years to come.
Advanced Repair Techniques
While the basic repair method is effective for minor cracks, larger or more complex damage may require additional techniques. Here’s how to handle more challenging repairs:
Using a Color-Matched Epoxy: For cracks that are visible to the naked eye or involve larger sections, a color-matched epoxy can provide a more seamless repair. Ensure that the epoxy matches the color and shade of your countertop to avoid any noticeable differences. Layering the Epoxy: In cases where the crack is deep, consider layering the epoxy application. Apply a thin layer first to fill the crack, let it cure, and then apply a second layer to blend with the surface of the countertop. This technique can provide better structural integrity and a more natural appearance. Professional Repair Services: If you’re unable to tackle the repair yourself or if the damage is extensive, consider hiring a professional repair service. Certified professionals have the expertise and tools to perform intricate repairs that leave no trace of the work.

Maintenance Tips for Long-Lasting Artificial Stone Countertops
To keep your artificial stone countertop looking its best, regular maintenance is key. Here are some tips to ensure your countertop remains durable and beautiful:
Regular Cleaning: Clean your countertop regularly using a mild soap and water solution. Avoid using abrasive cleaners or sponges that can scratch the surface. For tougher stains, consider using a specialized cleaner designed for artificial stone. Avoiding Impact: Be mindful of placing heavy or sharp objects directly on the countertop. Use trivets or pot holders to protect the surface from sudden impacts. Thermal Protection: To prevent thermal stress, avoid placing hot pots, pans, or other heated items directly on the countertop. Use trivets or heat-resistant pads. Prompt Repair: Address any cracks or scratches promptly to prevent them from worsening. Small repairs are easier and less noticeable than allowing damage to become more extensive. Sealant Application: Applying a high-quality sealant periodically can provide an additional layer of protection against stains and spills. Follow the manufacturer’s instructions for reapplication to maintain the countertop’s protective barrier.
Expert Tips for a Seamless Finish
To achieve a flawless finish that leaves no trace of the repair, consider these expert tips:
Color Matching: Use a color-matched epoxy to blend seamlessly with the countertop. Test a small area first to ensure the color matches perfectly. Precision Application: Apply the epoxy precisely into the crack, filling it completely without creating excess. Use a fine applicator tip for intricate repairs. Curing Time: Allow adequate curing time as specified by the epoxy manufacturer. Rushing the process can lead to a less durable repair. Sanding Technique: Use fine-grit sandpaper for sanding the repaired area. Avoid using too much pressure to prevent scratching the surrounding surface. Final Sealing: Once the repair is fully cured and sanded, apply a matching sealant to protect the repaired area and restore the countertop’s finish.
By mastering these advanced techniques and following our maintenance tips, you can ensure that your artificial stone countertop remains in impeccable condition, with repairs that are virtually invisible. With proper care and timely repairs, your countertop will continue to enhance the beauty and functionality of your kitchen or bathroom for years to come.