Understanding Cracks and Choosing the Right Repair Method
When it comes to maintaining the beauty and functionality of your kitchen or bathroom, a cracked countertop can be a major concern. Not only can it be an eyesore, but it can also lead to more serious issues if left unaddressed. Understanding the nature of the crack and the material of your countertop is crucial for selecting the best repair method. Here, we’ll explore the different types of cracks and the most effective ways to fix them.
Types of Countertops and Common Cracks
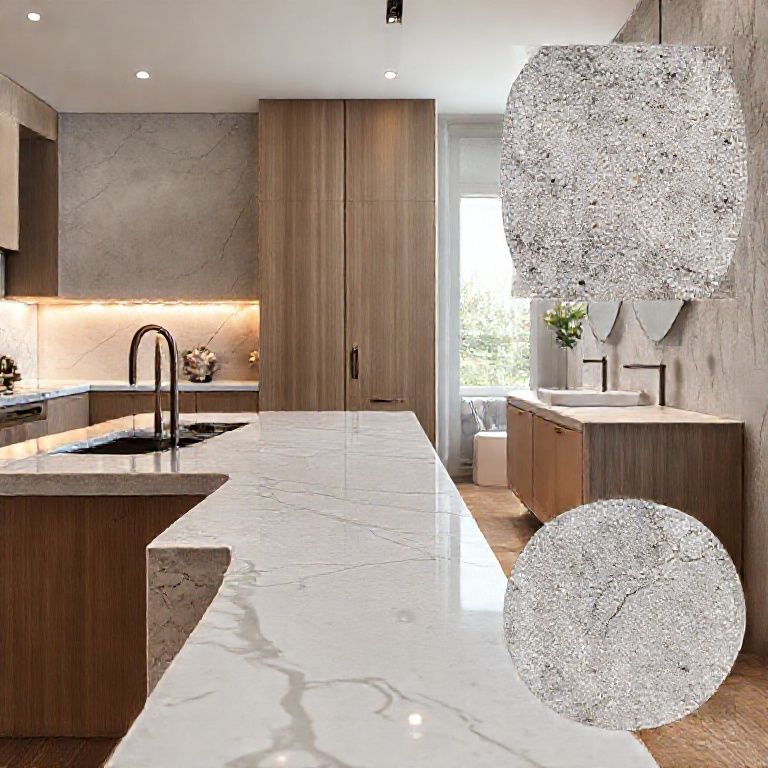
1. Granite Countertops
Granite is known for its durability and natural beauty but can still crack due to impacts or thermal stress. Cracks in granite often appear as hairline fractures or larger splits.
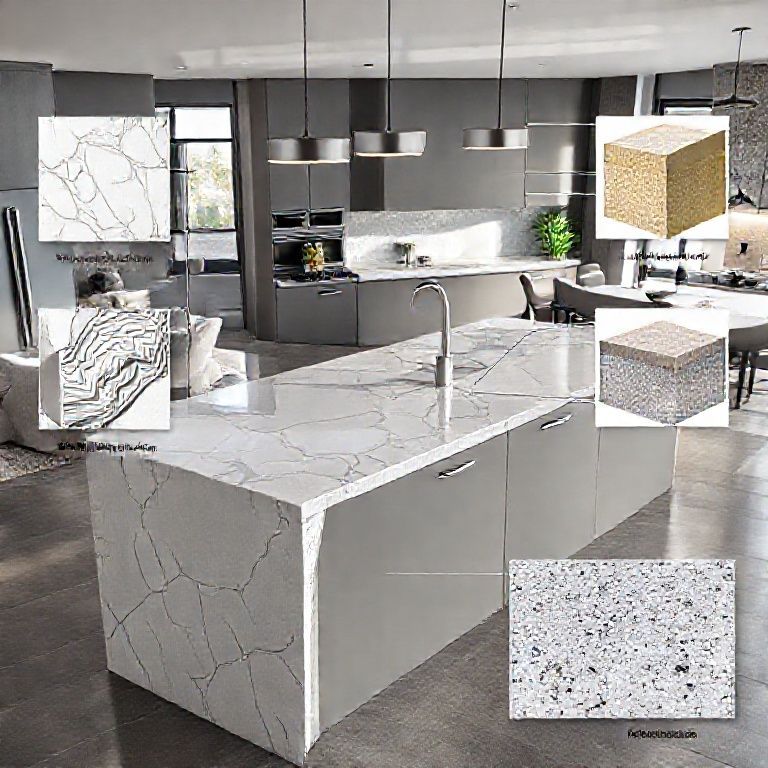
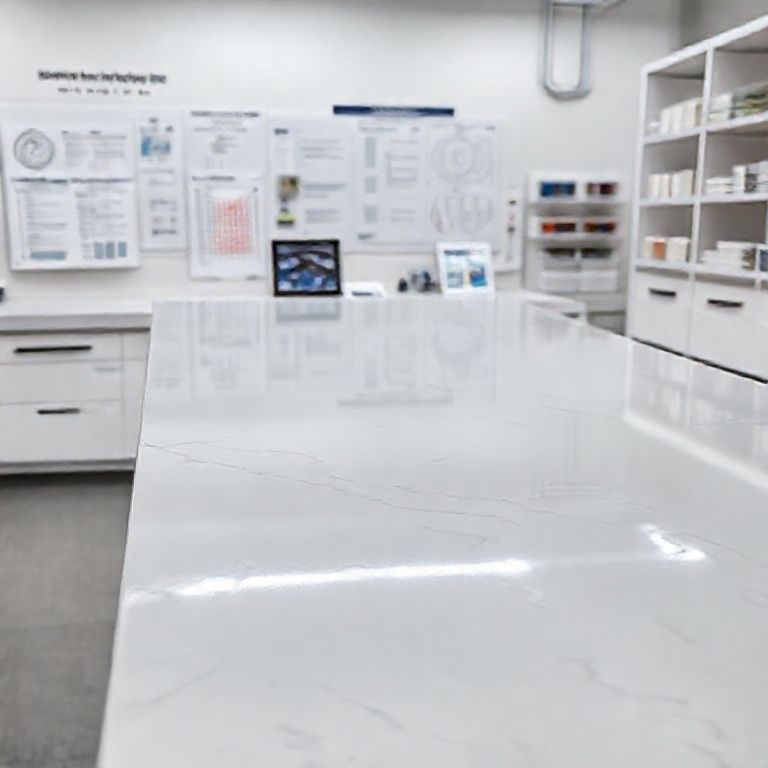
2. Quartz Countertops
Quartz is a composite material known for its resistance to scratches and stains, but it can crack under significant force. Typically, these cracks are more visible due to the material’s smooth surface.
3. Marble Countertops
Marble is prized for its elegance but is prone to cracks due to its soft nature. These cracks often occur from heavy objects or thermal stress.
4. Laminate Countertops
Laminates are affordable and easy to maintain but can crack under pressure or from impacts. These cracks often appear as splits in the surface layer.
Causes of Cracks
Understanding why cracks occur is essential for choosing the right repair method. Common causes include:
Thermal Stress: Rapid temperature changes can cause materials to expand and contract, leading to cracks. Physical Impact: Dropping heavy objects or using sharp tools can cause immediate cracks. Chemical Damage: Exposure to harsh chemicals can weaken the material over time, leading to cracks.
Choosing the Right Repair Method
When selecting a repair method, consider the size and location of the crack, the material of the countertop, and your budget. Here are some popular repair methods:
1. Epoxy Resin Repair
Epoxy resin is a popular choice for repairing cracks in various materials, including granite, quartz, and laminate. It’s easy to apply and offers a strong bond.
Steps:
Clean the crack thoroughly to remove any dirt or debris. Apply the epoxy resin into the crack using a syringe or a caulking gun. Use a small brush to smooth out the resin and ensure it fills the crack completely. Allow the resin to cure according to the manufacturer’s instructions.

2. Crack Filler
Crack fillers are specifically designed for repairing small cracks in countertops. They are available in various colors to match your countertop.
Steps:
Clean the area around the crack to remove any debris. Apply the crack filler into the crack using a caulking gun. Smooth the filler to blend it with the surrounding surface. Allow the filler to dry and cure as per the product instructions.
3. Professional Repair Services
For larger cracks or when in doubt, it’s best to seek professional help. Professionals have the tools and expertise to repair cracks effectively and ensure the longevity of your countertop.
DIY Tips for Successful Repairs
Whether you choose to repair the crack yourself or hire a professional, here are some tips to ensure a successful repair:
Use Quality Products: Invest in high-quality repair materials to ensure long-lasting results. Follow Instructions: Always follow the manufacturer’s instructions for applying and curing the repair product. Test a Small Area: If you’re unsure about the repair method, test it on a small, inconspicuous area first to see the results. Regular Maintenance: Regularly inspect your countertop for any signs of cracks and address them promptly to prevent further damage.
In the next part, we’ll delve deeper into the repair process for specific countertop materials, providing detailed steps and tips for achieving a seamless repair.
Detailed Repair Methods for Specific Countertop Materials
Having covered the general aspects of countertop crack repair, it’s time to dive into detailed methods for specific materials. Each type of countertop has unique properties and repair techniques that ensure effective and long-lasting fixes. Let’s explore these in detail.
Repairing Granite Countertops
Granite, with its beautiful natural patterns, is a popular choice for countertops. However, it can crack due to impacts or thermal stress. Here’s how to repair a cracked granite countertop:
Step-by-Step Repair Process
Clean the Area: Use a mild detergent and water to clean the cracked area. Remove any dirt, grease, or debris. Rinse with clean water and allow it to dry completely. Apply Epoxy Resin: Choose a high-quality epoxy resin that matches the color of your granite. Using a syringe or a caulking gun, apply the epoxy resin into the crack. Use a small brush to smooth the epoxy, ensuring it fills the crack completely. Cure the Resin: Allow the epoxy to cure according to the manufacturer’s instructions. This may take several hours to a full day. Polish the Area: Once the epoxy is fully cured, polish the area with a granite polish to match the surrounding surface.
Repairing Quartz Countertops
Quartz countertops are durable and resistant to scratches, but they can still crack under significant force. Here’s how to repair a cracked quartz countertop:
Step-by-Step Repair Process
Clean the Crack: Use a damp cloth to clean the cracked area, removing any dust or debris. Allow the area to dry completely. Apply Epoxy Resin: Select an epoxy resin that matches the color of your quartz countertop. Using a caulking gun, apply the epoxy resin into the crack. Smooth the epoxy with a small brush to ensure it fills the crack entirely. Cure the Resin: Follow the manufacturer’s instructions for curing the epoxy resin. This process can take several hours to a full day. Polish the Surface: Once the epoxy is cured, polish the area with a quartz polish to blend the repaired area seamlessly.
Repairing Marble Countertops
Marble is a beautiful yet delicate material that can crack due to heavy objects or thermal stress. Here’s how to repair a cracked marble countertop:
Step-by-Step Repair Process
Clean the Crack: Wipe the cracked area with a damp cloth to remove any dirt or debris. Use a marble cleaner to clean the area and allow it to dry completely. Apply Marble Crack Filler: Choose a marble crack filler that matches the color of your marble countertop. Using a caulking gun, apply the crack filler into the crack. Smooth the filler with a small brush to blend it with the surrounding surface. Cure the Filler: Allow the crack filler to cure as per the manufacturer’s instructions, which may take several hours. Polish the Area: Once the filler is cured, polish the area with a marble polish to ensure a seamless repair.
Repairing Laminate Countertops
Laminate countertops are affordable and easy to maintain, but they can crack under pressure or from impacts. Here’s how to repair a cracked laminate countertop:
Step-by-Step Repair Process
Clean the Crack: Use a damp cloth to clean the cracked area, removing any dirt or debris. Allow the area to dry completely. Apply Crack Filler: Select a crack filler that matches the color of your laminate countertop. Using a caulking gun, apply the crack filler into the crack. Smooth the filler with a small brush to blend it with the surrounding surface. Cure the Filler: Follow the manufacturer’s instructions for curing the crack filler. This process can take several hours. Sand and Finish: Once the filler is cured, lightly sand the area to smooth the surface. Apply a laminate sealant or finish to protect the repaired area and match the surrounding surface.
Final Tips for Effective Repairs
Regardless of the countertop material, here are some final tips to ensure your repairs are successful:
Match the Color: Always use repair materials that closely match the color of your countertop to ensure a seamless blend. Proper Curing: Follow the manufacturer’s instructions for curing the repair material to ensure long-lasting results. Regular Inspection: Regularly inspect your countertop for any signs of cracks and address them promptly to prevent further damage. Professional Help: For large cracks or when unsure about the repair process, consider seeking professional help to ensure the best results.
常见问题及解决方法
1. 如何预防裂缝的再次出现?
避免重物撞击: 尽量避免在台面上放置重物,或者如果必须放置,确保使用适当的保护垫。 使用碗筷垫: 在炊具和餐具上放置垫子,避免直接接触台面。 避免化学品接触: 使用中和剂或玻璃清洁剂,避免使用强酸强碱清洁剂。 温度控制: 避免骤冷骤热,适当使用隔热垫。
2. 如何选择合适的修复材料?
颜色匹配: 修复材料应尽可能与台面颜色一致,避免显眼的色差。 强度和耐久性: 选择具有高强度和耐久性的修复材料,以确保修复后的效果持久。 品牌和口碑: 选择知名品牌的产品,通常质量更有保障。
3. 修复后如何保养台面?
定期清洁: 每天用中性清洁剂清洁台面,避免积累污垢和油污。 避免热源接触: 修复后尽量避免直接接触热源,以防再次开裂。 定期检查: 定期检查修复处,发现裂缝及时处理。
4. 如何处理修复后的杂色和不平整问题?
再次修复: 如果修复材料未完全融入,可以重新进行修复。 打磨和抛光: 使用细砂纸轻轻打磨修复处,然后用抛光剂进行抛光,使其与周围台面更加一致。 专业处理: 如果自己无法处理,可以考虑请专业人员进行处理。
特殊材料的修复技巧
1. 石英石(Quartz)
清洁: 使用中性清洁剂,避免使用钢丝球。 修复: 使用专用的石英石修复胶,颜色需要与台面匹配。
2. 不锈钢(Stainless Steel)
清洁: 用温水和中性清洁剂清洁,避免使用强酸强碱。 修复: 使用专用的不锈钢修复剂,通常需要打磨后再进行修复。
3. 木质台面
清洁: 用温水和中性清洁剂清洁,避免使用酒精或溶剂。 修复: 使用木胶和砂纸进行修复,颜色可以用木蜡油或专用的木质修复剂进行上色。
总结
修复裂缝台面是一项需要细心和耐心的工作,选择合适的修复材料和方法,并进行正确的保养,可以让修复后的台面恢复如新。如果不确定自己的修复技能,建议请专业人员进行处理,以确保修复效果和台面安全。希望这些信息能帮助你成功修复裂缝台面!