How to Repair a Cracked Countertop: An Ultimate Guide
When it comes to home maintenance, a cracked countertop can be a significant issue. Whether it’s a kitchen island, bathroom vanity, or any other surface, a crack in a countertop can be both unsightly and a potential hazard. Luckily, with the right approach and tools, you can repair a cracked countertop effectively. In this part of our guide, we’ll explore the initial steps and essential materials you’ll need for the repair process.
Step 1: Assess the Crack
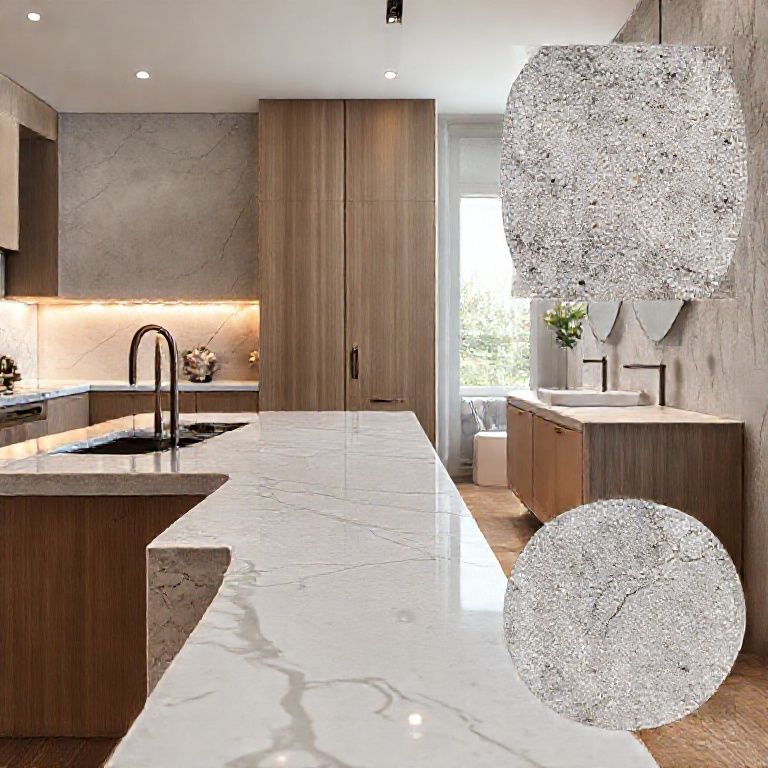
Before diving into the repair, it’s crucial to assess the crack to determine the best course of action. Countertops come in various materials, including granite, quartz, marble, and composite materials like Formica. The repair method may vary depending on the type of countertop:
Granite and Quartz: These materials are known for their durability, but even they can develop cracks. Assess the depth and width of the crack. Surface cracks might be easier to fix than deeper ones. Marble: Marble cracks can be more challenging to repair due to its softer nature. Surface treatments are often more effective. Composites (e.g., Formica, Corian): These materials are more forgiving. Small cracks can often be fixed with adhesives.
Step 2: Gather Your Materials
Depending on the type of countertop and the severity of the crack, here are the basic materials you may need:

Epoxy Resin: Ideal for granite, quartz, and composite materials. It fills the crack and provides a strong bond. Polyurethane Sealant: For marble and other softer surfaces, polyurethane sealant can fill the crack and provide a durable finish. Sandpaper and Grits: Useful for smoothing out the surface around the crack. Cleaning Supplies: To clean the countertop before and after repair. Masking Tape: To protect surrounding areas from epoxy or sealant.
Step 3: Clean the Area
Cleaning the area around the crack is critical. Use a mild detergent and water to clean the surface. Make sure to remove any dirt, grease, or debris that could prevent the repair material from adhering properly. Once cleaned, let the area dry completely before proceeding.
Step 4: Prepare the Crack
Using sandpaper, gently smooth out the edges of the crack. This step ensures that the repair material can properly fill the crack and create a strong bond. Start with a coarser grit (like 80) and gradually move to a finer grit (like 220) for a smooth finish.

Step 5: Apply the Repair Material
Depending on the type of countertop, apply the chosen repair material:
Epoxy Resin: Mix the resin according to the manufacturer’s instructions. Apply it into the crack using a putty knife or a similar tool. Make sure to fill the crack completely. Allow it to set as per the manufacturer’s guidelines. Polyurethane Sealant: Apply the sealant with a brush or a similar tool. Ensure it fills the crack completely. Wipe away any excess sealant with a clean cloth.
Step 6: Let It Cure
Allow the repair material to cure completely. The curing time can vary from a few hours to a full day, depending on the product used. Avoid using the countertop during this period to prevent any disruptions in the curing process.
By following these steps, you can repair a cracked countertop effectively, restoring its appearance and functionality. In the next part of our guide, we’ll delve into more advanced repair techniques and additional tips for maintaining your countertops.

How to Repair a Cracked Countertop: Advanced Techniques and Maintenance Tips
Repairing a cracked countertop can be straightforward with the right materials and techniques. However, some cracks might require more advanced methods, especially if the countertop material is particularly delicate or if the crack is severe. In this part of our guide, we’ll explore advanced repair techniques and provide valuable maintenance tips to prolong the life of your countertops.
Advanced Repair Techniques
1. For Granite and Quartz:
If you have granite or quartz and the crack is deeper or more extensive, consider these advanced techniques:
Crack Injection: This method involves injecting a specialized resin directly into the crack. The resin hardens and fills the crack, providing a seamless repair. A professional might be needed for this method, but it’s highly effective. Grinding and Bonding: For larger cracks, grinding out the damaged area and bonding a new piece of granite or quartz can be effective. This process requires precision and skill, so it’s often best left to professionals.
2. For Marble:
Marble repairs can be more delicate due to its softer nature:
Crack Filling with Resin: For smaller cracks, use a specialized marble crack filler. This resin is formulated to match the marble’s color and can fill and seal cracks effectively. Stone Patching: For larger cracks, a stone patching kit can be used. This involves cutting a piece of marble to fit the crack, placing it in, and using a cement to secure it. This method requires precision and can be time-consuming.
3. For Composites:
Composites like Formica or Corian are more forgiving, but for larger cracks, consider these techniques:
Epoxy Patching: For deep cracks, use a high-strength epoxy. Mix it according to the instructions and apply it to the crack. Allow it to cure and then sand the surface smooth. Replacing the Section: For extensive damage, removing the cracked section and replacing it with a new piece of composite can be effective. This method requires cutting and fitting new material to the existing countertop.
Maintenance Tips to Prolong Countertop Life
Preventing cracks before they happen is always better than repairing them. Here are some maintenance tips for different types of countertops:
1. Granite and Quartz:
Use Cutting Pads: Place a cutting pad under your tools to prevent scratches and cracks. Avoid Abrasive Cleaners: Use non-abrasive cleaners to avoid scratching the surface. Seal Periodically: Re-seal your countertops every 1-2 years to protect against stains and cracks.
2. Marble:
Use Coasters and Placemats: Protect the surface from heat and sharp objects. Avoid Acidic Cleaners: Use pH-neutral cleaners to avoid etching the marble. Polish Regularly: Polish the marble surface periodically to maintain its shine and prevent stains.
3. Composites:
Avoid Sharp Objects: Place cutting pads and avoid using sharp objects directly on the surface. Use Cleaners Specifically Designed: For composites, use cleaners specifically formulated for these materials. Repair Small Cracks Promptly: Address small cracks immediately to prevent them from worsening.
Final Thoughts
Repairing a cracked countertop doesn’t have to be a daunting task. With the right approach, materials, and a bit of patience, you can restore the beauty and functionality of your countertop. Remember, the key is to assess the damage properly and choose the right repair method for your specific countertop material. For severe damage, professional help might be necessary, but for minor repairs, you can often tackle them yourself with confidence.
By following this guide, you’ll be well-equipped to handle most countertop cracks. Stay proactive with maintenance to keep your countertops in top condition for years to come. Happy repairing!
In this guide, we’ve covered everything from basic to advanced repair techniques and maintenance tips. Whether you’re dealing with a minor crack or a more extensive issue, you now have the knowledge to address it effectively.