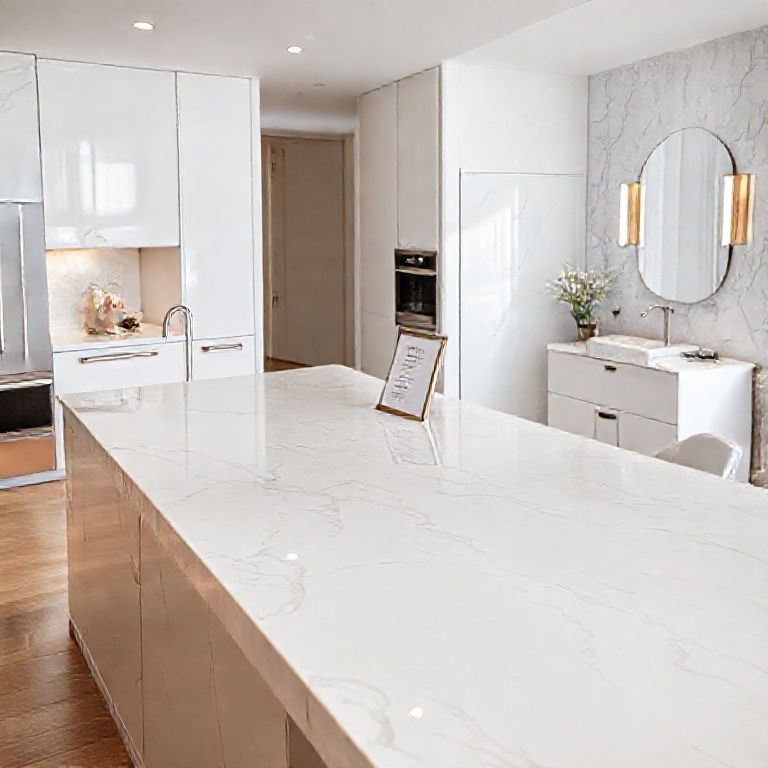
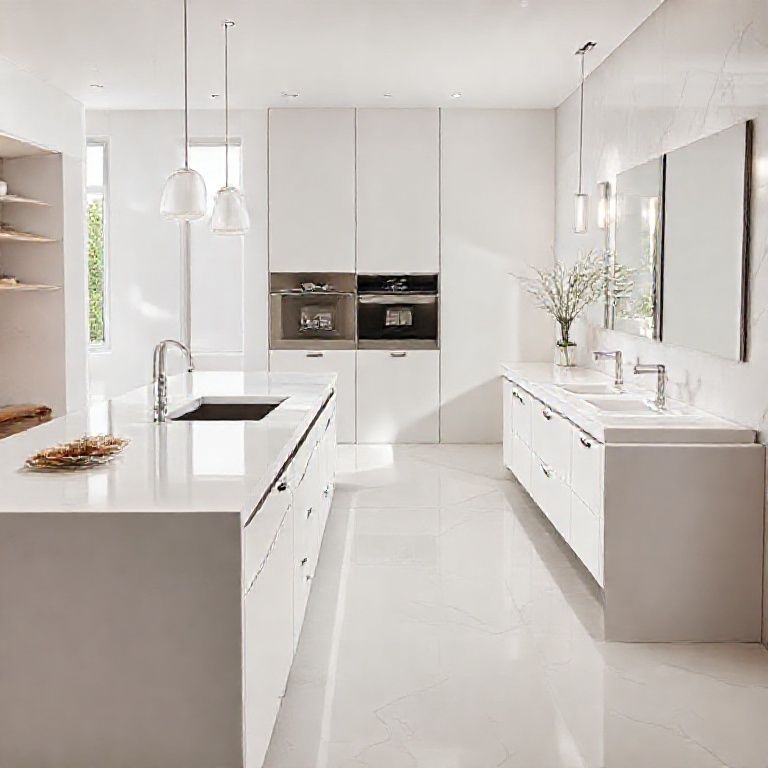
Understanding Quartz Countertop Cracks and Their Causes
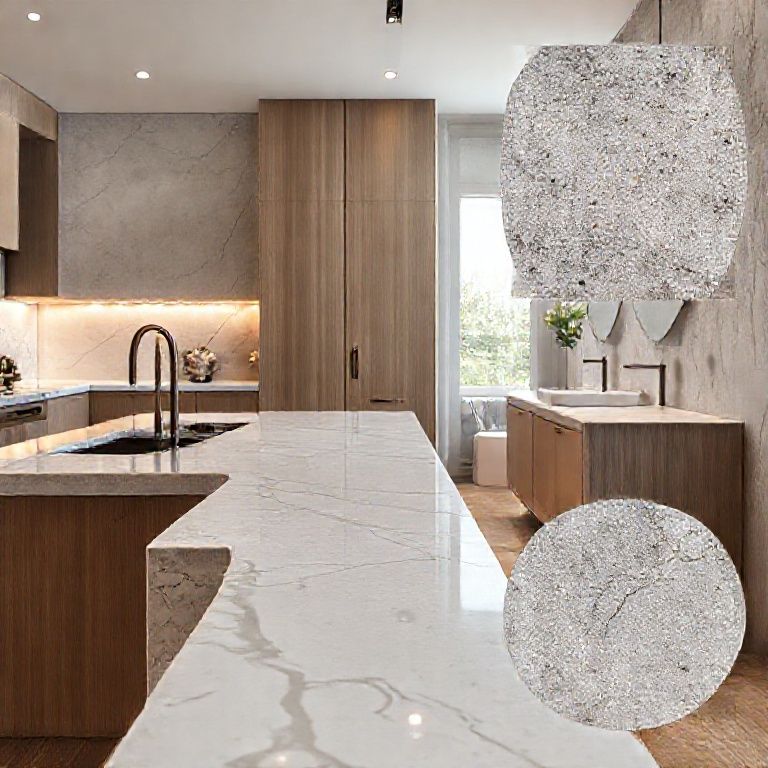
When it comes to modern kitchen and bathroom design, quartz countertops have become a popular choice. Known for their durability, low maintenance, and aesthetic appeal, these surfaces are a favorite among homeowners. However, even the most resilient quartz can develop cracks, which can be a cause of concern. Understanding the causes of these cracks and how to address them is essential for maintaining the beauty and functionality of your quartz countertop.
Common Causes of Cracks in Quartz Countertops
Dropped Objects: One of the most common causes of cracks in quartz countertops is the impact from dropped objects. Heavy items, such as pots or pans, can cause immediate damage, leading to visible cracks.
Thermal Shock: Quartz is a heat-resistant material, but sudden temperature changes can still cause cracks. For example, placing a hot pot directly on a cold surface can create thermal shock.
Chemical Damage: While quartz is highly resistant to most chemicals, exposure to harsh substances like acids, bleach, or even certain cleaning agents can weaken the material over time, leading to cracks.

Improper Installation: Poor installation techniques, such as uneven surfaces or improper curing time, can result in structural weaknesses that manifest as cracks.
Identifying the Type of Crack
To effectively repair a cracked quartz countertop, it’s important to identify the type of crack you are dealing with. Here are the common types of cracks you might encounter:
Surface Cracks: These are superficial cracks that only affect the surface layer of the countertop. They are usually less severe and easier to repair.
Subsurface Cracks: These cracks penetrate deeper into the countertop but remain within the material. They can often be seen as a network of fine lines or larger fissures.
Deep Cracks: Deep cracks go through the entire thickness of the countertop. These are more severe and may require professional intervention for repair.
How to Assess the Damage
Assessing the extent of the damage is a crucial step before attempting any repairs. Here’s how you can evaluate the crack:
Visual Inspection: Examine the crack thoroughly. Look for any signs of spreading or additional damage. Take note of the crack’s size, depth, and location.
Test for Stability: Gently press around the crack to see if the countertop feels unstable or if there’s any play. This can indicate the severity of the crack.
Check for Other Damage: Sometimes, cracks can indicate underlying issues such as water damage or structural weaknesses. Look for any other signs of damage, such as chips or discoloration.
Preparation for Repair
Once you have assessed the damage, it’s time to prepare for the repair process. Here are the steps to follow:
Gather Repair Materials: To repair a cracked quartz countertop, you will need a quartz countertop repair kit. These kits typically include epoxy resin, a mixing stick, a syringe, a mixing pad, and application tools.
Clean the Area: Clean the area around the crack thoroughly with a mild soap and water solution. Rinse and dry the area completely to ensure that no moisture or debris interferes with the repair.
Safety Precautions: Wear protective gear, such as gloves and safety goggles, to protect yourself from the epoxy resin and any chemicals used during the repair process.
Plan Your Repair: Plan the application of the epoxy resin. Depending on the size and type of crack, you may need to apply multiple coats. Mark the area where you will apply the resin to ensure even coverage.
Repair Steps for Surface and Subsurface Cracks
Now that you are prepared, let’s dive into the repair process for surface and subsurface cracks.
Step 1: Mix the Epoxy Resin
Follow the instructions provided with your repair kit to mix the epoxy resin. Typically, this involves combining the resin and hardener in a mixing pad until a uniform color is achieved.
Step 2: Apply the Epoxy Resin
Using the Syringe: Use the syringe provided in the repair kit to apply the epoxy resin into the crack. Start from one end of the crack and fill it completely with the resin.
Smooth the Resin: Once the crack is filled, use an application tool to smooth the epoxy resin along the surface of the countertop. Ensure that the resin flows evenly and fills any gaps.
Remove Excess Resin: Wipe away any excess resin that may have spilled over the surface of the countertop. This will help ensure a clean finish.
Step 3: Cure the Epoxy
Allow the epoxy to cure according to the instructions on the repair kit. This usually involves leaving the countertop undisturbed for a specified period, often several hours.
Step 4: Polish the Repair
Once the epoxy has cured, use a fine-grit sandpaper or a polishing tool to smooth the surface of the repaired area. This will help blend the repaired section with the rest of the countertop.
Step 5: Seal the Repair
To ensure the longevity of the repair, apply a high-quality countertop sealant to the repaired area. This will protect the epoxy from future damage and maintain the appearance of your countertop.
Advanced Repair Techniques and Maintenance Tips
Building on the foundational repair techniques covered in Part 1, this section will explore advanced methods for repairing deep cracks and offer maintenance tips to extend the life of your quartz countertop.
Repairing Deep Cracks in Quartz Countertops
Deep cracks can be more challenging to repair, but with the right approach, they can be effectively fixed.
Step 1: Identify the Crack’s Path
For deep cracks, it’s essential to identify the exact path of the crack. Use a thin, flexible brush or a cotton swab dipped in a solvent provided in your repair kit to trace the crack. This will help you understand the depth and complexity of the crack.
Step 2: Apply Epoxy in Layers
Deep cracks require a more layered approach to ensure the epoxy resin can penetrate and fill the entire crack.
Initial Layer: Begin by applying an initial layer of epoxy resin into the crack using the syringe. Smooth the resin along the crack and allow it to partially cure.
Add Additional Layers: After the first layer has partially cured, add additional layers of epoxy resin, smoothing each layer as you go. This step-by-step process helps ensure that the epoxy fills the entire depth of the crack.
Cure Between Layers: Allow each layer to cure before adding the next one. This gradual curing process helps prevent the epoxy from cracking or separating.
Step 3: Final Curing and Polishing
Once all layers of epoxy have been applied and fully cured, use a fine-grit sandpaper to smooth the surface. Polish the area to blend the repaired section seamlessly with the rest of the countertop.
Step 4: Apply Sealant
Apply a high-quality sealant to protect the repaired area from future damage. This step is crucial for maintaining the integrity and appearance of your quartz countertop.
Expert Tips for Long-Lasting Repairs
To ensure your repairs stand the test of time, follow these expert tips:
Choose Quality Materials: Use high-quality epoxy resin and repair kits. Low-grade materials may not provide the durability needed for long-lasting repairs.
Follow Manufacturer Instructions: Always adhere to the instructions provided by the manufacturer of your repair kit. These guidelines are designed to ensure the best results.
Maintain Proper Humidity and Temperature: Quartz countertops are susceptible to damage from extreme temperature changes and humidity levels. Maintain a stable environment to reduce the risk of future cracks.
Regular Cleaning and Maintenance: Clean your quartz countertop regularly with mild soap and water. Avoid using harsh chemicals that can weaken the material. For stubborn stains, use a quartz-specific cleaner.
Use Cutting Pads and Coasters: To prevent thermal shock and potential damage from dropped objects, use cutting pads and coasters when working with hot items or placing them on the countertop.
Preventive Measures
Preventive measures can go a long way in avoiding the need for repairs in the first place.
使用保护垫:
切割垫:在切割食物时,使用专门的切割垫来防止刀具对石英石台面造成划痕。 热垫:当放置热的锅碗时,使用热垫或锅垫来避免热量直接传递到台面,从而避免热缩效应。
避免使用硬质清洁工具:
尽量使用柔软的布或海绵来清洁石英石台面,避免使用硬质刷子或其他刮擦工具,这些工具可能会对台面表面造成划伤。
正确存放厨具:
将炒锅、煮锅等重型厨具放在炉灶台面下方的挡板或炊具托架上,避免它们直接撞击台面。
保持台面干燥:
清洁台面后,及时擦干水渍,以防止水渍长时间停留在表面,从而导致腐蚀或霉菌生长。
避免强烈化学品:
尽量避免使用强烈的化学清洁剂或抛光剂,这些产品可能会对石英石的表面造成损伤。如果必须使用,务必遵循产品说明书上的指导。
定期维护:
定期检查台面是否有划痕或损坏,及时处理小问题,以避免问题扩大。
日常护理
使用中性清洁剂:
使用中性的清洁剂和水来清洁台面,避免使用酸性或碱性强的清洁剂,这些产品可能会对石英石表面造成损害。
避免过多摆放物品:
尽量不要在台面上长时间摆放大量物品,这不仅会减少使用空间,还可能对台面造成压力和损坏。
及时清除液体溢出:
如果液体意外溢出,及时用干净的布擦拭干净,以避免液体渗入台面缝隙,导致腐蚀或其他损坏。
总结
石英石台面因其耐用和易清洁的特性,成为了现代厨房的首选。但为了保持其美观和功能,我们需要采取一些简单的预防措施和日常护理。通过使用适当的工具、避免极端温度和化学品,并保持台面的清洁和干燥,您可以确保石英石台面长久地保持其最佳状态,为您的厨房带来持久的美观和功能。
希望这些建议对您有所帮助,如果您有任何其他问题,欢迎继续提问!