Identifying and Preparing for Repair
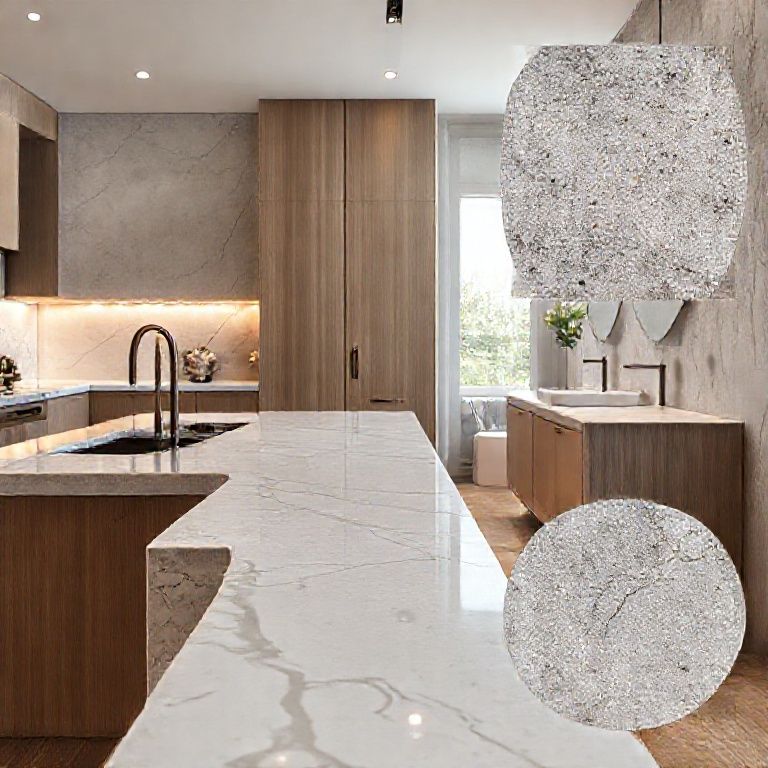
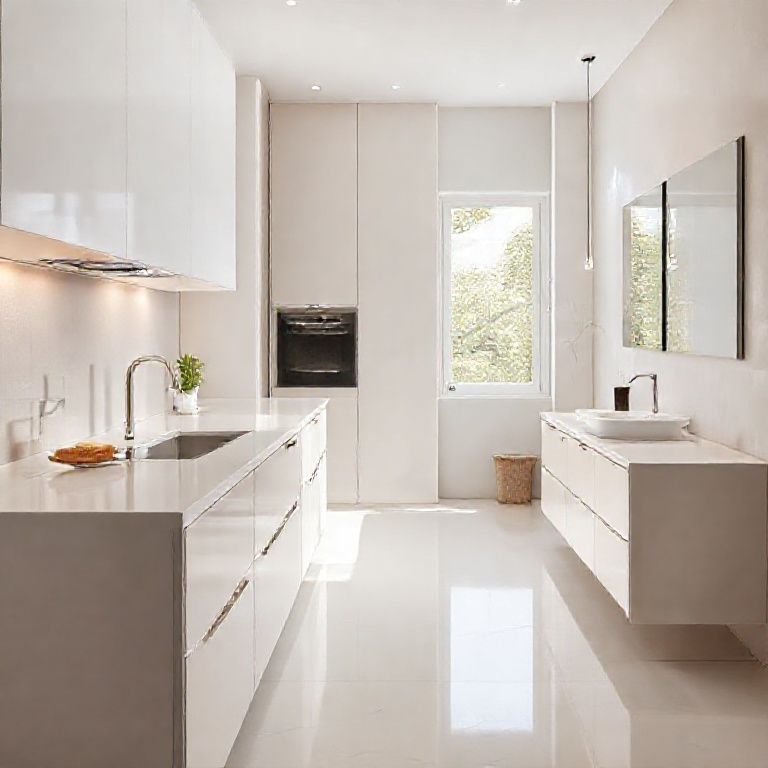
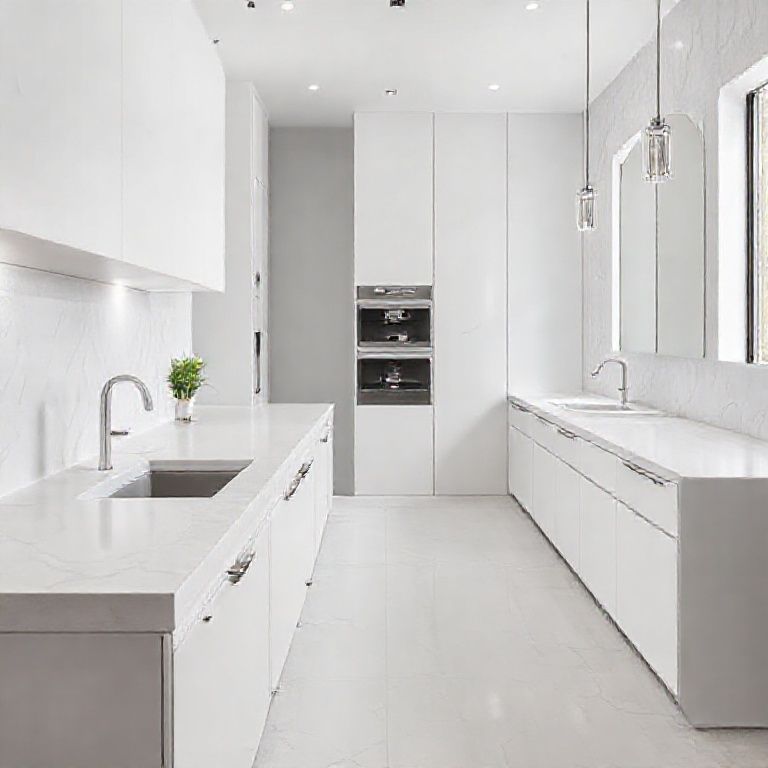
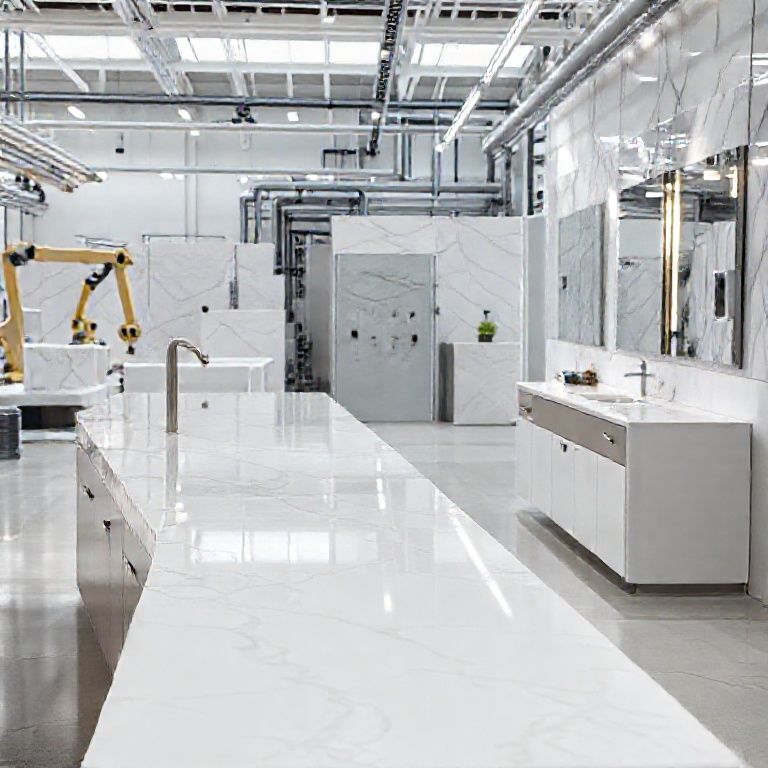
Artificial stone countertops are known for their durability and aesthetic appeal, but even these resilient surfaces can develop cracks over time due to wear and tear, improper use, or accidental impacts. Addressing these cracks promptly is essential to maintain the integrity and appearance of your countertop.
Understanding the Cracks
Before diving into the repair process, it’s crucial to understand the nature of the cracks. Artificial stone, while robust, is not indestructible. Cracks can originate from several factors:
Drops and Impacts: A heavy object falling on the countertop or a sharp impact can cause cracks. Thermal Stress: Rapid changes in temperature, like placing a hot pot directly on a cold surface, can lead to thermal stress. Wear and Tear: Over time, regular use can cause micro-cracks that eventually develop into larger cracks.
Identifying the Crack:
Look for signs of cracks such as:
Small hairline fractures Larger, more visible cracks Discoloration or chips
Determining the severity and location of the crack is the first step in planning your repair.
Gathering Tools and Materials
For a successful repair, you’ll need specific tools and materials. Here’s a list to get you started:
Epoxy Resin: A two-part epoxy is ideal for repairing artificial stone. It’s strong, durable, and can closely match the color of the stone. Sandpaper or Sanding Block: Choose a fine grit (400-600) to smooth the edges of the crack. Mixing Containers and Spatula: To mix the epoxy resin properly. Cleaning Supplies: Isopropyl alcohol and a clean cloth to ensure the surface is clean and dry. Protective Gear: Gloves and safety goggles to protect yourself during the repair process.

Preparation Steps
Clean the Area: Thoroughly clean the countertop around the crack using isopropyl alcohol to remove any grease, dust, or debris. This ensures that the epoxy adheres properly.
Dry the Area: Allow the cleaned area to dry completely before beginning the repair.
Sand the Crack: Use fine-grit sandpaper to lightly sand the edges of the crack. This will create a surface for the epoxy to bond with and help the epoxy flow more easily into the crack.
Mix the Epoxy: Follow the manufacturer’s instructions to mix the epoxy resin and hardener in a clean container. Typically, this involves mixing equal parts of resin and hardener until the mixture reaches a uniform color.
Protect Surrounding Areas: Use painter’s tape to cover any areas around the crack that you don’t want the epoxy to adhere to. This will prevent the epoxy from spilling over and ensure a clean repair job.
Applying the Epoxy
With your countertop prepped and ready, it’s time to apply the epoxy to the crack.
Insert the Epoxy: Using a spatula or a small brush, carefully insert the epoxy into the crack. Make sure the epoxy fills the crack completely. You may need to apply additional epoxy in multiple layers, allowing each layer to dry before adding more.
Smooth the Surface: Once the epoxy is in place, use a spatula to smooth the surface, ensuring that it is level with the countertop. This will help prevent any rough spots that could lead to further wear or damage.
Allow to Cure: Follow the epoxy manufacturer’s instructions for curing time. This can vary, but generally, it’s best to let the epoxy dry for at least 24 hours before using the countertop.
By following these steps, you can effectively repair cracks in artificial stone countertops, restoring their appearance and functionality. In the next part, we’ll discuss additional tips for maintaining your countertops to prevent future cracks and how to handle more complex damage scenarios.
Advanced Tips and Maintenance for Long-Lasting Countertops
Artificial stone countertops are a fantastic choice for their durability and low maintenance, but to keep them looking pristine, it’s important to follow best practices for care and maintenance. This part will cover advanced tips for repairing cracks and maintaining the longevity of your countertops.
Advanced Repair Techniques
While minor cracks can often be fixed with epoxy, more extensive damage might require additional steps. Here are some advanced techniques:
Cracks in Multiple Locations: If your countertop has several cracks, applying epoxy to each one individually may not be sufficient. In such cases, it might be necessary to use a more substantial repair method, such as a patch repair or even replacing a section of the countertop.
Deep or Wide Cracks: For deep or wide cracks that do not fill adequately with epoxy, consider using a stone repair kit specifically designed for artificial stone. These kits often come with a thicker filler and additional bonding agents to ensure a strong repair.
Replacing Sections: In severe cases where a large area is damaged, it may be more practical to replace a section of the countertop. This involves carefully removing the damaged piece and installing a new one, ensuring a seamless match with the surrounding area.
Maintenance Tips
To prevent future cracks and maintain the beauty of your artificial stone countertops, follow these maintenance tips:
Use Proper Utensils: Always use wooden or silicone utensils instead of metal when cutting or preparing food on the countertop. Metal utensils can cause scratches and chips.
Heat Protection: Avoid placing hot pots, pans, or other heat-generating items directly on the countertop. Use trivets or heat-resistant pads to protect the surface from thermal stress.
Cleaning: Regularly clean your countertop with mild soap and water. Avoid harsh chemicals that can damage the surface. For tougher stains, use a stone-safe cleaner.
Avoid Sharp Impacts: Be mindful of placing heavy objects directly on the countertop. Instead, use cutting boards or other protective surfaces to minimize direct contact.
Seal the Surface: While artificial stone does not require traditional sealing like natural stone, it’s a good idea to periodically check the surface for any signs of wear or damage. A light polish can help maintain the shine and protect the surface.
Long-Term Durability
For long-term durability, it’s essential to understand the nature of artificial stone and how it interacts with everyday use. Here are some additional strategies:
Regular Inspections: Regularly inspect your countertop for any signs of wear, discoloration, or cracks. Early detection can prevent minor issues from becoming major problems.
Professional Maintenance: Consider hiring a professional for periodic maintenance checks. They can provide expert advice and perform any necessary repairs to keep your countertop in top condition.
Update Your Kitchen or Bathroom: If your countertop is showing significant signs of wear, it may be time to consider a replacement. Modern artificial stone materials continue to improve, offering even greater durability and aesthetic options.
Final Thoughts
Repairing cracks in artificial stone countertops is a manageable task with the right tools, materials, and techniques. By following the steps outlined above and implementing best practices for maintenance, you can ensure that your countertops remain beautiful and functional for years to come. Remember, prompt action is key to preventing minor issues from escalating into more significant problems, so keep a close eye on your countertops and address any damage as soon as you notice it.
Whether you’re tackling a small crack or considering a more extensive repair, this comprehensive guide provides everything you need to restore your artificial stone countertop to its former glory. With proper care and attention, your countertop will continue to enhance the beauty and functionality of your kitchen or bathroom for years to come.