Discover how to fix a cracked kitchen countertop with our comprehensive guide. Whether you’re dealing with a small hairline crack or a larger fissure, our detailed, easy-to-follow instructions will help you restore your kitchen’s look and functionality. From selecting the right materials to executing the repair, this guide covers it all. Learn how to make your kitchen look brand new without the cost of a replacement!
kitchen countertop repair, fix cracked kitchen countertop, countertop crack repair video, DIY kitchen repair, repair kitchen table, kitchen crack fix, repair kitchen surface, home repair tips, DIY home improvement, kitchen maintenance
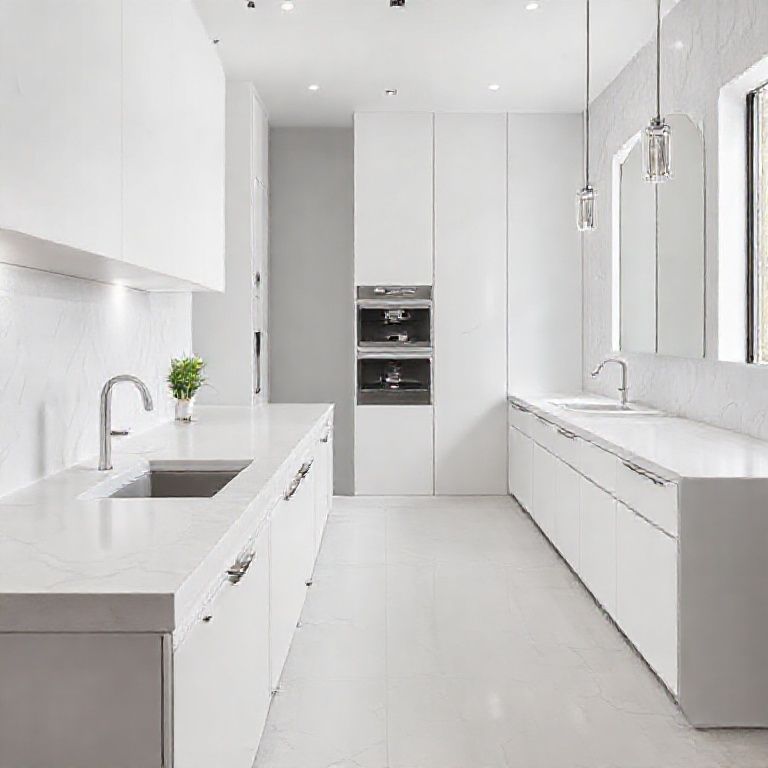
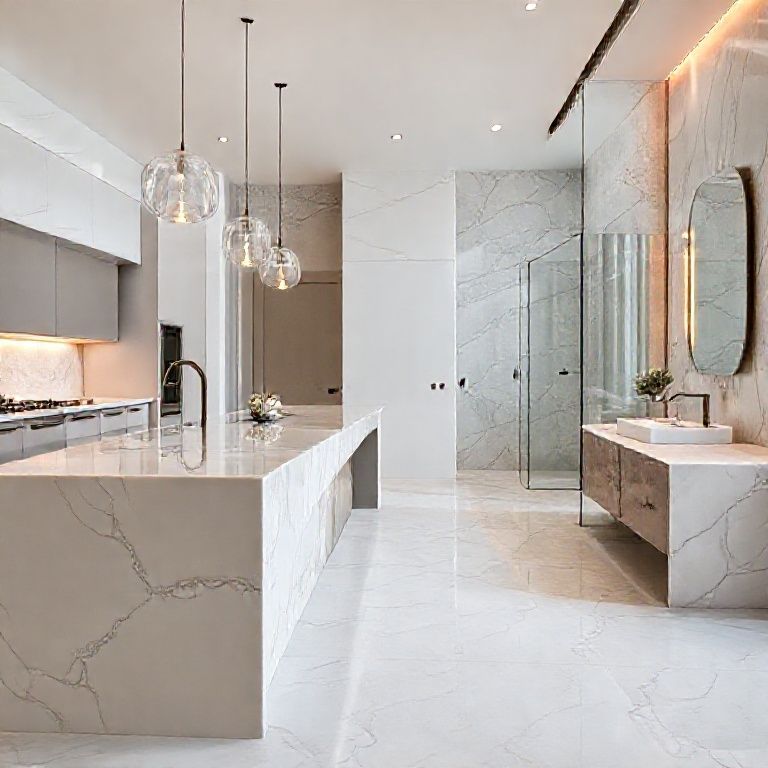
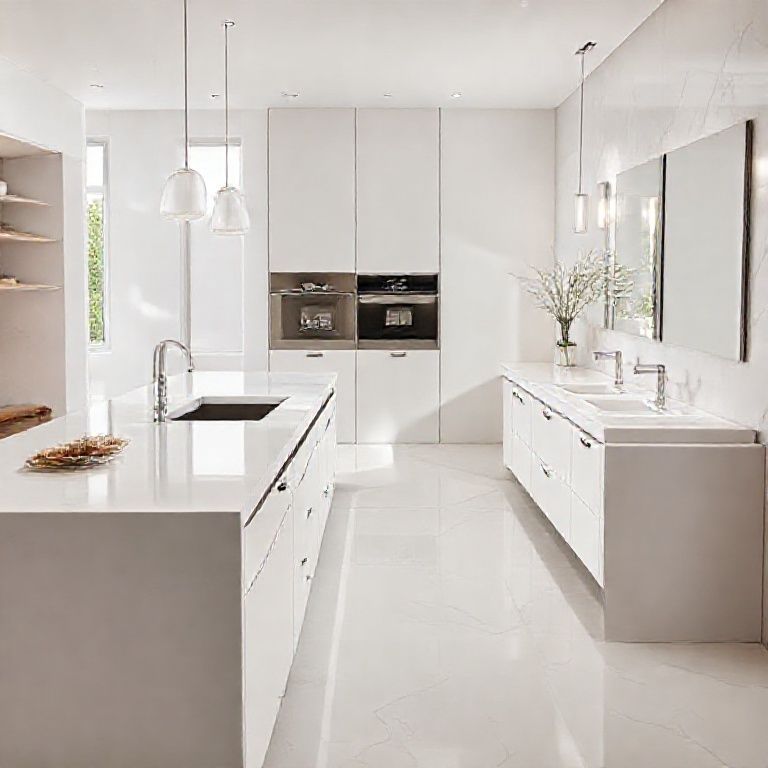
Understanding Your Countertop and Choosing the Right Repair Materials
When you first notice a crack in your kitchen countertop, it can be a daunting sight. Kitchen countertops are not just a functional surface; they are often a focal point in your kitchen. A crack, no matter how small, can make the entire surface look aged and unprofessional. Fortunately, repairing a cracked countertop is often a DIY project that doesn’t require professional help. Here’s how you can get started.
Types of Countertops and Their Repair Options
Different materials have different repair methods. Here’s a quick breakdown:
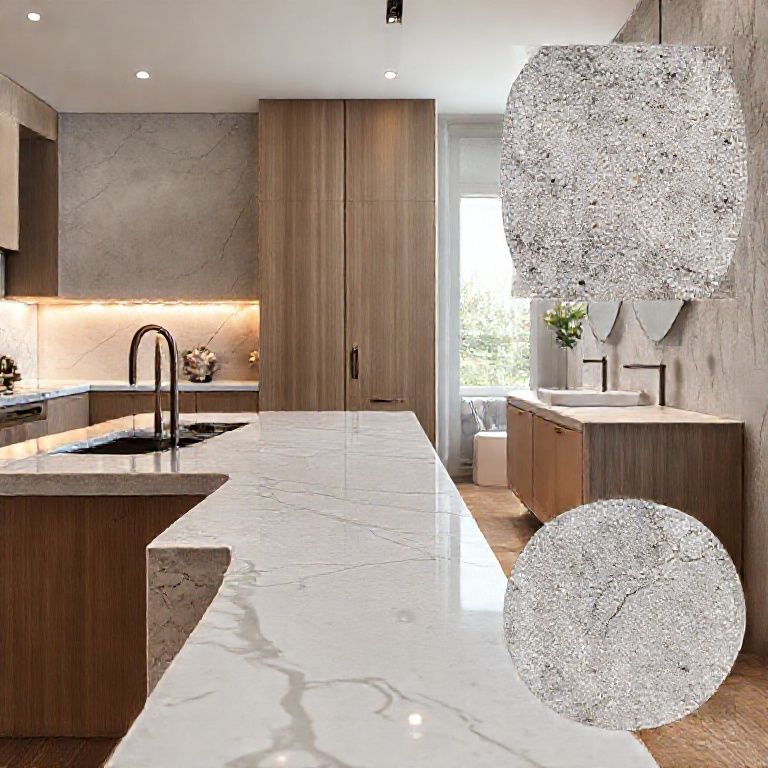
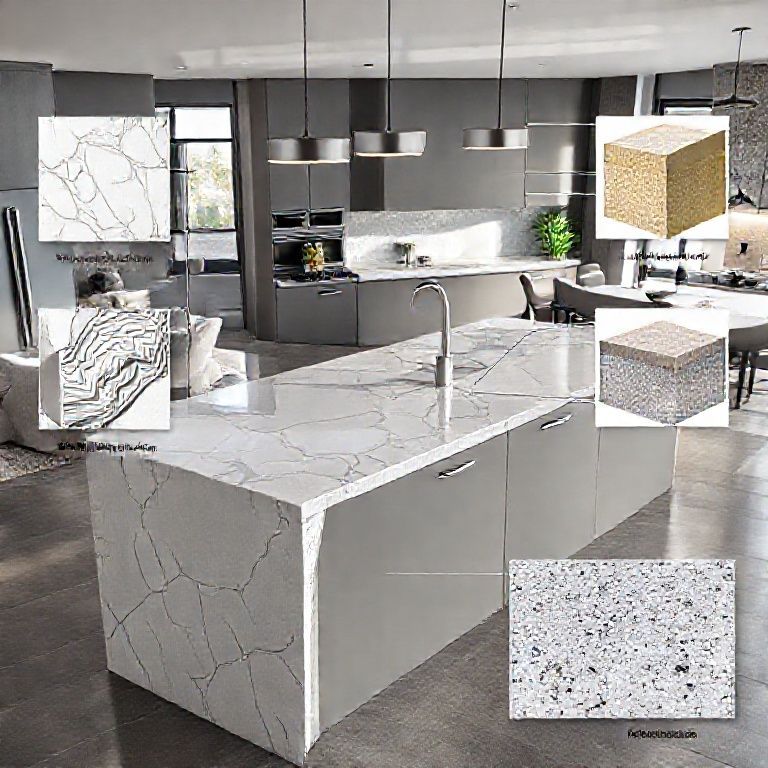
Quartz Countertops: These are known for their durability and low maintenance. However, they can still crack under extreme pressure. Typically, a professional repair service is recommended for quartz because it involves replacing the entire segment.

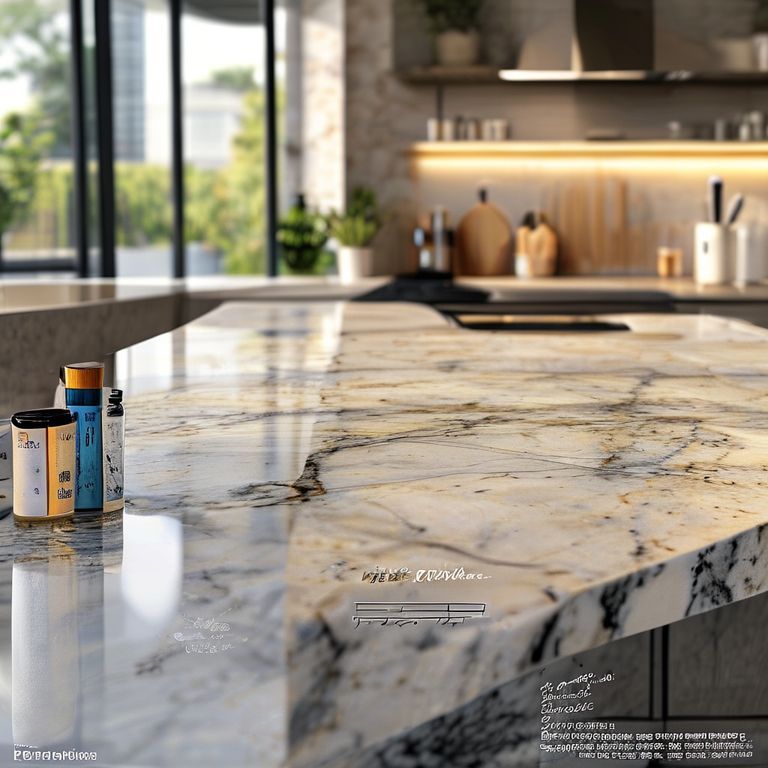
Granite Countertops: Although granite is very durable, it can develop cracks, chips, and chips over time. For granite, you can use epoxy resin designed specifically for stone.
Laminate Countertops: These are often the most affordable and can be repaired with a laminate repair kit that includes adhesive and matching color overlays.
Composite Wood and MDF: Medium Density Fiberboard (MDF) and composite wood can often be repaired with wood glue and a matching filler.

Choosing the Right Materials
Before you start the repair, you need to select the right materials for your countertop type. Here’s what you’ll typically need:
Epoxy Resin: Ideal for granite and quartz. Look for two-part epoxy resin with good color matching and easy application.
Laminate Repair Kit: Includes adhesive and matching overlay for laminate surfaces.
Wood Glue and Wood Filler: Suitable for MDF and composite wood surfaces.
Sandpaper and Polishing Tools: To prepare the surface for the repair.
Preparation Steps
Clean the Area: Ensure the cracked area is clean and dry. Use a mild cleaner to remove any dirt, grease, or grime.
Assess the Damage: Determine the extent of the crack. This will help you choose the right repair method and materials.
Gather Tools: Depending on the repair method, you may need a putty knife, sandpaper, a drill, or a mixing container for epoxy.
Safety Gear: Wear gloves and safety goggles to protect yourself during the repair process.
Step-by-Step Repair Guide for Common Countertops
Here’s a basic overview of how to repair common countertop materials:
For Granite and Quartz: Mix the epoxy resin according to the manufacturer’s instructions. Apply the epoxy resin into the crack using a putty knife. Smooth the epoxy with a wet sponge or applicator. Allow the epoxy to cure as per the instructions. Once cured, sand the area smooth and polish to blend the repair with the rest of the surface. For Laminate: Clean and dry the area around the crack. Apply adhesive to the crack and place the overlay patch. Smooth out any bubbles and ensure a good bond. Allow to set as per the manufacturer’s instructions. Trim excess material and polish the surface. For Wood and MDF: Clean the area and apply wood glue into the crack. Clamp the crack closed and let it dry. Once dry, use wood filler to cover the crack. Sand the area until smooth. Apply wood stain or sealant to match the surface.
By following these steps, you can repair a cracked kitchen countertop and restore its beauty and functionality. In the next part, we’ll dive deeper into specific techniques and tools for a successful repair.
Advanced Repair Techniques and Final Touches
Once you’ve selected the right materials and tools, it’s time to delve into the advanced techniques to ensure your repair looks seamless and lasts long. This section will cover more intricate methods and the final touches that will make your repair job look professional.
Advanced Repair Techniques
Color Matching for Epoxy Resin:
Coloring Epoxy: Epoxy resins often come in clear or natural stone colors. To match granite or quartz, you’ll need to add colorants. Use a small amount of colorant at a time and mix thoroughly before adding to the epoxy. Test on a small area to ensure the color matches your countertop.
Layering Colors: If the crack is deep and the color isn’t matching perfectly, you might need to layer the epoxy. Apply a base layer of a close color and then add more layers of slightly different shades to get the perfect match.
Using a Caulk Gun for Precision: Caulk Gun Technique: For precise application, use a caulk gun for epoxy resin. This allows for controlled dispensing and ensures a smooth, even application. Apply the epoxy in thin layers to avoid overflow and ensure a clean finish. Smoothing and Polishing:
Sanding: After the epoxy has cured, use progressively finer grits of sandpaper (from 220 to 600 grit) to smooth the surface. Sand gently to avoid scratching the surrounding area.
Polishing: For granite or quartz, use a polishing compound and a polishing machine or buffing pad. This will bring out the shine and blend the repaired area seamlessly with the rest of the countertop.
Matching Wood Grain for Composite and MDF:
Wood Stain: For composite wood and MDF, a wood stain can help match the grain and color. Apply the stain with a brush or cloth, following the wood grain for a natural look. Wipe off any excess stain to avoid blotches.
Wood Filler: Use a wood filler that matches your countertop color. Apply it to the crack, let it dry, and then sand it smooth. Finish with a wood sealant to protect the repair.
Final Touches and Maintenance
Inspect the Repair: After the repair has fully cured and you’ve polished or sanded it smooth, inspect the area to ensure there are no imperfections. Look for any areas that might need additional sanding or polishing.
Protective Coating: To prolong the life of your repair, consider applying a protective coating. For granite and quartz, use a granite sealant. For wood and MDF, a clear wood sealant can help protect against future damage.
Regular Maintenance: To keep your countertop looking its best, clean it regularly with a suitable cleaner and avoid using harsh chemicals that could damage the surface. For laminate, avoid placing hot items directly on the surface to prevent thermal damage.
Tips for Long-Lasting Repairs
Avoid Heavy Objects: Place heavy objects on cutting boards or trivets to prevent cracks from forming.
Use Coasters and Placemats: These can protect the surface from heat, moisture, and spills.
Regular Cleaning: Keeping your countertop clean and free of food particles can prevent minor scratches from becoming bigger problems.
By following these advanced techniques and tips, you’ll ensure your repair not only looks good but also lasts. Whether you’re a DIY enthusiast or a homeowner looking to save money, these methods will help you fix a cracked kitchen countertop effectively and confidently.
In conclusion, repairing a cracked kitchen countertop is a manageable DIY project that can save you time and money. By understanding the type of material you’re working with and choosing the right repair materials, you can restore your kitchen’s beauty and functionality. Remember to take your time, follow the steps carefully, and enjoy the satisfaction of a job well done. Happy repairing!