Discover the intricate art of marble restoration and renovation with our comprehensive guide. From the initial preparation to the final touches, this article will take you through the entire process with captivating visuals and detailed instructions. Learn the essential tips and tricks to ensure a flawless marble renovation.
marble restoration, marble renovation, marble repair, marble cleaning, marble polishing, marble resurfacing, marble cleaning process, marble restoration tips, marble maintenance
Part 1
Marble Restoration and Renovation: A Comprehensive Guide
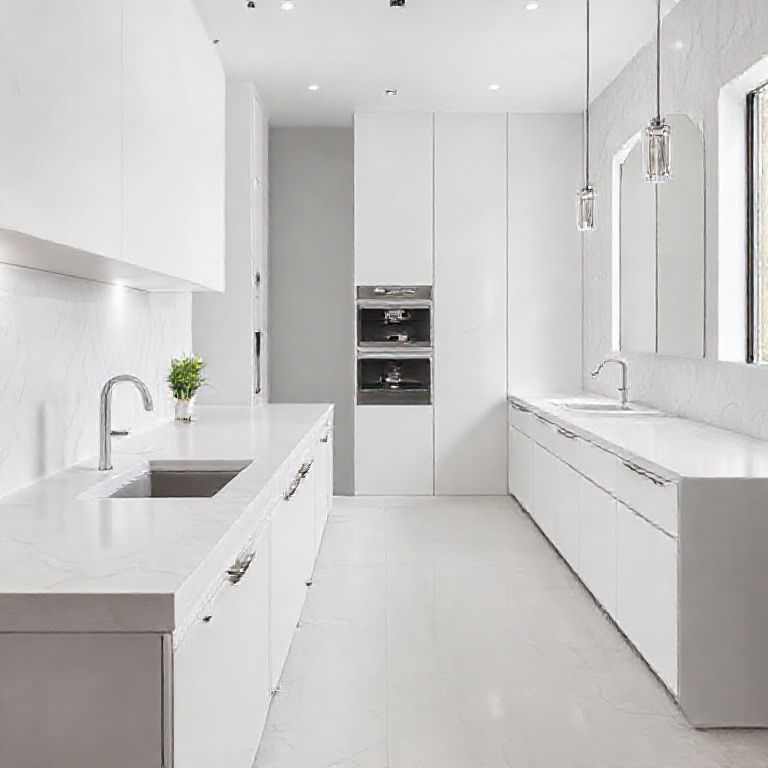
Marble, an elegant and timeless material, continues to grace homes and commercial spaces worldwide. However, over time, marble can suffer from stains, scratches, and other damages that detract from its beauty. This is where marble restoration and renovation come into play, ensuring that your marble surfaces maintain their pristine appearance. In this part of our guide, we will delve into the detailed steps and essential considerations for a successful marble restoration and renovation project.
Understanding the Importance of Marble Restoration
Before diving into the process, it’s crucial to understand why marble restoration is essential. Marble is naturally porous and, despite its durability, it can absorb stains and scratches from daily use. Over time, these damages can lead to a dull and unsightly appearance. Restoration not only brings back the marble’s original luster but also prolongs its lifespan by filling in scratches and reducing the risk of further damage.

Initial Preparation: Assessing the Damage
The first step in any marble restoration project is a thorough assessment of the damage. This involves inspecting the marble surfaces for stains, scratches, chips, and other imperfections. Documenting the extent of the damage with photographs and notes will help in planning the restoration process and in communicating with professionals if needed.
Cleaning the Marble Surface
A clean marble surface is fundamental for successful restoration. Before any restoration process begins, it’s essential to clean the marble thoroughly. Use a pH-neutral cleaner specifically designed for marble. Avoid abrasive cleaners that can exacerbate scratches. Gently scrub the surface with a soft cloth, paying special attention to areas with stains. Rinse thoroughly and let the marble dry completely before proceeding to the next step.
Choosing the Right Restoration Method
The choice of restoration method depends on the type and severity of the damage. Here are some common methods:
Polishing: For superficial scratches and minor stains, polishing can restore the marble’s shine. This method involves using a marble polish or a specialized polishing compound and machine to remove the top layer of the marble and reveal the fresh surface beneath.
Resurfacing: For deeper scratches and stains, resurfacing is often required. This process involves removing a thin layer of the marble surface and replacing it with a new layer of marble. It can be done using a diamond abrasive saw or a resurfacing machine.
Filling and Sealing: For minor chips and cracks, filling agents can be used to repair the damage. Once filled, the surface is polished to blend the repaired area seamlessly with the surrounding marble.
Step-by-Step Restoration Process
Surface Preparation: Begin by cleaning the marble surface thoroughly. Remove any dirt, dust, or debris that might interfere with the restoration process.
Assessment of Restoration Method: Based on the extent of damage, decide whether polishing, resurfacing, or filling is required.
Polishing: For polishing, use a polishing machine with a marble polish compound. Start with a coarser grit to remove the top layer and then proceed to finer grits for a smoother finish.
Resurfacing: If resurfacing is needed, use a diamond abrasive saw or machine. Carefully remove the damaged layer, ensuring even thickness across the surface. Once resurfaced, polish the new layer to blend it with the surrounding marble.
Filling and Sealing: For chips and cracks, apply a filling agent to the damaged area. Allow it to cure as per the manufacturer’s instructions. Once cured, polish the area to blend it with the rest of the marble.
Final Cleaning: After the restoration process, clean the marble surface thoroughly to remove any residues from the restoration materials.
Essential Tips for Marble Restoration
Professional Help: For extensive damage, it’s often best to hire a professional marble restoration specialist. They have the expertise and tools to perform complex restoration techniques.
Use pH-Neutral Products: Always use pH-neutral cleaning and restoration products to avoid damaging the marble’s surface.
Regular Maintenance: To maintain the restored marble, regular cleaning and maintenance are crucial. Use a pH-neutral cleaner and avoid abrasive materials.
Avoid Heat and Chemicals: High temperatures and harsh chemicals can damage marble. Use coasters to protect marble surfaces from heat and avoid using bleach or acidic cleaners.
Part 2
Marble Restoration and Renovation: A Comprehensive Guide
Continuing from our detailed overview of marble restoration methods and steps, this part will focus on the final stages of the renovation process, including the application of protective coatings, and some additional tips and tricks for maintaining the beauty and longevity of your marble surfaces.
Protective Coatings and Sealants
Once the restoration process is complete, applying a protective coating or sealant is crucial to preserving the work done. Protective coatings not only enhance the appearance of the marble but also provide a barrier against future stains, scratches, and other forms of damage.
Types of Sealants: There are various types of sealants available, including impregnating, penetrating, and surface sealants. Impregnating sealants penetrate deep into the marble and fill the pores, making the surface water-resistant. Penetrating sealants work similarly but provide less coverage. Surface sealants form a protective layer on the top of the marble.
Application Process: To apply a sealant, follow the manufacturer’s instructions carefully. Typically, this involves cleaning the surface, applying the sealant with a brush or spray, and allowing it to cure. Multiple coats may be required for optimal protection.
Reapplication: Protective coatings often need to be reapplied every few months to a year, depending on the level of exposure and wear. Regular maintenance will ensure that your marble remains protected and beautiful.
Final Touches and Quality Check
After applying the protective coating, it’s time for the final touches and a thorough quality check.
Final Cleaning: Clean the marble surface again to remove any residues from the sealant application. Use a soft, lint-free cloth and a pH-neutral cleaner.
Inspection: Carefully inspect the restored marble for any imperfections or areas that may need touch-ups. Look for uneven polishing, incomplete filling, or other minor issues that can be addressed before the project is considered complete.
Touch-Ups: If any imperfections are found, perform the necessary touch-ups. This might involve re-polishing, re-filling, or minor resurfacing as needed.
Maintenance Tips for Long-Lasting Results
Maintaining your restored marble requires consistent effort and the right products. Here are some tips to ensure your marble stays beautiful and protected:
Regular Cleaning: Use a pH-neutral cleaner and a soft cloth to clean the marble regularly. Avoid using abrasive materials that can scratch the surface.
Avoiding Spills and Stains: Use coasters and placemats to protect marble surfaces from spills and stains. Wipe up spills immediately to prevent stains from setting in.
Using Protective Pads: When using heavy objects on marble surfaces, use protective pads to avoid scratches and dents.
Professional Maintenance: Consider hiring a professional for periodic maintenance checks and deep cleaning. They can identify potential issues before they become serious problems.
Proper Storage: If you have marble countertops or other large marble surfaces, ensure they are properly stored and protected when not in use. Avoid leaving heavy objects on them for extended periods.
Conclusion
Restoring and renovating marble is an intricate process that requires careful preparation, the right techniques, and protective measures to ensure the best results. By understanding the importance of each step and following the detailed guidelines provided, you can achieve a beautifully restored marble surface that enhances the elegance and longevity of your space. Regular maintenance and the use of protective coatings will help keep your marble looking pristine for years to come. Whether you choose to tackle the restoration yourself or hire a professional, the key is to approach the process with care and attention to detail.
By following these comprehensive steps and tips, you can restore your marble to its former glory and enjoy its timeless beauty for generations to come.