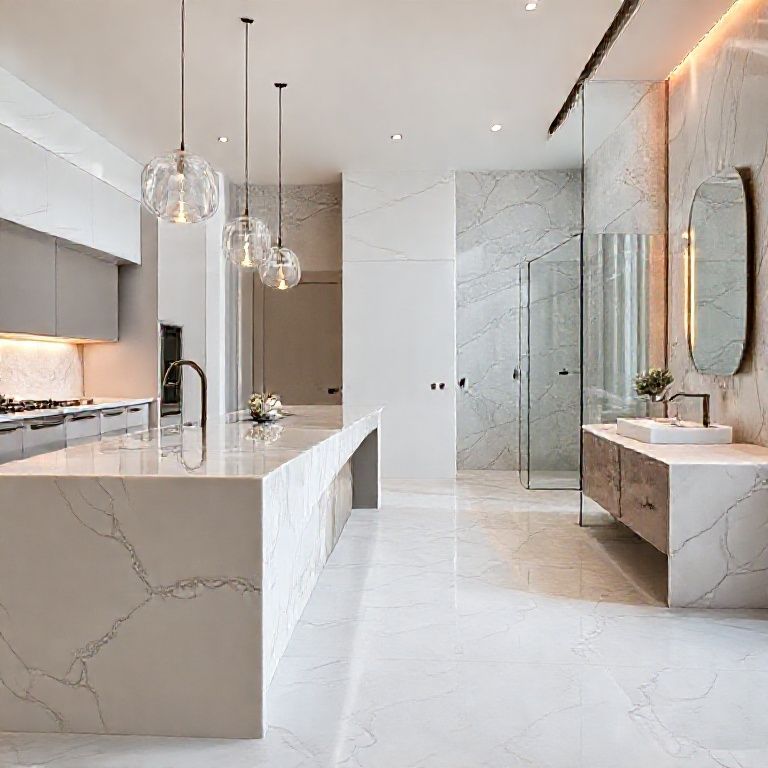
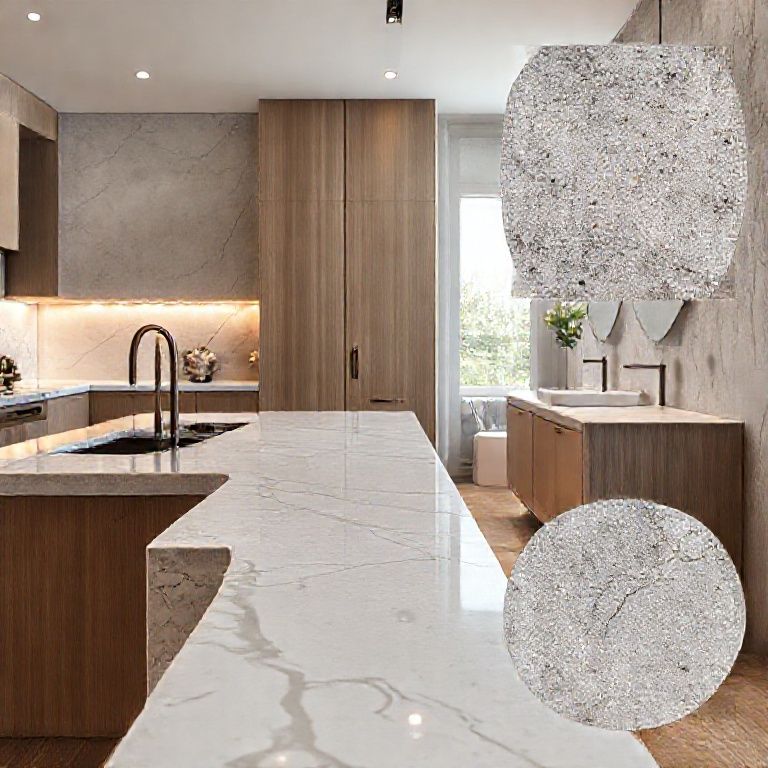
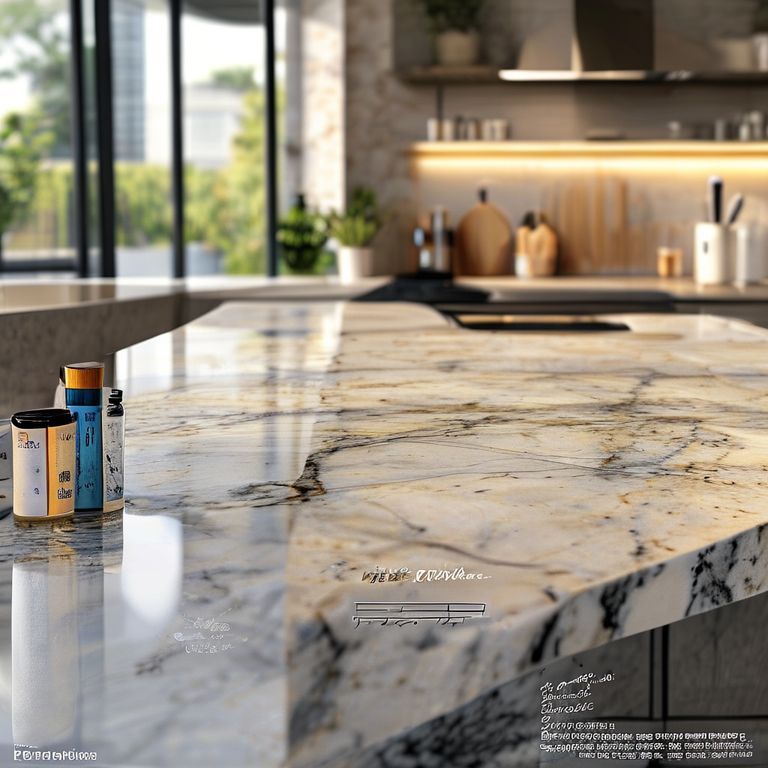
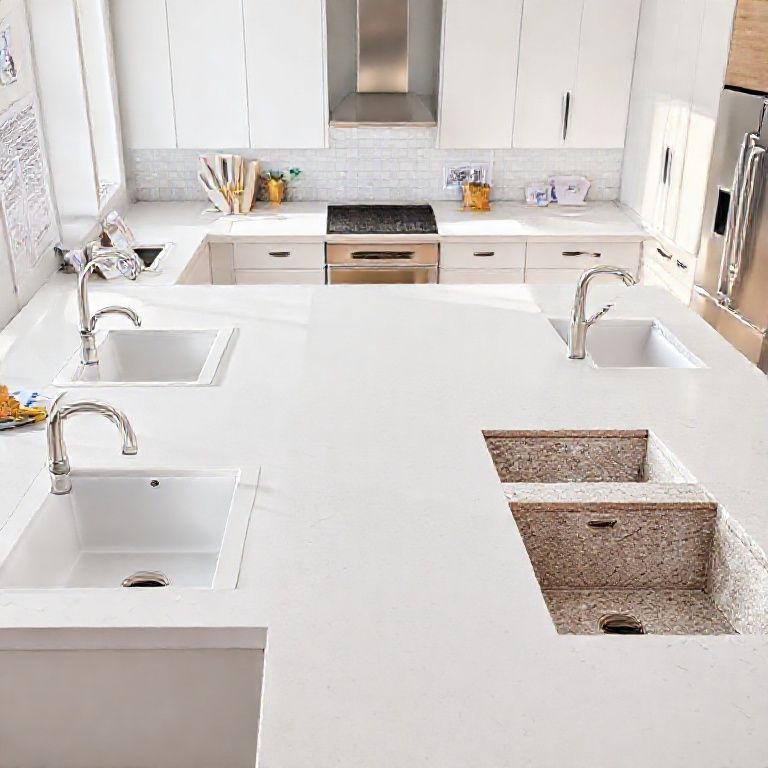
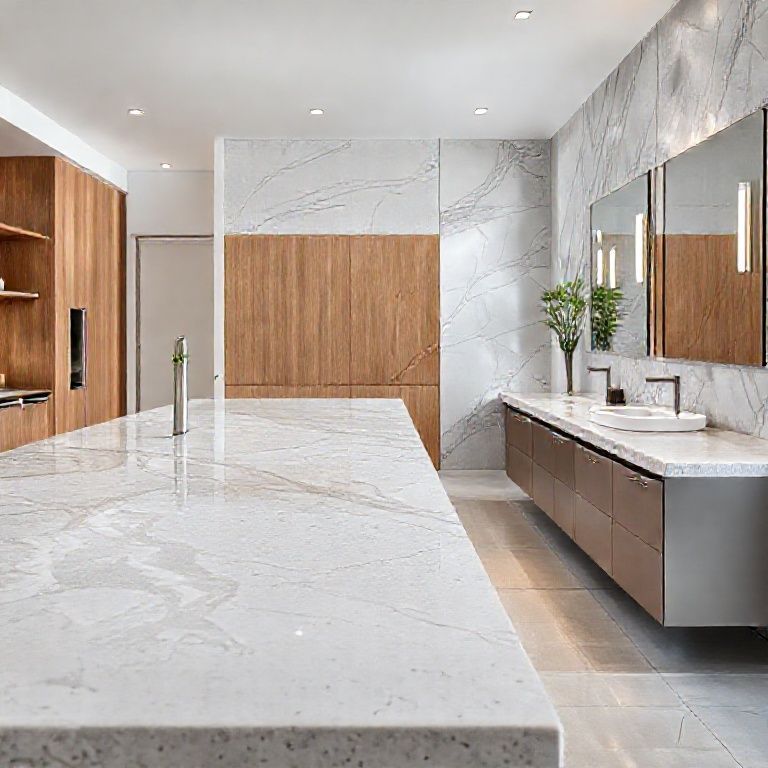
Dive into the world of artificial stone countertop restoration with our detailed video tutorial series. Whether you’re a DIY enthusiast or a professional looking to refine your skills, this guide offers step-by-step instructions to rejuvenate your countertops to their former glory. Learn the secrets to restoring your artificial stone surfaces with professional-grade techniques and tools.
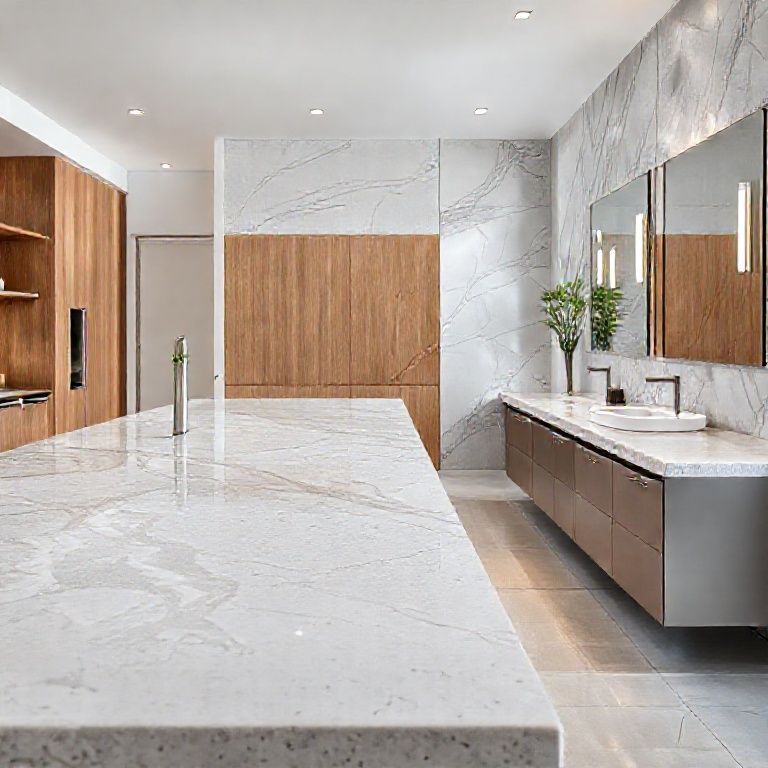
Restoring Your Artificial Stone Countertops to Pristine Condition
Introduction
Artificial stone countertops are a popular choice for many due to their durability, low maintenance, and stunning aesthetic appeal. However, like any other surface, they can suffer from scratches, stains, and even minor chips over time. Fortunately, with the right tools and techniques, you can restore your artificial stone countertops to their original beauty. In this first part of our video tutorial series, we will delve into the basics of artificial stone countertop restoration, focusing on identifying damage, preparing surfaces, and using fundamental restoration tools.
Identifying Damage
Before beginning any restoration process, it’s crucial to accurately identify the type and extent of damage. Artificial stone countertops can suffer from several types of damage, including:
Scratches and Cuts: These can occur due to regular use with hard objects or abrasive cleaning agents. Stains: These might result from spills or long-term exposure to certain chemicals. Chips and Cracks: Although rare, these can occur due to impacts or manufacturing defects.
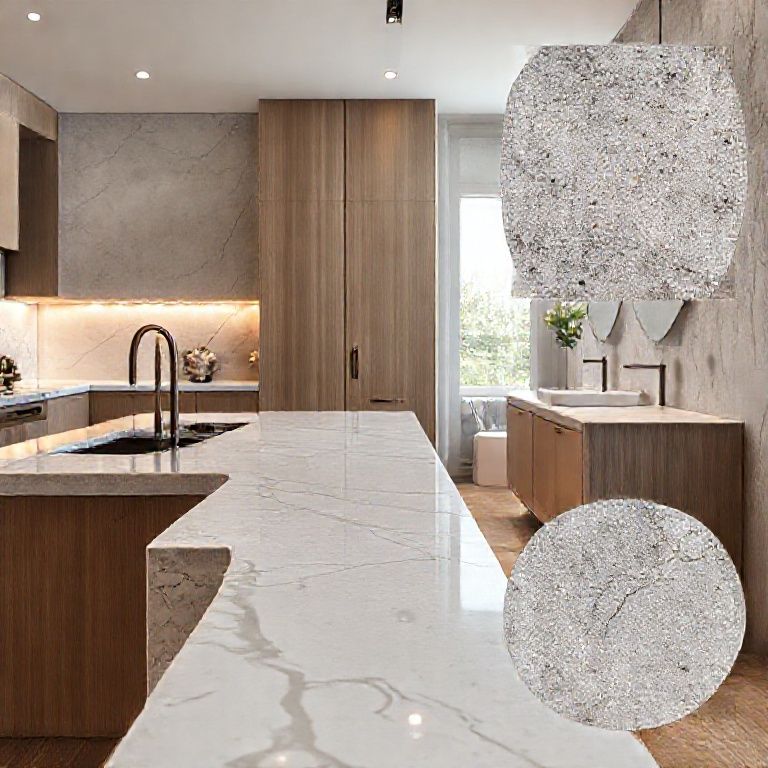
To identify the type of damage, inspect the countertop closely. For scratches, use a magnifying glass to see if they penetrate the surface or just scratch the top layer. Stains can often be identified by their color and texture against the surrounding areas. Chips and cracks are usually visible to the naked eye.
Preparation and Safety
Preparation is key to successful restoration. Here’s what you need to do before starting:
Clear the Area: Remove all items from the countertop and clean the surface with a mild soap and water solution. Dry it thoroughly. Safety Gear: Wear gloves, safety goggles, and a dust mask to protect yourself from any dust or chemicals you might encounter during the restoration process. Tools and Materials: Gather all necessary tools and materials, including polishing pads, abrasive compounds, polishing machines, and safety equipment.
Basic Restoration Tools
Here’s a list of essential tools you will need for restoring your artificial stone countertops:
Polishing Pads: These come in various grits and are used to smooth out scratches and stains. Abrasive Compounds: These are used to break down stains and polish the surface. Polishing Machine: An electric or hand-held machine that rotates the polishing pads. Microfiber Cloths: For cleaning and polishing the surface. Clean Water and a Spray Bottle: For rinsing the countertop and keeping it damp during the process.
Step-by-Step Restoration Process
Step 1: Surface Cleaning
Start by thoroughly cleaning the surface of your artificial stone countertop. Use a mild soap and water solution, then rinse and dry the surface. This will ensure that no dirt or grease interferes with the restoration process.
Step 2: Initial Polishing
Attach a medium-grit polishing pad to your polishing machine. Begin with a low speed to avoid creating too much heat or dust. Start polishing in small sections, moving the pad in overlapping strokes. This initial step will help remove any surface scratches and break down minor stains.
Step 3: Deep Cleaning
For deeper stains, apply an abrasive compound to the polishing pad. Continue with the same overlapping stroke technique. Make sure to rinse the countertop frequently to remove any residue. This step is essential for tackling more stubborn stains that might have set in over time.

Step 4: Final Polishing
Once the stains and scratches are addressed, switch to a fine-grit polishing pad for a final pass. This will smooth out any remaining imperfections and give your countertop a polished, professional finish.
Step 5: Inspection
After polishing, inspect the surface closely. If any imperfections remain, repeat the process with finer grits or additional cleaning steps.
Conclusion
Restoring artificial stone countertops is a manageable DIY project that can yield impressive results. By following the steps outlined in this tutorial, you can rejuvenate your countertop to its former glory, enhancing its appearance and extending its lifespan. In the next part of our series, we will explore more advanced techniques and provide tips for maintaining your restored countertops.
Advanced Techniques and Maintenance for Artificial Stone Countertop Restoration
Introduction
Building on the basics covered in Part 1, this part of our video tutorial series dives deeper into advanced techniques for artificial stone countertop restoration. We will explore more intricate repair methods, including filling chips and cracks, addressing deeper stains, and applying advanced polishing techniques. Additionally, we’ll discuss how to maintain your restored countertops to ensure they stay in pristine condition for as long as possible.
Filling Chips and Cracks
Artificial stone countertops are generally durable, but minor chips and cracks can still occur. To repair these imperfections, follow these steps:
Step 1: Clean the Area
Start by thoroughly cleaning the affected area. Use a mild soap and water solution to remove any dirt, grease, or debris. Dry the area completely.
Step 2: Prepare the Chip or Crack
Using a fine-grit sandpaper, gently sand the edges of the chip or crack to create a smooth surface. This helps the repair material adhere better.
Step 3: Apply Repair Compound
Purchase a stone countertop repair compound that is compatible with your artificial stone material. Apply the compound into the chip or crack using a small brush or applicator. Smooth it out to create a uniform surface.
Step 4: Cure the Repair
Allow the repair compound to cure according to the manufacturer’s instructions. This typically involves letting it sit for a few hours to overnight.
Step 5: Polish the Area
Once the repair compound has cured, use a fine-grit polishing pad to blend the repaired area with the surrounding surface. This step ensures that the repair is seamless and smooth.
Addressing Deeper Stains
For deeper stains that are resistant to initial polishing, more advanced techniques are required. Follow these steps to tackle these tough stains:
Step 1: Use a Stronger Abrasive Compound
If the stain persists, switch to a stronger abrasive compound. These compounds contain more potent chemicals that can break down stubborn stains.
Step 2: Apply and Polish
Apply the stronger abrasive compound to the affected area and use your polishing machine with a medium-grit pad. Polish in overlapping strokes, making sure to rinse the surface frequently to remove any residue.
Step 3: Final Polish
Once the stain is removed, switch to a fine-grit polishing pad for a final polish. This will smooth out any remaining imperfections and restore the surface’s shine.
Advanced Polishing Techniques
To achieve a professional-grade finish, consider these advanced polishing techniques:
Step 1: Dual-Action Polisher
A dual-action polisher combines both orbital and random motion, providing a more thorough polish. Use this machine with progressively finer-grit pads to achieve an ultra-smooth surface.
Step 2: Diamond Polishing Pads
Diamond polishing pads are highly effective for artificial stone. They provide a faster and more efficient polish, especially on large surfaces. Start with a medium-grit pad and progress to finer grits for a brilliant finish.
Maintenance Tips
To keep your restored artificial stone countertops looking great, follow these maintenance tips:
Regular Cleaning
Use a mild soap and water solution to clean the surface regularly. Avoid abrasive cleaners that can scratch the surface. Wipe down the countertop after every use to prevent spills from setting in.
Spill Management
Clean up spills immediately to prevent stains. Blot with a clean, dry cloth to avoid spreading the spill.
Scratch Prevention
Use cutting boards and placemats to protect the surface from hard objects. Avoid placing hot pots or pans directly on the surface without a trivet.
Routine Inspections
Regularly inspect the countertop for any signs of wear or damage. Address minor issues early to prevent them from becoming more significant problems.
Conclusion
Advanced techniques and proper maintenance are crucial for keeping artificial stone countertops looking their best. By mastering these methods, you can extend the life of your countertops and ensure they remain a stunning focal point in your home. Regular care and timely repairs will keep your artificial stone countertop in pristine condition, reflecting your commitment to maintaining high-quality surfaces in your living space.
By following these detailed guides, you’ll be equipped with the knowledge and skills to restore your artificial stone countertops to their original beauty. Whether you choose to tackle minor repairs or more intricate restoration projects, the techniques and tips provided will ensure successful and professional-grade results.