Comprehensive Guide to Repairing Cracks in Artificial Stone Countertops
Artificial stone countertops are renowned for their durability, aesthetic appeal, and low maintenance requirements. However, even these resilient surfaces can develop cracks over time due to heavy impacts, improper installation, or wear and tear. Understanding how to effectively repair these cracks is essential for maintaining the beauty and functionality of your countertop. This guide will walk you through the process of repairing cracks in artificial stone countertops, ensuring a flawless finish that hides any repair marks.

Understanding the Nature of Artificial Stone
Artificial stone, also known as quartz or composite stone, is made from a blend of natural stone powder and polymers. Its strength and aesthetic versatility make it a popular choice for kitchen and bathroom countertops. However, like any material, it is not entirely immune to damage. Knowing the material’s properties helps in choosing the right repair method.
Identifying and Assessing Cracks
The first step in repairing cracks in artificial stone countertops is to identify and assess the damage. Cracks can vary in size and depth, and the repair method will depend on these factors. Common signs of cracks include:
Small hairline cracks Larger, more pronounced splits Chips or breaks at the edges
Carefully inspect the area around the crack to determine if there are any underlying issues that may have caused the damage, such as improper installation or excessive weight.

Gathering Repair Tools and Materials
To repair cracks in artificial stone, you will need specific tools and materials designed for this type of material. Here is a list of essential items:
High-quality epoxy resin specifically formulated for stone repairs Fine-grit sandpaper Precision stone cutter (if removing a section is necessary) Caulking gun Mixing tools Clean cloths and brushes Safety goggles and gloves
Using the correct materials ensures that the repair will blend seamlessly with the existing countertop, minimizing any visible marks.
Preparing the Repair Area
Preparation is key to a successful repair. Follow these steps to prepare the area around the crack:
Clean the Area: Use a clean cloth and a mild detergent to remove any dirt, grease, or debris from the area around the crack. This ensures that the epoxy resin adheres properly.
Dry Thoroughly: Make sure the area is completely dry before proceeding with the repair. Moisture can interfere with the bonding process.
Sand the Crack: Use fine-grit sandpaper to smooth the edges of the crack. This helps to open the crack slightly, allowing the epoxy to penetrate and fill it more effectively.
Applying the Epoxy Resin
Epoxy resin is a powerful adhesive often used for repairing cracks in artificial stone. Here’s how to apply it:
Mix the Resin: Follow the manufacturer’s instructions to mix the epoxy resin. Typically, this involves combining the resin and hardener in a specific ratio.
Apply the Resin: Using a caulking gun, apply the epoxy resin into the crack. Make sure to fill the crack completely. Use a small brush to smooth the surface of the epoxy for a uniform finish.
Smooth the Surface: After applying the epoxy, use a clean cloth to smooth the surface. This helps to blend the repaired area with the surrounding countertop.
Allowing Curing Time
Once the epoxy resin is applied, it needs time to cure properly. Curing time will vary depending on the product used, but generally, it can take anywhere from a few hours to 24 hours. During this time, avoid placing any heavy objects on the countertop to ensure the epoxy sets correctly.
Final Touches and Inspection
After the epoxy has cured, inspect the repaired area for any imperfections. If necessary, make final adjustments to ensure the repair is seamless and invisible. Here are some final tips:
Polish the Area: Use a fine-grit polish to blend the repaired area with the rest of the countertop. This step is crucial for achieving a flawless finish.
Seal the Repair: For added durability, consider applying a stone countertop sealant over the repaired area. This protects the epoxy and enhances the overall appearance of the countertop.
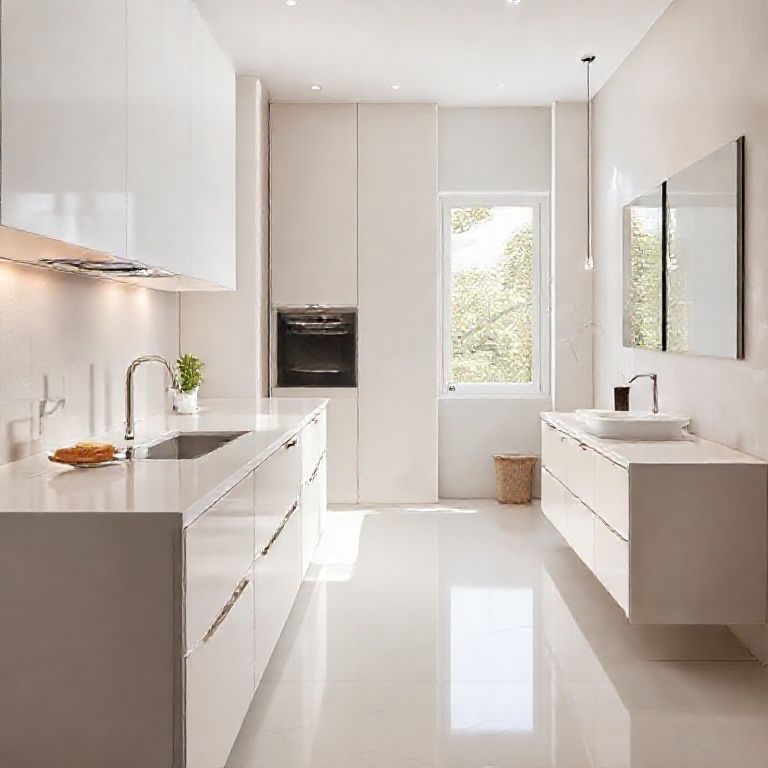
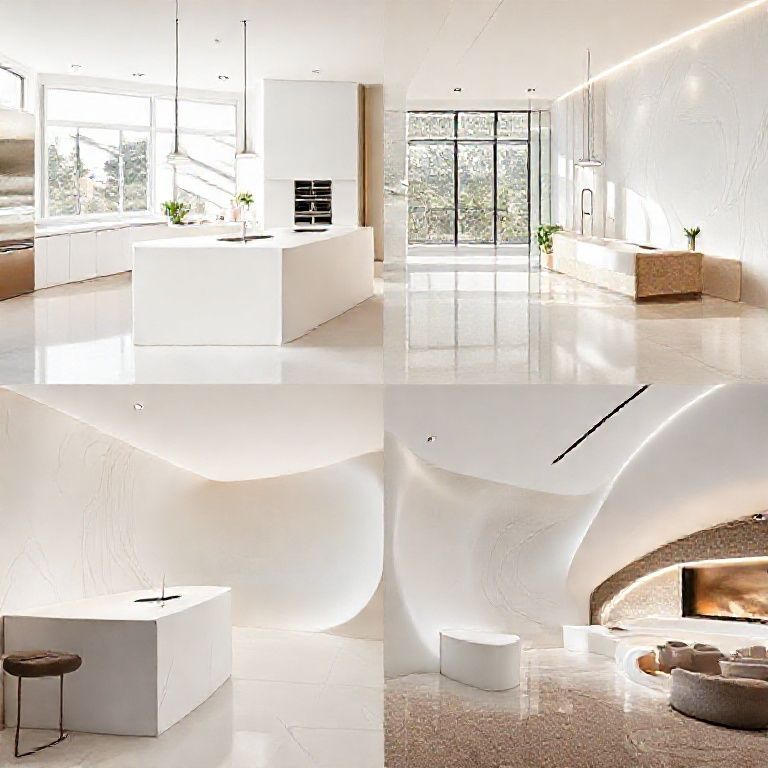
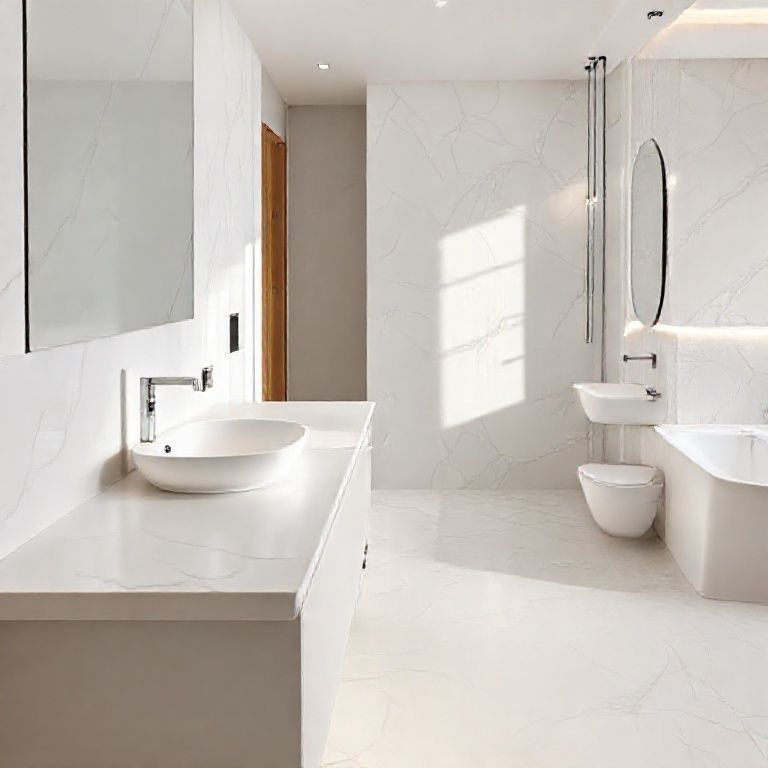
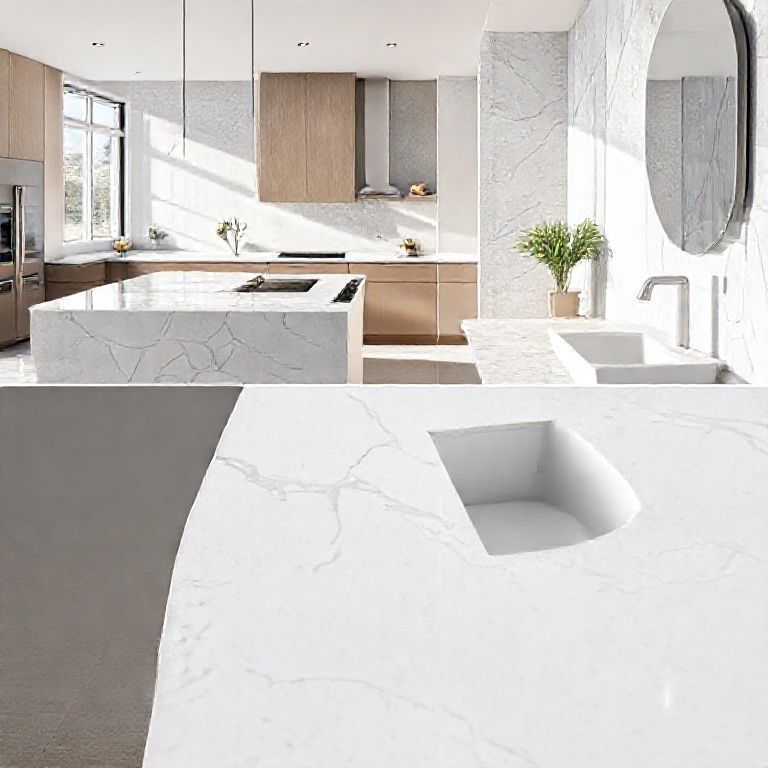
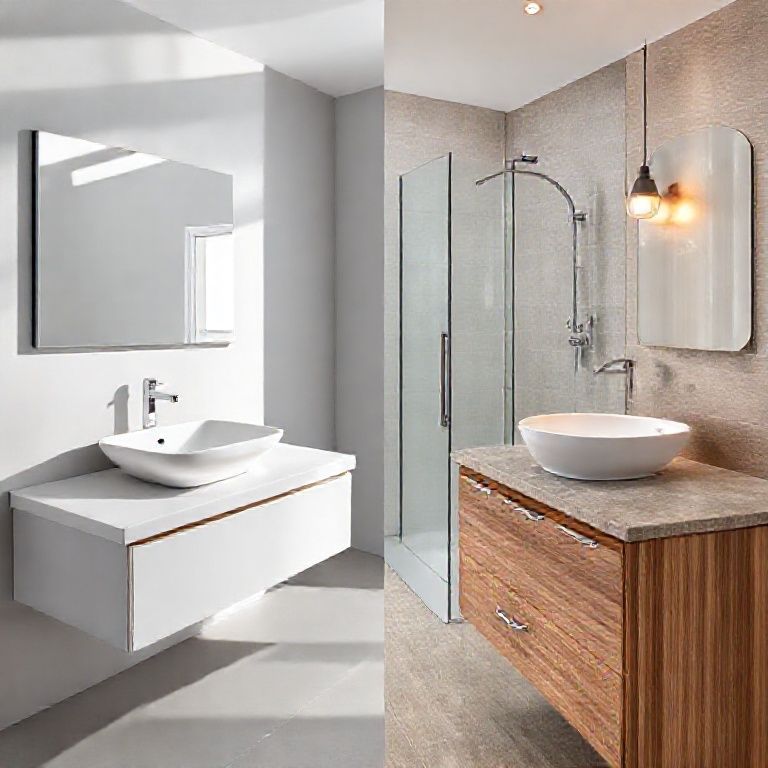
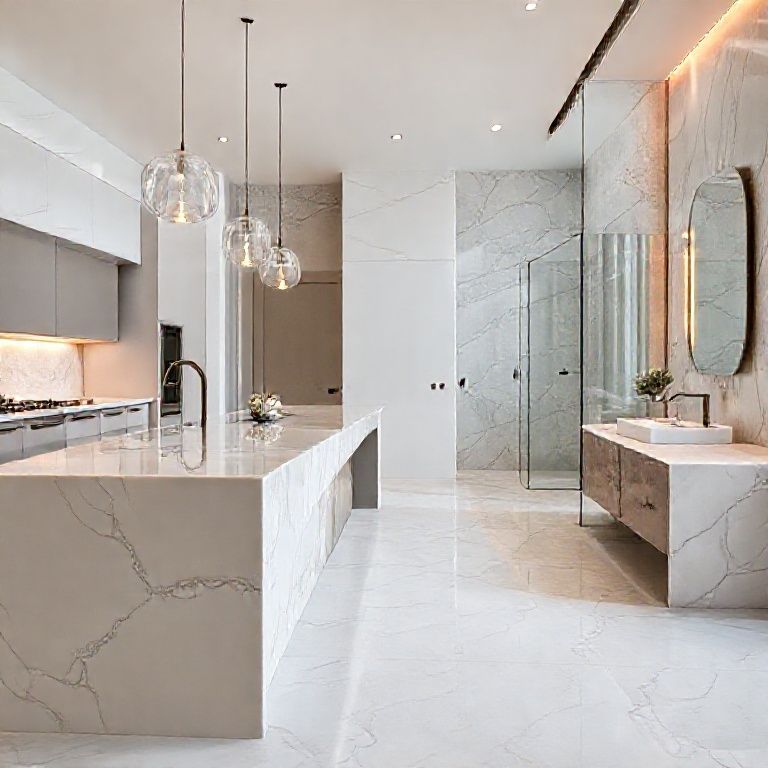
Showcasing Before-and-After Transformations
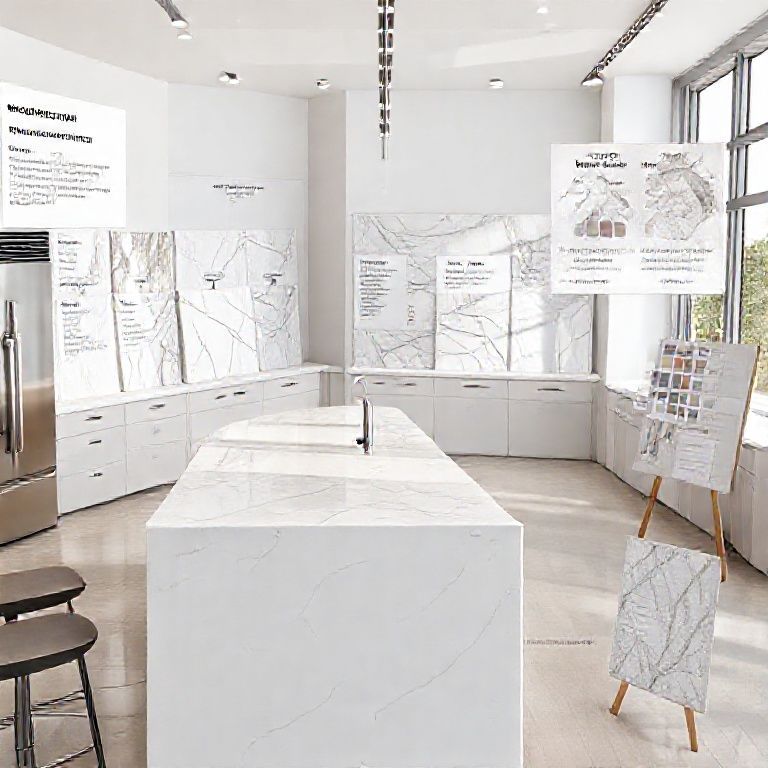
To illustrate the effectiveness of these repair techniques, we have compiled a series of before-and-after images. These images showcase the transformation of various artificial stone countertops, highlighting the minimal repair marks and the restored beauty of the surfaces.
Conclusion of Part 1
Repairing cracks in artificial stone countertops requires careful preparation, the right materials, and precise application techniques. By following the steps outlined in this guide, you can achieve a repair that is nearly invisible, maintaining the beauty and functionality of your countertop. Stay tuned for Part 2, where we will delve deeper into advanced repair techniques and maintenance tips to keep your artificial stone countertop looking pristine for years to come.
Advanced Repair Techniques and Maintenance Tips for Artificial Stone Countertops
Artificial stone countertops are a popular choice for their durability, aesthetic appeal, and ease of maintenance. However, despite their robust nature, they can still develop cracks, chips, or other imperfections. In Part 2 of our guide, we will explore advanced repair techniques and essential maintenance tips to ensure your artificial stone countertop remains in pristine condition.
Advanced Repair Techniques
While basic epoxy repairs can handle minor cracks, more extensive damage may require more sophisticated techniques. Here are some advanced methods to consider:
1. Crack Removal and Replacement
For large cracks or significant damage, removing the cracked section and replacing it with a new piece might be necessary. Here’s how to do it:
Cut Out the Damaged Area: Using a precision stone cutter, carefully cut out the damaged section around the crack. Make sure to cut straight and clean edges to ensure a smooth fit for the replacement.
Prepare the Replacement Piece: Cut a new piece of artificial stone to fit the removed section. Make sure it matches the thickness and color of the existing countertop.
Apply Epoxy Adhesive: Apply a strong epoxy adhesive to the edges of the replacement piece and the countertop. Press the new piece firmly into place and hold it until the adhesive sets.
Smooth and Polish: Once the adhesive has cured, use fine-grit sandpaper and polish to blend the new piece seamlessly with the surrounding countertop.
2. Color Matching
If your artificial stone countertop has developed a crack in a visible area, matching the color might be crucial for an invisible repair. Here’s how to achieve a perfect color match:
Color Analysis: Use a color matching tool or consult with a professional to determine the exact shade of your countertop. Some epoxy resins come in various colors, allowing you to match the repair area precisely.
Mix Customized Epoxy: If the epoxy resin does not come in the exact color, you may need to mix it with a colorant to achieve the perfect match. Follow the manufacturer’s instructions for mixing and applying the colored epoxy.
3. Using Composite Repair Materials
For a more durable repair, consider using composite repair materials. These materials are designed to integrate seamlessly with artificial stone:
Composite Patch Kits: These kits often include a composite material and hardener that can be molded to fit the repair area. They provide a strong, durable repair that blends well with the countertop.
Application Process: Follow the instructions provided with the composite repair kit. Typically, you will mix the composite material, apply it to the crack, and let it cure before polishing.
Maintenance Tips for Long-Lasting Artificial Stone Countertops
To keep your artificial stone countertop looking its best and to prevent future damage, follow these essential maintenance tips:
1. Regular Cleaning
Use Mild Detergents: Clean your countertop regularly with a mild detergent and warm water. Avoid using abrasive cleaners or harsh chemicals that can damage the surface.
Wipe Spills Immediately: Spills can cause stains or damage if left to dry. Wipe up any spills immediately to prevent long-term damage.
2. Protective Measures
Use Cutting Boards and Trivets: Place cutting boards and trivets on your countertop when cutting food or placing hot items. This prevents scratches and burns from direct contact.
Avoid Sharp Objects: Avoid using sharp objects on the surface of the countertop, as they can cause chips and cracks. Use cutting boards or mats instead.
3. Proper Installation
Follow Manufacturer’s Guidelines: Ensure that your countertop is installed according to the manufacturer’s guidelines. Proper installation minimizes the risk of cracks and other damage.
Use Backer Board: For backsplashes or other areas where the countertop meets walls, use a backer board to provide additional support and protection.
4. Regular Inspections
Check for Damage: Regularly inspect your countertop for any signs of damage, such as cracks, chips, or scratches. Early detection can prevent more extensive repairs.
Professional Maintenance: Consider hiring a professional for regular maintenance and inspection. They can identify potential issues before they become major problems.
Showcasing Before-and-After Transformations
4. 专业修复服务
大面积破损:如果损坏面积较大,自行修复可能不够理想。专业人员拥有更专业的工具和材料,能够提供更精细和持久的修复。 复杂修复:复杂的修复,例如需要切割和拼接的大块人造石,需要专业技能和经验。 保修和保证:许多专业修复服务提供商会为其工作提供保修或保证,确保您满意的结果。
5. 美观与保护结合
为了使修复工作看起来自然且耐用,同时保护台面,可以考虑以下几个方面:
定期抛光:定期抛光可以帮助保持人造石台面的光泽,并且在修复区域和未修复区域之间保持一致的光泽。 使用保护喷雾:市面上有许多专门为人造石设计的保护喷雾,可以在清洁后喷涂,形成一层保护膜,减少未来的损伤和污渍。 防溅垫:在烹饪时使用防溅垫,可以有效防止油污和热量直接接触台面。
6. 预防为主
最好的修复方法之一是预防性维护,这可以避免大部分的损坏和需要修复的情况:
避免重物冲击:避免在台面上放置过重的物品,特别是那些可能会冲击台面的物品。 使用软垫:在台面上放置炉具、烤箱或其他重型设备时,使用软垫可以避免直接接触和可能造成的损坏。 厨房安全:在厨房中保持清洁,避免台面上积累油污和食物残渣,这些可能会导致更严重的损坏。
7. 实用小贴士
使用适当的清洁剂:不要使用过碱性或过酸性的清洁剂,这些可能会对人造石表面造成损害。 避免锋利工具:不要在台面上使用锋利的工具切割食物,这可能会造成裂缝或划痕。 及时处理泄漏:如果发现水或其他液体泄漏在台面上,请及时处理,以防止长期接触造成的腐蚀。
通过以上的方法和建议,您可以更好地保护和维护您的人造石台面,确保其长期保持美观和功能性。希望这些信息对您有所帮助,如果有任何具体问题或需要进一步的建议,欢迎随时提问!