Understanding Synthetic Stone Countertops and Initial Repair Steps
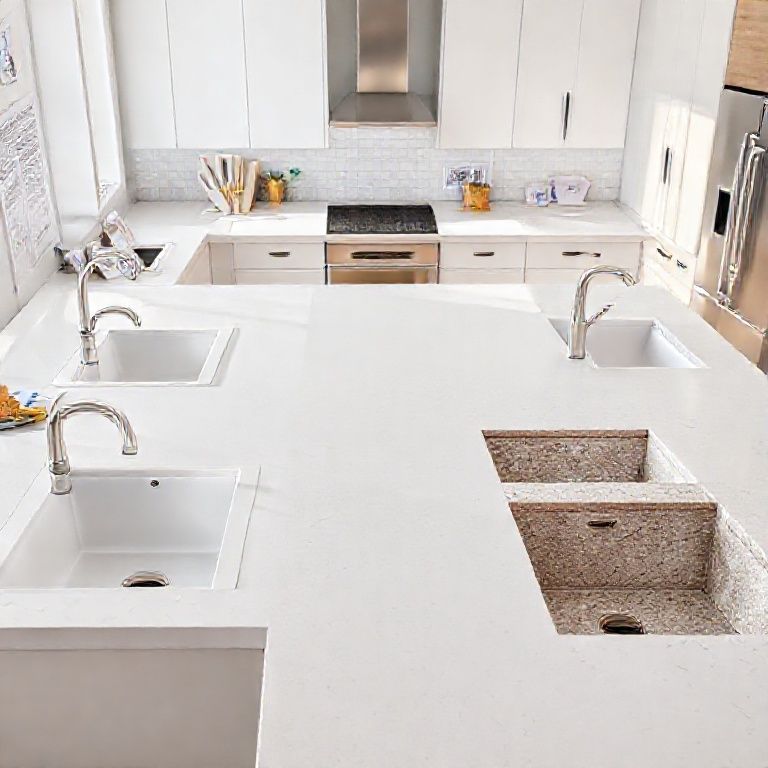
Synthetic stone countertops are a popular choice for modern kitchens and bathrooms due to their durability, resistance to stains, and low maintenance requirements. However, despite their robustness, they can develop cracks over time due to various factors such as heavy objects, accidental drops, or even natural aging. Knowing how to repair these cracks effectively is essential to maintaining the aesthetic and functional integrity of your countertop.
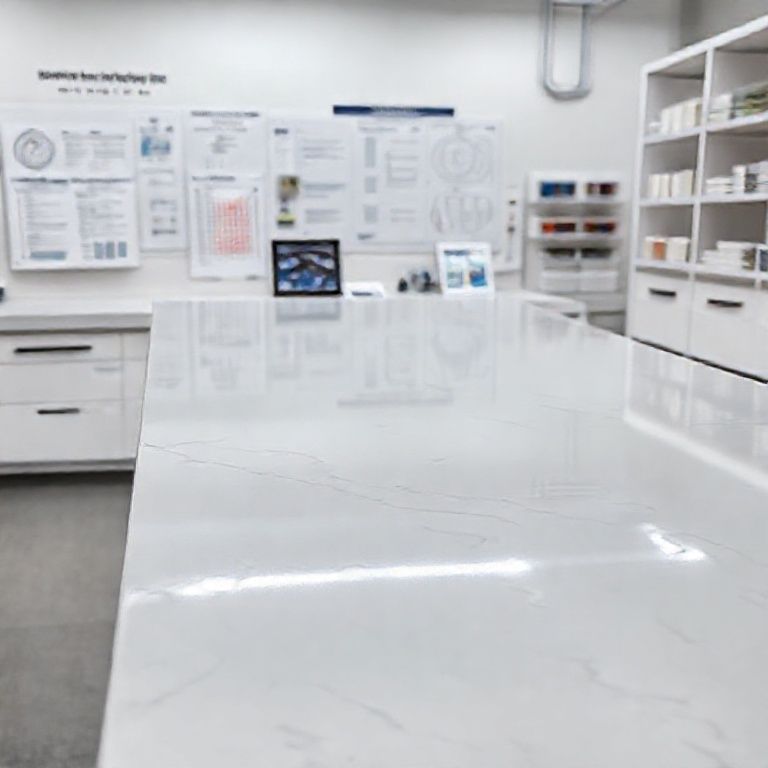
Understanding Synthetic Stone Countertops
Synthetic stone, often referred to as quartz, is a composite material made from 93% natural stone and 7% resin binder. It’s designed to mimic the look of natural stone while offering superior durability and a range of color options. The material is less porous than traditional stone, making it easier to clean and maintain. However, it is not completely invulnerable. Cracks can still occur, and knowing how to address them promptly is crucial.
Initial Steps in Repairing Cracks
Before diving into the repair process, it’s essential to assess the damage accurately. Small hairline cracks might be easier to repair than larger, more extensive splits. Here are the initial steps to take:
Safety First: Wear protective gloves and eye protection to guard against resin dust and potential chemical exposure from repair materials.

Clean the Area: Thoroughly clean the cracked area using a damp cloth and mild detergent. Ensure the surface is completely dry before beginning any repair.
Assess the Crack: Determine the size and depth of the crack. Small, shallow cracks can often be repaired with a filler, while larger cracks might require a more extensive restoration process.
Gather Your Tools and Materials: For small repairs, you will need a synthetic stone countertop repair kit, which typically includes a color-matched filler, a mixing container, a mixing tool, and a brush or applicator.

Basic Repair Method for Small Cracks
For minor cracks, the repair process is relatively straightforward:
Mix the Filler: Follow the manufacturer’s instructions to mix the filler. This usually involves combining the resin and hardener in the provided container until you achieve a smooth, paste-like consistency.
Apply the Filler: Using the applicator from the repair kit, carefully fill the crack with the mixed filler. Make sure to fill it completely and smooth the surface to avoid any bumps or ridges.
Clean Up: Once the filler has set (as per the manufacturer’s instructions), use a damp cloth to remove any excess filler that might have squeezed out of the crack.

Polish the Area: Finally, polish the repaired area with a soft cloth to ensure a seamless finish that blends with the rest of the countertop.
Conclusion
Repairing small cracks in synthetic stone countertops can be a straightforward DIY project if done correctly. By following the initial steps and using the right materials, you can restore the beauty and functionality of your countertop without the need for professional help. In the next part of this guide, we will delve into more advanced repair methods for larger cracks and additional tips to ensure long-lasting results.
Advanced Repair Techniques and Long-Term Maintenance
While small cracks can often be fixed with basic repair kits, larger or deeper cracks in synthetic stone countertops may require more advanced techniques. This section will cover sophisticated repair methods and offer insights into maintaining your countertops to prevent future damage.
Advanced Repair Techniques for Larger Cracks
For more extensive damage, a few advanced methods can help restore the countertop to its original condition:
Epoxy Resin Method: For deeper cracks, an epoxy resin can provide a stronger bond. Epoxy is available in various colors to match your countertop perfectly. Here’s how to apply it:
Mix the Epoxy: Carefully mix the epoxy resin and hardener according to the instructions. Epoxy is more viscous than the filler in a repair kit, so it might need to be thinned slightly for easier application.
Apply the Epoxy: Use a syringe or a small applicator to fill the crack with the epoxy resin. Ensure the crack is fully filled and smooth the surface as you go.
Cure the Epoxy: Allow the epoxy to cure completely as per the manufacturer’s guidelines. This might take several hours to a full day.
Sand and Polish: Once cured, use fine-grit sandpaper to smooth out the area. Polish the surface to blend it seamlessly with the rest of the countertop.
Cable Tie Method: For wide cracks that cannot be filled with epoxy alone, a cable tie method can be effective. This method involves wrapping a cable tie around the crack, which acts as a support while the epoxy resin cures.
Wrap the Crack: Place a cable tie around the crack, ensuring it is centered and tight enough to provide support without damaging the countertop.
Fill with Epoxy: Apply epoxy resin into the crack around the cable tie, filling it completely.
Remove the Tie: After the epoxy has cured, carefully remove the cable tie. You may need to sand the area where the tie was to ensure a smooth finish.
Preventative Maintenance and Long-Term Care
To prolong the life of your synthetic stone countertops and prevent future cracks, regular maintenance is key:
Cleaning: Use a mild, pH-neutral cleaner to avoid damaging the surface. Avoid abrasive cleaners and scrubbing pads which can scratch the countertop.
Sealing: While synthetic stone does not require sealing like natural stone, applying a high-quality countertop protector can add an extra layer of protection against stains and scratches.
Avoiding Impact: Use coasters and place heavy objects on trivets to prevent direct impact on the surface. Avoid leaving hot pots or pans directly on the countertop.
Repair Promptly: Address any small cracks or chips as soon as they appear to prevent them from worsening. Prompt repair can often make a more extensive fix unnecessary.
Conclusion
Repairing cracks in synthetic stone countertops doesn’t have to be a daunting task. With the right tools, materials, and techniques, you can restore your countertop to its pristine condition. Whether you opt for basic filler methods for minor cracks or advanced techniques for larger splits, maintaining the integrity and beauty of your synthetic stone surface is well within your reach. Regular maintenance and prompt repairs will ensure your countertops remain a stunning feature in your kitchen or bathroom for years to come.
By following these detailed steps and tips, you can confidently tackle countertop repairs and enjoy the longevity and beauty of your synthetic stone surfaces.