Introduction:
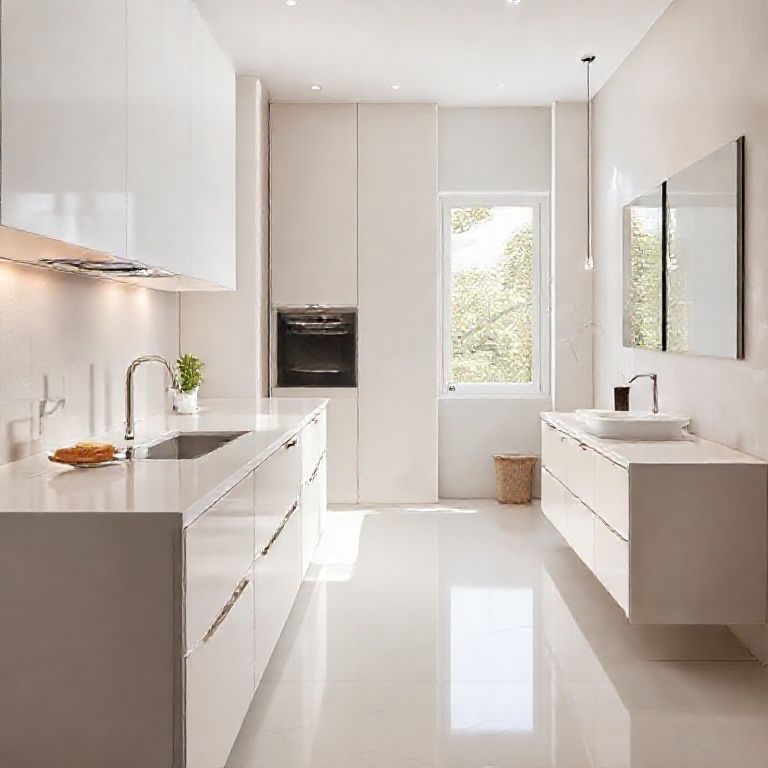
Welcome to our detailed guide on repairing cracks in artificial stone countertops. Artificial stone, also known as quartz, has become a popular choice for kitchen and bathroom countertops due to its durability, low maintenance, and aesthetic appeal. However, over time, even the toughest artificial stone can develop cracks, which can be both unsightly and detrimental to the structural integrity of the countertop. In this first part of our guide, we will cover the basic principles of crack repair, the necessary tools and materials, and the first steps to ensure a successful repair.
Understanding Artificial Stone Countertops:
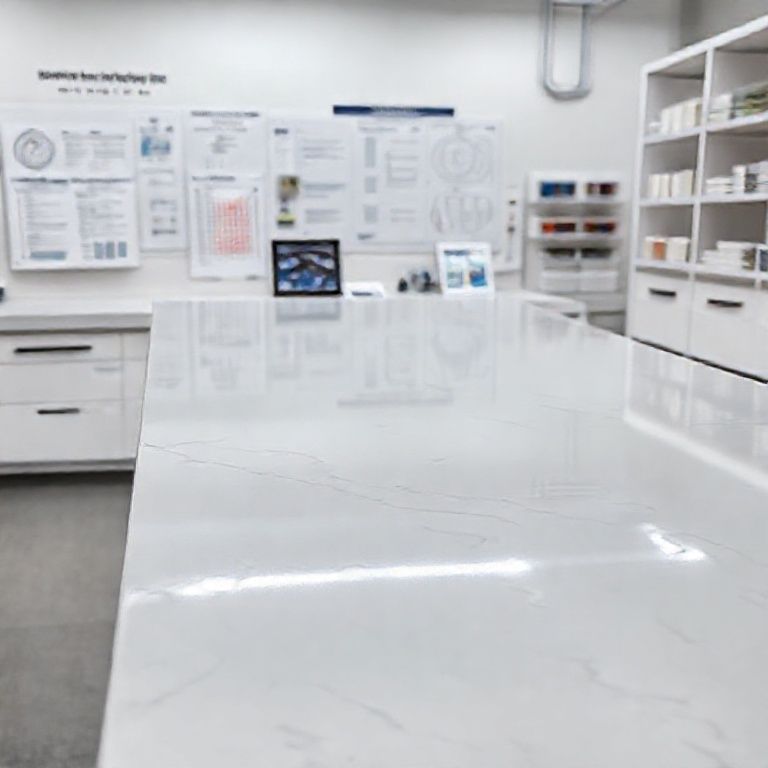
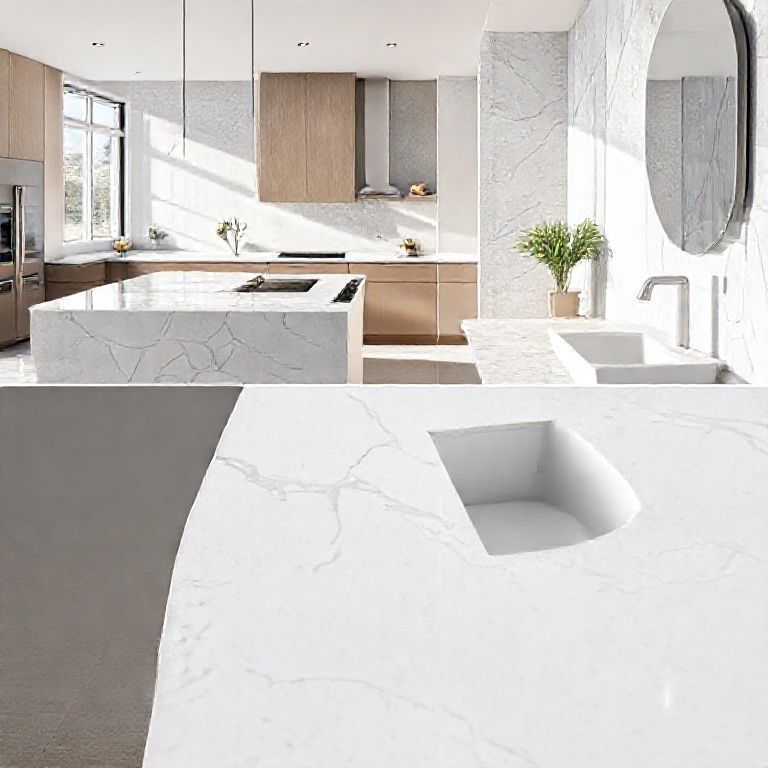
Before diving into the repair process, it’s important to understand what artificial stone is and why cracks occur. Artificial stone, or quartz, is composed of 93% natural quartz and 7% resin binders. This combination provides a material that is incredibly strong and resistant to scratches, stains, and thermal damage. Despite its durability, cracks can form due to physical impacts, improper installation, or even natural wear and tear over time.
Why Repairing is Better than Replacing:
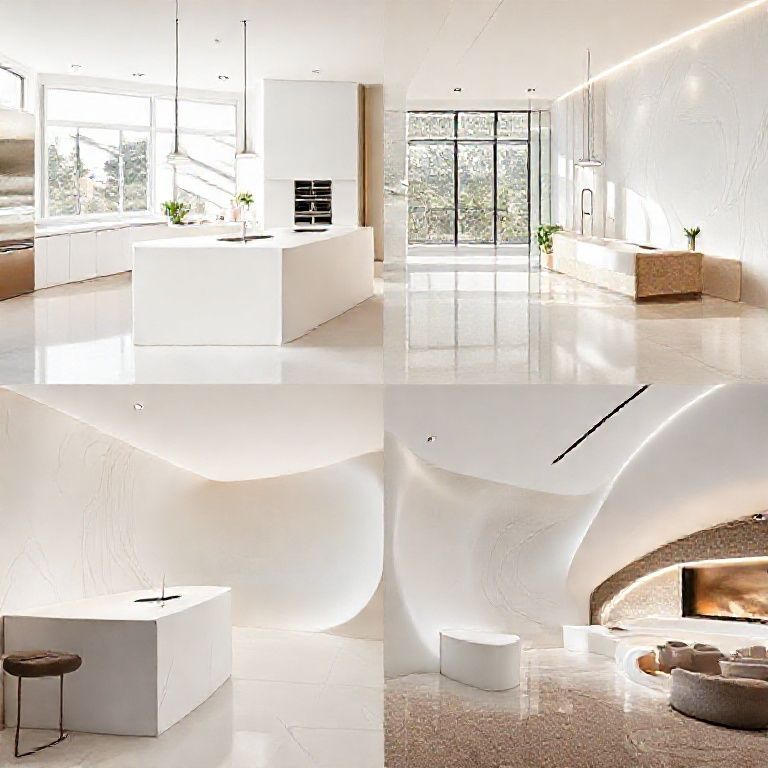
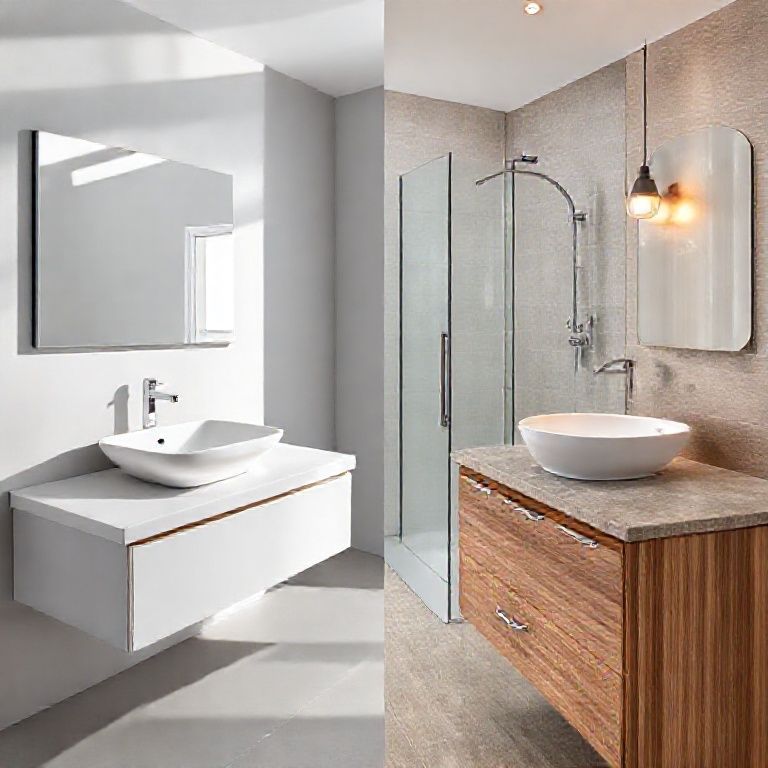
Repairing a cracked artificial stone countertop is often more cost-effective and practical than replacing the entire surface. Not only does repair save you the expense of purchasing and installing a new countertop, but it also maintains the existing aesthetic and layout of your kitchen or bathroom.
Tools and Materials You’ll Need:
For a successful repair, you’ll need the following tools and materials:
Epoxy resin specifically designed for stone repairs: This is the primary material used to fill the cracks. Sandpaper or a sanding block: For smoothing and preparing the surface. Mixing tools: Usually a mixing rod or spatula. Cleaning supplies: Isopropyl alcohol and a microfiber cloth. Safety gear: Gloves, safety goggles, and a dust mask.

Step 1: Preparation
The first step in repairing cracks in your artificial stone countertop is thorough preparation. Begin by cleaning the area around the crack with isopropyl alcohol to remove any grease, dirt, or debris. This ensures that the epoxy resin adheres properly to the surface.
Next, using sandpaper or a sanding block, lightly sand the crack and the surrounding area. This creates a rough surface that helps the epoxy resin to bond more effectively. Be careful not to sand too aggressively, as you don’t want to weaken the countertop further.
Step 2: Applying the Epoxy Resin
Once your countertop is clean and prepped, it’s time to apply the epoxy resin. Mix the resin according to the manufacturer’s instructions, usually by combining the resin and hardener in a mixing container. Use the mixing rod to thoroughly blend the two components until you achieve a uniform color and consistency.
Carefully apply the epoxy resin into the crack using a small applicator or syringe. Fill the crack completely, but avoid overfilling as excess resin can ooze out and create a mess. Use a small brush or a toothpick to smooth out the surface of the epoxy and blend it seamlessly with the surrounding countertop.
Step 3: Curing and Finishing
After applying the epoxy, allow it to cure as per the manufacturer’s guidelines. This typically involves letting it sit for a few hours to a day, depending on the product used. During this time, keep the countertop in a dust-free environment to prevent any particles from interfering with the curing process.
Once cured, the repaired area should be smooth and indistinguishable from the rest of the countertop. If necessary, you can lightly sand the surface again to ensure a flawless finish.

Conclusion:
Repairing cracks in artificial stone countertops is a manageable task that, with the right approach, can restore your countertop to like-new condition. By following these steps, you can confidently tackle minor cracks and maintain the beauty and functionality of your kitchen or bathroom space.
Stay tuned for part two, where we’ll delve into advanced techniques and tips to ensure your repair job stands the test of time.
Advanced Techniques and Tips for Long-Lasting Repairs
Welcome back to our comprehensive guide on repairing cracks in artificial stone countertops. In part two, we’ll explore advanced techniques and additional tips to ensure your repairs not only look great but also last. Whether you’re a seasoned DIY enthusiast or a professional contractor, these insights will help you achieve professional-grade results.
Step 4: Color Matching
One of the most critical aspects of successful countertop repair is color matching. Artificial stone comes in a variety of colors and patterns, so it’s essential to ensure that the epoxy resin you use matches the existing color of your countertop. Here are some steps to help you achieve perfect color matching:
Sample Test: Before committing to a large amount of epoxy resin, perform a small test patch on an inconspicuous area of the countertop. This allows you to mix the color precisely to match your countertop. Color Matching Kits: Some epoxy manufacturers offer color matching kits specifically designed for stone repairs. These kits include a range of colorants that can be mixed with the epoxy to achieve an exact match.
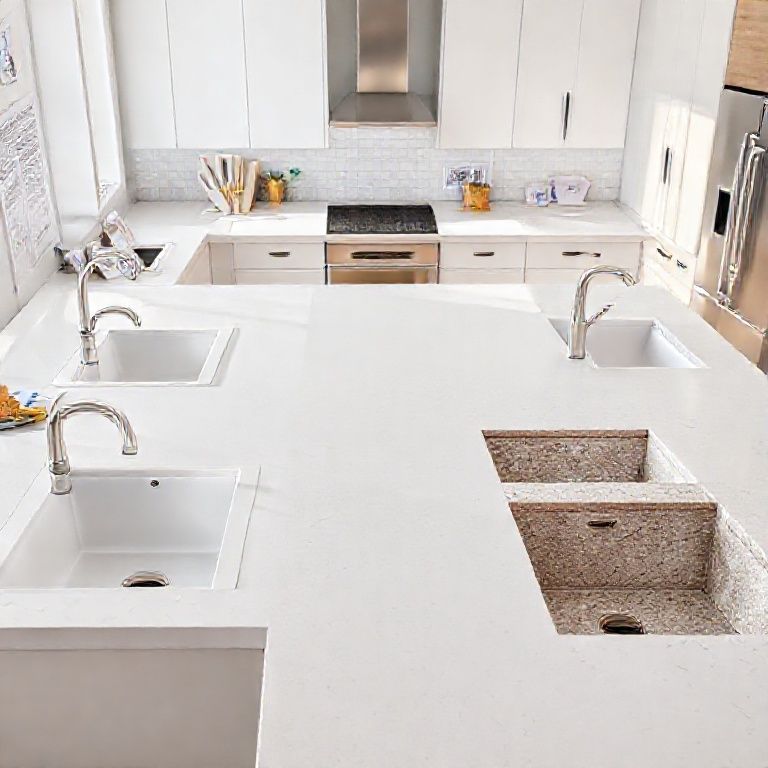
Step 5: Dealing with Complex Cracks
While minor cracks are relatively straightforward to repair, more complex cracks—such as those that are deep, wide, or have multiple branches—require a bit more finesse. Here’s how to tackle these tougher repairs:
Segmented Cracks: For cracks that have multiple branches, it’s often best to approach the repair in segments. Begin by filling the main crack, then move on to the branches, working from the largest to the smallest. Supporting the Crack: In some cases, especially with very deep cracks, you might need to provide additional support to the epoxy resin as it cures. This can be done by placing a small piece of cardboard or a toothpick along the length of the crack to help the epoxy fill the gap without collapsing.
Step 6: Finishing Touches
After the epoxy resin has cured, there are a few finishing touches you can apply to ensure a flawless and professional-looking repair:
Sanding: Lightly sand the repaired area with fine-grit sandpaper (around 400-600 grit) to smooth out any imperfections and blend the epoxy seamlessly with the countertop. Polishing: For an extra polished finish, you can apply a stone countertop polish or a specialized stone sealant. This not only enhances the appearance but also adds a layer of protection against future scratches and stains.
Step 7: Preventing Future Cracks
While repairs can restore your countertop to its former glory, taking steps to prevent future cracks is equally important. Here are some preventive measures:
Use Cutting Boards: To avoid scratches, always use cutting boards instead of directly cutting on the countertop. Protective Pads: Place protective pads under heavy items that sit on the countertop to prevent impact damage. Avoid Extreme Temperatures: Artificial stone can be sensitive to extreme temperatures. Avoid placing hot pots or pans directly on the surface and always let food cool down before placing it on the countertop.
Step 8: Regular Maintenance
Maintaining your artificial stone countertop regularly can go a long way in preventing cracks and other forms of damage. Here’s how to keep your countertop in top condition:
Cleaning: Use a mild stone countertop cleaner and a soft cloth to clean your countertop regularly. Avoid harsh chemicals that can damage the surface. Sealing: Periodically reseal your countertop to maintain its protective qualities. Most manufacturers recommend resealing every 1-2 years, depending on the level of use and exposure.
Conclusion:
Repairing cracks in artificial stone countertops is an achievable task that, with careful preparation and attention to detail, can restore your countertop to its original state. By following these advanced techniques and tips, you can ensure that your repairs not only look great but also stand the test of time.
Whether you’re tackling a minor crack or dealing with a more complex issue, this guide provides you with the knowledge and tools to execute a professional-grade repair. Remember, the key to a successful repair lies in proper preparation, precise application, and regular maintenance.
Thank you for joining us on this journey to master the art of repairing cracks in artificial stone countertops. We hope this guide has equipped you with the confidence and skills to handle any countertop repair challenge that comes your way.