The Essential Thickness for Durable Dry-Set Marble Stone
When it comes to the installation of dry-set marble stone, achieving the perfect thickness is paramount for ensuring both durability and aesthetic appeal. Dry-set marble stone, often preferred for its ease of installation and aesthetic versatility, requires meticulous attention to detail, especially when it comes to the thickness of the stone. This article will delve into why the thickness matters, what the minimum requirements are, and how to achieve a professional finish.

Understanding the Importance of Thickness
Thickness in marble stone installation is not just a matter of aesthetics; it plays a critical role in the stone’s durability and longevity. The right thickness ensures that the stone can withstand daily wear and tear, resist scratches, and maintain its structural integrity over time. In dry-set installations, where adhesives are used to bond the stone to the substrate, the thickness provides an additional layer of security, ensuring the stone remains firmly in place.
Minimum Thickness Requirements
For dry-set marble stone, the minimum thickness is a crucial consideration. While the exact thickness can vary based on the specific type of marble and the application, there are general guidelines that can serve as a baseline for most projects:
Standard Marble Thickness: Typically, a minimum thickness of 1/2 inch (12.7 mm) is recommended for most dry-set marble stone applications. This thickness provides a good balance between weight and durability, ensuring that the stone can withstand normal wear and tear.
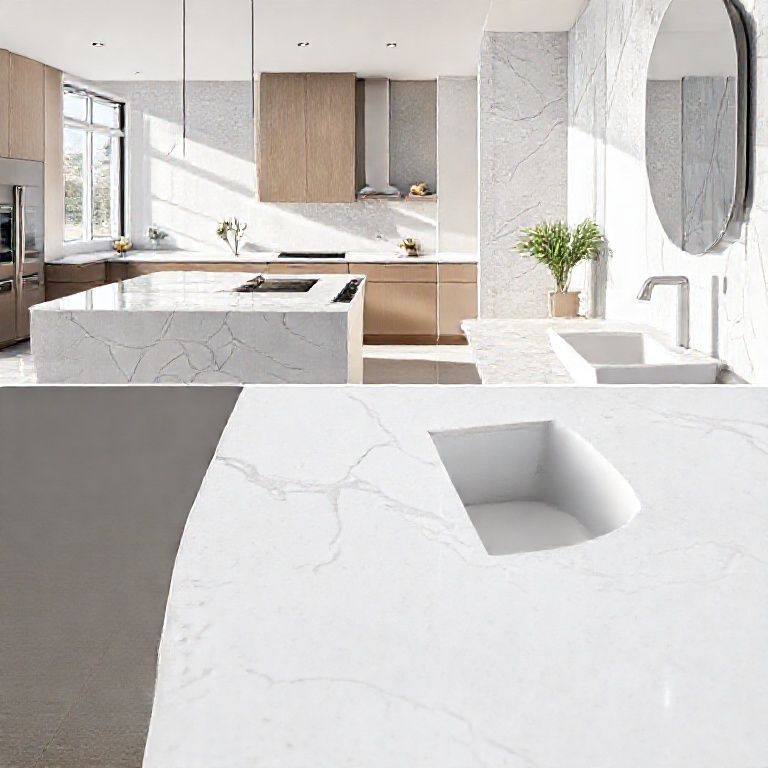
Specialized Applications: For more demanding applications, such as high-traffic areas or areas subjected to heavy use, a thicker stone might be necessary. In these cases, thicknesses of up to 3/4 inch (19.05 mm) or more can be used to ensure maximum durability.
Achieving the Right Thickness
Achieving the correct thickness in a dry-set marble stone installation involves careful planning and execution. Here are some expert tips to help you get it right:
Select Quality Stone: Start with high-quality marble stone that is designed for dry-set applications. Quality stone not only looks better but also tends to be more durable and easier to work with.
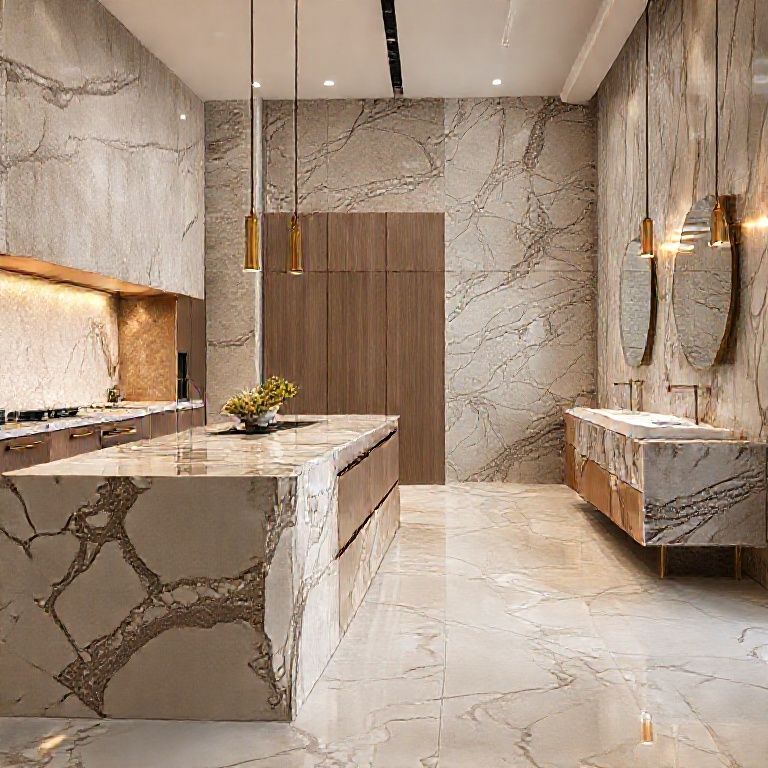
Proper Cutting: Accurate cutting of the marble stone is essential. Use a high-quality tile cutter to ensure that the stone pieces fit perfectly and that the thickness is consistent throughout the installation.
Use High-Quality Adhesives: The choice of adhesive is crucial in a dry-set installation. Use a high-quality, heavy-duty adhesive that is specifically formulated for marble stone. This will help ensure that the stone adheres properly and remains in place over time.
Adequate Curing Time: Allow sufficient curing time for the adhesive to set properly. This is essential for ensuring that the stone adheres securely and maintains its thickness.
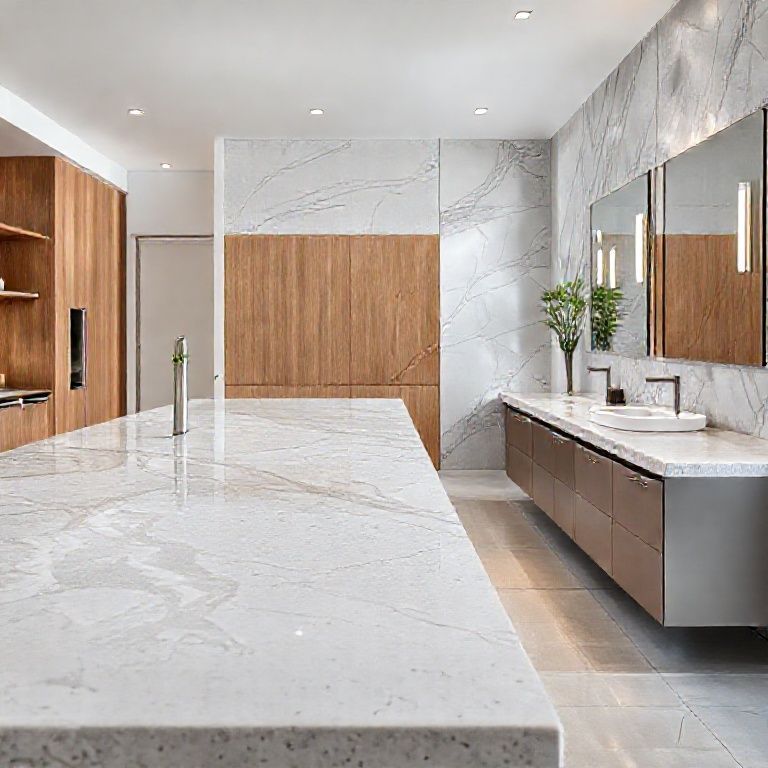
Regular Maintenance: Regular maintenance is key to ensuring the longevity of your dry-set marble stone installation. Clean and maintain the stone regularly to prevent scratches and other forms of wear and tear.
Common Mistakes to Avoid
Even with the best materials and techniques, there are common mistakes that can compromise the thickness and durability of a dry-set marble stone installation:
Using Inadequate Adhesive: Failing to use a high-quality adhesive can lead to poor adhesion, which can cause the stone to become loose over time.
Ignoring Thickness Guidelines: Ignoring the recommended thickness guidelines can result in a stone that is too thin and prone to damage.
Improper Cutting: Cutting the stone incorrectly can lead to uneven thickness, which can affect both the appearance and durability of the installation.
Insufficient Curing Time: Not allowing enough time for the adhesive to cure properly can result in weak adhesion.
Expert Tips for Professional Results
To achieve professional results with your dry-set marble stone installation, consider the following expert tips:
Plan Ahead: Careful planning and preparation are essential. Measure the area accurately, plan the layout, and cut the stone pieces to fit perfectly.
Use a Level: Always use a level to ensure that the stone is installed straight and that the thickness is consistent.
Test Adhesive: Perform a test adhesion on a small, inconspicuous area to ensure that the adhesive works well with your chosen stone.
Regular Inspections: Conduct regular inspections to ensure that the stone remains secure and in good condition.
Professional Help: If you are unsure about any aspect of the installation, consider hiring a professional. They have the expertise and tools to ensure that your marble stone installation is both beautiful and durable.
Conclusion
Achieving the right thickness for dry-set marble stone is essential for ensuring durability and longevity. By understanding the importance of thickness, following minimum requirements, and using high-quality materials and techniques, you can ensure that your marble stone installation is both professional and long-lasting. Remember, the right thickness not only enhances the appearance of your marble stone but also protects it from damage and wear, providing you with a stunning and durable finish.
Mastering Dry-Set Marble Stone Installation: Thickness and Techniques
In the realm of marble stone installation, mastering the art of dry-set application is essential for achieving professional results. This part of our guide focuses on advanced techniques and expert tips to ensure that your marble stone installation is not only aesthetically pleasing but also durable and long-lasting. We will explore the intricacies of achieving the perfect thickness and delve into advanced installation methods.
Advanced Techniques for Perfect Thickness
Achieving the perfect thickness in dry-set marble stone installation is a combination of precise planning, accurate cutting, and the use of high-quality materials. Here are some advanced techniques to help you master the art:
Precision Cutting: Precision cutting is crucial for achieving the right thickness. Use a tile cutter with a diamond blade for clean, accurate cuts. For larger pieces, consider using a wet saw, which provides even more precision.
Thickness Measurement Tools: Utilize a thickness gauge to measure the stone accurately. This tool helps ensure that each piece of marble meets the required thickness, contributing to a uniform and professional finish.
Template Method: To ensure consistency in thickness, use a template method. Create a template from a piece of the stone and use it to guide the cutting of additional pieces. This ensures that all pieces are uniform in thickness.
Double-Checking: After cutting, double-check the thickness of each piece with a caliper or thickness gauge. This step is crucial for maintaining consistency throughout the installation.
Advanced Installation Techniques
Once the stone pieces are cut to the perfect thickness, the next step is to ensure they are installed correctly. Here are some advanced techniques to achieve a flawless installation:
Surface Preparation: Proper surface preparation is critical. Clean the substrate thoroughly to remove any dirt, grease, or debris. Use a degreaser if necessary. The surface should be dry and free of any contaminants before applying the adhesive.
Adhesive Application: Use a high-quality, heavy-duty adhesive specifically designed for marble stone. Apply the adhesive evenly and in the correct amount. Use a notched trowel to spread the adhesive, creating a uniform layer that will hold the stone securely.
Even Spacing: To ensure even spacing between the stone pieces, use spacers or a spacer strip. This helps maintain uniform gaps between the stones, contributing to a polished and professional finish.
Alignment and Leveling: Use a level to ensure that each piece of stone is installed straight and that the overall surface is level. This is essential for achieving a smooth, even finish.
Pressing the Stone: After placing the stone onto the adhesive, gently press it down to ensure a good bond. Use a rubber mallet or a similar tool to tap around the edges of the stone, ensuring it adheres securely.
Curing Time: Allow sufficient curing time for the adhesive to set properly. This is crucial for ensuring that the stone adheres securely and maintains its thickness over time. Follow the manufacturer’s instructions for the recommended curing time.
Handling Edges and Corners
Edges and corners can be challenging areas to install dry-set marble stone. Here are some advanced techniques to handle these areas effectively:
Custom Cutting for Edges: For edges and corners, consider custom cutting the stone pieces to fit perfectly. Use a tile cutter to create precise cuts that match the shape of the edge or corner.
Edge Trim: For a polished finish, use edge trim or marble edging. These can be applied to the继续这部分内容,我们将探讨如何处理特殊区域,如边缘和角落,以及一些额外的技巧和建议,以确保你的干挂大理石石材安装既美观又耐用。
处理边缘和角落
边缘和角落通常是最难处理的区域,但通过一些专业技巧,你可以轻松应对这些挑战。
定制切割:对于边缘和角落,可以采用定制切割方法。使用高质量的切割工具,确保切割出的石头精确地适应边缘和角落的形状。对于更复杂的边缘形状,可能需要更多的时间和技巧。
边缘条和边缘装饰:使用边缘条或边缘装饰来遮盖切割不完美的边缘。这些条可以是相同材质的,也可以是不同风格的,以增加整体美观度。边缘条通常可以提供更平滑和精致的外观。
特殊角落处理:对于特别复杂的角落,可以考虑使用预切割的角落石块,或者在安装前预先设计好角落的切割形状。
额外技巧和建议
在安装过程中,还有一些额外的技巧和建议,可以帮助你确保最终效果既美观又耐用。
模板法:使用模板法来确保所有石头块的大小和形状一致。这可以大大减少安装过程中出现的误差,提高整体效果。
耐压测试:安装完成后,可以进行耐压测试,确保石头块在正常使用下不会松动或脱落。如果发现某块石头松动,可以重新对齐并增加一些额外的胶水。
保护措施:在安装过程中,注意保护周围的地板和墙壁,以免在切割和安装过程中受到损坏。可以使用保护膜或其他防护工具。
细节处理:细节决定成败。确保每块石头都与周围的石头完美契合,并且边缘平滑。可以使用细砂纸轻轻打磨边缘,以确保其与其他石头块完美结合。
清洁和保养:安装完成后,进行全面清洁,以去除任何残留的灰尘和胶水。之后,定期保养,使用专门的大理石清洁剂和保护剂,以保持石材的光泽和耐久性。
通过以上的技巧和建议,你可以确保你的干挂大理石石材安装不仅美观,而且耐用。这不仅需要精湛的技艺,还需要细致的注意和专业的工具。如果你对自己的技能有任何疑虑,考虑寻求专业人士的帮助,以确保最佳的结果。
无论你是业余爱好者还是专业人士,这些步骤和技巧都将帮助你实现一个高质量的干挂大理石石材安装项目。祝你成功!