The Ultimate Guide to Artificial Stone Countertop Construction: Expert Techniques Unveiled
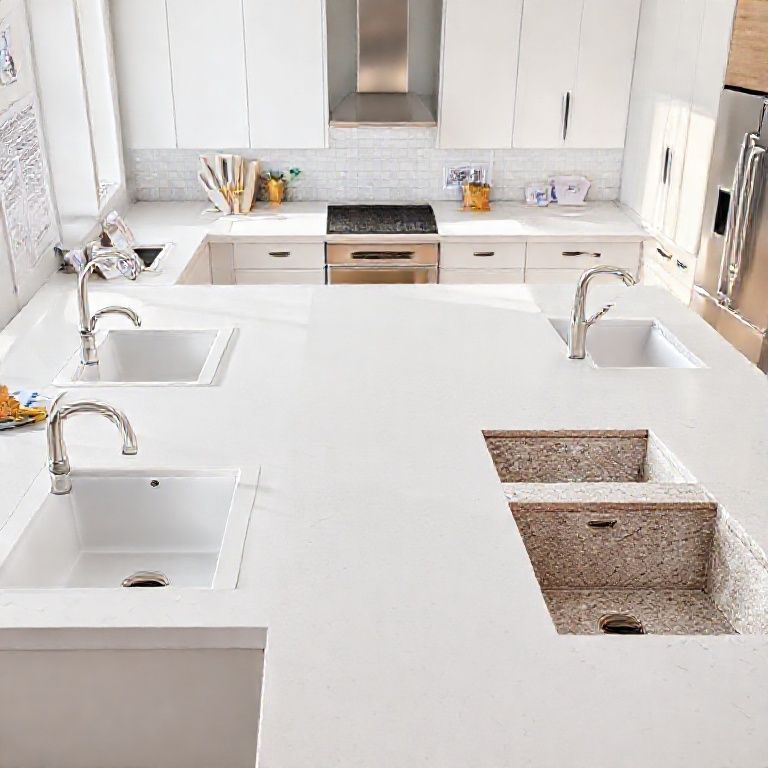
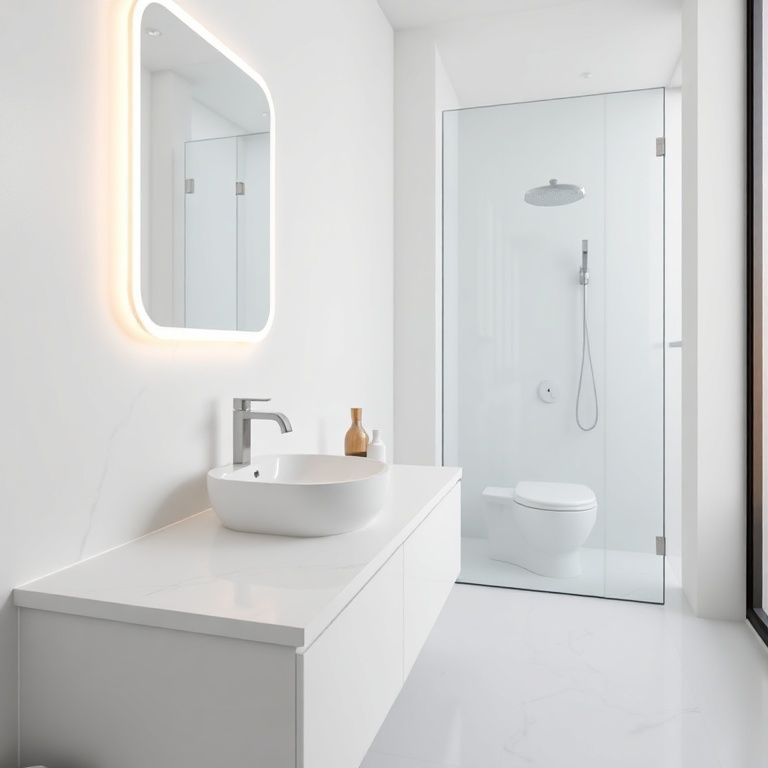
Artificial stone countertops have revolutionized modern kitchen and bathroom design, offering a blend of natural aesthetics with the durability and low maintenance of synthetic materials. Whether you’re a homeowner, contractor, or designer, understanding the construction process and expert techniques can make a significant difference in the outcome. This comprehensive guide will take you through the entire process, ensuring you achieve a flawless installation.
1. Understanding Artificial Stone
Artificial stone, often referred to as engineered stone, is a composite material made from natural stone powders, such as calcite, quartz, and marble, combined with a polymer binder. This combination results in a material that mimics the appearance and texture of natural stone while providing superior strength and resistance to stains, scratches, and chips.
Why Choose Artificial Stone?
Durability: Artificial stone is more resistant to scratches, chips, and thermal shock compared to natural stone. Low Maintenance: It requires minimal upkeep, unlike natural stone, which may need sealing and regular maintenance. Aesthetic Versatility: Available in a wide range of colors and finishes, artificial stone allows for creative design possibilities. Cost-Effective: While the initial cost may be higher than some materials, the long-term savings on maintenance and repairs often make it a more economical choice.
2. Planning Your Project
Before beginning the construction process, thorough planning is essential. Here’s a step-by-step guide to help you plan your artificial stone countertop project:
Site Assessment
Measure the Space: Accurate measurements of the area where the countertop will be installed are crucial. Use a tape measure to get precise dimensions. Check for Obstacles: Identify any obstacles like pipes, electrical outlets, or vents that may affect the installation process.
Material Selection
Choose the Right Type: Select the appropriate type of artificial stone based on your aesthetic preferences and intended use. Popular options include Corian, Silestone, and Quartz. Sample Testing: Obtain samples of different materials and test them under various conditions to ensure they meet your requirements.
Budgeting
Cost Estimation: Calculate the total cost, including materials, tools, labor, and any additional expenses like cutting and installation. Set a Budget: Determine a budget that covers all aspects of the project without compromising on quality.

3. Preparation and Installation
Tools and Equipment Needed
To construct an artificial stone countertop, you will need several tools and materials:
Basic Tools: Measuring tape, saw, chisel, drill, and utility knife. Safety Gear: Safety goggles, gloves, and dust masks to protect yourself during the installation process. Specialized Equipment: For professional results, consider using a wet saw, tile cutter, and a vacuum to keep the workspace clean.
Cutting the Artificial Stone
Mark the Cut: Use a pencil to mark the area where the countertop will be cut. Cut with Precision: Use a wet saw to cut the artificial stone along the marked lines. Ensure the cuts are straight and clean for a professional finish.
Installation Process
Preparation
Surface Preparation: Ensure the surface where the countertop will be installed is clean, dry, and free of any debris. If necessary, apply a bonding agent to improve adhesion.
Setting the Countertop
Positioning: Carefully place the countertop onto the prepared surface. Use clamps to hold it in place. Aligning: Ensure the countertop is level and aligned correctly. Make any necessary adjustments before securing it permanently. Securing: Use appropriate fasteners or adhesive to secure the countertop. For a seamless look, consider using silicone sealant to hide joints and edges.
Finishing Touches
Cleaning: Once the countertop is securely in place, clean off any dust or debris. Use a damp cloth to wipe down the surface. Sealing: For added protection, apply a suitable sealant to the countertop. This step is particularly important if the countertop will be exposed to high levels of moisture or frequent spills.
4. Expert Tips and Tricks
Expert Tips for a Flawless Installation
Precise Measurements: Always double-check your measurements before cutting the artificial stone. Even minor errors can lead to significant issues later. Use Quality Tools: Invest in high-quality tools to ensure precise cuts and a professional finish. Work in a Well-Ventilated Area: Proper ventilation is crucial when working with artificial stone materials to avoid inhaling fumes from adhesives and sealants. Practice Patience: Take your time with each step to ensure the best results. Rushing can lead to mistakes that are difficult to correct.
Common Mistakes to Avoid
Improper Cutting Techniques: Using a dull saw blade can result in uneven cuts. Always use a sharp blade for clean, precise cuts. Skipping the Sealing Step: Failing to seal the countertop can lead to long-term damage from moisture and spills. Always apply a sealant for maximum protection. Ignoring Safety Precautions: Always wear safety gear to protect yourself from dust, debris, and chemicals used during installation.
Conclusion
Constructing an artificial stone countertop is a detailed process that requires careful planning, precise cutting, and expert installation techniques. By following the steps outlined in this guide and watching our exclusive video, you can achieve a stunning, durable, and low-maintenance countertop that enhances the beauty and functionality of your kitchen or bathroom. Embrace the versatility and durability of artificial stone to transform your space into a show-stopping design masterpiece.
Mastering Artificial Stone Countertop Construction: Advanced Techniques Unveiled
Artificial stone countertops continue to be a popular choice for those looking to blend the beauty of natural stone with the practicality of synthetic materials. In this advanced guide, we will explore intricate cutting techniques, advanced installation methods, and expert tips to ensure your artificial stone countertop installation is flawless and professional-grade. Follow our detailed steps and watch our exclusive video to elevate your construction skills to the next level.
1. Advanced Cutting Techniques
Precision Cutting
Precision is key when cutting artificial stone countertops. Here are advanced techniques to achieve perfect cuts:
Using a Wet Saw
Blade Selection: Use a diamond-bladed wet saw for the cleanest cuts. Ensure the blade is sharp and in good condition. Cutting Technique: Position the stone on the saw table, align the blade with the cut line, and start cutting slowly. Apply steady pressure and maintain a consistent speed to achieve a straight cut. Safety Precautions: Always wear safety goggles and gloves to protect yourself from dust and debris. Use a wet saw to minimize dust and ensure a clean cut.
Hand Cutting
Using a Chisel and Hammer: For more intricate cuts, use a chisel and hammer. Mark the cut line clearly and make small, precise strikes along the line to break the stone. Score and Snap Method: Score the stone along the cut line with a chisel, then snap the stone along the scored line by applying pressure with a hammer.
Advanced Cutting Tools
Rotary Tools: Utilize rotary tools with diamond bits for detailed cuts and curves. These tools offer precision and control for complex designs. Laser Cutting: For ultra-precise cuts, consider using a laser cutter. Laser cutting provides exceptional accuracy, especially for intricate patterns and shapes.
2. Advanced Installation Techniques
Securing the Countertop
Adhesive Use: Choose a high-quality adhesive suitable for artificial stone. Apply the adhesive evenly along the backer board or wall using a notched trowel. Clamping: Use clamps to hold the countertop in place while the adhesive sets. Ensure the countertop is level and aligned correctly before removing the clamps. Fasteners: For extra security, especially in areas prone to movement, use appropriate fasteners like screws or brackets.
Sealing Joints and Edges
Sealant Selection: Use a high-quality silicone sealant that is compatible with artificial stone. Choose a color that matches the countertop for a seamless look. Application Technique: Apply the sealant using a caulking gun. Smooth the sealant with a damp finger or a caulking tool to eliminate air bubbles and ensure a continuous seal. Curing Time: Allow the sealant to cure according to the manufacturer’s instructions before exposing the countertop to water or moisture.
3. Advanced Sealing Techniques
Sealing Edges and Joints
Sealant Selection: Use a high-quality silicone sealant that is compatible with artificial stone. Choose a color that matches the countertop for a seamless look. Application Technique: Apply the sealant using a caulking gun. Smooth the sealant with a damp finger or a caulking tool to eliminate air bubbles and ensure a continuous seal. Curing Time: Allow the sealant to cure according to the manufacturer’s instructions before exposing the countertop to water or moisture.
Sealing Complex Shapes
Corner Seals: For corners and intricate shapes, use a sealant gun to apply the sealant in a zigzag or spiral pattern. This technique helps to fill in small gaps and provides a more professional finish. Edge Trims: For countertops with complex edges, consider using edge trims made of silicone or metal. These trims provide a neat finish and help to hide the joint between the countertop and the wall or cabinet.
4. Expert Tips and Tricks
Ensuring Level and Alignment
Level Tools: Use a laser level or a spirit level to ensure the countertop is perfectly level. Adjust as needed before securing the countertop in place. Alignment Markers: Use masking tape or chalk to mark the alignment on the wall or backer board. This helps to ensure that the countertop is straight and correctly aligned.
Handling Irregular Shapes
Custom Fitting: For irregularly shaped countertops, measure and mark the area carefully. Use a wet saw or rotary tool with a diamond bit to cut the countertop to fit. Edge Finishing: For edges that are not straight, use a sanding block or a fine-grit sandpaper to smooth out the edges. Alternatively, consider using edge tape for a neat finish.
Professional Finishing Touches
Cleaning: Before applying the sealant, clean the surface of the countertop with a suitable cleaner to remove any dust or debris. Sealant Color Matching: If the countertop has a colored finish, choose a sealant color that complements the overall look. Test a small area first to ensure a good match.
5. Common Mistakes to Avoid
Misalignment and Leveling Issues
Skipping Level Checks: Failing to check the level multiple times during installation can result in a crooked countertop. Always recheck the level after making adjustments. Improper Alignment: Misalignment of the countertop can lead to gaps and an unprofessional appearance. Use alignment markers to ensure the countertop is straight and even.
Cutting Errors
Inaccurate Cuts: Inaccurate cuts can ruin the appearance of the countertop. Always measure twice and cut once. Sharp Edges: Leaving sharp or uneven edges after cutting can cause injury and affect the overall appearance. Use a sanding block or fine-grit sandpaper to smooth the edges.
Sealant Application
Over-Application: Applying too much sealant can result in excess material that needs to be cleaned up. Use a caulking gun to control the amount of sealant applied. Inadequate Curing: Failing to allow sufficient curing time for the sealant can lead to gaps and weak seals. Always follow the manufacturer’s curing instructions.
Conclusion
Mastering the advanced techniques for artificial stone countertop construction requires precision, patience, and attention to detail. By following the advanced cutting techniques, installation methods, and sealing tips outlined in this guide, you can achieve a professional-grade finish that enhances the beauty and durability of your kitchen or bathroom. Watch our exclusive video to see these advanced techniques in action and take your countertop construction skills to the next level. Embrace the versatility and high-end quality of artificial stone to transform your space into a stunning design masterpiece.
Watch our exclusive video now to see these advanced techniques in action and elevate your countertop construction skills to the next level.