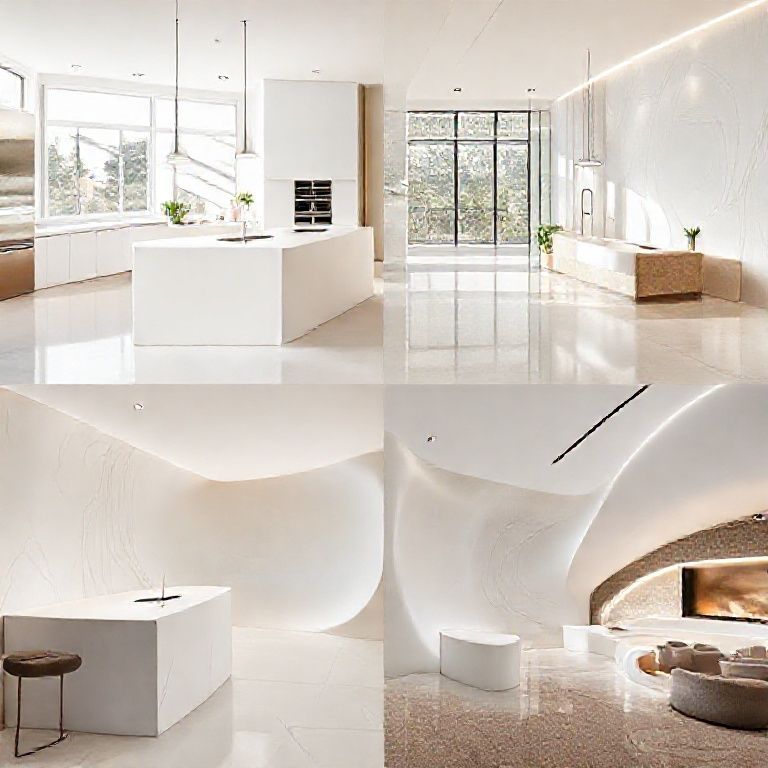
The Ultimate Guide to Dry-Fit Marble: Pricing, Benefits, and Installation Insights
When it comes to high-end interior design and home improvement, few materials offer the same level of sophistication and elegance as marble. One of the most innovative and popular ways to incorporate marble into your home is through dry-fit marble. This method not only brings the beauty of marble into your space but also offers practicality and ease of installation. In this part of the guide, we’ll explore the pricing of dry-fit marble per square meter, delve into its numerous benefits, and provide a glimpse into the installation process.

Understanding Dry-Fit Marble: An Overview
Dry-fit marble is a revolutionary technique that allows for the installation of marble without the use of traditional adhesives. Instead, marble tiles are placed in a specific pattern and locked together using a proprietary mechanical system. This method ensures that the tiles fit snugly together without the need for grout or adhesive, offering a clean, seamless look.
Why Choose Dry-Fit Marble?
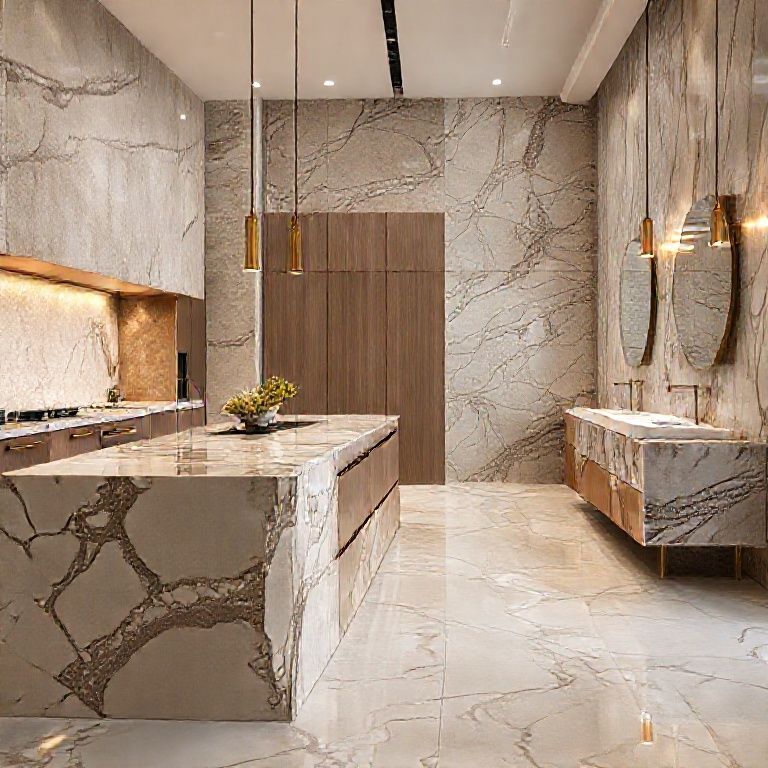
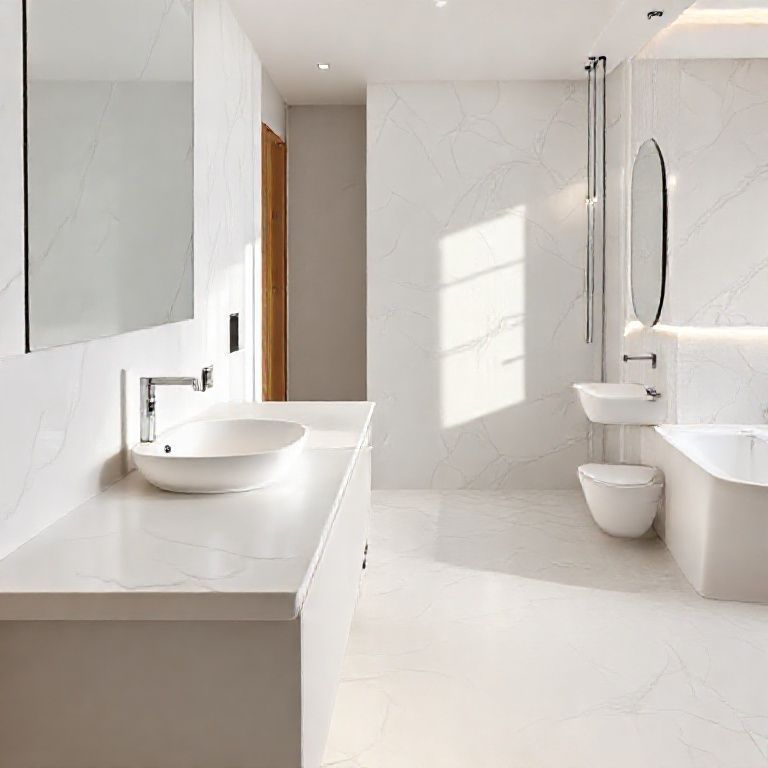
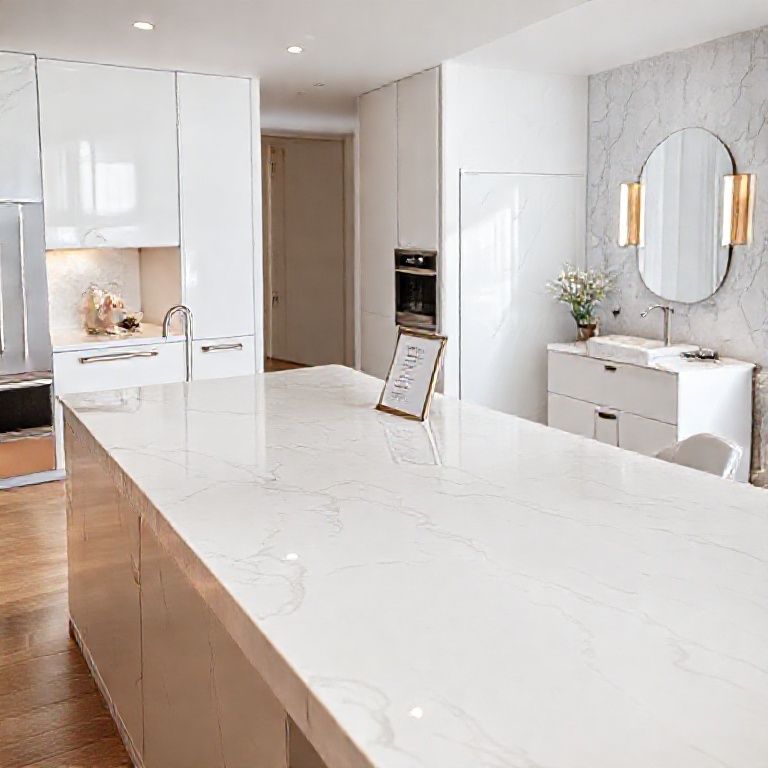
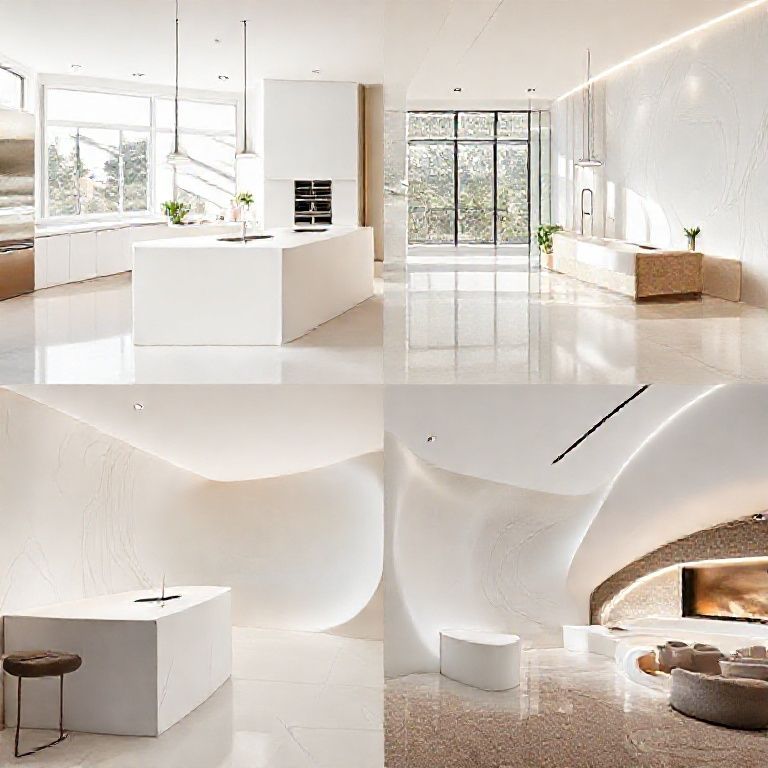
Aesthetic Appeal: Dry-fit marble provides a stunning visual effect, mimicking the beauty of natural marble while maintaining a cleaner, more modern look. The interlocking tiles create a polished, seamless surface that enhances the elegance of any room.
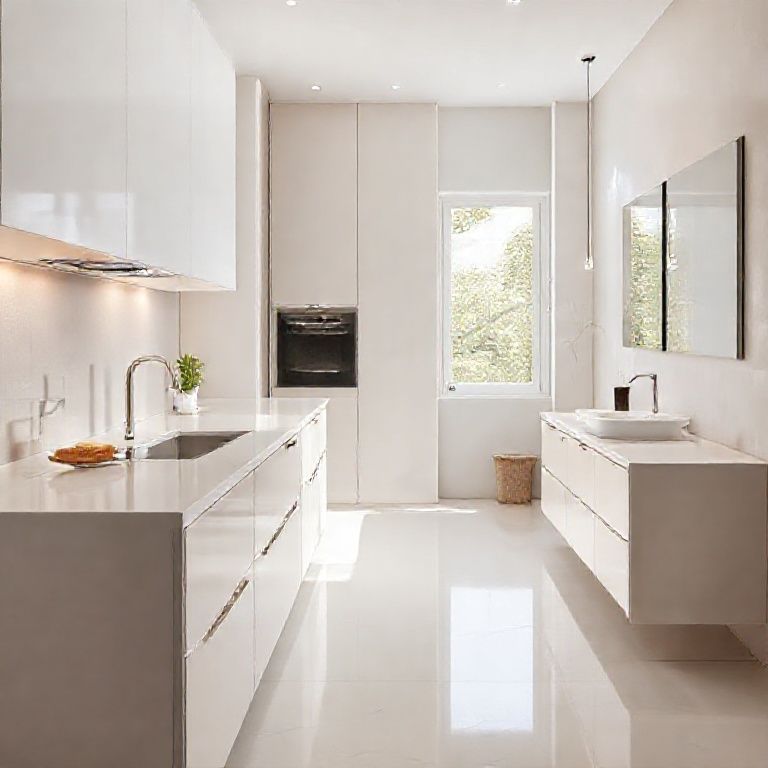
Easy Maintenance: One of the biggest advantages of dry-fit marble is its ease of maintenance. Unlike traditional marble installations, dry-fit marble does not require grout lines, which can accumulate dirt and stains. Cleaning is as simple as wiping the surface with a damp cloth, making it ideal for high-traffic areas like kitchens and bathrooms.
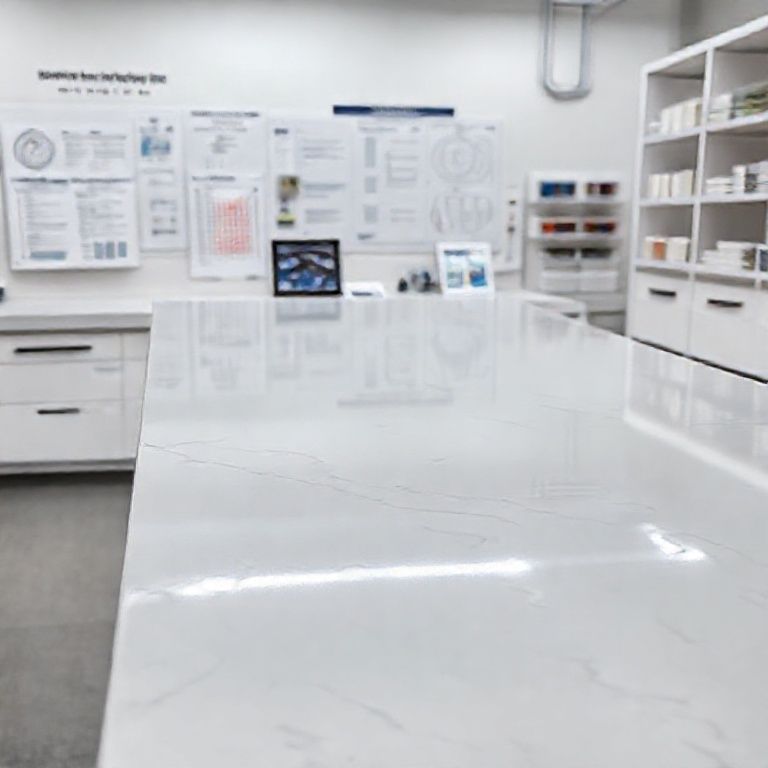
Versatility: Dry-fit marble tiles are versatile and can be used in various settings, from flooring to wall cladding. They can be customized to fit different designs and patterns, offering endless possibilities for creative expression.
Pricing of Dry-Fit Marble per Square Meter
When considering the installation of dry-fit marble, one of the primary factors to consider is the cost per square meter. The price of dry-fit marble can vary widely based on several factors, including the type of marble, the complexity of the installation, and the geographical location.
Factors Influencing Dry-Fit Marble Pricing:
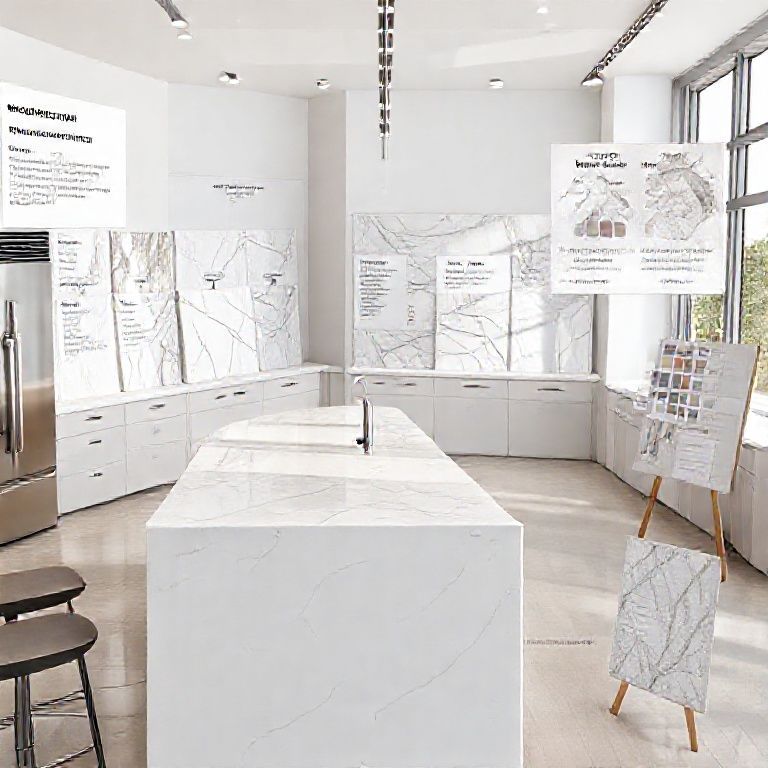
Type of Marble: Different types of marble come with different price tags. High-end marbles like Carrara, Travertine, and Onyx are generally more expensive than mid-range or budget-friendly options. The color, texture, and veining of the marble also play a significant role in determining the cost.
Installation Complexity: The complexity of the installation can affect the overall cost. Projects with intricate designs or larger areas will require more labor and materials, thereby increasing the price per square meter.
Geographical Location: Prices for dry-fit marble can vary depending on where you live. Urban areas with higher demand and costs of living may have higher prices compared to rural locations.
Labor Costs: The cost of professional installation can significantly impact the overall price. Experienced installers who understand the nuances of dry-fit marble will charge more than those who are less experienced.
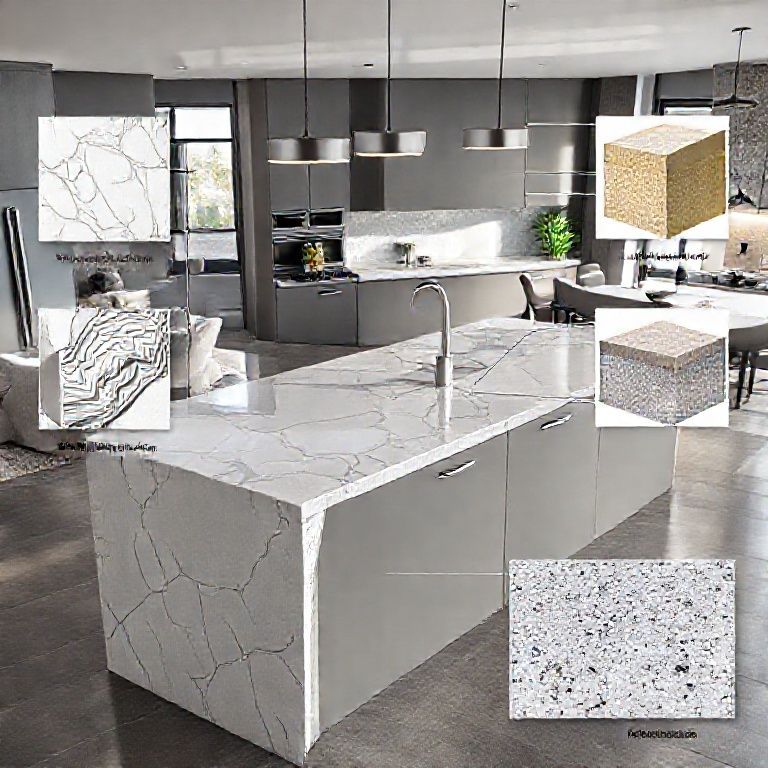
Average Pricing Range:
On average, the cost of dry-fit marble per square meter ranges from $50 to $300, depending on the factors mentioned above. For high-end marbles and premium installations, the cost can exceed $300 per square meter.
Benefits of Dry-Fit Marble Installation
Investing in dry-fit marble is not just about aesthetics; it’s also about the long-term benefits that come with this innovative installation method. Here are some of the key advantages:
Enhanced Durability: Dry-fit marble tiles are designed to fit together tightly, which enhances their durability. The interlocking mechanism ensures that the tiles remain securely in place, reducing the likelihood of shifting or damage over time.
Minimal Cracking: Traditional marble installations often suffer from cracking due to the use of adhesives and grout. Dry-fit marble eliminates this issue, providing a more stable and long-lasting installation.
Ease of Repairs: If any tile needs to be replaced, the dry-fit system makes it incredibly easy to remove and install new tiles without disturbing the surrounding area. This makes maintenance and repairs more straightforward and less disruptive.
Customization and Flexibility: Dry-fit marble tiles can be cut to size and arranged in various patterns to match specific design requirements. This flexibility allows for a high degree of customization, making it easier to achieve the desired look.
Environmentally Friendly: Dry-fit marble installations use fewer materials and produce less waste compared to traditional methods. Additionally, the reduced need for adhesives and grouts means fewer chemicals are released into the environment.
Conclusion to Part 1
Dry-fit marble is an exceptional choice for anyone looking to enhance the beauty and functionality of their space. Its aesthetic appeal, ease of maintenance, and durability make it a popular choice among homeowners and designers alike. Understanding the pricing factors and the numerous benefits of this innovative installation method can help you make informed decisions for your next renovation project. In the next part of this guide, we’ll delve deeper into the installation process, providing tips and insights to ensure a successful and flawless installation.
The Ultimate Guide to Dry-Fit Marble: Pricing, Benefits, and Installation Insights
Continuing from where we left off, this part of the guide will focus on the installation process of dry-fit marble, offering detailed steps, tips, and insights to ensure a successful project. We will also cover common challenges and how to overcome them, as well as provide recommendations for choosing the right installer.
Detailed Installation Process for Dry-Fit Marble
Preparation:
Before starting the installation, thorough preparation is crucial to ensure a smooth process.
Measure the Area: Accurate measurements of the area where the marble will be installed are essential. Use a tape measure to determine the length and width of the space and calculate the total square footage.
Choose the Right Tiles: Select high-quality dry-fit marble tiles that match your design vision. Consider the type of marble, size, and pattern that will best complement your space.
Prepare the Surface: Ensure that the surface where the marble will be installed is clean, level, and free of any imperfections. Any uneven areas should be addressed before proceeding with the installation.
Gather Tools and Materials: You will need a few essential tools for the installation, including a tile cutter, a level, a spacer, and the dry-fit marble tiles. Having all the necessary materials on hand will make the process more efficient.
Installation Steps:
Lay the First Row: Begin by laying the first row of tiles along one edge of the installation area. Start with a full tile and use spacers to ensure that the tiles are evenly spaced. Press the tiles together firmly to ensure a tight fit.
Continue Laying Rows: Move along the edge and continue laying the tiles in rows, using spacers to maintain consistent spacing. Press each tile firmly into place, ensuring they fit snugly with the tiles below.
Check for Level: Use a level frequently to ensure that each row of tiles is even. If necessary, adjust the tiles to correct any unevenness.
Continue to the Remaining Area: Repeat the process for the remaining rows until the entire installation area is covered with dry-fit marble tiles.
Final Adjustments: Once all the tiles are in place, check for any gaps or uneven tiles. Use spacers to make final adjustments, ensuring that all tiles are perfectly aligned and fit together seamlessly.
Tips for Successful Installation:
Plan Ahead: Plan your installation schedule to allow for any unexpected delays. Having a clear timeline can help ensure that the project stays on track.
Use Quality Tools: Invest in quality tools and materials. High-quality tools will make the installation process smoother and more efficient.
Seek Professional Help: If you’re not confident in your ability to install dry-fit marble yourself, consider hiring a professional installer. Experienced installers have the expertise to ensure a flawless installation and can provide valuable insights into the best practices for your specific project.
Follow Manufacturer Instructions: Always follow the manufacturer’s instructions for your specific dry-fit marble tiles. These guidelines will provide essential information about the best practices for installation.
Common Challenges and Solutions:
Tile Alignment: Ensuring that all tiles are perfectly aligned can be challenging. Use a level frequently to check the alignment of each row. If tiles are out of place, gently adjust them before moving on to the next row.
调整瓷砖:如果发现某些瓷砖有较大的间隙,可以尝试轻轻拧动它们,有时候轻微的转动可以使瓷砖重新对齐。注意力度要适中,不要用力过猛以免损坏瓷砖。
使用填缝剂:如果瓷砖之间的间隙已经非常小但还是不理想,可以在之后的步骤中使用专业的填缝剂来填补这些间隙。填缝剂在完全干燥后会硬化,形成光滑的表面。
修正倾斜:如果瓷砖本身有倾斜,这可能导致它们之间的间隙不均匀。使用水平仪检查瓷砖的水平度,必要时可以通过调整底部来纠正。
重新切割瓷砖:如果瓷砖切割不均匀导致间隙不均匀,可以考虑重新切割瓷砖,使其更精确地对齐。但这需要专业技能和合适的切割工具。
检查铺设模式:不同的铺设模式(如对齐、交错)也会影响最终效果。确保选择合适的铺设模式,并严格按照模式进行铺设。
后续步骤:清洁和维护
安装完成后,进行以下步骤以确保瓷砖的最佳效果和耐用性。
清洁表面:使用湿布或专业的瓷砖清洁剂清洁瓷砖表面,去除灰尘和建筑污垢。
填缝剂处理:一旦填缝剂完全干燥,可以使用专业的瓷砖填缝剂抛光工具对填缝剂进行抛光,使其表面更加光滑。
定期维护:定期清洁瓷砖和填缝剂,防止污垢积累。使用中性清洁剂,避免使用强酸或强碱,以免损坏瓷砖表面或填缝剂。
防护措施:如果是在厨房或浴室等高湿度环境中铺设瓷砖,建议在填缝剂上涂一层防水涂层,以增加其防水性和耐久性。
通过上述步骤,您可以确保瓷砖铺设的美观和耐用性。如果遇到特殊情况或需要更专业的建议,请咨询专业人士。