${part1}
In today’s fast-paced world, the aesthetic appeal of your home’s countertops can significantly impact your daily experience. Artificial marble countertops are popular due to their durability and low maintenance. However, over time, these surfaces may suffer scratches, stains, or even color fading. Fortunately, the process of restoring and even changing the colors of artificial marble countertops is easier than you might think. In this part of our guide, we’ll cover the essentials to get you started on your restoration journey.

Understanding Artificial Marble Countertops
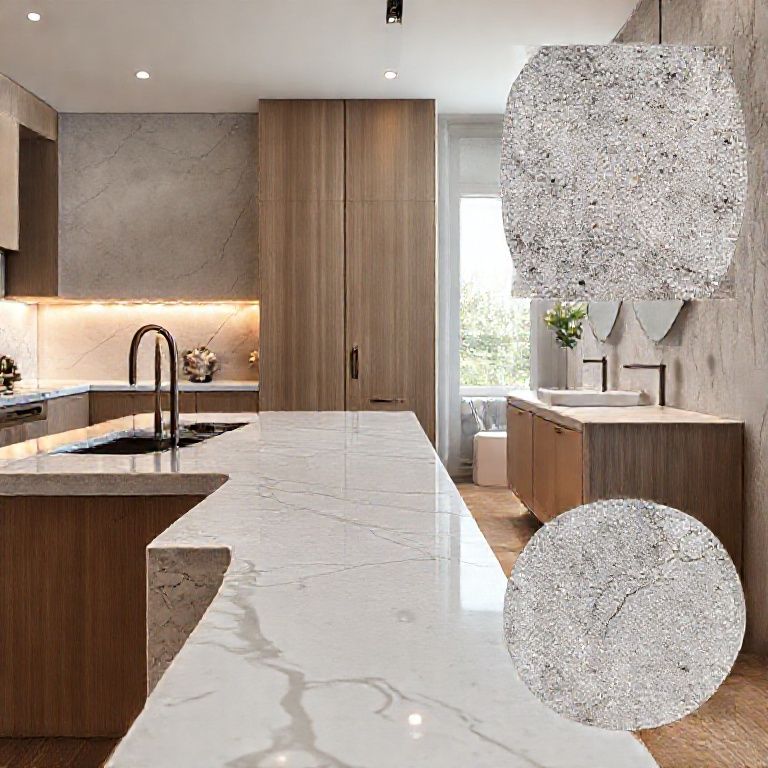
Artificial marble, also known as cultured stone, is a composite material made from natural stone powders and resins. It is known for its resistance to scratches and stains, making it a popular choice for kitchen and bathroom countertops. Despite its resilience, artificial marble can still wear out or change color over time due to various factors such as exposure to chemicals, heat, or physical damage.
Common Issues with Artificial Marble Countertops
Before diving into restoration, it’s crucial to identify the specific issue you’re dealing with. Here are some common problems:
Scratches and Chips: Physical damage from utensils or other sharp objects can leave scratches and chips on the surface. Stains and Discoloration: Over time, spills from coffee, wine, or food can leave stains and alter the color. Surface Peeling: The adhesive layer may deteriorate, leading to surface peeling. Cracks: Though less common, artificial marble can develop cracks due to extreme temperature changes.
Basic Tools and Materials Needed
To restore your artificial marble countertops, you’ll need a few basic tools and materials:
Fine-grit sandpaper (220-400 grit) Polishing compounds and pads Cleaning solutions (mild detergent and water) Protective gloves Safety goggles Microfiber cloths A soft-bristle brush
Step-by-Step Restoration Process
Step 1: Preparation
Safety First: Wear your protective gloves and safety goggles to protect your skin and eyes from chemicals and debris. Clean the Surface: Use a mild detergent and water solution to clean the countertop thoroughly. Dry it completely with a microfiber cloth.
Step 2: Addressing Minor Scratches
Sanding: For minor scratches, use fine-grit sandpaper (220-400 grit) to gently sand the affected area. Work in the direction of the grain to avoid further damage. Polishing: After sanding, use a polishing compound and pad to buff the area until it’s smooth. This step will help to bring back some of the original shine.
Step 3: Dealing with Stains
Blotting: For stains, blot the area gently with a soft-bristle brush dipped in a cleaning solution. Repeat if Necessary: Depending on the stain, you might need to repeat the process a few times.
Step 4: Color Restoration
For more significant color changes, you may need to apply a color-changing agent. Follow these steps:
Color Change Agent: Purchase a color change agent specifically designed for artificial marble. Follow the product instructions carefully. Application: Apply the color change agent to the countertop using a clean cloth or brush. Make sure to cover the entire area evenly. Curing Time: Allow the agent to cure as per the manufacturer’s instructions. This usually involves leaving the product on the surface for a specific period.
Conclusion
Restoring artificial marble countertops doesn’t have to be a daunting task. With the right tools, materials, and a bit of patience, you can bring back the beauty and functionality of your kitchen or bathroom. In the next part of our guide, we’ll delve deeper into advanced techniques for color restoration, including the use of specialized dyes and the importance of proper curing processes. Stay tuned for more detailed tips and tricks to ensure your countertops look as good as new.
${part2}
Welcome back to our in-depth guide on restoring and changing colors on artificial marble countertops. If you’ve made it this far, you’ve already learned the basics of countertop restoration. Now, it’s time to explore more advanced techniques to achieve professional-looking results, particularly focusing on color restoration. This part will cover specialized dyes, proper curing processes, and some expert tips to ensure your artificial marble countertops look stunning.
Advanced Techniques for Color Restoration
Using Specialized Dyes
Color restoration on artificial marble countertops can be an art form. Specialized dyes are available that can alter the appearance of your countertop to match your desired aesthetic. Here’s how to use them effectively:
Selecting the Right Dye: Choose a dye that is compatible with your artificial marble. Ensure it’s designed for use on cultured stone surfaces. Mixing the Dye: Follow the manufacturer’s instructions for mixing the dye. Some dyes require a resin base or a specific solvent to activate the color change. Application: Apply the dye evenly over the countertop using a clean cloth or brush. Ensure that the dye penetrates the surface to achieve a uniform color change.
Importance of Proper Curing
The curing process is crucial for achieving a long-lasting color change. Here’s what you need to know:
Curing Time: Each dye has a recommended curing time. This period allows the dye to fully bond with the countertop material. Follow the instructions carefully to ensure the best results. Environmental Conditions: The curing environment can affect the outcome. Keep the countertop in a dry, well-ventilated area during the curing period. Avoid exposing it to direct sunlight or heat sources, as these can cause uneven color development.
Tips and Tricks for Perfect Color Restoration
Test on a Small Area: Before applying the dye to the entire countertop, test it on a small, inconspicuous area. This will help you gauge the color change and make any necessary adjustments. Blending Colors: If you want to achieve a gradient or blended color effect, apply multiple layers of dye. Allow each layer to cure before applying the next. This step ensures a smooth and even finish. Regular Maintenance: To maintain the restored color, regularly clean your countertop with a mild detergent and water. Avoid using harsh chemicals that could strip the color or damage the surface.
Common Pitfalls to Avoid
Over-Sanding: Avoid sanding too aggressively, as this can damage the surface and lead to uneven color application. Inconsistent Dye Application: Ensure the dye is applied evenly to prevent patchy color changes. Ignoring Curing Instructions: Always adhere to the manufacturer’s curing instructions to ensure the dye bonds properly with the countertop material.
Expert Tips for Best Results
Professional Help: If you’re unsure about any step in the process, consider seeking help from a professional. They have the expertise and tools to ensure your countertop restoration is flawless. Use Quality Products: Invest in high-quality dyes and restoration products. Cheaper alternatives might not provide the desired results and could damage your countertop. Patience is Key: Restoration can take time, especially when dealing with color changes. Be patient and allow each step to be completed thoroughly for the best outcome.
Final Thoughts
Restoring and changing the colors of your artificial marble countertops can transform the look of your kitchen or bathroom, giving you a renewed sense of style and functionality. By following the advanced techniques and tips outlined in this guide, you’ll be well-equipped to handle most restoration projects yourself. Remember to always prioritize safety and follow manufacturer instructions for the best results. Whether you’re dealing with minor scratches or seeking a complete color makeover, you now have the knowledge to tackle your restoration project with confidence.
Thank you for joining us on this journey to revitalize your artificial marble countertops. Stay tuned for more home improvement tips and guides in the future. Happy restoring!
In this comprehensive guide, we’ve covered everything from basic restoration steps to advanced color restoration techniques for artificial marble countertops. Whether you’re a DIY enthusiast or just looking to understand more about countertop care, this guide aims to provide valuable insights and practical tips to help you achieve stunning results.