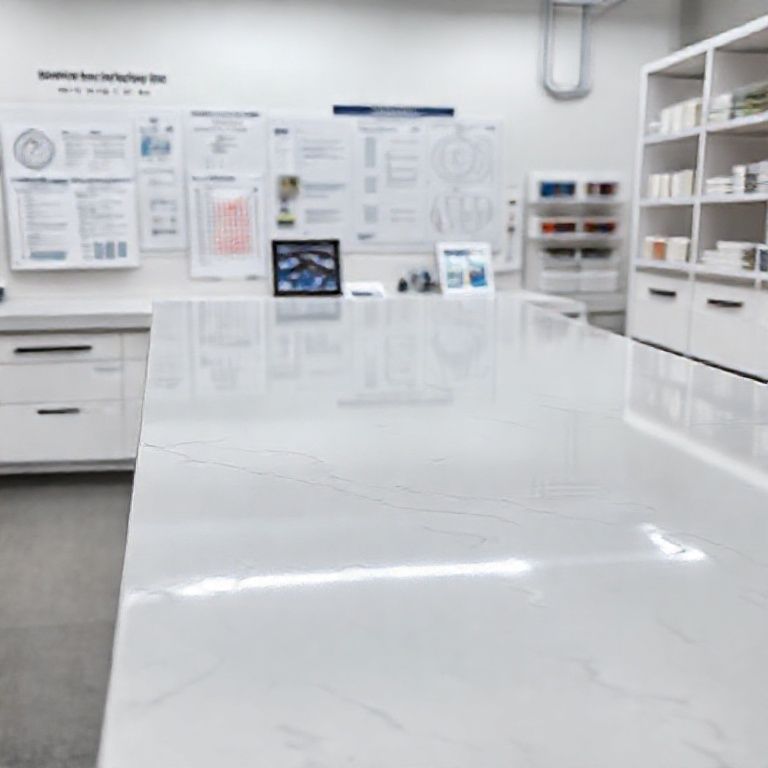
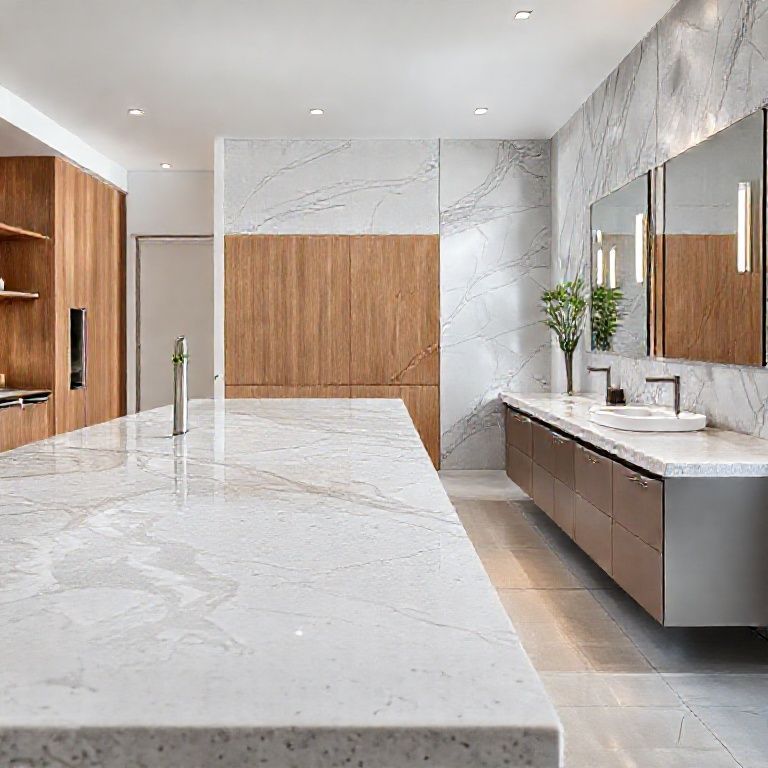
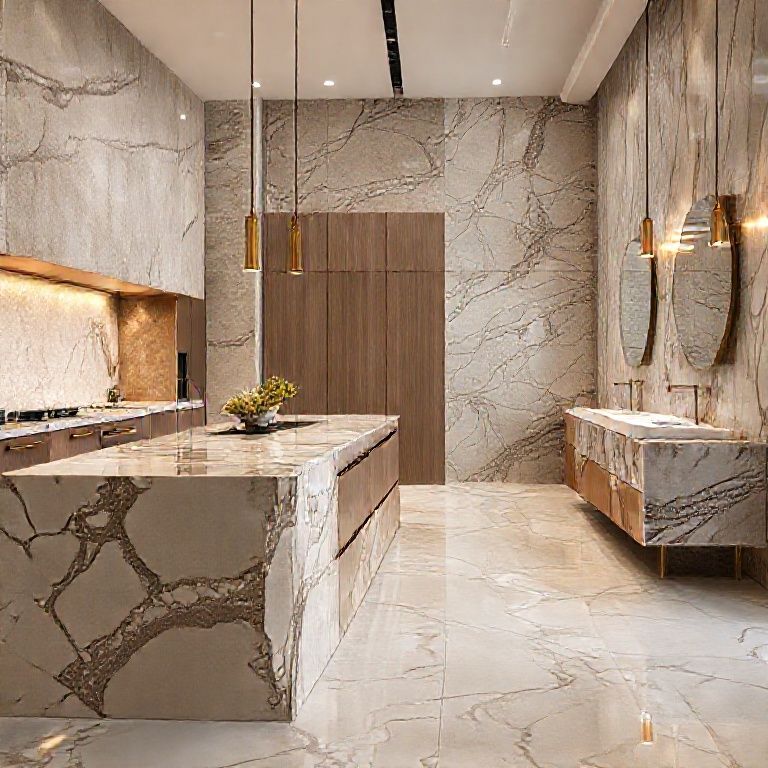
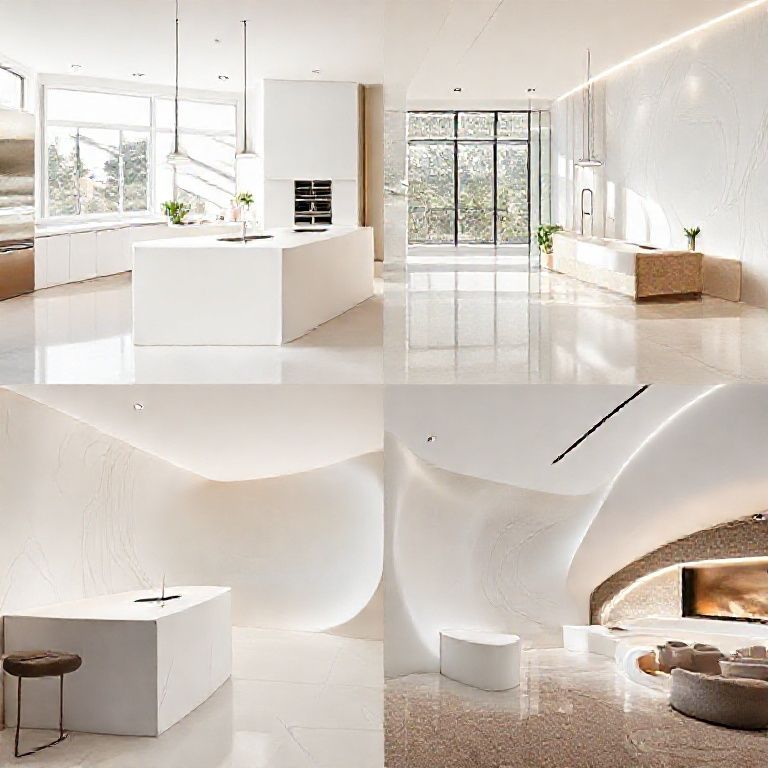
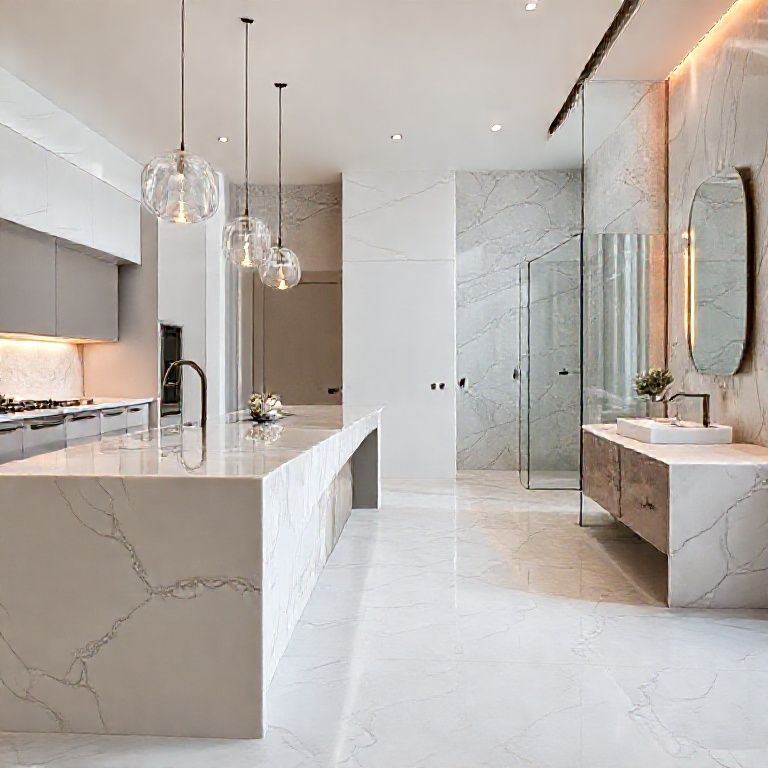
Introduction to Artificial Stone Countertop Installation
When it comes to enhancing the aesthetic and functional aspects of your kitchen or bathroom, artificial stone countertops are a game-changer. These modern marvels offer durability, a variety of designs, and a low-maintenance lifestyle. However, to achieve the perfect finish, understanding the detailed installation process is crucial. This guide will walk you through the meticulous steps of artificial stone countertop installation, ensuring your project is a success from start to finish.
Preparation Phase: Planning and Tools
Before diving into the installation, thorough preparation is key. Start with meticulous planning to determine the size and shape of your countertop, ensuring it fits perfectly with your existing cabinetry and fixtures. Measure accurately to avoid any last-minute adjustments.
Next, gather all necessary tools and materials. Essential tools include a miter saw, chisel, hammer, level, measuring tape, and a utility knife. Essential materials include the artificial stone countertop, adhesive mortar, grout, and sealant. Having all these on hand will streamline the installation process.
Surface Preparation
A clean, flat, and dry surface is crucial for a successful installation. Begin by cleaning the area where the countertop will be installed. Use a degreasing cleaner to remove any grease, oils, or dirt. Allow the surface to dry completely before proceeding.

Ensure that the surface is level and even. Use a level to check the surface, and if necessary, make adjustments to ensure a smooth base. This step is critical to prevent any unevenness that can affect the stability and appearance of the countertop.
Cutting the Artificial Stone
Artificial stone countertops come in large sheets that need to be cut to fit your space. Use a miter saw to make precise cuts. Measure and mark the areas where cuts are needed, ensuring accuracy to fit the space perfectly. Safety first: wear protective glasses and a dust mask to avoid injuries from sawing.
For edges, use a chisel and hammer to create clean, sharp edges. This step requires patience and precision, as rough edges can compromise the aesthetic appeal of the countertop.

Installing the Countertop
Once the countertop is cut to size, it’s time to install it. Start by applying adhesive mortar to the back of the countertop using a notched trowel. This adhesive provides the necessary grip to secure the countertop in place. Spread the adhesive evenly to cover the entire surface area where the countertop will be installed.
Carefully place the countertop onto the adhesive. Use a level to ensure it is perfectly aligned. Press down gently to secure the countertop in place. Allow the adhesive to set for the recommended time as specified by the manufacturer.
Setting the Edges
Setting the edges of the countertop is an essential step to ensure a professional finish. Use a utility knife to score the grout lines on the surrounding tiles or cabinetry. This helps the grout adhere better and creates a clean, defined edge.
After scoring, apply the grout to the edges using a grout float. Press the float at a 45-degree angle to ensure the grout fills the scored lines completely. Wipe away excess grout with a damp sponge, leaving the grout lines clean and sharp.
Finishing Touches
Once the adhesive and grout have set, it’s time to clean and seal the countertop. Use a clean, damp cloth to wipe away any dust or debris that may have accumulated during installation.
Next, apply a high-quality sealant to protect the artificial stone from stains and spills. This step is crucial for maintaining the countertop’s appearance and longevity. Follow the manufacturer’s instructions for the best results.
Conclusion of Part 1
Installing an artificial stone countertop is a detailed process that requires careful planning, precise cutting, and expert installation techniques. By following these steps, you can ensure a flawless installation that enhances the beauty and functionality of your kitchen or bathroom. Stay tuned for the second part, where we’ll delve deeper into advanced techniques and troubleshooting tips for a perfect finish.
Advanced Techniques and Troubleshooting for Artificial Stone Countertop Installation
Having mastered the basic installation techniques, it’s time to explore advanced methods and tackle common issues that may arise during the installation of artificial stone countertops. This section will provide detailed insights to help you perfect your craft and ensure your project is a masterpiece.
Advanced Installation Techniques
1. Edge Detailing
Achieving a professional edge finish is essential for a polished look. For a more intricate finish, consider using an edge band or a trim piece. These can be attached to the edges of the countertop using adhesive mortar. This step adds a touch of elegance and ensures a seamless blend with surrounding surfaces.
2. Undermount Installation
For a more integrated look, an undermount installation might be ideal. This involves attaching the countertop to the underside of the cabinetry. Begin by marking the cut lines on the cabinet’s edge. Carefully cut the countertop to fit, and then apply adhesive mortar to the cabinet’s underside. Carefully place the countertop in position, pressing down to secure it. Use a level to ensure it’s perfectly aligned and allow the adhesive to set as recommended.
3. Sink Integration
Integrating sinks into artificial stone countertops requires careful planning. Measure the sink’s dimensions and cut the countertop accordingly. For seamless integration, use a specialized sink cutout saw or a jigsaw to create a precise cut. Once cut, apply adhesive mortar to the countertop and place it over the sink, ensuring it fits snugly.
4. Backsplash Installation
Artificial stone can also be used for backsplashes. Cut the stone to fit the backsplash area and apply adhesive mortar to the wall or cabinetry behind it. Position the stone carefully and press down to secure. Use a level to ensure it’s straight and apply grout to the edges. Allow it to set before cleaning and sealing.
Troubleshooting Common Issues
Despite careful planning and execution, issues can arise. Here’s how to tackle some common problems:
1. Uneven Adhesive Application
If the adhesive is unevenly applied, it can cause the countertop to shift or crack. To avoid this, use a notched trowel to spread adhesive evenly. Ensure there are no gaps or excess adhesive that could cause unevenness.
2. Misalignment
If the countertop is not perfectly aligned, it can affect the overall appearance. Use a level throughout the installation process to ensure the countertop is straight. Adjust as necessary before the adhesive sets.
3. Cracks and Chips
Cracks and chips can occur if the countertop is not properly secured or if there’s uneven weight distribution. Ensure the countertop is pressed firmly into the adhesive. If cracks occur, they can often be repaired using epoxy fillers or by replacing the damaged section.
4. Grout Issues
Grouting can sometimes be tricky, leading to uneven lines or gaps. Use a grout float to apply grout to the edges, pressing at a 45-degree angle. Wipe away excess grout with a damp sponge before it dries. If gaps occur, fill them with grout after the initial layer has set.
5. Sealer Problems
Sealer application can sometimes be problematic. Follow the manufacturer’s instructions carefully. If the sealer doesn’t adhere well, clean the surface thoroughly and apply a primer before re-applying the sealer.
Maintaining Your Artificial Stone Countertop
To keep your artificial stone countertop looking pristine, regular maintenance is key. Here are some tips to ensure long-lasting beauty:
1. Regular Cleaning
Wipe the countertop with a damp cloth to remove dust and debris. For tougher stains, use a mild detergent and a soft cloth. Avoid using abrasive cleaners that can scratch the surface.
2. Immediate Spill Management
Spills should be wiped up immediately to prevent stains. Use a paper towel or cloth to blot the spill. For stubborn spills, use a suitable cleaner and a soft cloth to gently clean the area.
3. Regular Sealing
Reapply the sealant every 6 to 12 months, depending on usage and exposure to spills. This will help maintain the countertop’s stain-resistant properties and prolong its lifespan.
4. Avoid Sharp Objects
To prevent scratches, avoid placing sharp objects directly on the countertop. Use cutting boards or mats to protect the surface during food preparation.
Conclusion of Part 2
Mastering the art of artificial stone countertop installation involves understanding both basic and advanced techniques, as well as being prepared to tackle any issues that may arise. By following these detailed steps and tips, you can achieve a professional finish that enhances the beauty and functionality of your space. Whether you’re a DIY enthusiast or a professional contractor, this comprehensive guide provides the knowledge and tools needed to excel in artificial stone countertop installation.