Revitalize Your Space: Mastering the Art of Artificial Marble Countertop Repair
Artificial marble countertops have become a popular choice for kitchens and bathrooms due to their stunning aesthetics and durability. However, like all surfaces, they can suffer from wear and tear over time, leading to scratches, chips, and discoloration. Fortunately, with the right approach, you can restore your artificial marble countertop to its original glory. This guide will walk you through the essentials of artificial marble countertop repair, from understanding the material to employing effective repair techniques.
Understanding Artificial Marble Countertops
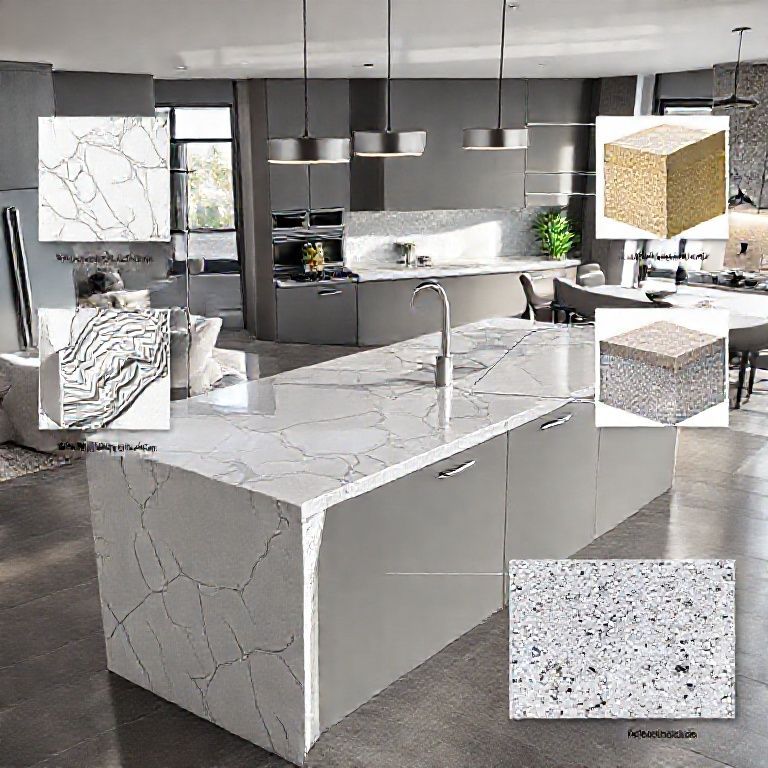
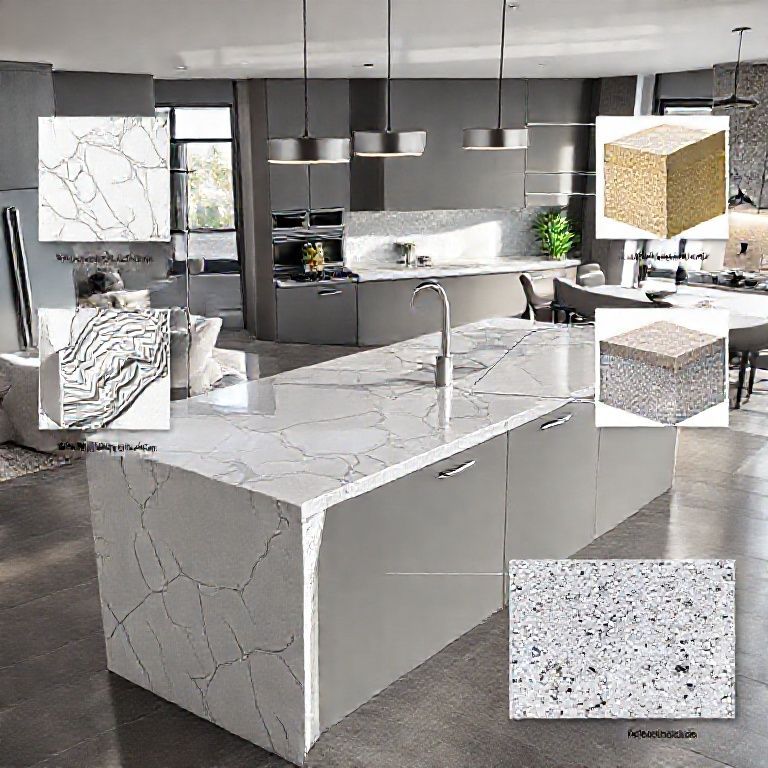
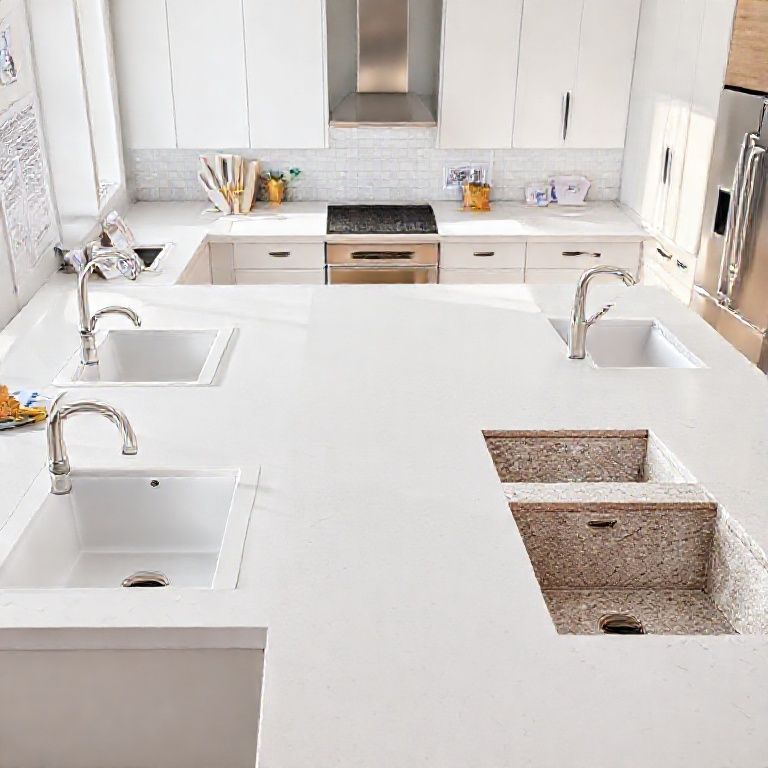
Before diving into repair methods, it’s essential to understand what artificial marble is and why it’s favored in modern home design. Artificial marble is a composite material made from a combination of resin, pigments, and fibers. It mimics the look of natural marble but is more durable and less prone to staining and etching. Despite its robustness, it can still suffer from minor imperfections that can be addressed with proper care and repair techniques.
Common Issues with Artificial Marble Countertops
Artificial marble countertops can encounter several issues, including:
Scratches and Chips: Everyday use can lead to small scratches or chips, particularly if sharp objects are left on the surface. Discoloration: Exposure to heat, UV rays, and chemicals can cause the surface to fade or discolor. Abrasive Damage: Abrasive cleaning agents can dull the surface, making it look less vibrant.
Tools and Materials for Repair
To repair artificial marble countertops, you will need a few essential tools and materials:
Fine-grit sandpaper (240-600 grit) Polishing compound Microfiber cloths Epoxy filler Sealant Cleaning supplies (mild soap and water, microfiber cloth) Protective gloves

Having these on hand will ensure that you have everything you need to perform a thorough and effective repair.
Repairing Minor Scratches and Chips
Step 1: Clean the Surface
Begin by thoroughly cleaning the countertop with mild soap and water. Use a microfiber cloth to dry the surface completely. Cleaning removes any debris that could interfere with the repair process.
Step 2: Sanding
For minor scratches, use fine-grit sandpaper (240-600 grit) to gently sand the affected area. Lightly sand the scratch until it is less noticeable. For chips, carefully sand around the edges to prepare for filler application.

Step 3: Apply Epoxy Filler
Epoxy filler can be used to fill in scratches and chips. Mix the filler according to the manufacturer’s instructions and apply it to the damaged area using a putty knife. Smooth the filler with a damp cloth until it is level with the surrounding surface.
Step 4: Allow to Cure
Let the filler cure completely as per the product instructions. This usually takes several hours.
Step 5: Sanding Again
Once the filler is cured, lightly sand the area again with fine-grit sandpaper to ensure a smooth surface.
Step 6: Polishing
Apply a polishing compound to the repaired area using a microfiber cloth. Buff the area until it shines, matching the rest of the countertop.
Step 7: Seal the Surface
Finally, apply a sealant to protect the repair and restore the countertop’s shine. Follow the manufacturer’s instructions for application and curing.
Repairing Discoloration
Discoloration on artificial marble can be due to various factors, including heat, UV exposure, and chemical spills. Here’s how to address it:
Step 1: Clean the Area
Start by cleaning the discolored area with mild soap and water. Dry thoroughly with a microfiber cloth.
Step 2: Use a Marble Polish
Apply a specialized marble polish to the discolored area. Use a microfiber cloth to work the polish into the surface. Buff with another clean microfiber cloth until the area looks uniform with the rest of the countertop.
Step 3: Re-seal
After polishing, apply a sealant to protect the repaired area and maintain its appearance.
Preventive Maintenance
To extend the life of your artificial marble countertop and minimize the need for repairs, follow these preventive maintenance tips:
Use Cutting Boards and Pads: Place cutting boards and other heavy objects on pads to prevent scratches. Avoid Abrasive Cleaners: Use mild soap and water or specialized countertop cleaners instead of abrasive cleaners. Use Coasters and Placemats: Protect the surface from heat and spills by using coasters and placemats. Regular Cleaning: Clean the surface regularly to prevent buildup and stains.
Conclusion
Artificial marble countertops are a beautiful and durable choice for your kitchen or bathroom. With the right tools and techniques, you can easily repair minor scratches, chips, and discoloration, ensuring your countertop looks as good as new. By understanding the material and employing effective repair methods, you can maintain the pristine appearance of your artificial marble surface for years to come.
Stay tuned for the next part of this guide where we’ll explore advanced repair techniques and additional tips to keep your artificial marble countertop in top condition.
Revitalize Your Space: Mastering the Art of Artificial Marble Countertop Repair
In the previous part of our guide, we covered the basics of repairing minor scratches, chips, and discoloration on artificial marble countertops. Now, let’s delve into more advanced repair techniques and provide additional tips to ensure your countertop remains in pristine condition. This comprehensive approach will cover everything from complex repairs to long-term maintenance strategies.
Advanced Repair Techniques
While minor repairs are often sufficient, more complex damage may require advanced techniques. Here’s how to handle such issues:
Repairing Large Chips and Deep Scratches
Step 1: Cleaning and Preparation
Start by thoroughly cleaning the damaged area with mild soap and water. Use a microfiber cloth to dry the surface completely.
Step 2: Apply Epoxy Filler
For larger chips and deep scratches, a more substantial filler is needed. Use a high-quality epoxy filler that matches the color of your countertop. Mix the filler according to the manufacturer’s instructions and apply it generously to the damaged area using a putty knife.
Step 3: Smooth and Level
Once the filler is applied, use a damp microfiber cloth to smooth it out, ensuring it is level with the surrounding surface. If necessary, use fine-grit sandpaper to achieve a smooth finish.
Step 4: Cure
Allow the filler to cure completely as per the product instructions. This usually takes several hours or even overnight.
Step 5: Sanding
Once the filler is cured, lightly sand the area again with fine-grit sandpaper to achieve a smooth surface.
Step 6: Polishing
Apply a polishing compound to the repaired area using a microfiber cloth. Buff the area until it shines, matching the rest of the countertop.
Step 7: Re-seal
Finally, apply a sealant to protect the repair and restore the countertop’s shine. Follow the manufacturer’s instructions for application and curing.
Addressing Stains and Discoloration
Discoloration can be caused by various factors, including heat, UV exposure, and chemical spills. Here’s a detailed approach to addressing such stains:
Step 1: Initial Cleaning
Clean the stained area with mild soap and water. Use a microfiber cloth to dry the surface thoroughly.
Step 2: Use a Stain Remover
For stubborn stains, use a specialized stain remover designed for artificial marble. Apply the remover according to the manufacturer’s instructions. Use a microfiber cloth to work the remover into the surface. Buff with another clean microfiber cloth until the stain is removed.
Step 3: Polishing
After removing the stain, apply a polishing compound to the area. Use a microfiber cloth to work the polish into the surface. Buff until the area looks uniform with the rest of the countertop.
Step 4: Re-seal
Apply a sealant to protect the repaired area and maintain its appearance.
Specialized Repair Kits
For those who prefer a more straightforward solution, specialized repair kits are available. These kits often include pre-mixed fillers, polishing compounds, and sealants designed specifically for artificial marble. Follow the instructions provided with the kit for the best results.
Additional Tips for Long-Term Maintenance
Maintaining your artificial marble countertop requires regular care and attention. Here are some additional tips to keep your countertop looking great:
Use Cutting Boards and Pads: Always place cutting boards and other heavy objects on pads to prevent scratches.
Avoid Abrasive Cleaners: Use mild soap and water or specialized countertop cleaners instead of abrasive cleaners that can dull the surface.
Use Coasters and Placemats: Protect the surface from heat and spills by using coasters and placemats.
Regular Cleaning: Clean the surface regularly to prevent1. 定期清洁:定期用温水和温和的洗涤剂清洁你的人造大理石台面。避免使用强碱性或含有研磨成分的清洁剂,因为这些可能会损害表面。在清洁后,用干净的微纤维布擦干,以防止水渍残留。
避免使用锋利物品:切勿在人造大理石台面上切割或使用锋利的物品,如刀具或开瓶器。这些物品可能会在台面上留下划痕或凹痕。如果需要,可以使用刀板或砧板来保护台面。
使用适当的厨房用具:选择带有橡胶垫或塑料垫的炊具,以避免划伤台面。同样,在台面上摆放炊具时,最好使用锅垫或烤盘,以防止热量直接传递到台面上。
及时清理液体溢出:液体溢出或洒落可能会导致人造大理石的表面损坏。一旦液体溢出,尽快用干净的布擦干,以防止液体渗入台面内部。
定期保养:使用专门的人造大理石保养剂定期护理你的台面,以保持其光泽和防止污渍。按照产品说明进行保养,以确保不会对表面造成损害。
防止热损伤:避免直接将热食物或锅具放置在台面上,尤其是在没有隔热垫的情况下。热物体会传热,可能会导致台面变形或损坏。
保护台面边缘:在台面的边缘安装保护条或边缘保护垫,以防止边缘受损,特别是在厨房台面的边缘。
避免化学品:尽量避免在台面上使用含有强烈化学物质的清洁剂,比如酸性或碱性物质,这些物质可能会导致台面表面的颜色褪色或损坏。
通过遵循这些维护和保养建议,你可以延长人造大理石台面的使用寿命,保持其美观和功能性。