Understanding Artificial Stone Countertops and the Causes of Cracks
Artificial stone countertops have become a popular choice for both residential and commercial spaces due to their durability, aesthetic appeal, and relatively low maintenance compared to natural stone. However, like any material, they are not immune to damage. One of the most common issues is cracking, which can occur due to a variety of factors.

What is Artificial Stone?
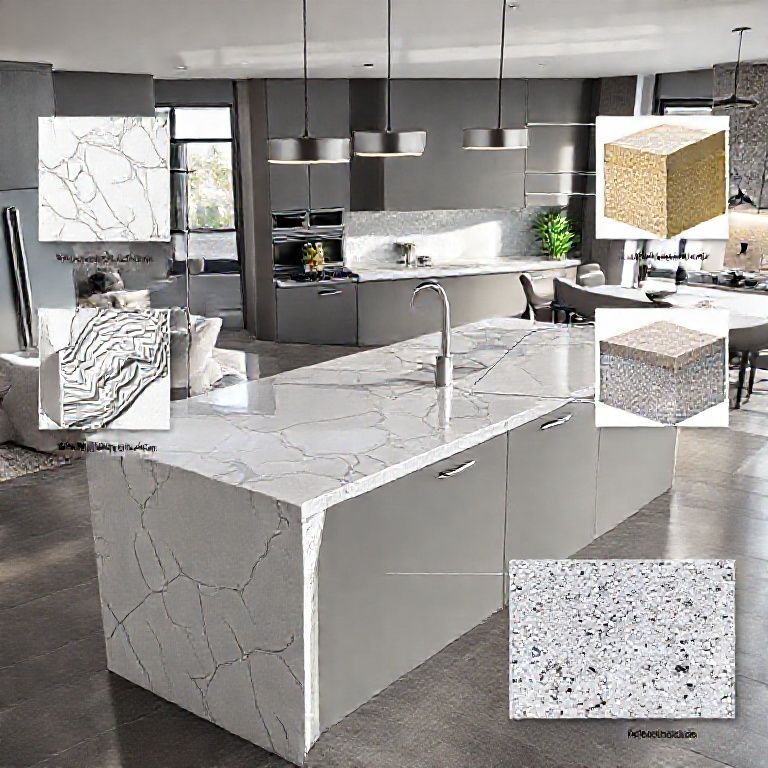
Artificial stone, often referred to as engineered stone, is a composite material made from natural minerals combined with synthetic resins. This combination creates a material that is both strong and aesthetically versatile, mimicking the look of natural stone like marble or granite while being more resistant to scratches, stains, and heat.
Common Causes of Cracks in Artificial Stone Countertops
Impact Damage: Artificial stone can crack if it experiences significant impact. This might occur due to dropping heavy objects or accidental collisions.
Thermal Stress: Rapid temperature changes can cause artificial stone to crack. For instance, placing a hot pan on a cold surface can create thermal stress.
Manufacturing Defects: Sometimes, cracks can be present from the manufacturing process or from improper installation.
Overloading: Excessive weight placed on a countertop can cause it to crack, especially if the surface is not properly supported.
Importance of Prompt Repair
Cracks, if left unattended, can worsen over time, leading to more extensive damage and potentially compromising the structural integrity of the countertop. Prompt repair not only maintains the aesthetic appeal but also ensures the longevity of the countertop.
Step-by-Step Guide to Repairing Cracks in Artificial Stone Countertops
Now that you understand the nature and causes of cracks in artificial stone countertops, it’s time to delve into the repair process. Here’s a comprehensive, step-by-step guide to help you repair cracks effectively.
Step 1: Gather Your Materials
Before you begin the repair process, make sure you have all the necessary materials and tools:
Epoxy resin specifically designed for stone repair Fine-grit sandpaper (240-320 grit) A small putty knife or spatula A mixing container A brush or applicator Clean cloths Protective gloves
Step 2: Clean the Area
Clean the cracked area thoroughly to remove any dust, grease, or debris. Use a damp cloth to wipe down the surface, then dry it completely with a clean cloth. A clean surface is essential for the epoxy resin to adhere properly.

Step 3: Prepare the Crack
Using fine-grit sandpaper, carefully sand the edges of the crack. This step ensures that the crack is clean and the epoxy resin can bond effectively. Be gentle to avoid creating new cracks or further damaging the surface.
Step 4: Mix the Epoxy Resin
Follow the manufacturer’s instructions to mix the epoxy resin. Generally, you will need to combine the resin and hardener in a mixing container in a specific ratio. Stir thoroughly until the mixture is uniform.
Step 5: Apply the Epoxy Resin
Using a small putty knife or spatula, apply the epoxy resin into the crack. Press the resin into the crack to ensure it fills the space completely. Use the putty knife to smooth the surface of the resin, making sure it extends slightly beyond the crack for a seamless finish.
Step 6: Clean Excess Resin
Immediately after applying the resin, use a damp cloth to wipe away any excess resin that may have squeezed out of the crack. This ensures a clean and professional finish.
Step 7: Allow the Resin to Cure
Let the epoxy resin cure according to the manufacturer’s instructions. This typically involves leaving it undisturbed for a period ranging from several hours to overnight.
Step 8: Sand and Polish the Repaired Area
Once the epoxy resin has cured, use fine-grit sandpaper (320-400 grit) to smooth the surface where the resin has been applied. Sand gently to avoid damaging the surrounding area. Once the surface is smooth, you can polish it with a stone polish or a specialized stone countertop cleaner to restore the shine.
Step 9: Final Clean
Clean the surface with a damp cloth and then dry it with a clean cloth. Your artificial stone countertop should now look as good as new, with the repaired crack virtually invisible.
Maintenance Tips
To prevent future cracks, consider the following maintenance tips:
Use cutting boards or other heavy objects on separate surfaces when cutting food. Avoid placing hot items directly on the countertop. Use trivets or hot pads to protect the surface from thermal stress. Clean spills immediately to prevent stains and damage.
By following these steps and tips, you can effectively repair cracks in your artificial stone countertops, ensuring they remain a beautiful and functional part of your home or business for years to come.