Discover how to repair a cracked kitchen countertop with our step-by-step guide. From identifying the type of material to applying the appropriate fix, learn how to restore your kitchen’s beauty and functionality. Dive into our detailed instructions for a seamless repair process.
kitchen countertop repair, cracked countertop, repair countertop, fix kitchen counter, kitchen renovation, countertop restoration, home improvement, kitchen remodeling, countertop crack repair, DIY countertop fix
Repairing a Cracked Kitchen Countertop: A Comprehensive Guide to Restoring Your Space
Welcome to our detailed guide on how to repair a cracked kitchen countertop. Whether it’s a small chip or a larger fissure, a damaged countertop can be an eyesore and a potential safety hazard. However, with the right tools and techniques, you can restore your kitchen’s beauty and functionality without breaking the bank.
Understanding Your Countertop Material
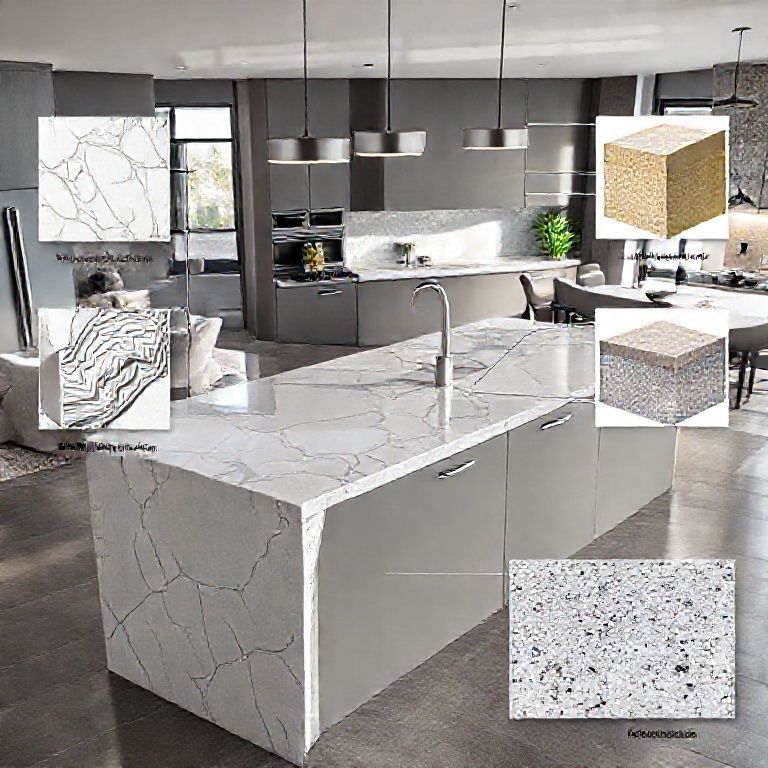
Before diving into the repair process, it’s crucial to identify the type of material your countertop is made from. Common kitchen countertop materials include granite, quartz, marble, concrete, and composite materials like Formica or laminate. Each material requires a different approach for repair. Here’s a quick overview:

Granite: Known for its durability, granite countertops can often be repaired with a professional-grade epoxy resin. Quartz: Quartz is a composite material that can be repaired using a specialized filler. Marble: Due to its softer nature, marble requires a more delicate touch; often, a professional restoration service is recommended. Concrete: Cracks in concrete countertops can be filled using a high-strength concrete patch. Formica/Laminate: These can typically be repaired with a matching color filler or by covering the crack with a piece of tape or a countertop repair kit.
Tools and Materials Needed
Regardless of the material, the basic tools and materials required for repairing a cracked countertop include:
Fine-grit sandpaper or a power sander Countertop repair kit (specific to the material) Epoxy resin or filler Caulking gun Masking tape Clean cloths and brushes Protective gloves Safety goggles
Step-by-Step Repair Process
Clean the Area: Begin by thoroughly cleaning the cracked area to remove any dirt, grease, or debris. Use a mild detergent or a specialized cleaner suitable for your countertop material.
Assess the Crack: Examine the crack to determine its depth and width. This will help you choose the appropriate repair method and materials.
Prepare the Surface: Use fine-grit sandpaper to smooth out the edges of the crack. This ensures a better bond when applying the repair material. Be careful not to sand too deeply, as this can worsen the crack.
Apply Masking Tape: For larger cracks, apply masking tape across the crack. This will help to keep the repair material from spreading beyond the crack and will make the final appearance more uniform.
Mix Repair Material: Follow the manufacturer’s instructions to mix the repair material. For epoxy resin, mix the resin and hardener thoroughly until smooth.
Fill the Crack: Using a caulking gun, apply the repair material into the crack. For larger cracks, fill in the material in stages, smoothing it out each time with a brush or spatula.
Smooth the Surface: Once the repair material has been applied, use a clean cloth or brush to smooth the surface. Ensure that it blends seamlessly with the rest of the countertop.
Cure the Repair: Allow the repair material to cure completely as per the manufacturer’s instructions. This usually takes several hours to a full day.
Final Touches: Once cured, remove any masking tape and clean the surface again to remove any dust or residue.
Preventative Measures
To prevent future cracks, consider the following tips:
Use cutting boards and heavy items on pads or place mats. Wipe up spills immediately to prevent stains and weakening of the material. Avoid using abrasive cleaners on your countertop. Always use coasters to prevent heat and liquids from damaging the surface.
By following these steps, you can effectively repair a cracked kitchen countertop and restore its original beauty. In the next part, we will delve deeper into advanced repair techniques and explore how to choose the right materials for your specific countertop.
Repairing a Cracked Kitchen Countertop: Advanced Techniques and Material Selection
In the previous section, we covered the basic steps for repairing a cracked kitchen countertop. Now, let’s delve deeper into advanced techniques and explore how to select the right materials for specific countertop types to ensure a seamless repair.
Advanced Repair Techniques
Granite and Quartz: Using Epoxy Resin
For granite and quartz countertops, using epoxy resin is a popular and effective method. Here’s an advanced technique:
Preparation: Start by cleaning the area thoroughly. Use a fine-grit sandpaper to smooth the edges of the crack. Mix the epoxy resin according to the manufacturer’s instructions. Apply a thin layer of epoxy to the crack, then place a matching color epoxy putty over it. Use a spatula to blend the putty into the epoxy, creating a smooth surface.
Color Matching: Achieving a perfect color match is essential. Use a color matching tool provided in the repair kit. Apply the matching putty to a small area and allow it to cure. Test the color on a hidden area before committing to the full repair.
Curing: Once the repair material is applied and blended, allow it to cure completely. Epoxy resins usually take several hours to cure fully.
Concrete: Using Concrete Patch
Concrete countertops often have cracks that require a concrete patch:
Preparation: Clean the crack thoroughly and use a fine-grit sandpaper to smooth the edges. Mix the concrete patch according to the instructions provided. Apply the patch to the crack using a caulking gun.
Smoothing: Once the patch is applied, use a brush or a spatula to smooth the surface. Ensure it blends seamlessly with the surrounding countertop.
Curing: Allow the patch to cure completely, which usually takes 24-48 hours.
Marble: Professional Restoration
Marble is a delicate material that often requires professional restoration services. Here’s a simplified process for DIY enthusiasts:
Consultation: For significant cracks, it’s best to consult with a professional restoration service. They have the expertise and tools to repair marble without causing further damage.
Epoxy Sealant: For minor repairs, an epoxy sealant can be applied. Mix the sealant according to the instructions, apply it to the crack, and allow it to cure.
Material Selection for Different Countertops
Choosing the right repair material is crucial for a successful repair. Here’s how to select the appropriate materials:
Granite and Quartz: Epoxy Resin: Use a high-quality, color-matched epoxy resin for an invisible repair. Putty: High-quality epoxy putty that matches the countertop color. Color Matching Tools: Essential for achieving a flawless color match. Concrete: Concrete Patch Compound: Use a high-strength concrete patch that cures hard and durable. Sandpaper: Fine-grit sandpaper for smoothing the edges of the crack. Marble: Epoxy Sealant: For minor repairs, an epoxy-based sealant that dries clear. Professional Services: Always consider hiring professionals for extensive repairs. Formica/Laminate: Color Filler: Use a color-matched filler that matches the laminate material. Repair Kits: Specialized kits available for laminate and Formica repairs.
Long-Term Maintenance
After repairing your countertop, it’s important to maintain it properly to prevent future cracks:
Use Cutting Pads: Always use cutting boards on pads or place mats to prevent scratches. Wipe Up Spills: Immediately clean up any spills to prevent stains and weakening of the material. Avoid Abrasive Cleaners: Use mild, non-abrasive cleaners to maintain the countertop’s surface. Heat Protection: Use coasters to prevent heat damage from hot pots and pans.
By following these advanced techniques and selecting the right materials, you can ensure a long-lasting and aesthetically pleasing repair of your cracked kitchen countertop. Proper maintenance and care will keep your countertop looking beautiful for years to come.
Repairing a cracked kitchen countertop doesn’t have to be daunting. With the right approach and materials, you can restore your kitchen’s functionality and beauty. In this comprehensive guide, we’ve covered everything from basic repairs to advanced techniques and material selection. Happy fixing!